
Irresistible Milk Chocolate Oreo Ice Cream Recipe by Ina Garten
Dive into a decadent world of creamy bliss with Ina Garten’s milk chocolate Oreo ice cream that promises pure indulgence.
This luxurious dessert combines rich chocolate and classic cookie crunch in every spoonful.
Smooth, velvety textures meld with crunchy Oreo bits for an irresistible treat.
Each scoop delivers a nostalgic twist on traditional ice cream that feels both familiar and extraordinary.
The recipe captures the essence of comfort and sophistication in one delightful dessert.
Homemade ice cream never tasted so good, with layers of intense chocolate and crisp cookie fragments.
Get ready to wow your taste buds and create a show-stopping summer dessert that everyone will adore.
Quick Recipe Overview

What’s Inside Ina Garten’s Milk Chocolate Oreo Ice Cream
For Chocolate Base:For Creamy Custard Components:For Textural Mix-Ins:Tools to Make Oreo Ice Cream the Ina Garten Way
Step-by-Step Guide to Ina’s Milk Chocolate Oreo Ice Cream
Create a cozy chocolate melting setup using a double boiler technique with cream and milk chocolate, gently warming until smooth and luxurious.
Craft a silky custard base by carefully heating milk, sugar, and salt, then delicately combining with whisked egg yolks to achieve a luscious, velvety texture that coats the back of a spoon.
Marry the molten chocolate and creamy custard by straining and blending them into a harmonious mixture, then cool completely to develop rich, deep flavors.
Transform the chilled mixture in an ice cream maker, introducing playful Oreo cookie chunks during the final moments of freezing for delightful texture and crunch.
Transfer the freshly churned treat to a container, allowing it to set into a decadent dessert ready to be scooped and savored.
Ice Cream Flavor Tweaks to Try with Ina’s Base

How to Serve Ina Garten’s Oreo Ice Cream for Maximum Joy
Best Storage Tips for Ina’s Homemade Frozen Dessert
Print
Velvety Ina Garten Milk Chocolate Oreo Ice Cream Recipe
- Total Time: 35 minutes
- Yield: 4 1x
Description
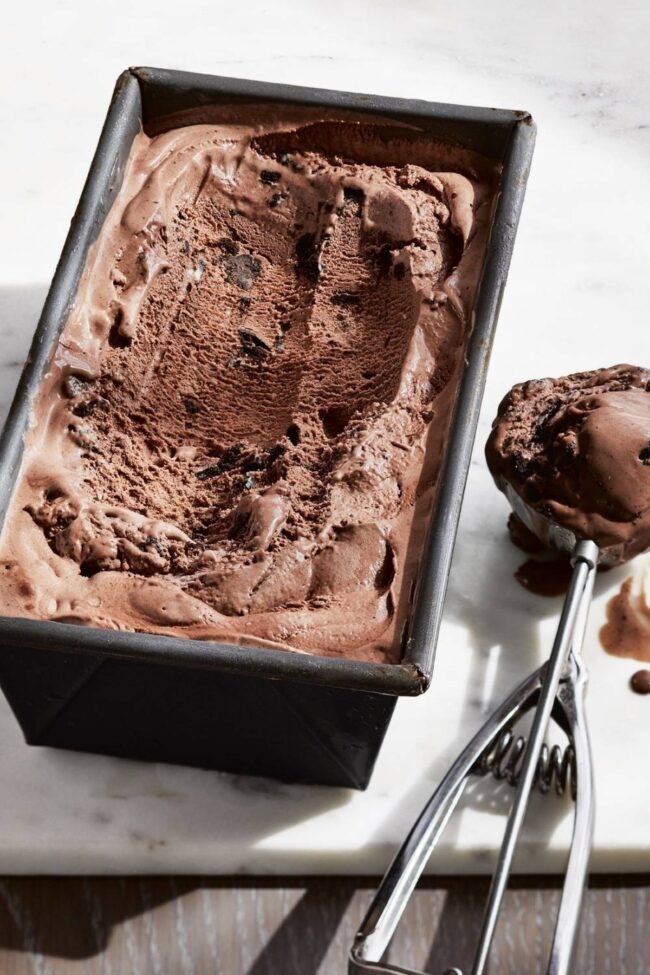
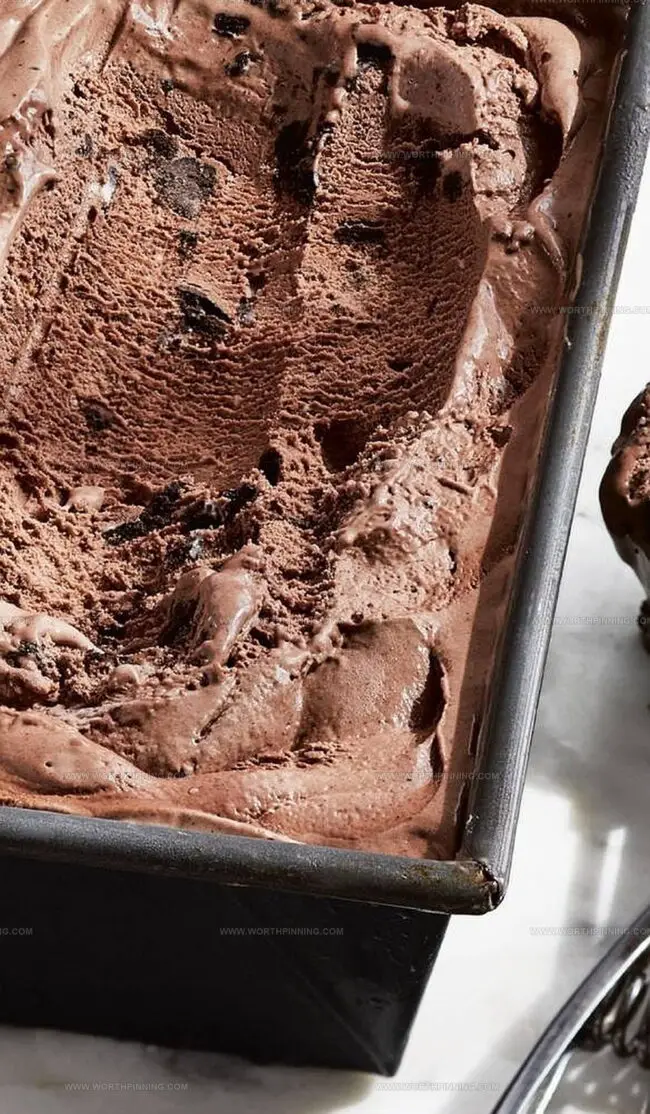
Ina Garten’s milk chocolate Oreo ice cream blends rich chocolate with classic cookie crunch. Smooth, creamy textures and intense chocolate notes invite you to savor each refreshing spoonful.
Ingredients
- 2 cups (150 g) oreo cookies, roughly chopped (15 cookies)
- 8 oz (225 g) milk chocolate, such as Green & Black’s, finely chopped
- 1.5 cups (360 ml) heavy cream
- 1.5 cups (360 ml) whole milk
- 0.75 cup (150 g) sugar
- 4 extra-large egg yolks
- 2 tbsps (15 g) cocoa powder, such as Valrhona
- 1 tsp (5 ml) pure vanilla extract
- 2 tsps (10 ml) cognac or brandy
- 0.5 tsp (3 g) kosher salt
- 0.5 tsp (1 g) cornstarch
Instructions
- Chocolate Preparation: Construct a double boiler and melt milk chocolate with heavy cream, stirring until achieving a glossy, smooth consistency.
- Custard Foundation: Warm milk, sugar, and salt in a saucepan. Simultaneously whisk egg yolks and cornstarch in a separate bowl until pale and integrated.
- Tempering Process: Gradually stream hot milk into egg mixture while continuously whisking. Return combined liquid to saucepan and cook over medium-low heat, constantly stirring to prevent scorching.
- Custard Development: Cook until mixture thickens to a velvety texture that coats a wooden spoon, creating a clear path when a finger is drawn across its surface.
- Flavor Integration: Remove from heat, strain through fine-mesh sieve into chocolate mixture. Whisk in vanilla extract, cocoa powder, and Cognac until perfectly uniform and silky.
- Cooling Phase: Rapidly chill the chocolate custard using an ice bath or refrigeration, ensuring complete temperature reduction before churning.
- Churning Technique: Pour cold mixture into ice cream maker and churn for 20-25 minutes until reaching soft-serve consistency. During final churning minutes, introduce chopped Oreo cookies for even distribution.
- Freezing Completion: Transfer churned ice cream to a freezer-safe container, smooth surface, and freeze for minimum 4 hours until firm.
- Serving Recommendation: Allow ice cream to rest at room temperature for 3-5 minutes before serving to enhance scooping and creamy texture.
Notes
- Prevent Chocolate Burning: Use gentle, low heat when melting chocolate to avoid scorching and maintain a glossy, smooth texture.
- Master Egg Tempering: Slowly stream hot milk into egg yolks while whisking constantly to prevent curdling and ensure a silky custard base.
- Watch Custard Thickness: Cook custard until it coats the back of a spoon, creating a clear path when you draw a finger across – this indicates perfect consistency.
- Chill Thoroughly: Cool custard completely before churning to guarantee a creamy, smooth ice cream texture and optimal freezing results.
- Prep Time: 20 minutes
- Cook Time: 15 minutes
- Category: Desserts, Snacks, Drinks
- Method: Blending
- Cuisine: American
Nutrition
- Serving Size: 4
- Calories: 471
- Sugar: 33 g
- Sodium: 85 mg
- Fat: 29 g
- Saturated Fat: 17 g
- Unsaturated Fat: 10 g
- Trans Fat: 0 g
- Carbohydrates: 43 g
- Fiber: 1 g
- Protein: 6 g
- Cholesterol: 122 mg
Sophia Rivera
Recipe Developer & Kitchen Tips Specialist
Expertise
Education
Austin Community College
San Antonio Culinary Institute
Sophia’s passion for baking began in her family kitchen, where she spent hours experimenting with new recipes. With a background in baking and pastry arts, she loves making desserts that are as visually stunning as they are delicious.
Sophia is all about using seasonal, locally sourced ingredients to create treats that everyone will enjoy. When she’s not creating mouth-watering desserts, you can find her gardening, making new recipes, or enjoying a relaxing afternoon with her family.