
Stuffed Marrow Recipe by Jamie Oliver That’s Old-World Good
Marrow stuffed with a symphony of Mediterranean flavors turns an ordinary vegetable into a culinary masterpiece that dances on your taste buds.
These plump gourds cradle a treasure trove of spices and herbs that elevate home cooking to an art form.
Each bite tells a story of rustic kitchens and sun-drenched landscapes where food is more than sustenance.
Smoky paprika and fragrant herbs whisper tales of generations past, transforming a simple vegetable into a spectacular dish.
Fresh ingredients meld together, creating a harmony of textures and tastes that surprise and delight.
This recipe breaks through traditional cooking boundaries, offering a vibrant twist on a classic preparation.
Embark on a mouthwatering journey that will tantalize your senses and impress everyone at the table.
Quick Recipe Overview
Jamie Oliver Stuffed Marrow: All Ingredients
For Vegetable Base:For Flavor Enhancers:For Topping and Finishing:Tools Required for Jamie Oliver Stuffed Marrow
Easy Steps to Cook Jamie Oliver Stuffed Marrow
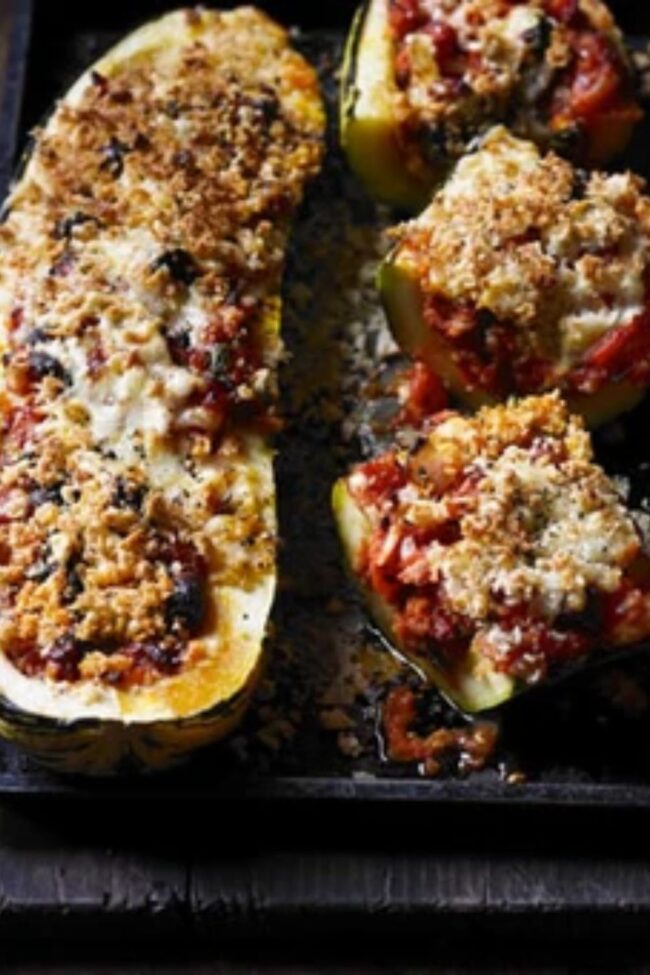
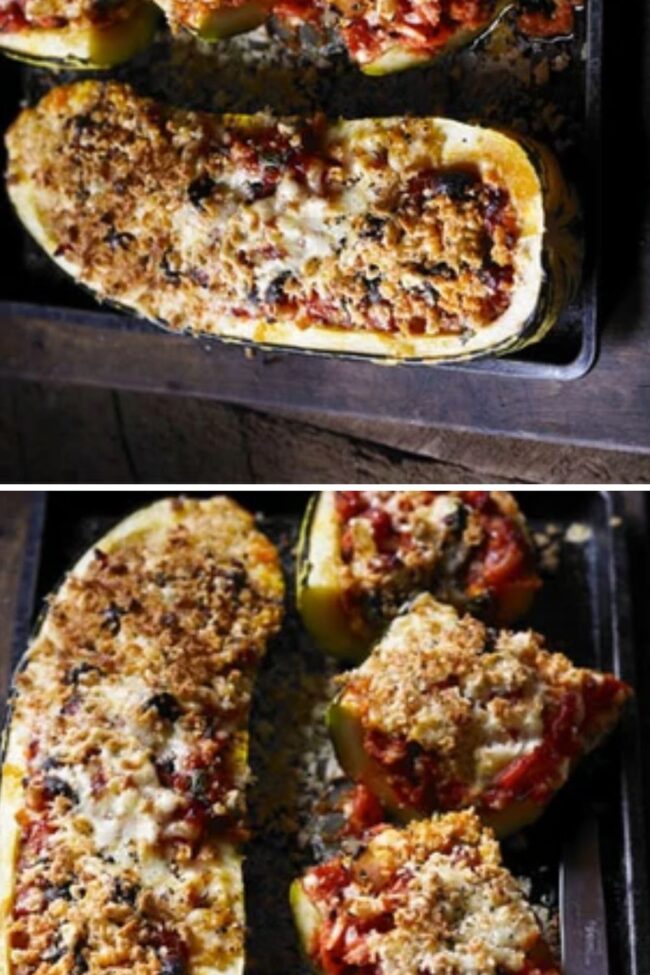
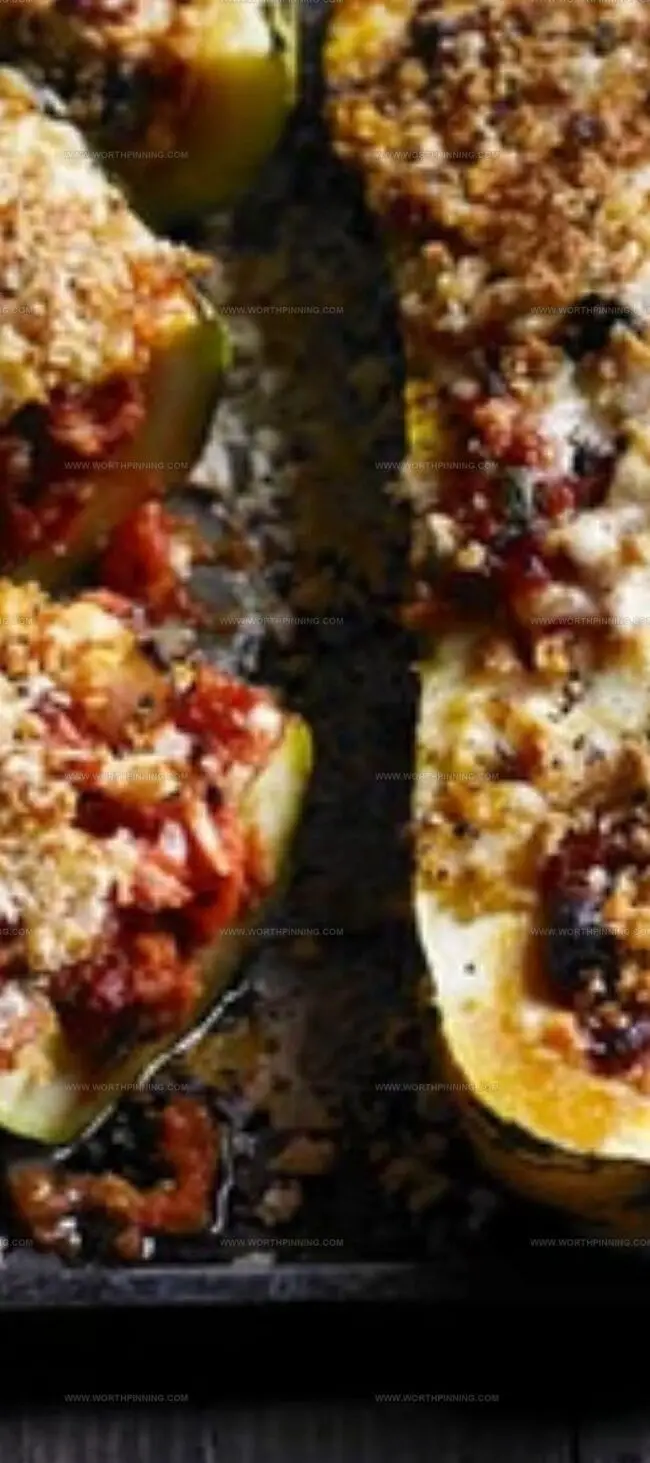
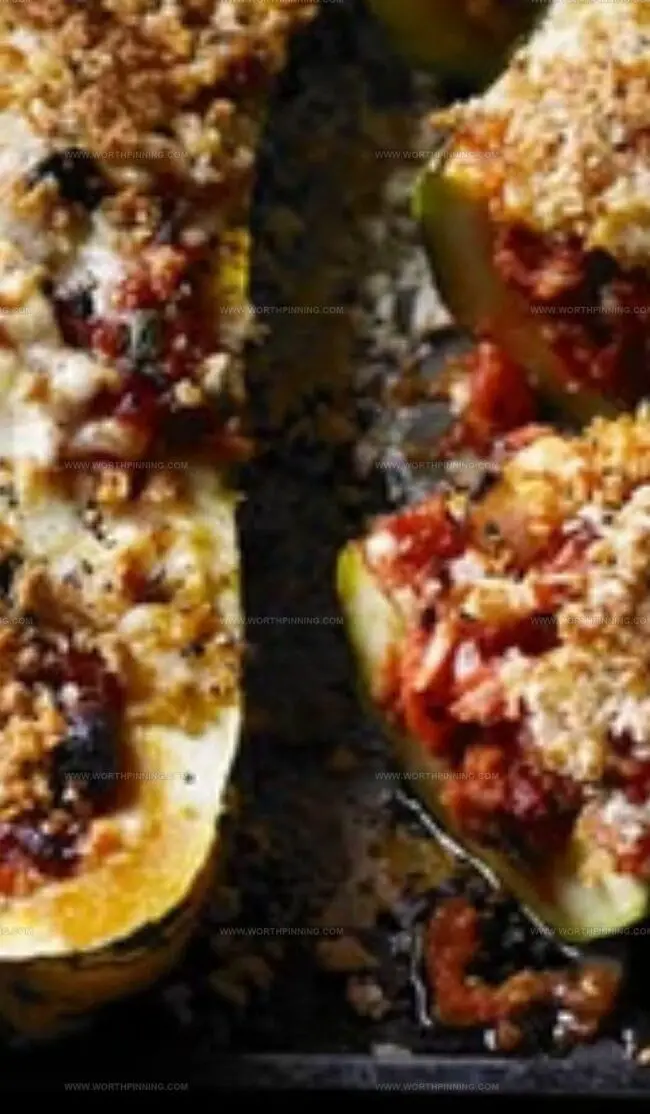
Slice marrow lengthwise and scoop out seeds, creating a perfect boat-like vessel for delicious fillings. Season with a sprinkle of salt and pepper to enhance natural flavors.
Sauté onions in olive oil until golden and soft. Toss in chorizo, garlic, and aromatic herbs, letting them dance together in the pan. Add vibrant tomatoes and bell peppers, simmering until mixture becomes rich and fragrant. Stir in fresh parsley for a bright finish.
Fill marrow boats with the hearty mixture, covering with foil to lock in moisture. Roast in a hot oven until vegetables become tender. Uncover and sprinkle with crispy breadcrumbs and sharp Manchego cheese, returning to the oven to achieve a gorgeous golden crust.
Pull your masterpiece from the oven, letting the enticing aromas fill the kitchen. Transfer stuffed marrow to warm plates, ready to be devoured while still steaming hot. Each bite promises a burst of Mediterranean-inspired flavors that will transport your taste buds.
Smart Tweaks for Stuffed Marrow Flavor
Mix up the marrow filling by swapping chorizo with bacon, pancetta, or vegetarian sausage for diverse flavor profiles.
Replace Manchego with other hard cheeses like Parmesan, pecorino, or aged cheddar to create unique taste combinations.
Transform the recipe by using plant-based protein like lentils, quinoa, or tofu crumbles instead of chorizo for a hearty meat-free version.
Cut smaller marrow sections for appetizer-style servings or slice larger portions for a substantial main course, making the dish flexible for different dining occasions.
Serving Jamie Oliver Stuffed Marrow Well
Keep Jamie Oliver Stuffed Marrow Fresh
Print
Rustic Jamie Oliver Stuffed Marrow Recipe
- Total Time: 1 hour 20 minutes
- Yield: 4 1x
Description
Stuffed marrow from jamie oliver combines classic British garden vegetables with hearty Mediterranean flavors. Mediterranean-inspired herbs and spices elevate this simple vegetable dish into a memorable meal for home cooks.
Ingredients
- 1 marrow
- 1 onion, diced
- 2 garlic cloves, crushed
- 100 g (3.5 oz) chorizo, chopped
- 140 g (5 oz) roasted red pepper from a jar, sliced
- 2 cans (400 g or 14 oz each) chopped tomatoes
- 1 tbsp olive oil
- 85 g (3 oz) fresh breadcrumbs
- 100 g (3.5 oz) manchego, grated
- 1 tsp smoked paprika
- 0.5 tsp cayenne pepper
- 0.5 tsp dried oregano
- 0.5 tsp dried thyme
- 1 handful parsley, chopped
Instructions
- Preparation: Preheat oven to 392°F (200°C), with fan setting at 356°F (180°C). Split marrow lengthwise, removing seeds and creating a hollow center for filling.
- Flavor Base: Heat olive oil in a saucepan over low heat. Sauté onions until translucent, then incorporate garlic, chorizo, spices, and herbs. Develop a rich, aromatic foundation by stirring and releasing intense flavors.
- Sauce Development: Add tomatoes and bell peppers, allowing the mixture to simmer and reduce. Create a thick, concentrated sauce with deep flavor profile. Fold in fresh parsley during final cooking moments.
- Assembly: Position marrow halves in roasting tin cut-side up. Season with salt and pepper. Generously fill each cavity with the prepared chorizo-tomato mixture, ensuring even distribution.
- Initial Baking: Cover tin with aluminum foil and roast in preheated oven for 25-35 minutes until marrow becomes tender and slightly translucent. Uncover and sprinkle breadcrumbs and Manchego cheese over the surface.
- Final Crisping: Return to oven uncovered for 10-12 minutes, allowing the top to transform into a golden, crispy crust with melted, bubbling cheese.
- Serving: Allow to rest briefly, garnish with additional parsley if desired. Serve immediately while piping hot and aromatic.
Notes
- Marrow Selection: Choose firm, medium-sized marrows without soft spots or blemishes for the best texture and flavor.
- Seed Removal Technique: Scoop seeds gently with a spoon to create a clean cavity without damaging the marrow’s delicate flesh.
- Flavor Layering: Sauté ingredients progressively to build deep, complex taste profiles by releasing individual ingredients’ essential oils.
- Cheese Melting Tip: Use room temperature Manchego for more even melting and golden-brown crispy topping.
- Prep Time: 20 minutes
- Cook Time: 1 hour
- Category: Dinner, Appetizer
- Method: Roasting
- Cuisine: UK
Nutrition
- Serving Size: 4
- Calories: 320
- Sugar: 8 g
- Sodium: 950 mg
- Fat: 20 g
- Saturated Fat: 6 g
- Unsaturated Fat: 12 g
- Trans Fat: 0 g
- Carbohydrates: 24 g
- Fiber: 5 g
- Protein: 14 g
- Cholesterol: 40 mg
Sophia Rivera
Recipe Developer & Kitchen Tips Specialist
Expertise
Education
Austin Community College
San Antonio Culinary Institute
Sophia’s passion for baking began in her family kitchen, where she spent hours experimenting with new recipes. With a background in baking and pastry arts, she loves making desserts that are as visually stunning as they are delicious.
Sophia is all about using seasonal, locally sourced ingredients to create treats that everyone will enjoy. When she’s not creating mouth-watering desserts, you can find her gardening, making new recipes, or enjoying a relaxing afternoon with her family.