Sweet Pioneer Woman Pie Crust Cookies Recipe
Pioneer Woman’s pie crust cookies transform leftover pastry into a magical sweet treat that every baker dreams about.
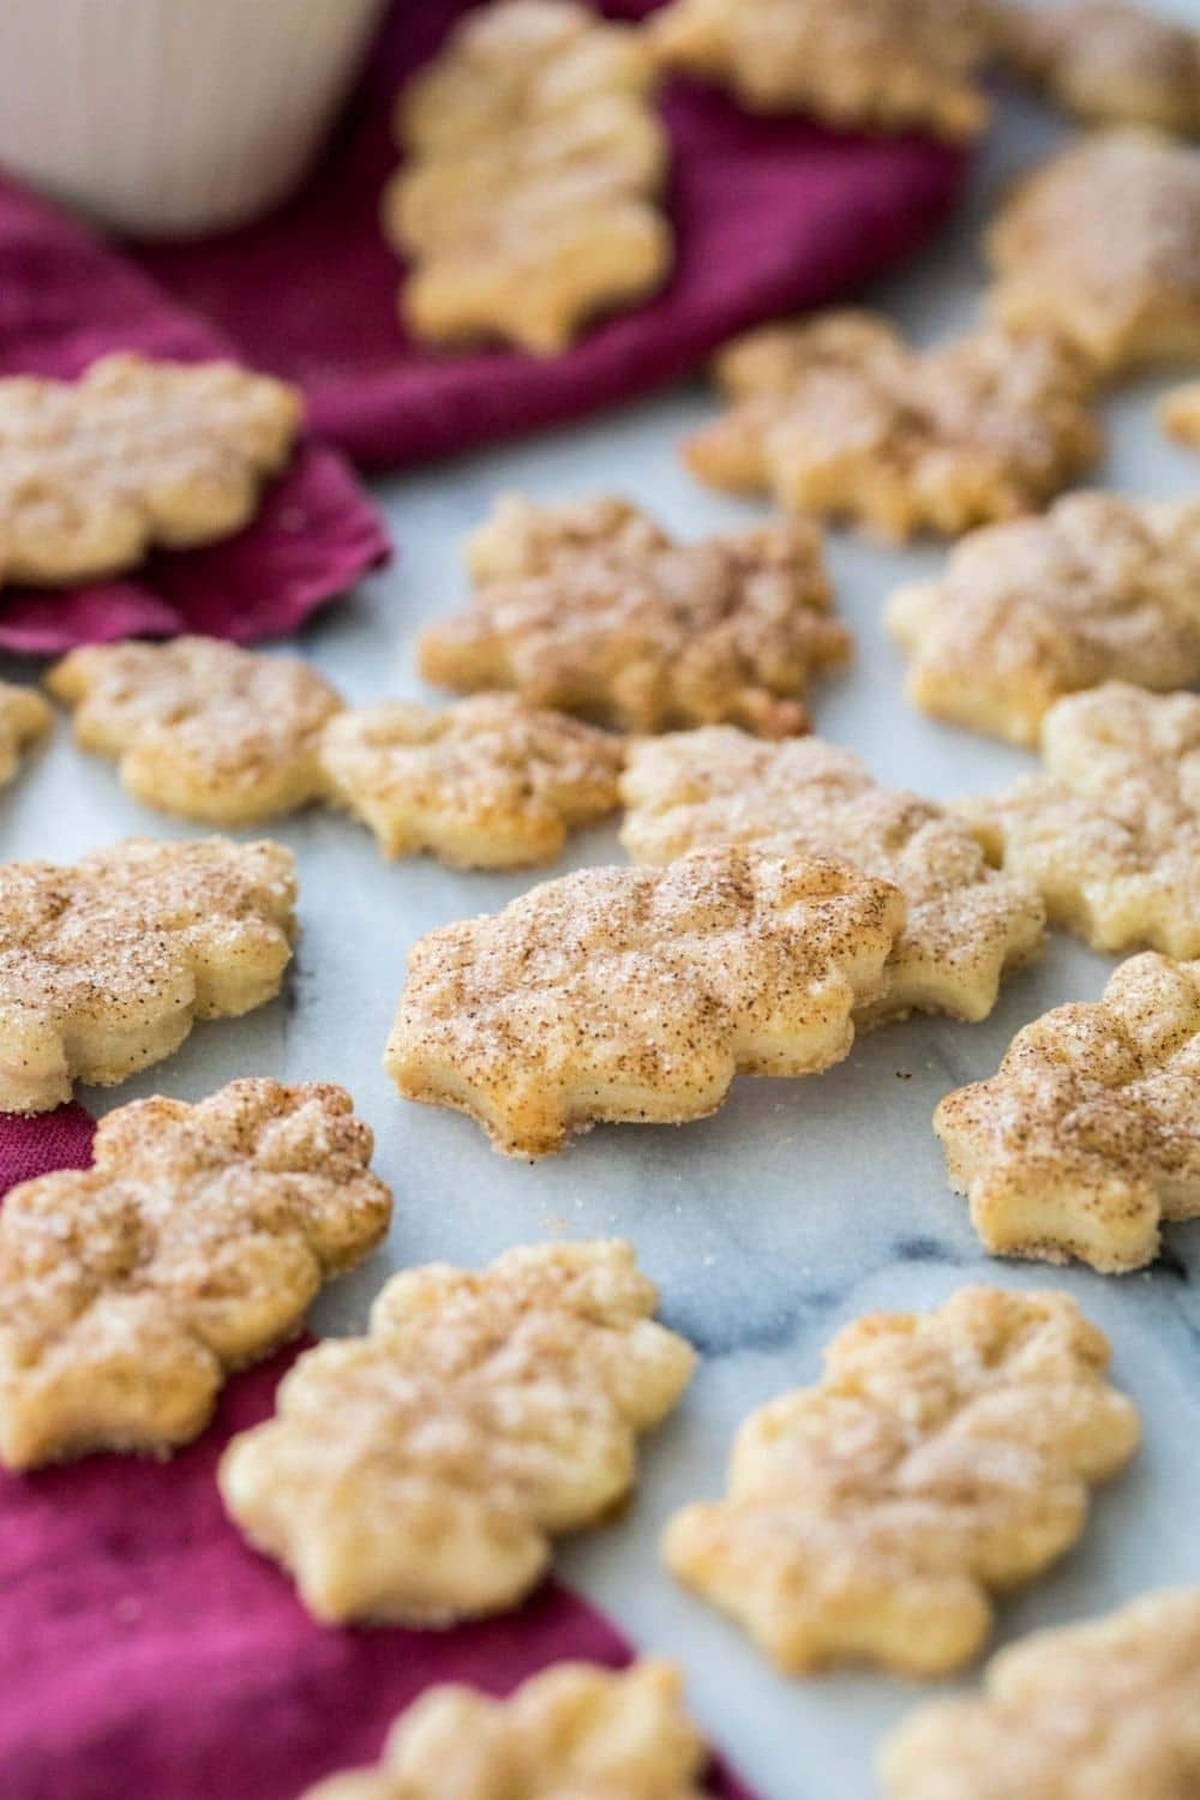
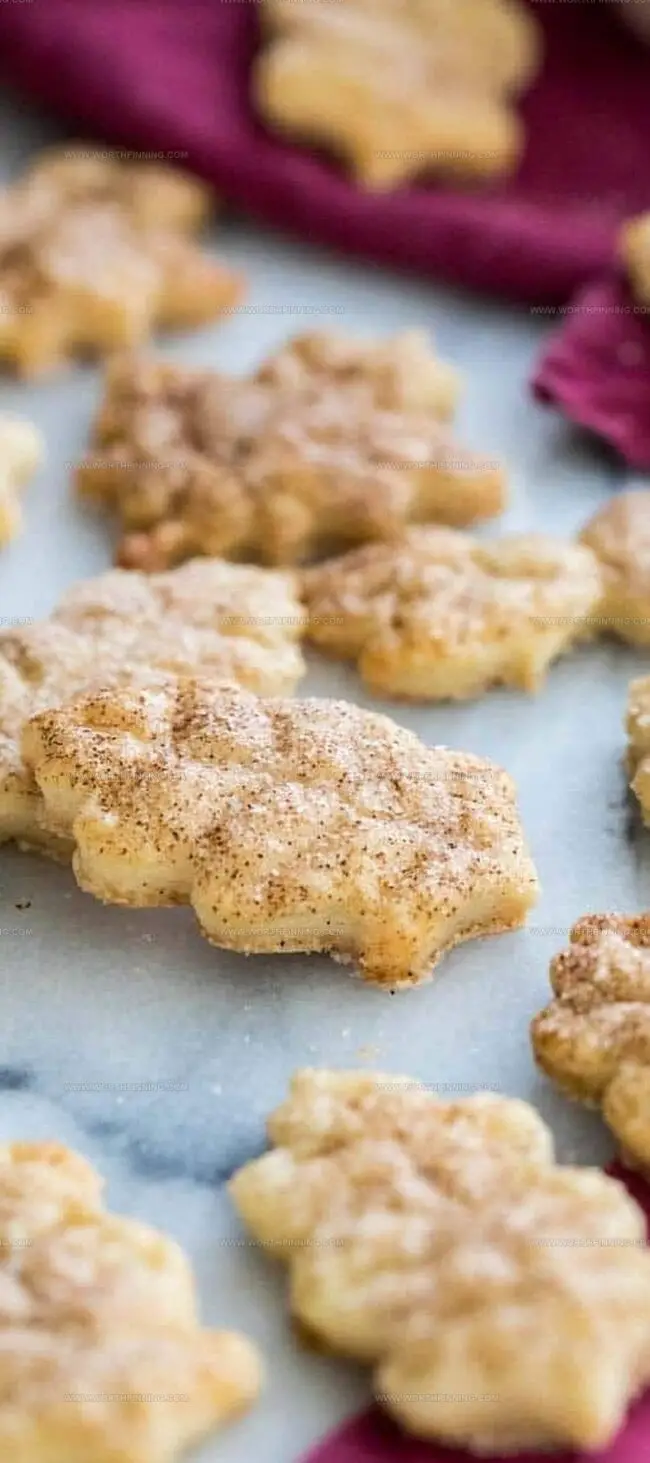
Scraps from pie-making become golden, crispy delights dancing with warm spices and sugary charm.
These simple morsels capture the essence of comfort and nostalgia in each delicate bite.
Buttery layers crumble softly, releasing hints of cinnamon that remind you of grandmother’s kitchen.
Waste not, want not – this clever recipe rescues remnant dough and turns it into something extraordinary.
Minimal ingredients and quick preparation make these cookies a spontaneous pleasure for anyone who loves homemade goodness.
You can whip up these treats faster than most desserts, proving creativity thrives in unexpected culinary moments: let’s bake!
Why Everyone’s Obsessed with These Pie Crust Cookies

What You Need for Pie Crust Cookies Magic
Dough Base:Topping Ingredients:Baking Essentials:Step-by-Step Pie Crust Cookie Perfection

Step 1: Warm Up the Oven
Preheat your oven to 350°F (177°C). Line a baking sheet with parchment paper for easy cleanup and perfect cookie baking.
Step 2: Dough Preparation
Collect your leftover pie dough or fresh dough. On a surface lightly dusted with flour, roll out the dough to a 1/4 inch thickness using a rolling pin. The goal is a smooth, even surface ready for delicious transformation.
Step 3: Flavor Boost
Grab your ingredients:Generously brush the rolled dough with melted butter, creating a rich base. Sprinkle cinnamon sugar evenly across the surface, ensuring every inch gets a sweet coating.
Step 4: Shape Your Treats
Use cookie cutters to create fun shapes from your dough. Carefully transfer each cutout to the prepared baking sheet, leaving small gaps between cookies to allow even baking.
Step 5: Bake to Golden Perfection
Slide the baking sheet into the preheated oven. Bake for 12 minutes, watching for a beautiful golden color that signals delicious crispness.
Step 6: Cooling and Finishing
Let the cookies rest on the baking sheet for 5 minutes. Then transfer to a cooling rack, allowing them to cool completely and develop their crisp texture. Enjoy your transformed pie crust scraps as a delightful sweet treat!
Handy Tips for Foolproof Pie Crust Cookies
Keeping Pie Crust Cookies Fresh and Tasty

Fun Ways to Switch Up Pie Crust Cookies
Wrapping Up the Pie Crust Cookie Experience
Pie crust cookies whisper nostalgic tales of kitchen creativity and resourceful baking magic.
Sweet cinnamon-sugar layers melt across crisp pastry edges, transforming leftover dough into delightful treats.
Pioneer Woman’s ingenious recipe rescues pie scraps from potential waste, crafting something wonderfully unexpected.
Simple ingredients dance together, creating memory-making morsels that spark conversation and comfort.
Baking becomes an art of reinvention, where humble remnants turn into delectable surprises.
Swirl your fork through memories, savor each buttery bite, share these golden delights with friends who crave connection – scroll, like, comment, spread cookie joy!
Print
Pioneer Woman Pie Crust Cookies Recipe
- Total Time: 20 minutes
- Yield: 12 1x
Description
Crispy, buttery Pioneer Woman Pie Crust Cookies deliver nostalgic comfort with minimal ingredients. Sweet memories dance across taste buds, promising simple pleasure that connects generations of home bakers.
Ingredients
Main Ingredients:
- 1 Pie dough (enough for a single-crust pie)
Secondary Ingredients:
- 2 tablespoons (30 milliliters) Melted butter
Finishing Ingredients:
- ¼ cup (60 milliliters) Cinnamon sugar
Instructions
- Preheat the oven to 350 degrees Fahrenheit (177 degrees Celsius) and line a baking sheet with parchment paper for optimal baking preparation.
- Gather pie dough scraps or create a fresh dough ball. Dust a clean work surface with flour and carefully roll out the dough to approximately 1/4 inch (0.6 centimeters) thickness.
- Using a pastry brush, liberally coat the rolled dough surface with melted butter, ensuring even coverage.
- Sprinkle the cinnamon sugar mixture uniformly across the buttered dough, creating a consistent flavor layer.
- Select preferred cookie cutters and gently press into the dough to create desired shapes, carefully transferring each cut piece onto the prepared baking sheet.
- Position the cookies with slight spacing between them to prevent merging during baking and ensure uniform cooking.
- Transfer the baking sheet to the preheated oven and bake for 12 to 14 minutes, watching for a golden-brown edge as an indicator of perfect doneness.
- Remove from the oven and allow cookies to rest on the baking sheet for 5 minutes, which helps them set and prevents breaking.
- Carefully transfer the cookies to a wire cooling rack, letting them cool completely to achieve the ideal texture and crispness.
Notes
- Chill the dough thoroughly to prevent spreading and maintain crisp edges during baking.
- Roll dough between parchment paper for smoother, more consistent thickness without extra flour.
- Experiment with warm spices like cinnamon or nutmeg to transform basic cookie flavor profiles.
- Monitor baking closely since thin cookies can quickly transition from golden to burnt.
- Allow cookies to rest on the baking sheet for structural integrity before transferring to cooling rack.
- Prep Time: 10 minutes
- Cook Time: 10 minutes
- Category: Desserts, Snacks
- Method: Baking
- Cuisine: American
Nutrition
- Serving Size: 12
- Calories: 150
- Sugar: 6 g
- Sodium: 50 mg
- Fat: 7 g
- Saturated Fat: 4 g
- Unsaturated Fat: 2 g
- Trans Fat: 0 g
- Carbohydrates: 20 g
- Fiber: 1 g
- Protein: 1 g
- Cholesterol: 15 mg
Ethan Miller
Founder & Lead Content Writer
Expertise
Education
Portland Community College
Culinary Institute of the Pacific
Ethan’s culinary journey began in his grandmother’s kitchen, where he first learned to play with flavors and ingredients. With formal training in culinary arts and a deep love for international cuisines, Ethan’s goal is to share the joy of cooking with others.
He believes food is all about creativity and bringing people together, one meal at a time. When he’s not experimenting with new dishes, he enjoys hiking in the Oregon wilderness and discovering fresh, local ingredients.