Quick & Dreamy Joanna Gaines Whipped Cream Recipe
Whipped cream transforms ordinary desserts into extraordinary culinary experiences with its cloud-like texture and delightful richness.
Crafting this heavenly topping requires minimal effort and maximum flavor potential.
Soft peaks of creamy delight emerge from simple pantry staples, promising a decadent finishing touch.
Home cooks can elevate their sweet creations with this magical mixture that melts seamlessly into warm drinks and cold treats.
Whisking creates a luxurious, airy confection that dances between light and indulgent.
Professional chefs and kitchen novices appreciate the simplicity and elegance of this classic topping.
The magic happens when ingredients blend into a silky, voluminous masterpiece that transforms ordinary desserts: get ready to impress!
Why You’ll Love Joanna Gaines’ Whipped Cream
Joanna Gaines’ Whipped Cream Ingredient Guide
Dairy Base:Sweeteners and Flavoring:How to Make Joanna Gaines’ Whipped Cream
Step 1: Gather Ingredients for Dreamy Whipped Cream
Collect all necessary ingredients and tools. Grab a large mixing bowl and place it in the refrigerator for 15 minutes to chill. You’ll need:Cold equipment helps create perfect fluffy texture.
Step 2: Prepare Mixing Setup
Remove chilled bowl from refrigerator. Pour cold heavy cream directly into the bowl. Make sure your cream is straight from the refrigerator for best results.
Step 3: Start Whipping Cream
Begin mixing with electric mixer on medium speed. Watch cream transform from liquid to frothy texture. Continue mixing for 2-3 minutes.
Step 4: Add Sweetness and Flavor
Sprinkle in powdered sugar and vanilla extract. Continue mixing, gradually increasing mixer speed to medium-high.
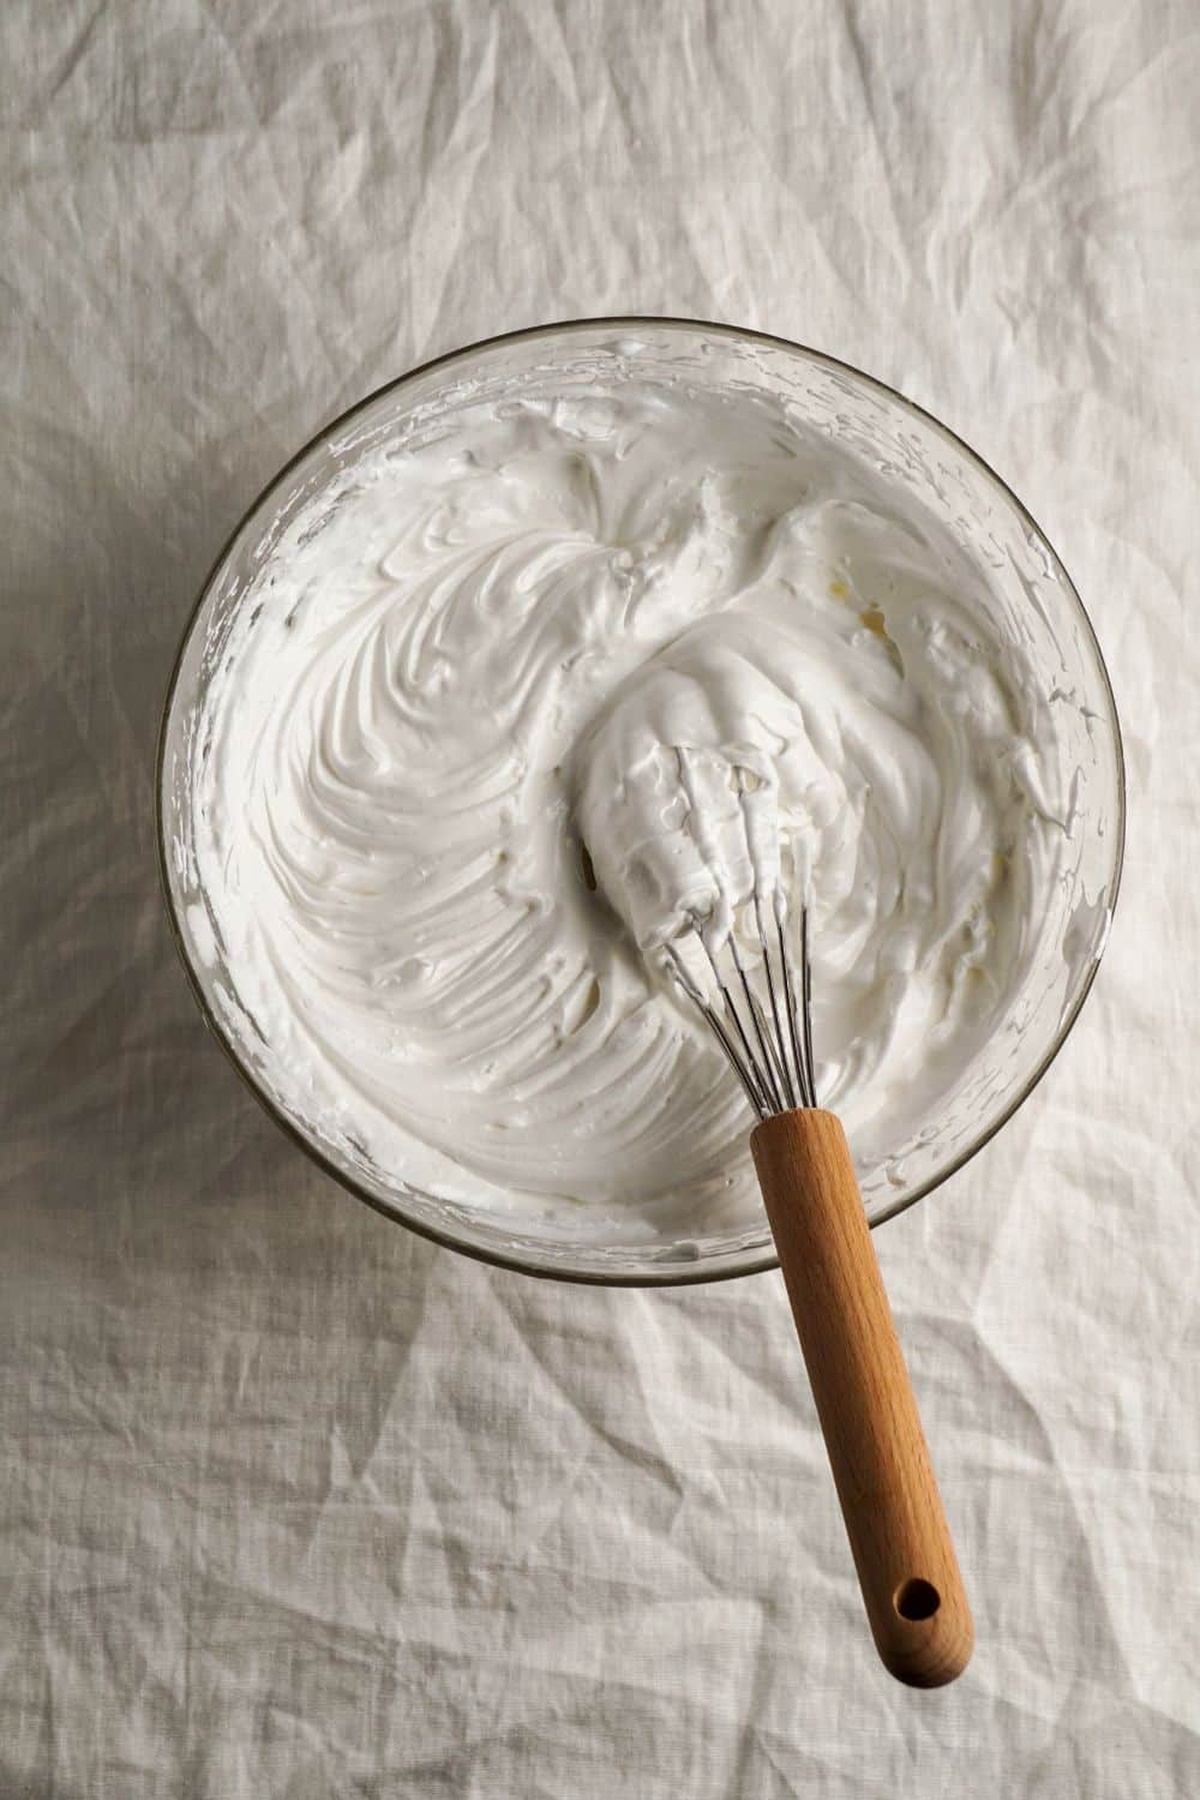
Step 5: Achieve Perfect Whipped Texture
Keep whisking until soft peaks form. Peaks should look glossy and hold a gentle curve when whisk is lifted. Total mixing time is about 4-5 minutes.
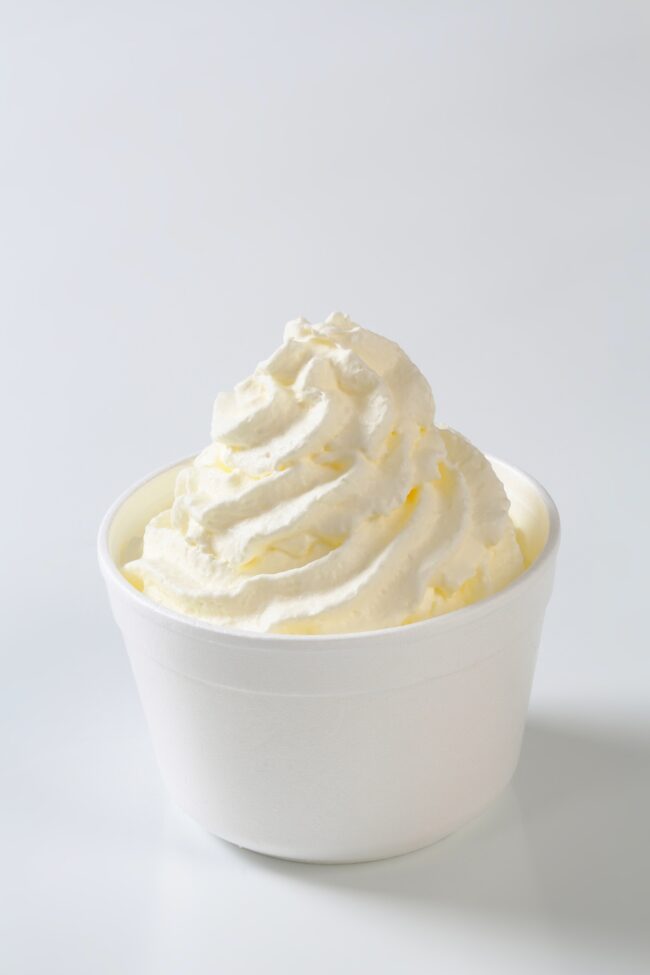
Step 6: Serve and Enjoy
Use immediately as topping for desserts, coffees, or fresh fruits. Store any remaining whipped cream in refrigerator for up to 2 hours.
Expert Tips on Joanna Gaines’ Whipped Cream
Storing Joanna Gaines’ Whipped Cream Right
Delicious Variations of Joanna Gaines’ Whipped Cream
Final Swirls of Joanna Gaines’ Whipped Cream
Gaines-style whipped cream elevates culinary experiences with its luxurious texture and delicate sweetness.
Cream whispers elegance through each airy spoonful, creating memorable moments at your table.
Kitchen magic happens when simple ingredients blend into pure indulgence.
Homemade whipped cream speaks volumes about passion and craftsmanship in cooking.
Signature touches like Joanna’s recipe reveal how small details can transform ordinary desserts into extraordinary delights.
You’ll find this cream becoming your secret weapon for making everything from pies to hot cocoa irresistibly delicious – so grab your mixer, share this recipe with friends, comment below about your whipped cream adventures, and spread culinary joy across your social networks!
Print
Joanna Gaines Whipped Cream Recipe
- Total Time: 5 minutes
- Yield: 4 1x
Description
Joanna Gaines’ whipped cream elevates desserts with its light, airy texture and pure vanilla essence. Home bakers can easily create this simple yet luxurious topping that adds a delightful finish to pies, cakes, and fresh berries.
Ingredients
Main Protein/Dairy:
- 1 cup heavy cream
Sweeteners:
- 1 tablespoon confectioners’ sugar
Flavor Enhancers:
- 1 teaspoon vanilla extract
Instructions
- Prepare a pristine, chilled mixing bowl and whisk, ensuring they are thoroughly cooled to maximize volume and texture of the whipped cream.
- Pour the entire quantity of heavy cream (236.6 milliliters or 8 fluid ounces) into the refrigerated vessel, positioning an electric mixer at the ready.
- Initiate whipping at medium speed, transforming the liquid cream into a light, airy foam with increasing volume and soft bubbles.
- Gradually introduce sifted confectioners’ sugar (57 grams or 2 ounces) and pure vanilla extract (5 milliliters or 1 teaspoon), continuing to whip with consistent motion.
- Monitor the cream’s consistency carefully, adjusting mixer speed to achieve delicate soft peaks that gracefully curl when the whisk is lifted.
- Cease whipping precisely when the cream maintains a gentle, billowy structure with subtle movement, avoiding over-beating which can create a grainy, butter-like texture.
- Transfer the freshly whipped cream immediately to serving dishes or use as a luxurious topping for desserts, beverages, and culinary creations requiring a smooth, decadent finish.
Notes
- Never store whipped cream for more than a day, as it loses its delightful texture and freshness quickly.
- Gently fold the cream back together if it separates after refrigeration, using light whisking motions to restore its fluffy consistency.
- Refrigerate the prepared whipped cream in an airtight container to maintain its light and airy structure.
- Watch for soft peaks that hold their shape when the whisk is lifted – this signals perfect whipping without turning into butter.
- Add powdered sugar for smoother incorporation, preventing grainy textures that can happen with granulated sugar.
- Ensure heavy cream is straight from the coldest part of the refrigerator to guarantee maximum volume and stability.
- Chill metal mixing tools in the freezer for 10-15 minutes before whipping to help cream develop faster and more efficiently.
- Prep Time: 5 minutes
- Cook Time: 0 minutes
- Category: Desserts, Drinks
- Method: Blending
- Cuisine: American
Nutrition
- Serving Size: 4
- Calories: 50
- Sugar: 1g
- Sodium: 0mg
- Fat: 5g
- Saturated Fat: 3.5g
- Trans Fat: 0g
- Carbohydrates: 1g
- Fiber: 0g
- Protein: 0g
- Cholesterol: 20mg
Ethan Miller
Founder & Lead Content Writer
Expertise
Education
Portland Community College
Culinary Institute of the Pacific
Ethan’s culinary journey began in his grandmother’s kitchen, where he first learned to play with flavors and ingredients. With formal training in culinary arts and a deep love for international cuisines, Ethan’s goal is to share the joy of cooking with others.
He believes food is all about creativity and bringing people together, one meal at a time. When he’s not experimenting with new dishes, he enjoys hiking in the Oregon wilderness and discovering fresh, local ingredients.