Scrumptious Rock Buns Recipe: Easy, Homemade Teatime Treats!
Rock buns are classic British teatime treats beloved by generations of home bakers.
These crumbly, rustic pastries originated in the United Kingdom as a simple and delightful sweet snack.
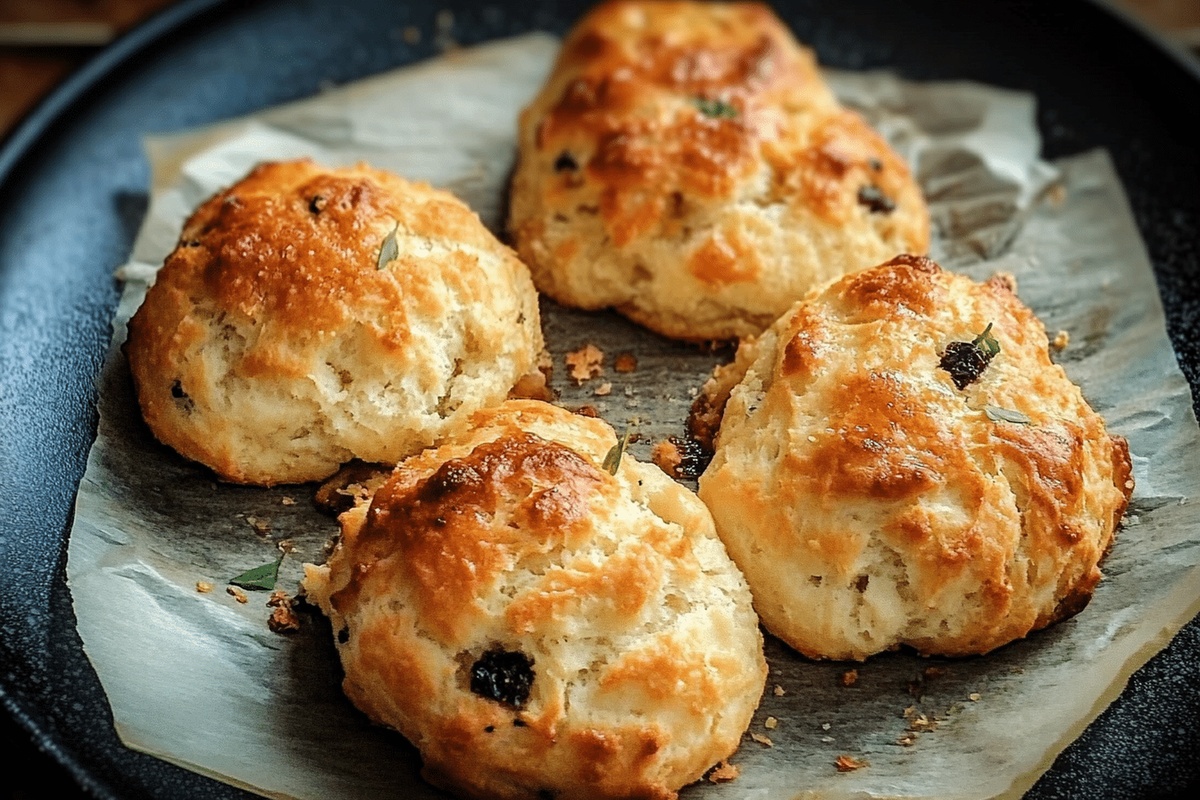
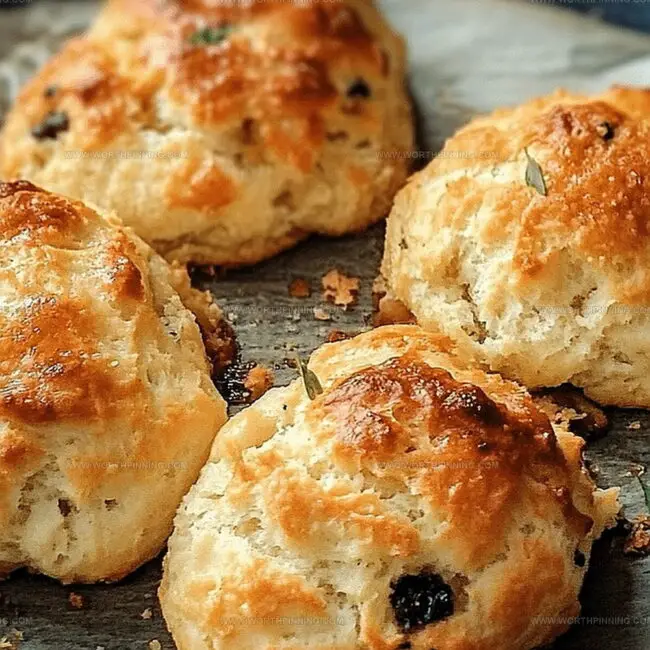
Traditional rock buns feature a rough, craggy exterior that resembles small rocky formations, giving them their distinctive name.
Home cooks appreciate these delectable treats for their quick preparation and minimal ingredients.
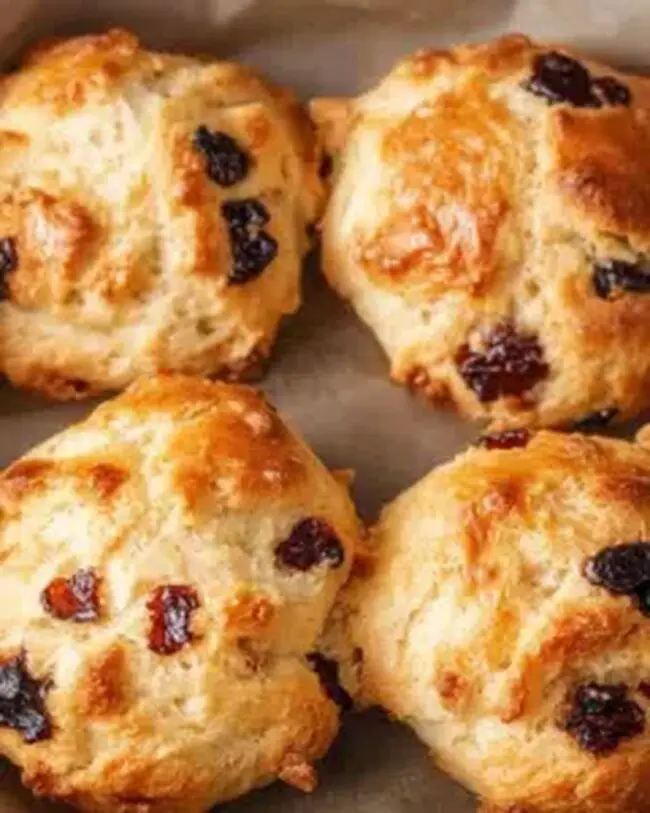
The recipe typically combines basic pantry staples like flour, sugar, butter, and dried fruits to create a deliciously textured small cake.
Bakers of all skill levels can master this charming recipe, making rock buns a perfect choice for casual gatherings or afternoon tea.
Why Rock Buns Recipe Is Worth Making
What Goes Into Rock Buns Recipe
Dry Ingredients:Wet Ingredients:Mix-Ins:How To Bake Rock Buns Recipe
Step 1: Prepare Oven for Baking
Crank up the oven to a toasty 180°C (350°F), getting ready for some baking magic.
Step 2: Whip Up Butter and Sugar
Grab a mixing bowl and blend butter and sugar until they transform into a light, fluffy cloud of sweetness.
Step 3: Combine Wet Ingredients
Pour in these delightful additions:Whisk everything together until perfectly combined.
Step 4: Create Dough Magic
Fold in these delectable ingredients:Mix gently until a scrumptious dough emerges.
Step 5: Shape Rustic Treats
Craft small, charming rough balls with your hands, giving each bun a unique, homemade personality.
Step 6: Bake to Golden Perfection
Arrange the dough balls on a baking tray and slide into the preheated oven.
Bake for 15-20 minutes until they turn a gorgeous golden brown.
Step 7: Cool and Savor
Let the rock buns rest for a few moments, then dive into their warm, delightful goodness.
Tips That Help With Rock Buns Recipe

How To Store And Reheat Rock Buns Recipe
What Tastes Good With Rock Buns Recipe
Different Ways To Do Rock Buns Recipe
Rock Buns Recipe Questions
Rock buns originated in Britain and are a classic tea-time treat popular in the United Kingdom, often enjoyed during afternoon tea or as a quick snack.
They get their name from their rough, uneven appearance that resembles small rocky formations, with a craggy exterior that gives them a distinctive, rustic look.
Yes, you can replace raisins with other dried fruits like currants, chopped dried cranberries, or mixed peel to add different flavors and textures to your rock buns.
Rock buns are actually quite simple to prepare, making them an excellent recipe for novice bakers who want to try their hand at traditional British baking.
Print
Deliciously Crumbly Rock Buns Recipe
- Total Time: 25 minutes
- Yield: 8 1x
Description
Craving British bakery magic? Rock Buns deliver nostalgic sweetness with crisp edges and tender centers packed with dried fruits. Small clusters of delightful texture await eager bakers seeking classic comfort from traditional British kitchens.
Ingredients
Main Ingredients:
- 250 grams (8.8 ounces) self-raising flour
- 65 grams (2.3 ounces) butter or margarine
- 70 grams (2.5 ounces) sugar
Fruit and Flavor:
- 100 grams (3.5 ounces) raisins
- 1 teaspoon orange extract
Binding Ingredients:
- 1 egg
- 2 tablespoons (30 milliliters) milk
Instructions
- Prepare the baking workspace by heating the oven to a moderate temperature, ensuring an even cooking environment.
- Create a smooth, aerated base by vigorously blending butter and sugar until the mixture becomes pale and voluminous.
- Introduce moisture and flavor with egg, orange extract, and milk, thoroughly incorporating each ingredient to develop a uniform consistency.
- Gradually fold self-raising flour and raisins into the mixture, gently working the components until a cohesive dough emerges.
- Craft rustic, uneven spherical formations with the dough, placing them strategically across a prepared baking surface.
- Position the tray in the preheated oven, allowing the baked treats to transform into a rich golden hue over 15-20 minutes.
- Allow the rock buns to rest momentarily, permitting slight cooling before serving to enhance texture and release intense aromas.
Notes
- Opt for room temperature butter to ensure smooth creaming and better incorporation with sugar for a lighter texture.
- Replace raisins with other dried fruits like cranberries or chopped apricots to customize flavor and add variety to the rock buns.
- Avoid overmixing the dough to prevent tough baked goods; stir just until ingredients are combined for tender, crumbly results.
- When shaping the buns, use slightly damp
- Prep Time: 10 minutes
- Cook Time: 15 minutes
- Category: Snacks, Desserts
- Method: Baking
- Cuisine: British
Nutrition
- Serving Size: 8
- Calories: 270
- Sugar: 15g
- Sodium: 200mg
- Fat: 14g
- Saturated Fat: 8g
- Unsaturated Fat: 6g
- Trans Fat: 0g
- Carbohydrates: 34g
- Fiber: 1g
- Protein: 3g
- Cholesterol: 70mg
Sophia Rivera
Recipe Developer & Kitchen Tips Specialist
Expertise
Education
Austin Community College
San Antonio Culinary Institute
Sophia’s passion for baking began in her family kitchen, where she spent hours experimenting with new recipes. With a background in baking and pastry arts, she loves making desserts that are as visually stunning as they are delicious.
Sophia is all about using seasonal, locally sourced ingredients to create treats that everyone will enjoy. When she’s not creating mouth-watering desserts, you can find her gardening, making new recipes, or enjoying a relaxing afternoon with her family.