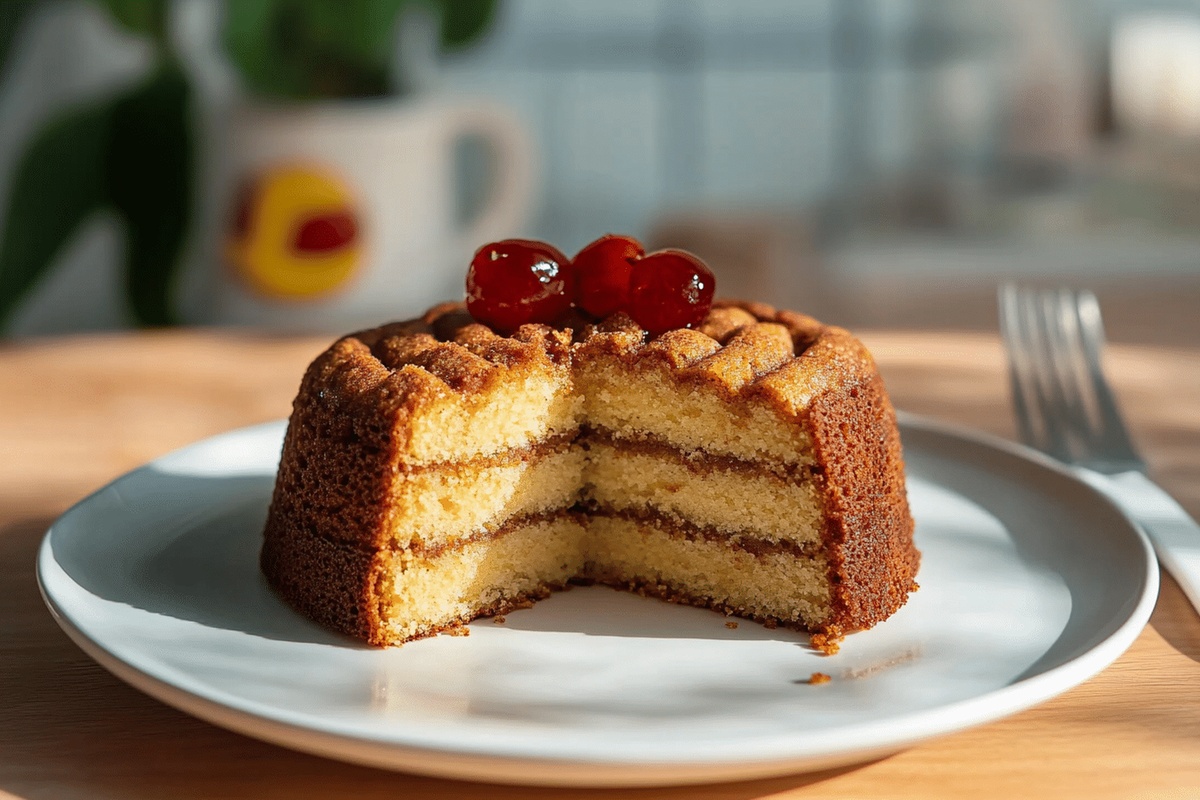
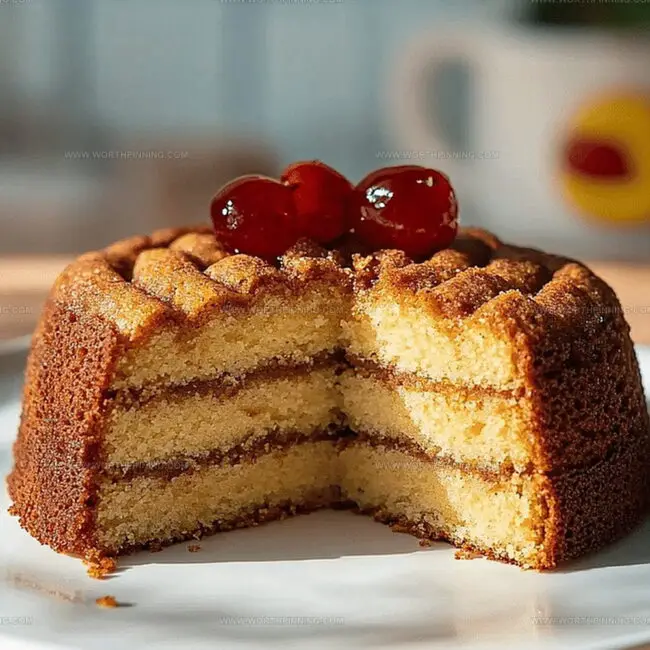
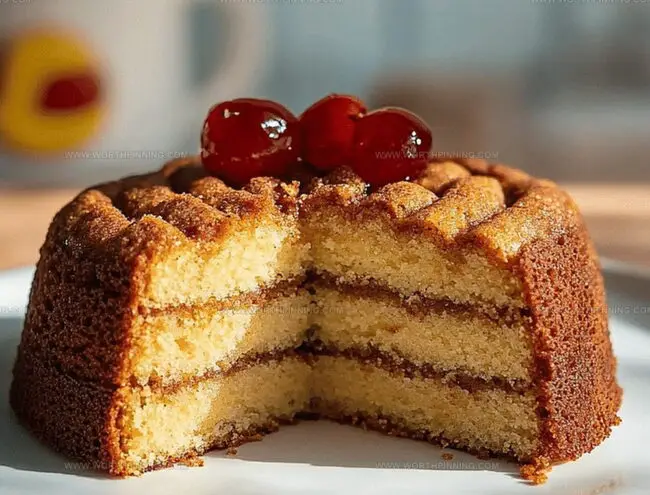
Delicious No-Bake Banana Wafer Cake: A Sweet Treat for Everyone
Banana wafer cakes are a tasty mix of simple ingredients and new baking ideas.
These desserts bring together the sweet, moist taste of ripe bananas with the crunchiness of wafer layers.
People who love making sweets at home find them easy and fun to create.
The cake offers a perfect blend of flavors that both kids and grown-ups enjoy.
Soft banana-flavored layers meet crispy wafers for a unique taste adventure.
This dessert shows off creative baking skills by turning classic cake-making into something fresh and exciting.
What’s Great About Banana Wafer Cake
What Goes Into Banana Wafer Cake
Base Ingredients:Notes: Choose ripe, soft bananas for best flavor intensity.
Dry Ingredients:Notes: Crush wafers to medium-fine consistency for best integration.
Preparation Ingredients:Notes: Use thorough greasing to prevent cake from sticking to pan.
How To Make Banana Wafer Cake
Step 1: Warm Up the Oven
Crank the oven to 350°F and generously coat a 10-inch bundt pan with cooking spray or butter.
Step 2: Whip Up Wet Ingredients
In a spacious mixing bowl, blend:Whisk until smooth and creamy. Fold in ripe mashed bananas.
Step 3: Combine Crunchy Elements
Gently incorporate:Mix until all ingredients are evenly distributed throughout the batter.
Step 4: Bake to Perfection
Pour the batter into the prepared bundt pan. Slide into the preheated oven and bake for 40-45 minutes. Check doneness by inserting a toothpick – it should come out clean with no wet batter.
Step 5: Cool and Unveil
Remove from oven and let the cake rest for 10-15 minutes. Run a knife along the pan’s edges to loosen. Carefully flip onto a serving plate. Allow the cake to cool completely before slicing and serving.
Smart Tips For Banana Wafer Cake
How To Store And Reheat Banana Wafer Cake
Things That Go Well With Banana Wafer Cake
Different Ways To Try Banana Wafer Cake
Banana Wafer Cake FAQs
Yes, you can substitute Nilla wafers with other vanilla or graham cracker-style wafers. The key is to choose a wafer that complements the banana flavor and provides a similar texture.
No, pecans are optional. If you have nut allergies or don’t enjoy pecans, you can simply omit them or replace them with another nut like walnuts or skip nuts entirely without affecting the cake’s overall structure.
Use very ripe, almost completely brown bananas. These provide the most intense banana flavor and natural sweetness, which helps create a moist and flavorful cake.
You can try using gluten-free vanilla wafers and a gluten-free flour blend. However, the texture might slightly change, so experiment carefully and expect potential minor variations in the final result.
Print
Addictive Banana Wafer Cake Recipe
- Total Time: 55 minutes
- Yield: 8 1x
Description
Creamy banana layers mingle with crisp wafer crumbles in this irresistible Banana Wafer Cake, creating a heavenly dessert that whispers comfort. Sweet nostalgia meets modern baking, inviting you to savor each delectable slice of pure indulgence.
Ingredients
Main Ingredients:
- 5 eggs
- 2 large ripe bananas, mashed
- 1 (11 ounces / 311 grams) box Nilla wafers, finely crushed
Dairy and Sweeteners:
- ¾ cup (170 grams) butter, room temperature
- 1 ⅓ cups (267 grams) granulated sugar
Nuts:
- 1 cup (100 grams) pecans, roughly chopped
Instructions
- Prepare the culinary workspace by heating the oven to 350°F and generously coating the bundt pan with a non-stick layer to ensure smooth cake release.
- Create a luscious base by whisking butter, sugar, and eggs into a smooth, creamy mixture, then gently fold in ripe, velvety mashed bananas until fully incorporated.
- Craft the cake’s distinctive texture by delicately blending crushed Nilla wafers and crunchy pecans throughout the batter, distributing the ingredients evenly to guarantee a consistent flavor profile in every slice.
- Carefully pour the fragrant batter into the prepared bundt pan, ensuring an even distribution and smooth surface for optimal baking results.
- Position the pan in the preheated oven and bake for 40-45 minutes, monitoring the cake’s progress by inserting a toothpick near the center – it should emerge clean and dry when the cake reaches perfect doneness.
- Remove the cake from the oven and allow it to rest for 10-15 minutes, which helps the structure settle and makes removal easier.
- Gently loosen the cake’s edges with a knife, then invert onto a serving plate, permitting it to cool completely before slicing to maintain its delicate structure and enhance flavor development.
Notes
- Select ripe, spotty bananas for maximum sweetness and deeper banana flavor that enhances the entire cake’s taste profile.
- Crush Nilla wafers coarsely to maintain delightful texture and provide pleasant crunch throughout the cake’s interior.
- Consider toasting pecans briefly before adding to the batter to intensify their nutty flavor and create more aromatic depth in the dessert.
- Experiment with gluten-free Nilla
- Prep Time: 15 minutes
- Cook Time: 40 minutes
- Category: Desserts
- Method: Baking
- Cuisine: American
Nutrition
- Serving Size: 8
- Calories: 450
- Sugar: 35 g
- Sodium: 150 mg
- Fat: 25 g
- Saturated Fat: 10 g
- Unsaturated Fat: 15 g
- Trans Fat: 0 g
- Carbohydrates: 50 g
- Fiber: 2 g
- Protein: 6 g
- Cholesterol: 100 mg
Sophia Rivera
Recipe Developer & Kitchen Tips Specialist
Expertise
Education
Austin Community College
San Antonio Culinary Institute
Sophia’s passion for baking began in her family kitchen, where she spent hours experimenting with new recipes. With a background in baking and pastry arts, she loves making desserts that are as visually stunning as they are delicious.
Sophia is all about using seasonal, locally sourced ingredients to create treats that everyone will enjoy. When she’s not creating mouth-watering desserts, you can find her gardening, making new recipes, or enjoying a relaxing afternoon with her family.