
Silky Sweet Ina Garten’s Red Velvet Frosting Recipe For Bakers
Whipping up the perfect red velvet frosting takes skill, and Ina Garten’s red velvet frosting recipe stands as a decadent masterpiece.
Her approach brings luxurious smoothness to every creamy bite.
Smooth cream cheese blends seamlessly with rich butter, creating a velvety texture that melts on your tongue.
The subtle tanginess balances the sweetness, making this frosting a true culinary delight.
Each ingredient is carefully selected to ensure a luscious, silky finish that complements the classic red velvet cake.
Professional bakers and home cooks alike adore this recipe for its simplicity and incredible flavor profile.
Get ready to impress with a frosting that turns an ordinary dessert into an extraordinary experience.
Quick Recipe Overview
Ingredients You’ll Need for Ina Garten’s Red Velvet Frosting
For Base Ingredients:For Sweetening Ingredients:For Texture Enhancement:The Right Tools for Ina Garten’s Fluffy Red Velvet Frosting
Step-by-Step to Whip Ina Garten’s Red Velvet Frosting
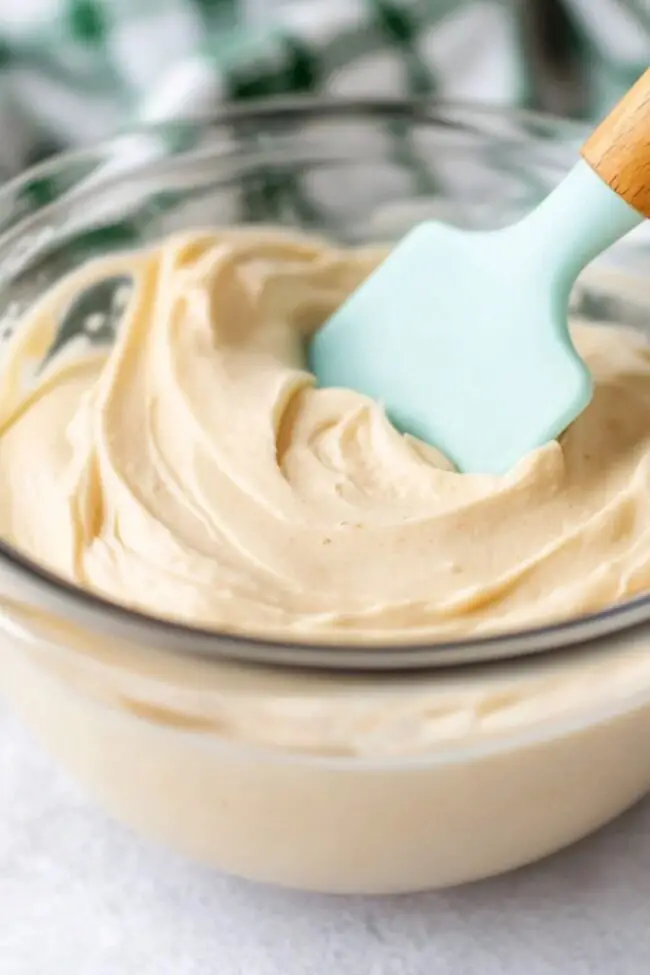
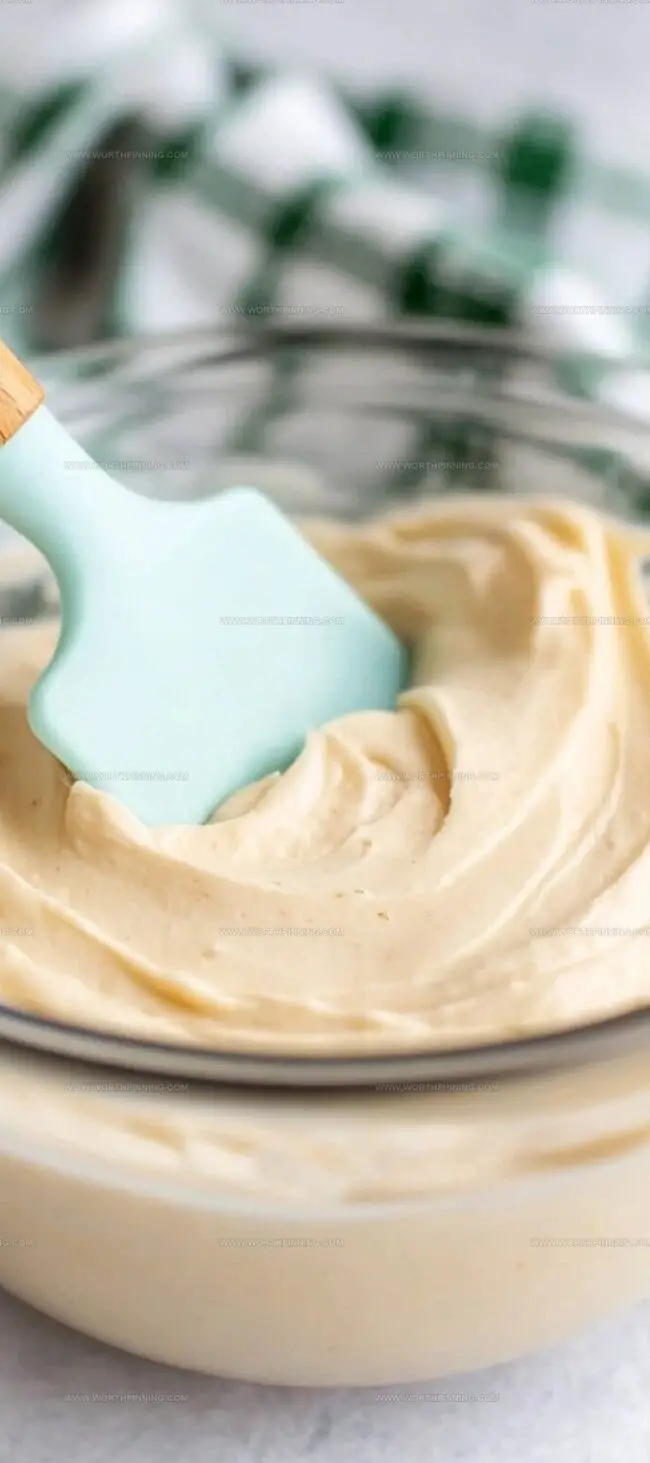
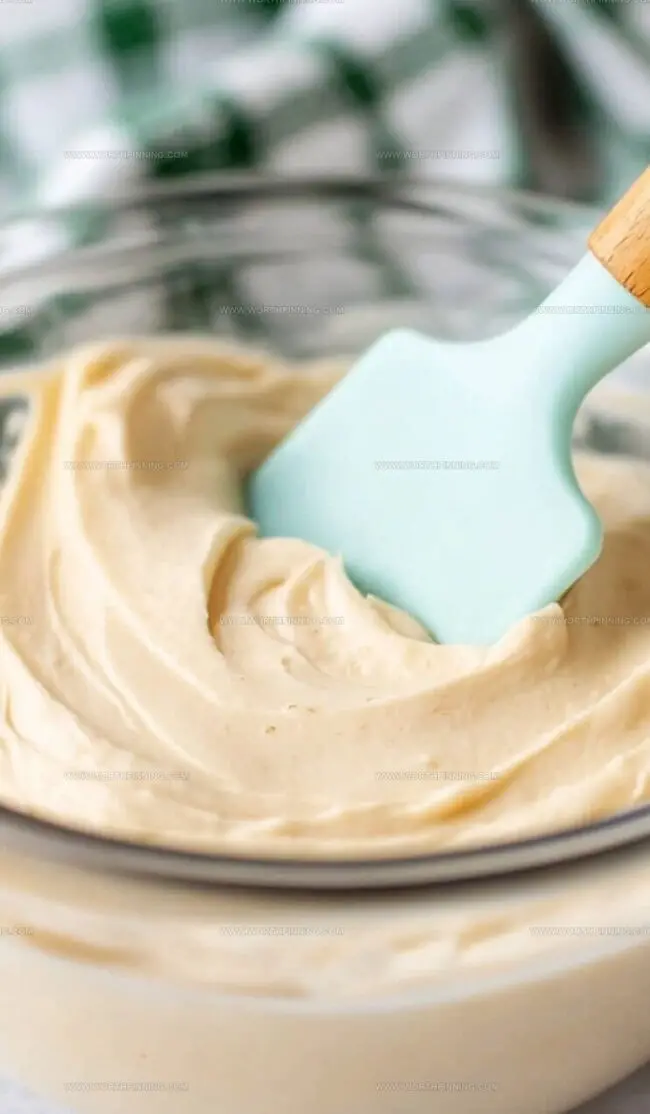
Grab your electric mixer and pop in the cream cheese, butter, and vanilla. Whip these together until they’re just blended, keeping things light and airy without going overboard.
Slowly sprinkle in the powdery icing sugar, letting it dance into the mixture. Keep mixing until you’ve got a dreamy, silky frosting that’s smooth as silk.
If your frosting feels a bit too soft and sloppy, give it a quick timeout in the fridge. A short 10-15 minute chill will help it firm up perfectly, making it ready to crown your cake with deliciousness.
Expert Tips to Elevate Red Velvet Frosting – Ina Style
How to Serve Red Velvet Frosting Like a Pro
Make It Ahead – Ina Garten’s Frosting Storage Guide
Print
Velvet Red Dreamlike Frosting Recipe
- Total Time: 35 minutes
- Yield: 12 1x
Description
Ina Garten’s red velvet cupcake recipe delivers classic Southern charm with rich cream cheese frosting. Delicate cocoa-infused cake layers pair perfectly with tangy cream cheese for an irresistible dessert you’ll eagerly share with friends.
Ingredients
- 8 oz (226 g) cream cheese, at room temperature
- 12 tbsps (1½ sticks or 170 g) unsalted butter, at room temperature
- 3½ cups (0.79 kg) confectioners’ sugar
- ½ tsp pure vanilla extract
Instructions
- Creaming Base: In an electric mixer fitted with a paddle attachment, combine softened cream cheese, room temperature butter, and pure vanilla extract. Blend at medium speed until ingredients are harmoniously incorporated, avoiding overmixing.
- Sugar Integration: Gradually sift powdered sugar into the mixture while running the mixer at low speed. Continue blending until the frosting develops a silky, uniform consistency with no visible sugar granules.
- Texture Refinement: Check the frosting’s stability and spreadability. If the mixture seems too soft, chill in the refrigerator for 10-15 minutes to enhance structural integrity and improve piping or spreading characteristics.
Notes
- Chill for Perfect Consistency: Refrigerate the frosting for 10-15 minutes if it seems too soft, helping to create a stable, spreadable texture ideal for cake decorating.
- Avoid Overmixing: Blend ingredients just until incorporated to prevent a runny or dense frosting, maintaining a light and creamy consistency.
- Use Room Temperature Ingredients: Ensure cream cheese and butter are softened to room temperature for smooth blending and preventing lumpy texture.
- Sift Powdered Sugar Carefully: Gradually add sifted powdered sugar at low speed to prevent clumping and achieve a silky, lump-free frosting.
- Prep Time: 10 minutes
- Cook Time: 25 minutes
- Category: Desserts
- Method: Blending
- Cuisine: American
Nutrition
- Serving Size: 12
- Calories: 188
- Sugar: 31 g
- Sodium: 100 mg
- Fat: 11 g
- Saturated Fat: 7 g
- Unsaturated Fat: 3 g
- Trans Fat: 0 g
- Carbohydrates: 23 g
- Fiber: 0 g
- Protein: 1 g
- Cholesterol: 30 mg
Sophia Rivera
Recipe Developer & Kitchen Tips Specialist
Expertise
Education
Austin Community College
San Antonio Culinary Institute
Sophia’s passion for baking began in her family kitchen, where she spent hours experimenting with new recipes. With a background in baking and pastry arts, she loves making desserts that are as visually stunning as they are delicious.
Sophia is all about using seasonal, locally sourced ingredients to create treats that everyone will enjoy. When she’s not creating mouth-watering desserts, you can find her gardening, making new recipes, or enjoying a relaxing afternoon with her family.