Irresistible Classic Vanilla Custard Square: A Sweet Homemade Treat
Vanilla custard squares are a classic dessert known for their creamy and timeless flavors.
These tasty treats have been enjoyed in kitchens everywhere for many years.
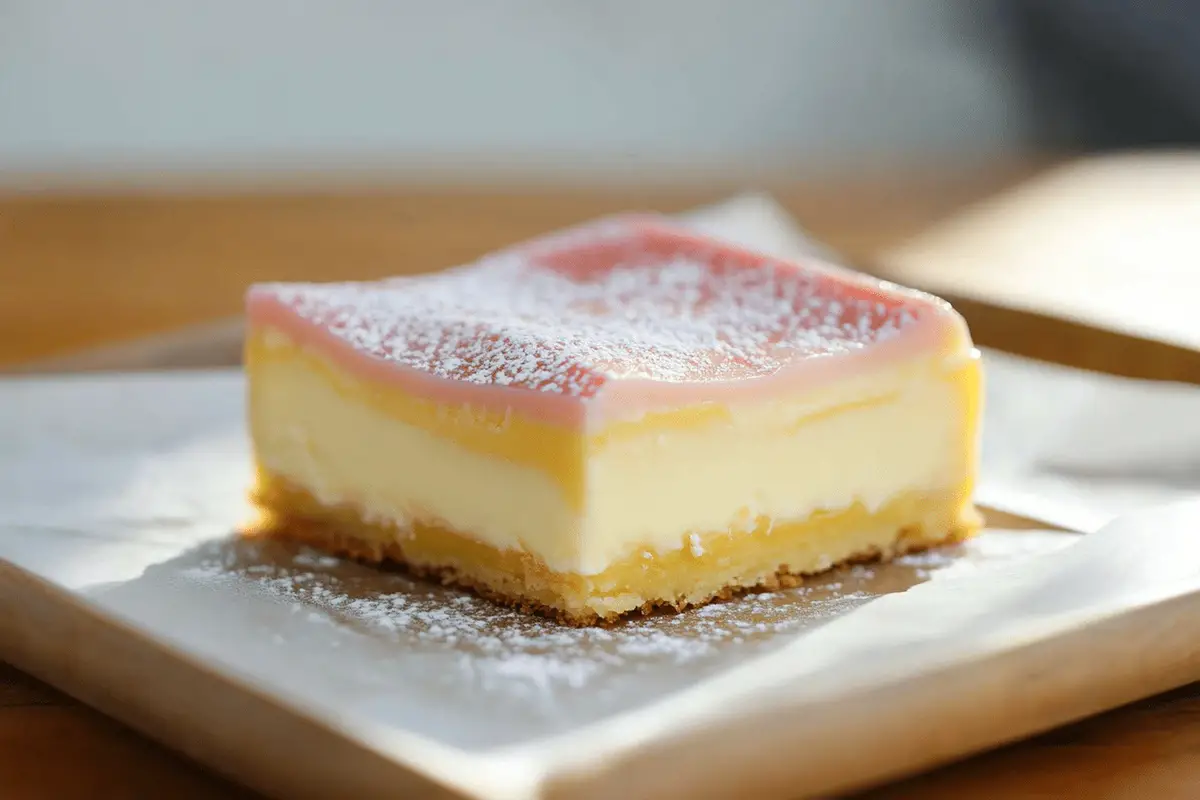
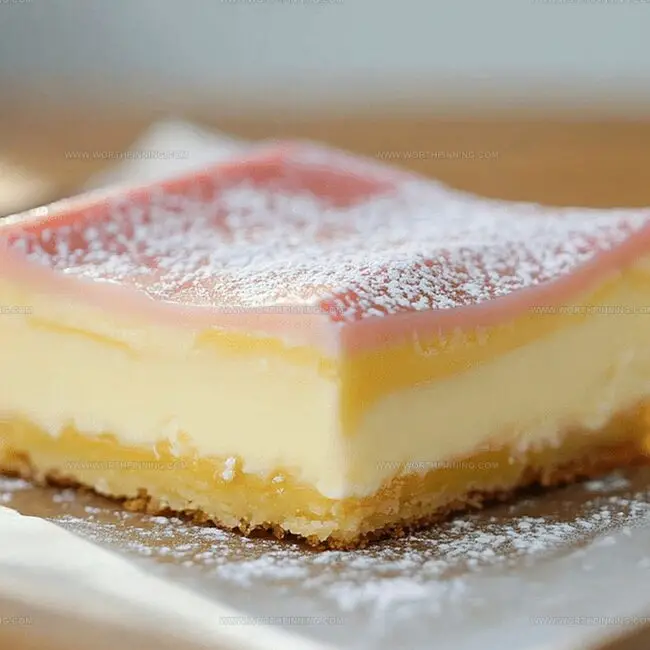
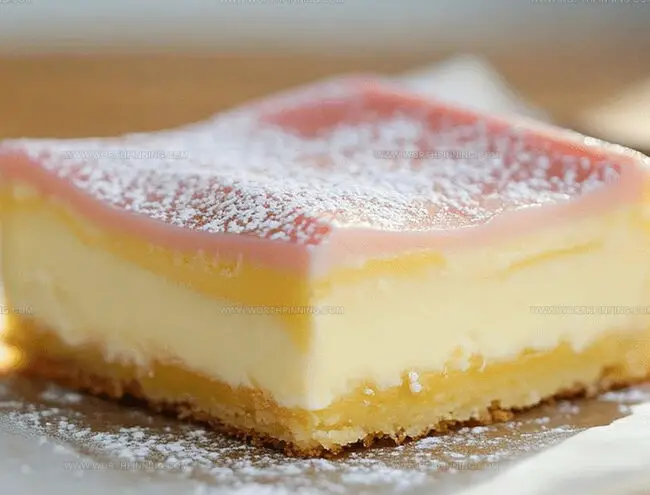
Layers of rich, smooth custard sit perfectly between delicate pastry layers, creating an unforgettable experience.
The golden filling reflects the art of traditional desserts with its simple yet elegant taste.
Soft and tender pastry surrounds the vanilla-infused cream, offering a moment of pure enjoyment.
People who bake at home and those who create pastries professionally love the straightforward charm of this beloved dessert.
Why Classic Vanilla Custard Square Is A Retro Treat
Ingredients For Classic Vanilla Custard Square
Pastry Base:Custard Filling:Icing Topping:How To Bake Classic Vanilla Custard Square
Step 1: Prepare Pastry Sheets
Preheat oven to 180°C. Line baking trays with parchment paper. Use a fork to prick pastry sheets. Cover with another parchment sheet and place a baking tray on top to weigh down. Bake for 20-25 minutes until golden brown. Allow pastry to cool completely.
Step 2: Set Up Baking Tin
Trim pastry sheets to fit a 20cm square baking tin. Grease and line the tin with parchment paper, ensuring some overhang for easy removal. Place one pastry sheet into the prepared tin.
Step 3: Create Creamy Custard
In a saucepan, combine:Dissolve custard powder in a small amount of milk first. Add remaining milk and sugar. Heat over medium heat, whisking constantly for 5 minutes until mixture thickens. Continue whisking for 2 more minutes after it starts boiling. The custard should become very thick and smooth.
Step 4: Cool And Layer Custard
Let custard cool for 20 minutes, covering with plastic wrap to prevent skin formation. Spread cooled custard evenly over the pastry sheet in the tin.
Step 5: Add Top Pastry Layer
Carefully place the second pastry sheet on top of the custard layer.
Step 6: Prepare Glossy Icing
Sift powdered sugar into a mixing bowl. Add water gradually, stirring until a smooth, spreadable consistency forms. If desired, add food coloring for visual appeal.
Step 7: Finish And Chill
Spread icing evenly over the top pastry layer. Refrigerate for at least 3-4 hours, preferably overnight, to allow flavors to meld and set.
Step 8: Slice And Serve
Use a serrated knife to gently score the top icing. Then use a large knife to press down and cut into neat squares. Serve chilled and enjoy the creamy, sweet layers.
Tips To Get Classic Vanilla Custard Square Just Right
How To Store And Reheat Classic Vanilla Custard Square
What To Serve With Classic Vanilla Custard Square
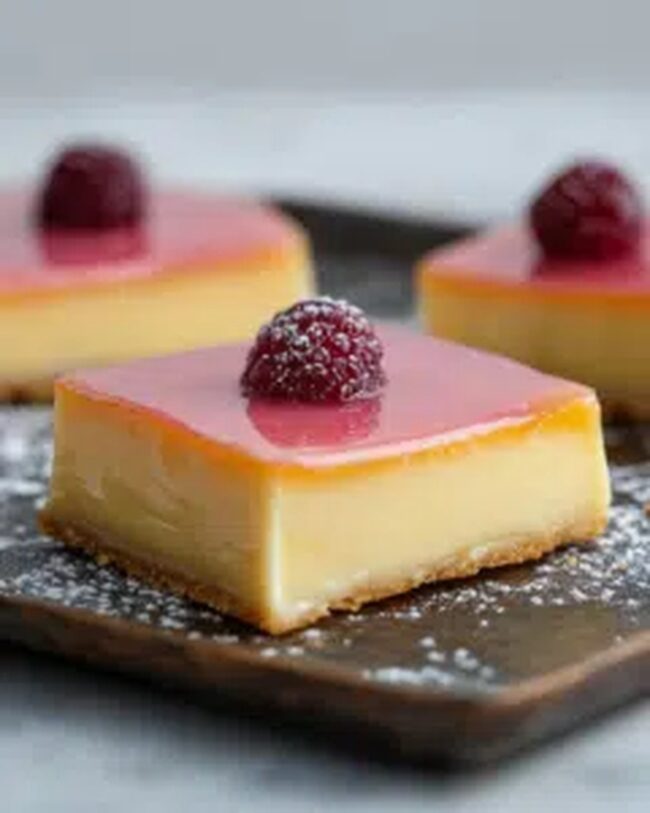
Variations To Try On Classic Vanilla Custard Square
Common Questions About Classic Vanilla Custard Square
No, homemade custard is crucial for this recipe’s authentic flavor and texture. Making custard from scratch ensures a rich, creamy consistency that pre-made versions can’t match.
Thoroughly bake the pastry sheets until golden and crisp. Prick the pastry with a fork and use a weighted baking tray during initial baking to maintain a crisp base. Let pastry cool completely before adding custard.
Use a serrated knife to gently score the top icing layer first, then use a large sharp knife to press down and cut through the entire slice. Clean the knife between cuts for smooth, professional-looking squares.
Yes, this custard slice actually improves when refrigerated overnight. The flavors meld together, and the pastry softens slightly, creating a more delicious texture. It can be stored in the refrigerator for 2-3 days.
Print
Tempting Classic Vanilla Custard Square Recipe
- Total Time: 40 minutes
- Yield: 12 1x
Description
Silky smooth Classic Vanilla Custard Square promises pure pastry perfection from French bakery traditions. Delicate layers of buttery puff pastry cradle rich vanilla custard, inviting you to savor each heavenly bite with delightful culinary elegance.
Ingredients
Main Ingredients:
- 610 grams (2 ½ cups) milk
- 2 sheets puff pastry, thawed
- 65 grams (½ cup) custard powder
- 55 grams (¼ cup) caster sugar
Icing Ingredients:
- 500 grams (2 ½ cups) icing sugar mixture
- 50–75 grams (4–5 tablespoons) water
- 1–2 drops pink food coloring (optional)
Instructions
- Prepare the pastry foundation by heating the oven to 180°C, ensuring an even, golden-brown bake for the delicate sheets.
- Pierce the pastry with a fork to prevent uneven rising, then layer with protective parchment and weighted tray to maintain a crisp, flat surface.
- Bake until the pastry achieves a rich, golden hue, then allow complete cooling to room temperature.
- Precision-trim the pastry sheets to perfectly match the 20cm square baking tin, creating a smooth, professional base.
- Carefully position the first pastry layer into the meticulously prepared tin, creating a sturdy foundation for the creamy filling.
- Craft the luscious custard by dissolving custard powder in a portion of milk, creating a smooth, lump-free mixture.
- Gradually incorporate remaining milk and sugar, heating and whisking constantly to develop a velvety, thick consistency that coats the back of a spoon.
- Allow the custard to cool slightly, covering with plastic wrap to prevent skin formation and maintain its silky texture.
- Gently spread the cooled custard across the pastry base, ensuring an even, luxurious layer that will delight the palate.
- Crown the creation with the second pastry sheet, creating a delicate sandwich of crisp and creamy textures.
- Prepare the finishing glaze by sifting icing sugar into a pristine bowl, transforming it into a glossy, smooth topping.
- Gradually introduce water, stirring until the icing reaches a perfectly spreadable consistency, adding optional food coloring for visual appeal.
- Lavishly coat the top with the prepared icing, then refrigerate to allow the flavors to meld and the dessert to set completely.
- When ready to serve, employ a serrated knife for an initial gentle cut through the top layer, followed by a decisive press to create clean, elegant slices.
Notes
- Ensure pastry is evenly pricked to prevent uneven rising and create a crisp, golden base that supports the creamy custard layer.
- Use room temperature ingredients for smoother custard texture and prevent lumps when mixing milk and custard powder.
- Whisk continuously while cooking custard to achieve a silky, thick consistency without burning or creating unwanted skin on top.
- Allow custard to cool slightly before spreading to prevent melting the past
- Prep Time: 20 minutes
- Cook Time: 20 minutes
- Category: Desserts
- Method: Baking
- Cuisine: French
Nutrition
- Serving Size: 12
- Calories: 352
- Sugar: 43g
- Sodium: 100mg
- Fat: 12g
- Saturated Fat: 7g
- Unsaturated Fat: 3g
- Trans Fat: 0g
- Carbohydrates: 57g
- Fiber: 0g
- Protein: 5g
- Cholesterol: 30mg
Sophia Rivera
Recipe Developer & Kitchen Tips Specialist
Expertise
Education
Austin Community College
San Antonio Culinary Institute
Sophia’s passion for baking began in her family kitchen, where she spent hours experimenting with new recipes. With a background in baking and pastry arts, she loves making desserts that are as visually stunning as they are delicious.
Sophia is all about using seasonal, locally sourced ingredients to create treats that everyone will enjoy. When she’s not creating mouth-watering desserts, you can find her gardening, making new recipes, or enjoying a relaxing afternoon with her family.