
Unwrap Barefoot Contessa’s Silky Turkey Gravy Recipe Today
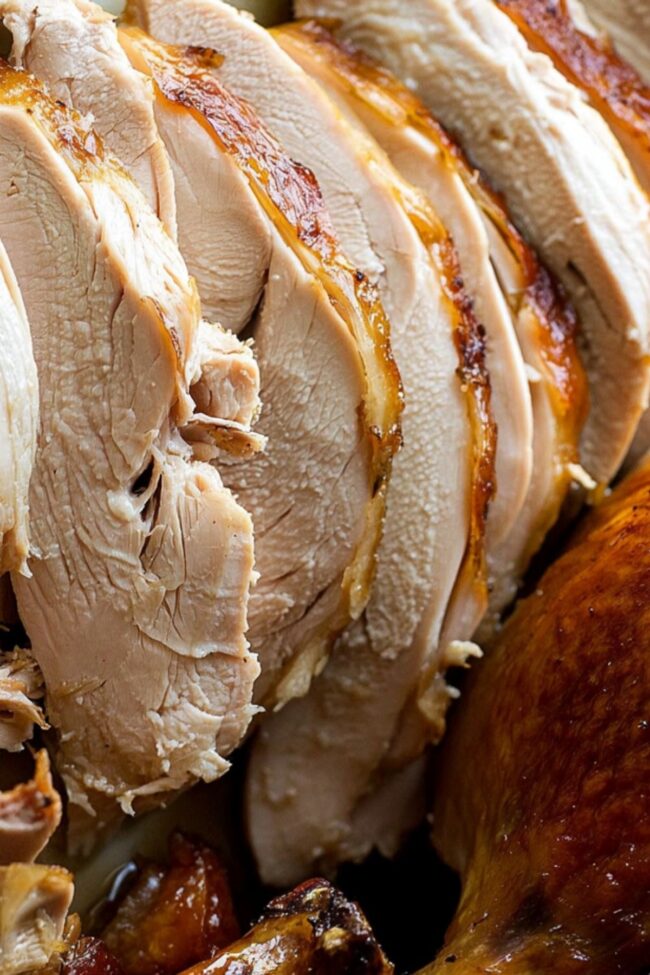
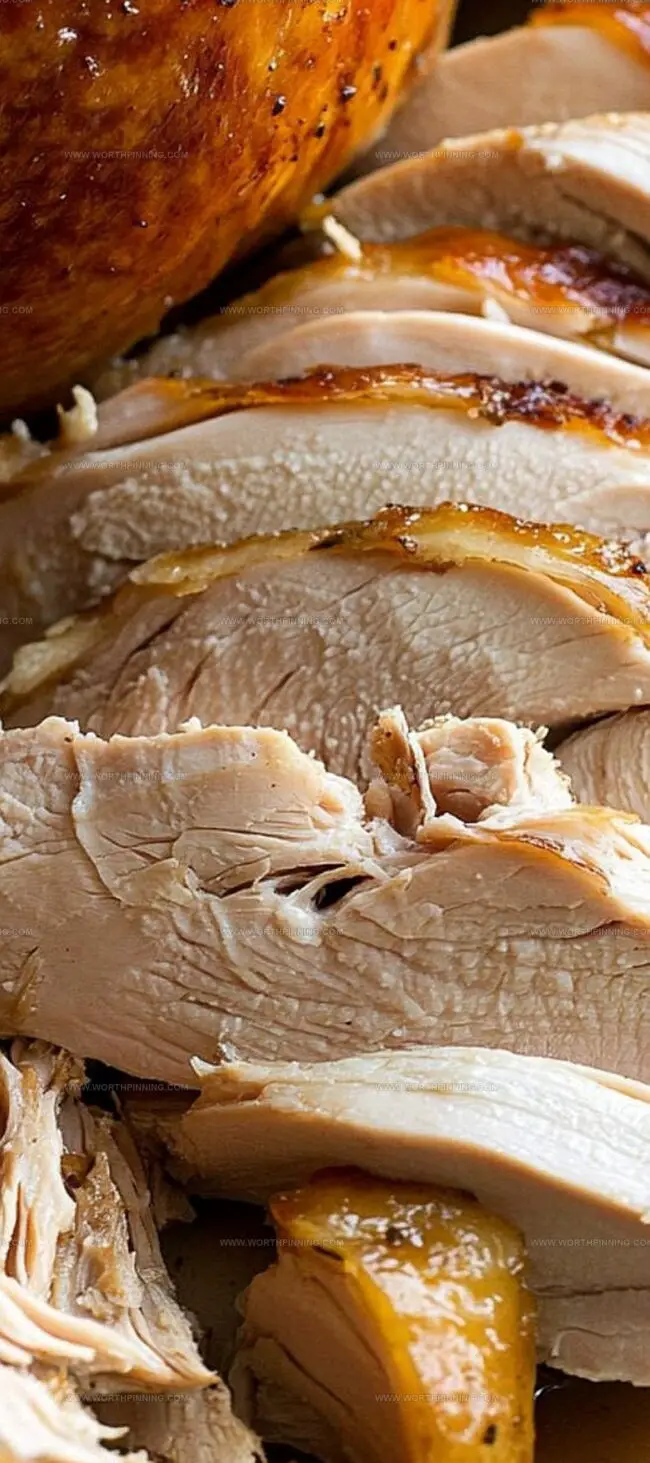
Thanksgiving dinners demand a rich, velvety Barefoot Contessa turkey gravy that becomes the crowning glory of your festive feast.
The secret lies in capturing every delicious dripping from your perfectly roasted bird.
Classic gravies often fall flat, but this recipe promises deep, complex flavors that dance across your palate.
Ina Garten’s technique unlocks layers of savory goodness that will have everyone asking for seconds.
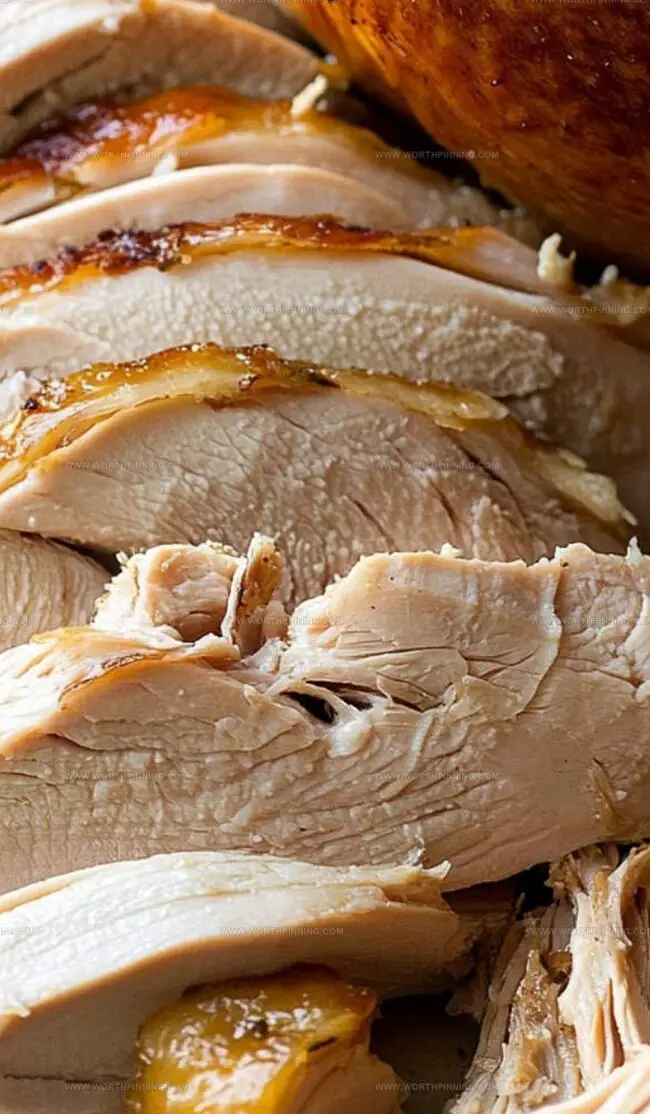
Her method transforms simple pan drippings into a luxurious sauce that complements every slice of turkey.
Each spoonful brings warmth and comfort to your holiday table.
Get ready to serve a gravy so delectable, it might just steal the spotlight from the main course.
Quick Recipe Overview
What You Need for Turkey Gravy
For Seasoning and Flavor Enhancers:For Liquid Base and Moisture:For Structure and Texture:Tools to Make Smooth, Flavorful Turkey Gravy
Instructions for Whipping Up Turkey Gravy

Salt the turkey with a herb and citrus blend three days before cooking. Gently massage the mixture inside and outside the bird. Refrigerate uncovered to help skin become crispy.
Position turkey in a large roasting pan with aromatics like onion, lemon, and herbs stuffed inside. Secure legs and wings with kitchen string. Brush with melted butter and season generously.
Roast turkey slowly at moderate heat until internal temperature reaches safe levels. Allow breast and dark meat to cook separately for perfect doneness. Use a meat thermometer to check progress.
Remove turkey from oven and let it rest. This allows juices to redistribute, ensuring moist and tender meat. Cover loosely with foil to retain warmth.
Create a rich flavor base by caramelizing onions and garlic. Develop depth with stock, herbs, and a splash of Cognac. Strain and refine the liquid for smooth consistency.
Deglaze roasting pan with wine to capture all delicious browned bits. Whisk in prepared gravy base. Simmer until perfectly thickened and seasoned.
Tips for Perfect Turkey Gravy Every Time
How to Serve Turkey Gravy with Your Meal
Making Gravy Ahead & Keeping It Fresh
Print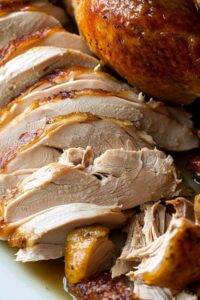
Silky Barefoot Contessa Turkey Gravy Recipe
- Total Time: 2 hours 15 minutes
- Yield: 8 1x
Description
Ina Garten’s turkey gravy elevates holiday meals with rich, silky flavor from pan drippings. Smooth, deeply savory sauce promises to complement roasted meats perfectly for you.
Ingredients
- 1 (12- to 14-pound / 5.4 to 6.3 kg) fresh turkey
- 1 large yellow onion, unpeeled and cut into eighths
- 1 large red onion, halved and sliced 0.6 cm thick
- 4 large garlic cloves, peeled and halved
- 10 large fresh sage leaves
- 8 sprigs fresh thyme
- 15 ml minced fresh thyme leaves
- 2 bay leaves
- 1 lemon, quartered
- Grated zest of 1 lemon
- 57 g unsalted butter, melted
- 6 tbsps (¾ stick / 85 g) unsalted butter
- 45 g all-purpose flour
- 1 liter good chicken stock (preferably homemade)
- 240 ml dry white wine (such as Pinot Grigio)
- 30 ml Cognac or brandy
- Kosher salt and freshly ground black pepper
Instructions
- Turkey Preparation: Craft a salt mixture with thyme and lemon zest 3 days before roasting. Thoroughly rinse and dry the turkey, then apply salt mixture inside the cavity and over the skin. Refrigerate for 1-2 days, uncovering the day before roasting to develop a crisp exterior.
- Roasting Process: Preheat oven to 165°C. Position turkey in a roasting pan, stuffing cavity with onion, lemon, and thyme sprigs. Truss legs and wings, brush with melted butter, and season with salt and pepper. Roast for 2-2¼ hours until breast reaches 74°C, then transfer to a platter and tent with foil.
- Meat Resting: Return turkey to oven for 15-20 minutes to ensure dark meat reaches 82°C. Remove sections to the platter, tent with foil, and allow 15 minutes for juice redistribution.
- Plating Technique: Create a thin gravy layer in a serving dish, arrange carved turkey slices, and warm in the oven for 15-30 minutes. Serve with additional gravy on the side.
- Gravy Base Creation: Melt butter in a saucepan, caramelize onions and garlic for 15-20 minutes. Add flour, cook while stirring. Incorporate chicken stock, Cognac, sage, bay leaves, salt, and pepper. Boil, then simmer for 20 minutes. Rest, strain, and refrigerate.
- Final Gravy Preparation: Deglaze roasting pan with wine, scraping caramelized bits. Whisk in prepared gravy base, simmer until slightly thickened. Adjust seasoning and serve hot.
Notes
- Master Salting Technique: Create a fragrant salt mixture with thyme and lemon zest 3 days before roasting to infuse deep flavor and ensure a perfectly seasoned turkey.
- Skin Crisping Secret: Uncover the turkey the day before cooking, allowing the skin to air-dry and develop an irresistibly crispy, golden exterior.
- Temperature Precision: Use a meat thermometer to nail the perfect doneness – 74°C for breast meat and 82°C for dark meat ensures juicy, safe-to-eat turkey.
- Flavor-Building Gravy Hack: Let the gravy base rest for an hour and strain thoroughly to concentrate flavors and create a rich, restaurant-quality sauce.
- Prep Time: 15 minutes
- Cook Time: 2 hours 30 minutes
- Category: Dinner, Appetizer
- Method: Roasting
- Cuisine: American
Nutrition
- Serving Size: 8
- Calories: 150
- Sugar: 1 g
- Sodium: 250 mg
- Fat: 12 g
- Saturated Fat: 7 g
- Unsaturated Fat: 4 g
- Trans Fat: 0 g
- Carbohydrates: 8 g
- Fiber: 0 g
- Protein: 2 g
- Cholesterol: 30 mg
Sophia Rivera
Recipe Developer & Kitchen Tips Specialist
Expertise
Education
Austin Community College
San Antonio Culinary Institute
Sophia’s passion for baking began in her family kitchen, where she spent hours experimenting with new recipes. With a background in baking and pastry arts, she loves making desserts that are as visually stunning as they are delicious.
Sophia is all about using seasonal, locally sourced ingredients to create treats that everyone will enjoy. When she’s not creating mouth-watering desserts, you can find her gardening, making new recipes, or enjoying a relaxing afternoon with her family.