Easy Barefoot Contessa Apple Crisp Recipe: Cozy Fall Treat
Apple crisp erupts with seasonal passion, transforming humble orchard gems into a symphony of sweet, tangy delight.
Rustic and unpretentious, this dessert captures autumn’s essence in every golden-brown crumb.
Cinnamon and nutmeg waltz through tender apple slices, promising a sensory journey that transcends ordinary baking.
Layers of caramelized fruit nestle beneath a crackly, buttery streusel that whispers comfort with each forkful.
The recipe marries simplicity with extraordinary flavor, creating a dessert that feels both nostalgic and exciting.
Warm spices and soft fruit meld into a culinary masterpiece that calls you to savor every decadent bite.
Your taste buds will dance with anticipation of this soul-warming creation.
Quick Recipe Overview
Ingredient Breakdown for Barefoot Contessa Apple Crisp
For Fruit Base:For Crumble Mixture:For Serving Accompaniments:Tools Required for Barefoot Contessa Apple Crisp
How to Bake Barefoot Contessa Apple Crisp
Crank your oven to a toasty 350°F and grab a spacious baking dish. Butter the inside generously to keep everything from sticking.
Grab some crisp, tangy apples and slice them into chunky pieces. Splash some zesty lemon juice over the slices and dust with warm cinnamon and sweet sugar. This will wake up their natural flavor and keep them from turning brown.
Mix flour, sugars, and rolled oats in a bowl. Toss in cold butter chunks and use your fingers to transform the mixture into a landscape of sandy, pebbly crumbles. The key is working quickly so the butter stays cool and creates those delightful crunchy bits.
Pour the seasoned apple chunks into the buttered dish. Shower the crumbly topping across the surface, making sure every apple gets a cozy blanket of goodness. Slide the dish into the oven and let magic happen for about an hour.
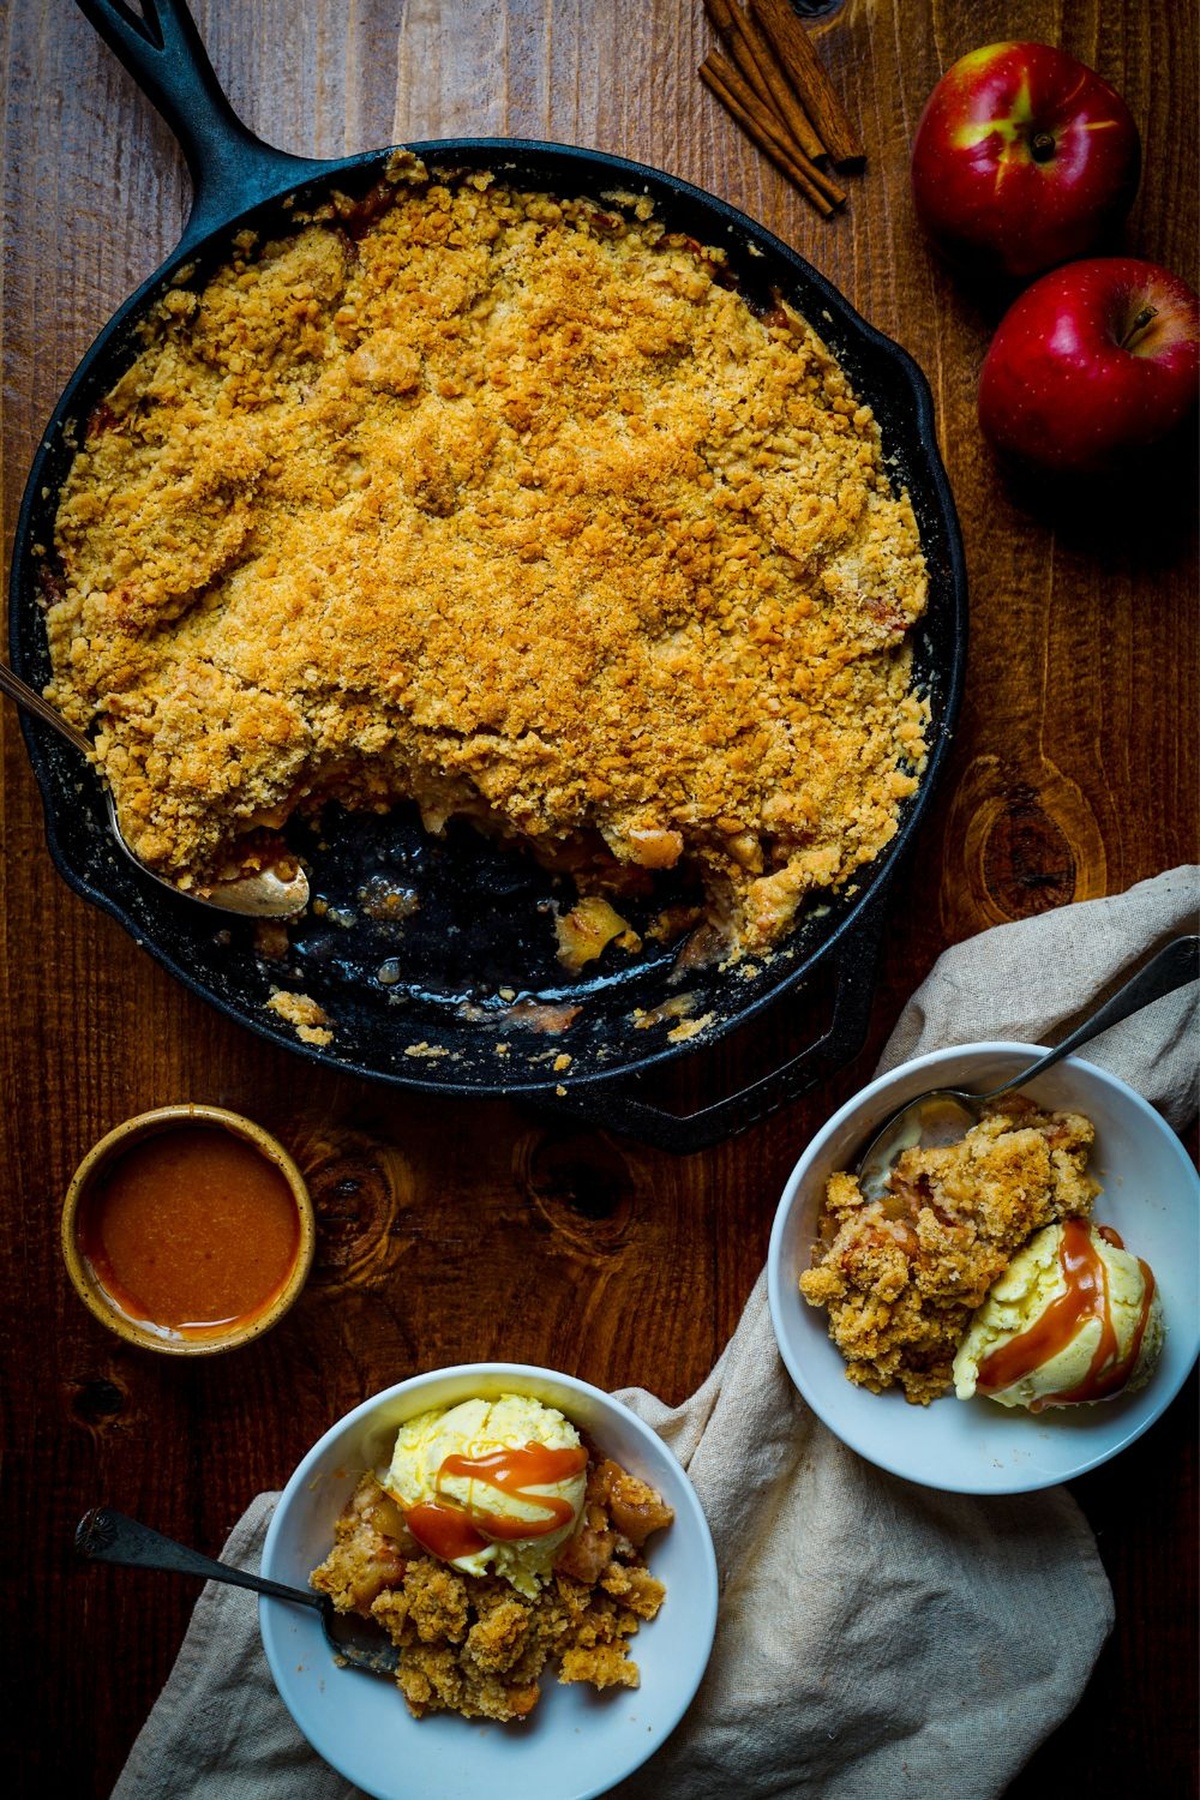
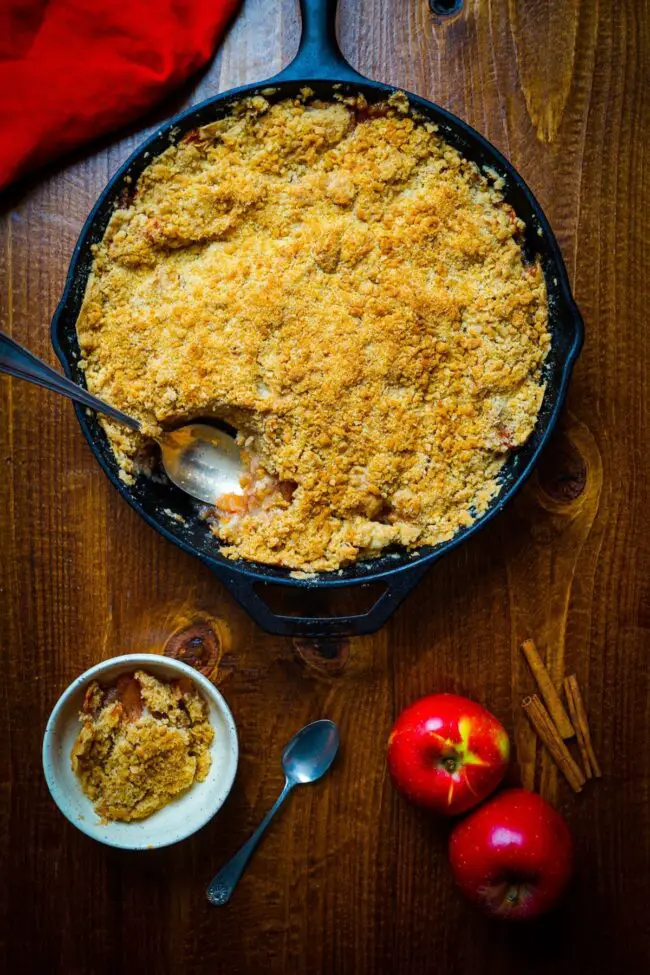
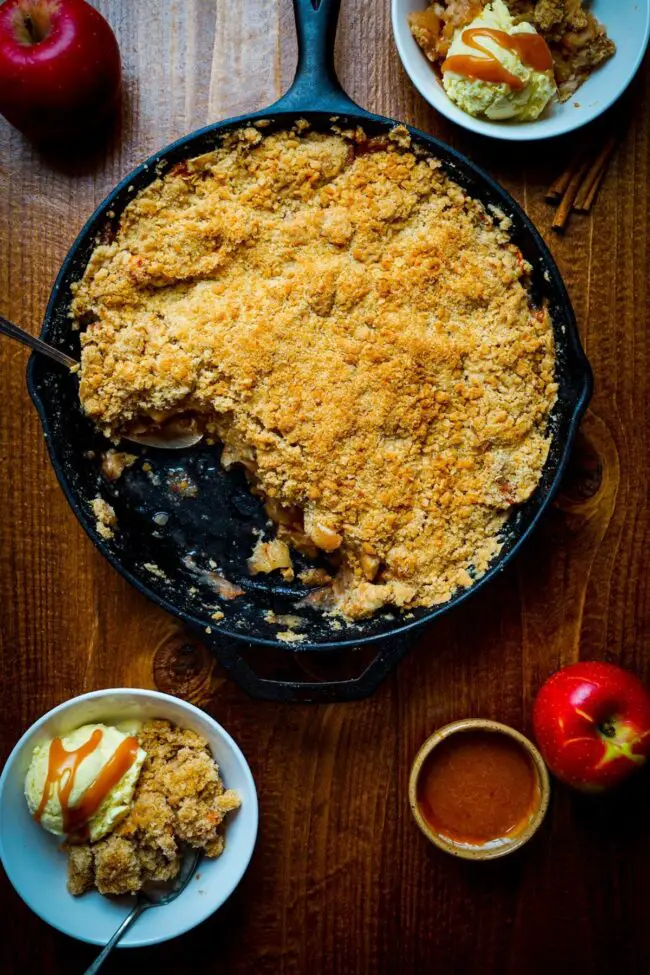
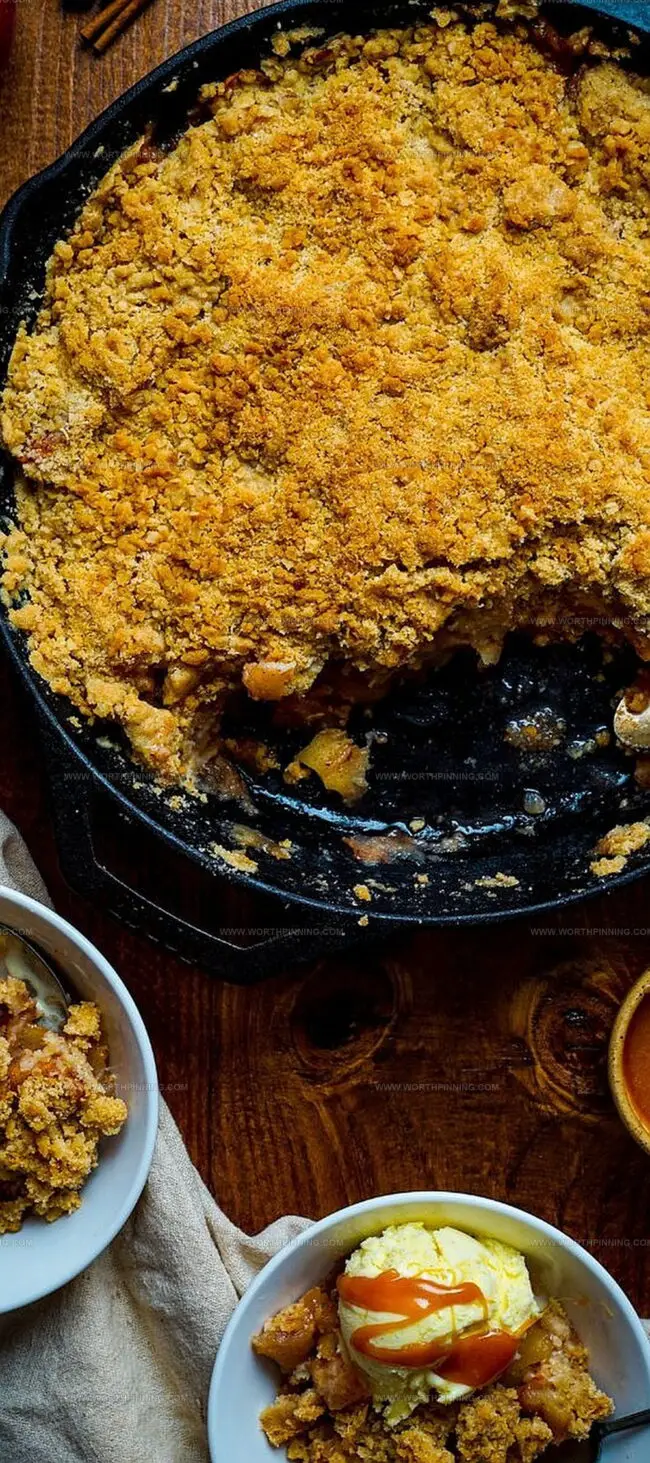
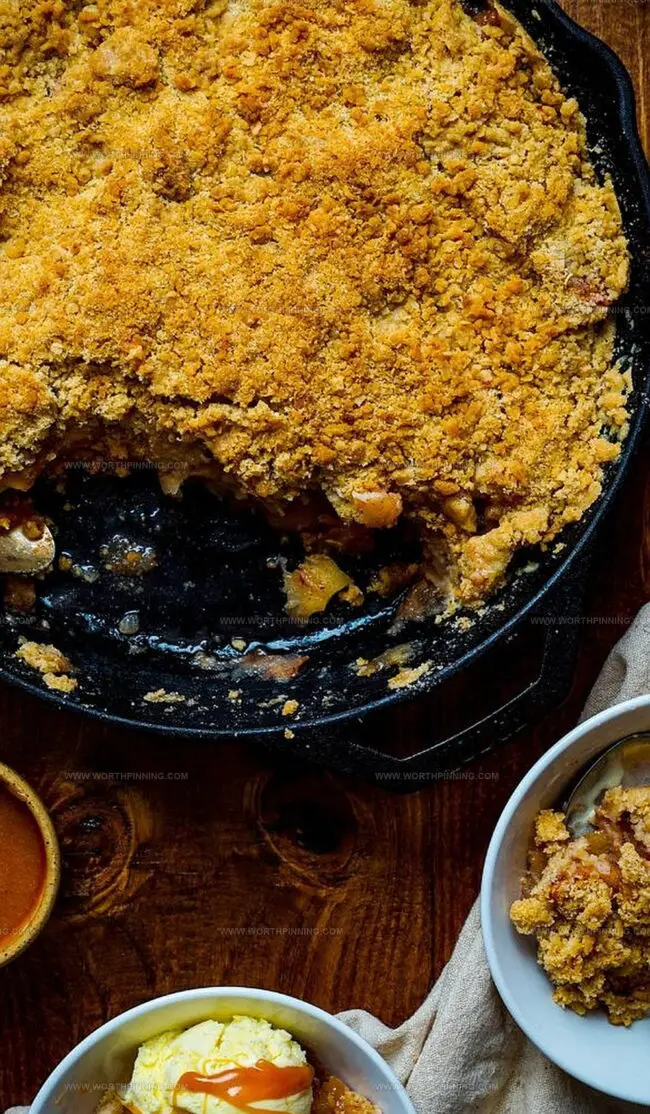
Pull out your masterpiece when the top turns golden and the apples bubble with excitement. Let it rest briefly, then serve warm. A scoop of creamy vanilla ice cream makes this dessert absolutely irresistible.
Ideas to Elevate Barefoot Contessa Apple Crisp
Serve Barefoot Contessa Apple Crisp Warm
How to Store Barefoot Contessa Apple Crisp
Print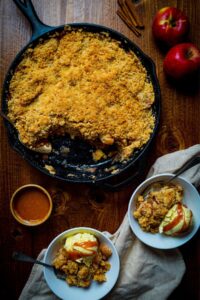
Rustic Barefoot Contessa Apple Crisp Recipe
- Total Time: 1 hour 20 minutes
- Yield: 8 1x
Description
Ina Garten’s barefoot contessa apple crisp combines sweet Granny Smith apples with a buttery, crumbly topping. Cinnamon-spiced and baked until golden, this classic dessert brings warmth and comfort to your table.
Ingredients
- 5 lbs (2.27 kg) McIntosh or Macoun apples
- 1 ¼ cups (250 g) granulated sugar
- ¾ cup (165 g) light brown sugar, packed
- 1–½ cups (180 g) all-purpose flour
- 1 cup (90 g) oatmeal
- ½ lb (227 g) cold unsalted butter, diced
- 2 tsps ground cinnamon
- 1 tsp ground nutmeg
- ½ tsp kosher salt
- 1 orange zest
- 1 lemon zest
- 2 tbsps (30 ml) orange juice, freshly squeezed
- 2 tbsps (30 ml) lemon juice, freshly squeezed
Instructions
- Preheat Oven: Set the oven to 350°F (175°C) with the rack positioned in the middle for consistent heat distribution.
- Prepare Baking Dish: Thoroughly grease a 9x14x2-inch oval baking dish with unsalted butter to prevent sticking and ensure easy serving.
- Layer Apple Mixture: Spread the prepared apple mixture evenly across the greased dish, creating a smooth and compact base.
- Create Crumble Topping: In a mixing bowl, combine all-purpose flour, granulated sugar, brown sugar, kosher salt, rolled oats, and chilled butter, using a pastry cutter or fingertips to break down the cold butter into small, pea-sized pieces until the mixture resembles coarse, sandy crumbs.
- Top and Bake: Sprinkle the crumbly topping uniformly over the apple layer, covering the entire surface. Place the baking dish on a rimmed baking sheet and slide into the preheated oven. Bake for 55-65 minutes, or until the topping turns golden brown and the apple filling becomes bubbly and slightly caramelized.
- Rest and Serve: Remove from the oven and let the apple crisp cool for 15-20 minutes to allow the filling to set and flavors to meld. Serve warm, optionally accompanied by vanilla ice cream or whipped cream for an extra touch of indulgence.
Notes
- Butter Coating Tip: Use softened unsalted butter for a smooth, even layer that prevents sticking and adds rich flavor to the baking dish.
- Apple Selection Strategy: Choose firm, tart apples like Granny Smith or Honeycrisp for the best balance of texture and sweetness in your crisp.
- Crumble Texture Trick: Work quickly with cold butter and use your fingertips to create a sandy, coarse topping that ensures a perfectly crisp and crumbly texture.
- Baking Sheet Protection: Always place the baking dish on a rimmed sheet to catch potential drips and make handling easier, preventing messy oven spills.
- Prep Time: 20 minutes
- Cook Time: 1 hour
- Category: Desserts, Snacks
- Method: Baking
- Cuisine: American
Nutrition
- Serving Size: 8
- Calories: 450
- Sugar: 45 g
- Sodium: 170 mg
- Fat: 25 g
- Saturated Fat: 15 g
- Unsaturated Fat: 10 g
- Trans Fat: 0 g
- Carbohydrates: 54 g
- Fiber: 3 g
- Protein: 4 g
- Cholesterol: 60 mg
Sophia Rivera
Recipe Developer & Kitchen Tips Specialist
Expertise
Education
Austin Community College
San Antonio Culinary Institute
Sophia’s passion for baking began in her family kitchen, where she spent hours experimenting with new recipes. With a background in baking and pastry arts, she loves making desserts that are as visually stunning as they are delicious.
Sophia is all about using seasonal, locally sourced ingredients to create treats that everyone will enjoy. When she’s not creating mouth-watering desserts, you can find her gardening, making new recipes, or enjoying a relaxing afternoon with her family.