Easy Pioneer Woman Pear Preserves Recipe: Sweet Homemade Joy
Pear preserves capture the essence of harvest season with their luscious, golden-hued sweetness and rich, complex flavor profile.
These magical concoctions transform ordinary fruit into a sublime culinary treasure that brightens any pantry shelf.
Home cooks adore pear preserves for their ability to capture summer’s fleeting moments in a single, vibrant jar.
Crafting these delectable spreads requires patience, quality ingredients, and a touch of culinary passion.
Seasonal pears offer a remarkable canvas for creating smooth, aromatic preserves that dance between sweet and subtly tangy notes.
Each spoonful promises a burst of sunshine and memories of orchard-fresh fruit, carefully transformed through traditional cooking methods.
You’ll fall in love with the simple magic of transforming ripe pears into a luxurious, spreadable delight: prepare to be amazed.
Why Pioneer Woman’s Pear Preserves Are a Treat
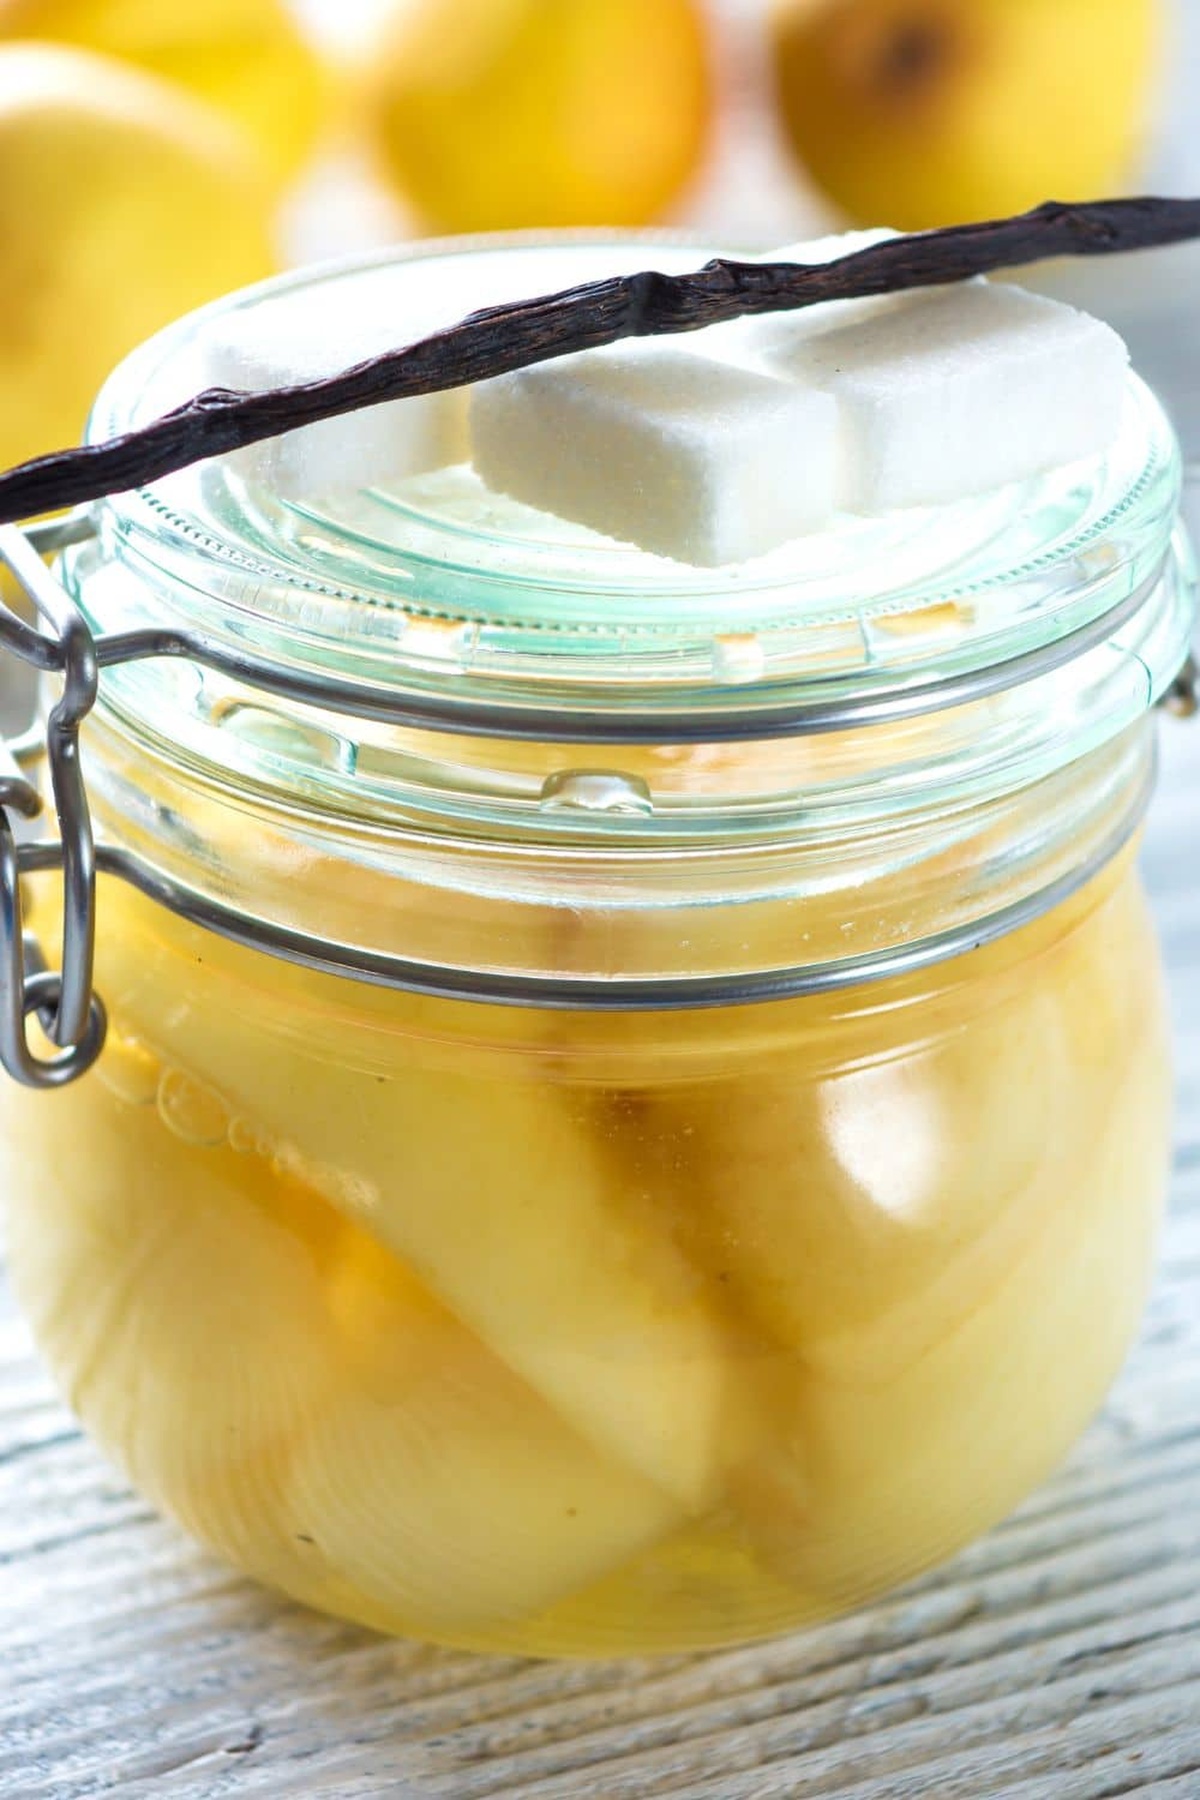
Ingredients for Homemade Pear Preserves
Fruit Base:Sweeteners and Spices:Canning Essentials:Pear Preserves Made Easy
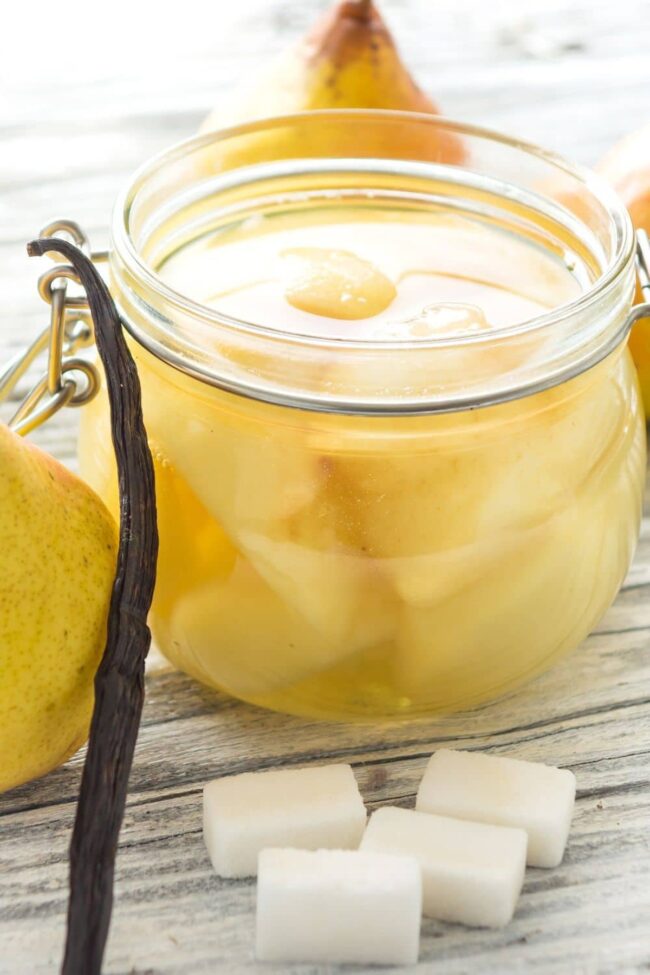
Step 1: Gather Ingredients and Prep Pears
Collect your fresh pears and slice them into small chunks. You’ll need:Let the pear and sugar mixture rest for 30 minutes, allowing natural juices to develop.
Step 2: Cook Pear Mixture
Heat the pear mixture in a large saucepan over medium heat. Stir gently and consistently until sugar dissolves completely. Simmer the preserves for 45-60 minutes, watching for a thick, glossy consistency. The pears will soften and blend into a rich, golden spread.
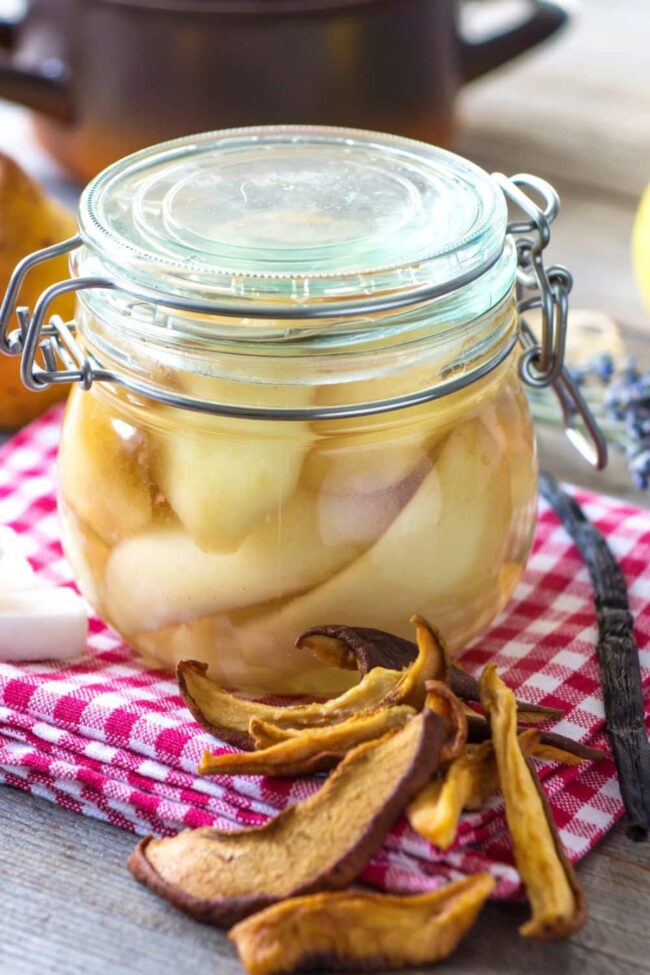
Step 3: Prepare Jars for Canning
Sterilize glass jars and lids in boiling water. Carefully ladle the hot preserves into clean jars, leaving 1/4 inch of space at the top. Wipe jar rims clean to ensure a tight seal. Process jars in a boiling water bath for 10 minutes to create a secure preservation.
Step 4: Cool and Store Preserves
Remove jars from water bath and let them cool completely at room temperature. You’ll hear a satisfying pop as lids seal. Store unopened jars in a cool, dark pantry. After opening, refrigerate and enjoy within 3-4 weeks. Spread on toast, biscuits, or use as a delightful dessert topping.
Tips for Smooth and Rich Preserves
Storing Pear Preserves Properly
Fun Add-Ins for Pear Preserves
Sweet Close to Pear Preserves
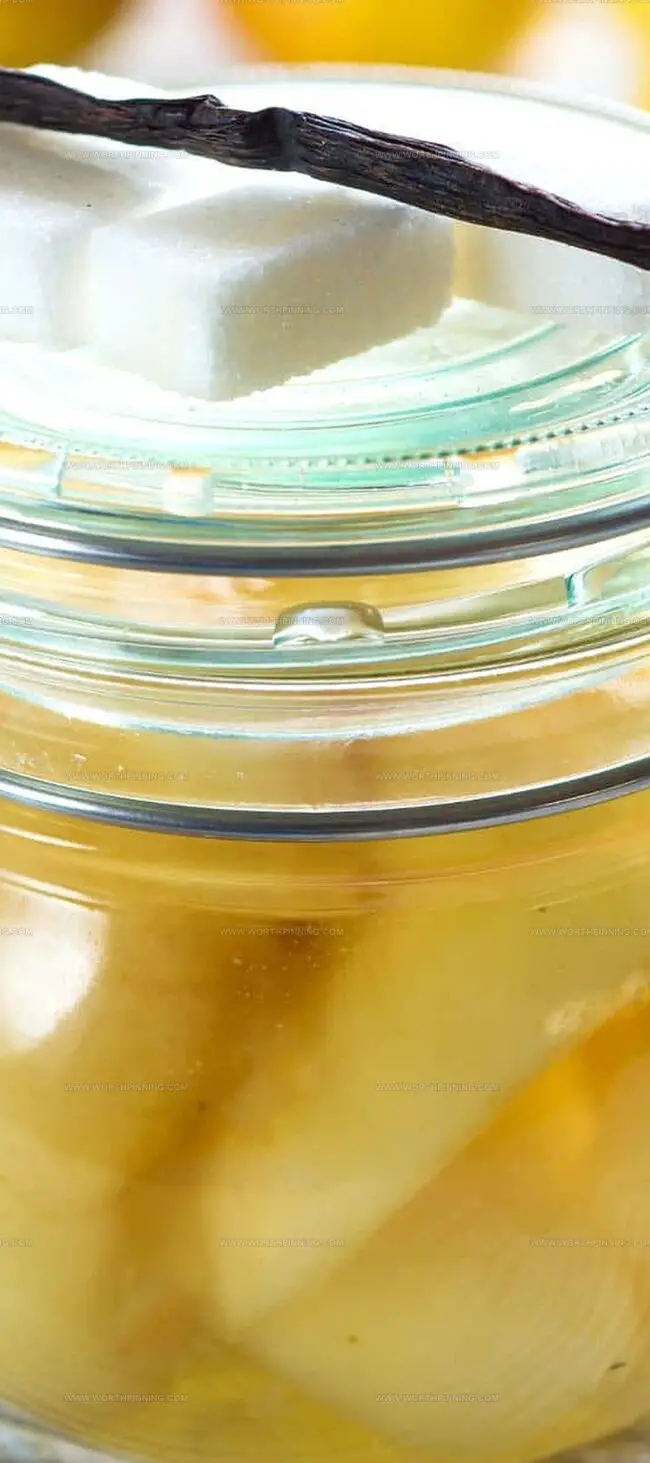
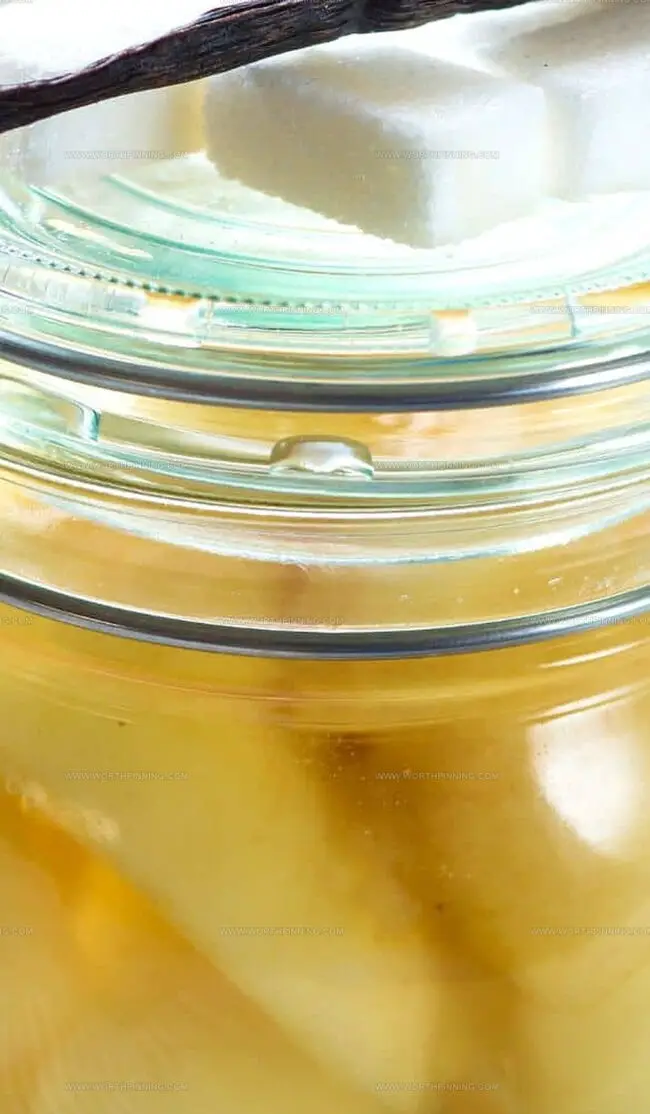
Pear preserves embody rustic charm with their golden-amber hue and intense sweetness.
Pioneer Woman’s recipe transforms simple ingredients into extraordinary culinary magic.
Kitchen memories dance between nostalgia and delectable comfort.
Homemade preserves connect generations through shared culinary traditions.
Farmers’ market pears become liquid sunshine sealed within glass jars.
Spread these preserves on warm toast, and you’ll discover pure seasonal happiness – sharing this recipe means spreading joy beyond your kitchen’s sacred boundaries.
Print
Pioneer Woman Pear Preserves Recipe
- Total Time: 1 hour 10 minutes
- Yield: 8 1x
Description
Pear preserves from Pioneer Woman bring Southern charm to breakfast tables with homemade sweetness. Crafted with ripe pears, warm spices, and simple techniques, you’ll savor this delightful spread on fresh toast or biscuits.
Ingredients
Main Ingredients:
- 4 cups (946 ml) peeled, cored, and chopped pears (Bosc, Anjou, or Bartlett)
- 2 cups (400 g) granulated sugar
Spices:
- ½ teaspoon ground cinnamon (optional)
- ¼ teaspoon ground nutmeg (optional)
Acidic Component:
- ¼ cup (60 ml) lemon juice
Instructions
- Cube ripe pears into uniform chunks, ensuring they are free from blemishes and bruises. Measure sugar, freshly squeezed lemon juice, and optional warming spices like cinnamon or nutmeg.
- Combine pear chunks, granulated sugar (8 ounces / 226 grams), lemon juice (2 tablespoons / 30 milliliters), and selected spices in a heavy-bottomed stainless steel saucepan. Allow the mixture to rest for 30-40 minutes, enabling sugar to extract natural pear juices and create a preliminary syrup.
- Position saucepan over medium-low heat, stirring gently to dissolve sugar crystals completely. Gradually increase temperature, maintaining a gentle, consistent simmer without aggressive boiling.
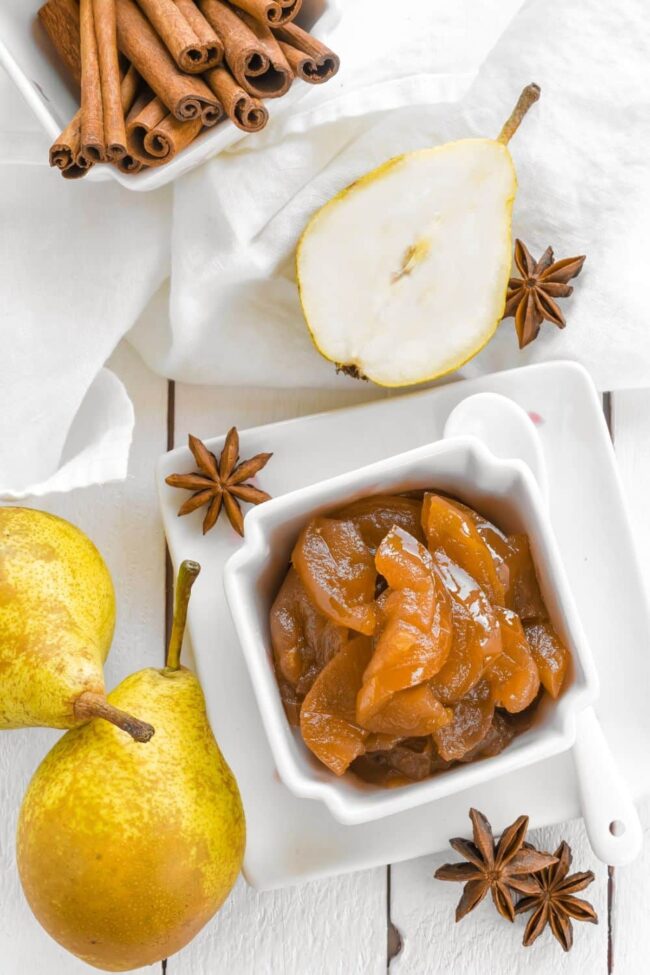
- Continue cooking for 40-50 minutes, periodically stirring and monitoring consistency. Pears will gradually break down, transforming into a glossy, thick preserve with a deep amber hue.
- Test preserve’s readiness by placing a small amount on a chilled plate; it should wrinkle slightly when pushed with a fingertip, indicating perfect gel-like texture.
- Remove from heat, allowing preserves to rest and slightly cool for 5-7 minutes. Carefully ladle into sterilized glass jars, leaving 1/4-inch (6 millimeters) headspace to accommodate potential expansion.
- Securely seal jars with sterilized lids, processing in a rolling boiling water bath for 10 minutes to guarantee proper preservation and prevent potential bacterial growth.
- Transfer processed jars to a cooling rack, allowing them to reach room temperature naturally. Store in a dark, cool pantry for up to 12 months. Refrigerate after opening and consume within 3-4 weeks.
Notes
- Let the magic of autumn unfold with homemade pear preserves that capture summer’s final sweetness.
- Ripe pears transform into a luxurious spread through careful selection and precise preparation.
- Uniform chopping creates a smooth texture that glides effortlessly across warm toast.
- Allowing sugar to mingle with pear juices develops an intensely rich flavor profile.
- Slow cooking caramelizes natural sugars, producing a deep, complex preserve that tells a delicious story.
- Gentle stirring prevents burning while ensuring even heat distribution for perfect consistency.
- Prep Time: 30 minutes
- Cook Time: 40 minutes
- Category: Desserts, Snacks
- Method: Simmering
- Cuisine: American
Nutrition
- Serving Size: 8
- Calories: 380
- Sugar: 56 g
- Sodium: 1 mg
- Fat: 0 g
- Saturated Fat: 0 g
- Unsaturated Fat: 0 g
- Trans Fat: 0 g
- Carbohydrates: 99 g
- Fiber: 4 g
- Protein: 1 g
- Cholesterol: 0 mg
Ethan Miller
Founder & Lead Content Writer
Expertise
Education
Portland Community College
Culinary Institute of the Pacific
Ethan’s culinary journey began in his grandmother’s kitchen, where he first learned to play with flavors and ingredients. With formal training in culinary arts and a deep love for international cuisines, Ethan’s goal is to share the joy of cooking with others.
He believes food is all about creativity and bringing people together, one meal at a time. When he’s not experimenting with new dishes, he enjoys hiking in the Oregon wilderness and discovering fresh, local ingredients.