
Easy Pioneer Woman Chuck’s Fudge Recipe: Sweet Perfection
Irresistible Chuck’s fudge promises a sweet journey into chocolate bliss that’ll melt hearts faster than its creamy ingredients.
Rich, velvety textures define this classic confection with its smooth and indulgent profile.
Chocolate lovers understand the magnetic pull of such a divine treat that transforms simple ingredients into pure magic.
Small batches create intense flavor experiences that feel deeply nostalgic and comforting.
Home bakers appreciate how minimal preparation can yield spectacular results that impress family and friends.
Each bite represents a perfect balance between sweetness and decadence, promising pure culinary satisfaction.
Delightful and straightforward, this recipe transforms ordinary moments into extraordinary memories: get ready to create something spectacular!
Why Pioneer Woman’s Chuck’s Fudge Recipe Is Irresistible
Ingredients You Need for Pioneer Woman’s Chuck’s Fudge Recipe
Chocolate Base:Topping:Pan Preparation:How to Make Pioneer Woman’s Chuck’s Fudge Recipe

Step 1: Prepare the Baking Pan
Line an 8×8-inch square pan with aluminum foil, smoothing out any wrinkles. Lightly spray the foil with nonstick cooking spray to prevent sticking.
Step 2: Create a Makeshift Double Boiler
Fill a saucepan with 2 inches of water and bring to a gentle simmer. Place a heatproof bowl on top, ensuring it doesn’t touch the water surface.
Step 3: Melt Chocolate Mixture
Add ingredients to the bowl:Stir occasionally as the ingredients melt, creating a smooth mixture. This process takes about 5-7 minutes.
Step 4: Pour and Decorate Fudge
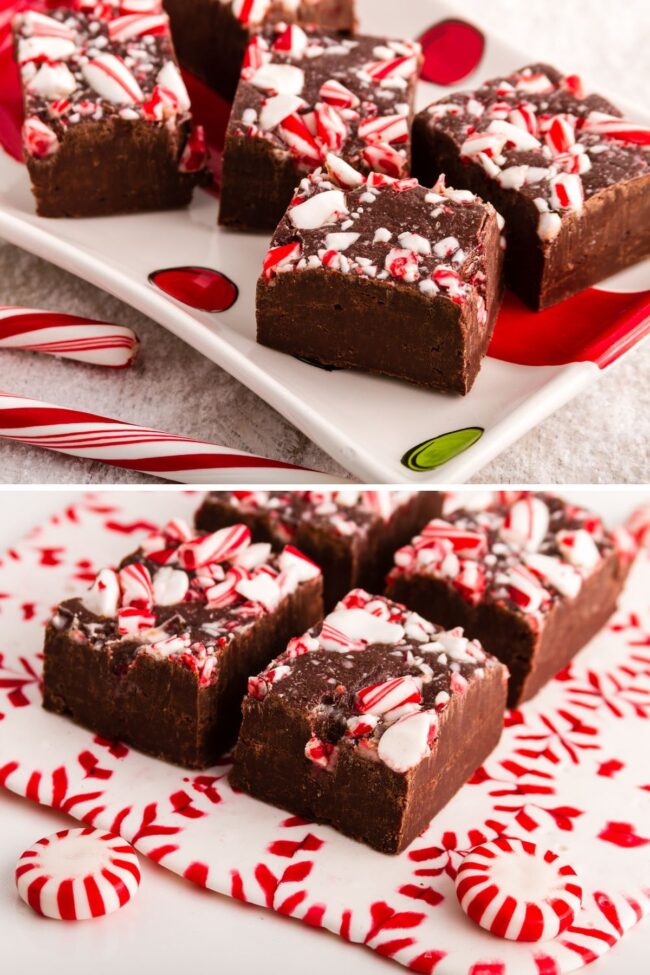
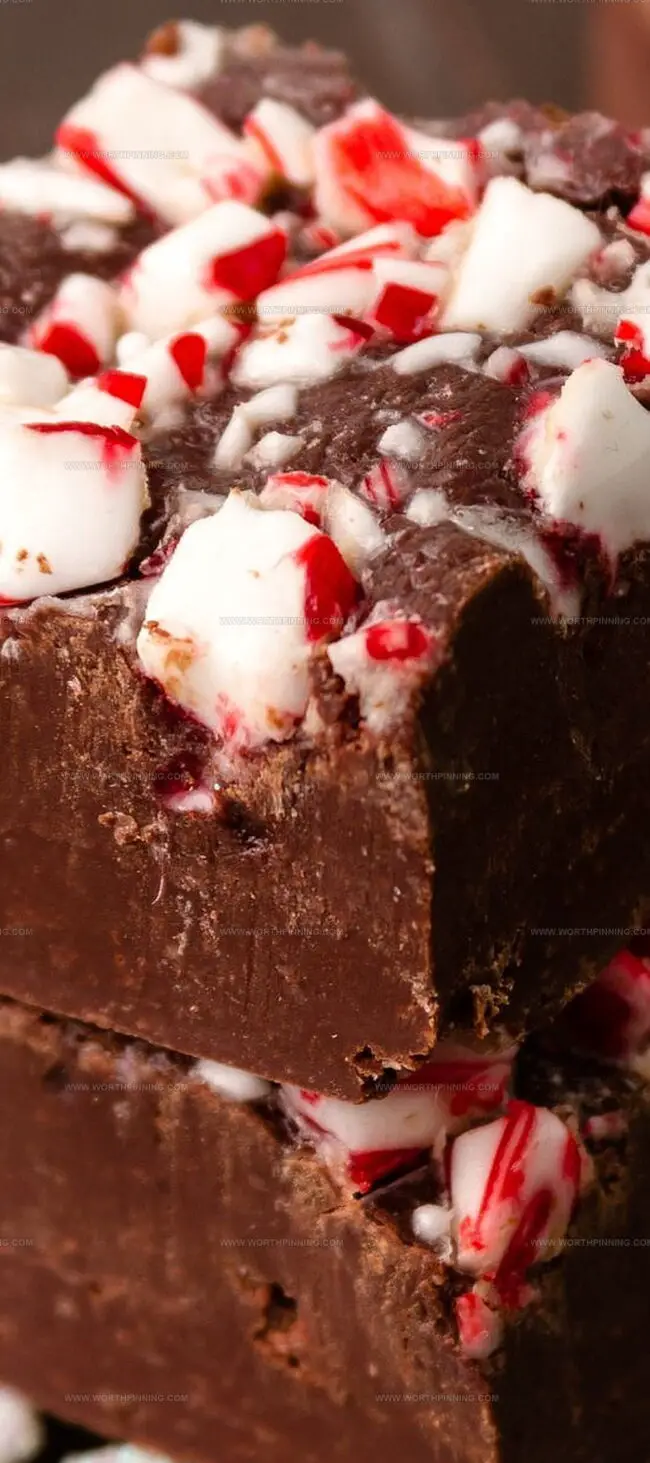
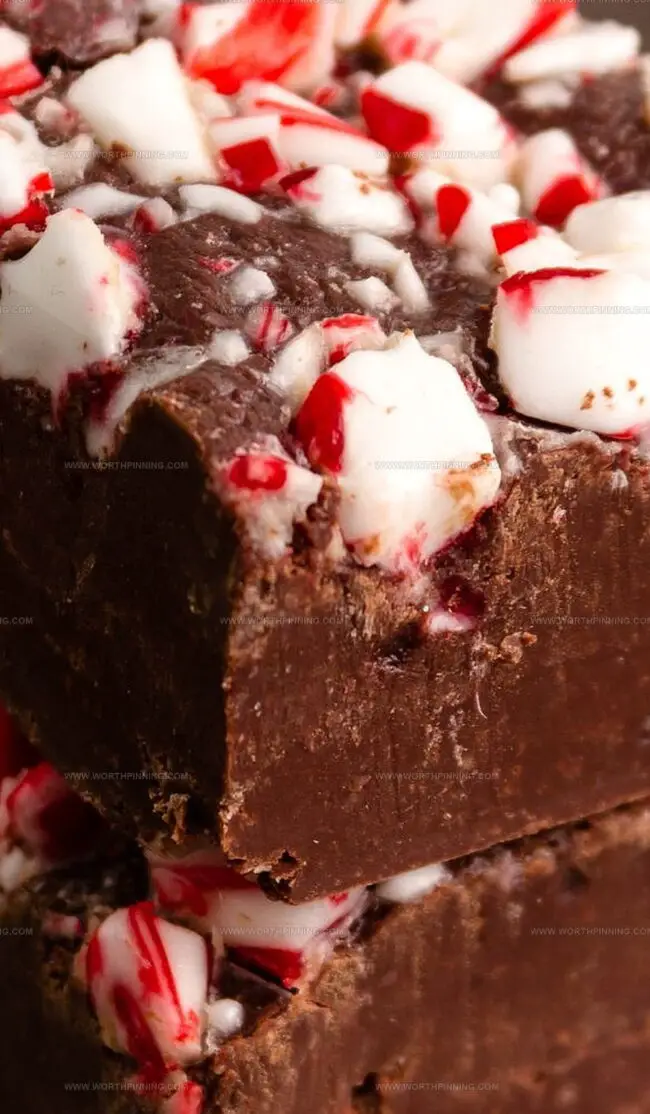
Carefully remove the bowl from heat. Pour the chocolate mixture into the prepared pan, using a spatula to create an even surface. Sprinkle crushed peppermint candies across the top for a festive touch.
Step 5: Chill and Serve
Refrigerate the fudge for at least 2 hours until completely set. Once firm, lift the fudge out using the foil edges. Peel away the foil and slice into bite-sized squares. Serve and enjoy your homemade peppermint chocolate fudge!
Tips for Crafting Pioneer Woman’s Chuck’s Fudge Recipe

How to Store Pioneer Woman’s Chuck’s Fudge Recipe
Creative Variations for Pioneer Woman’s Chuck’s Fudge Recipe
Sweet Perfection in Every Bite: Pioneer Woman’s Chuck’s Fudge Recipe
Sweet chocolate paradise awaits chocoholics seeking pure indulgence.
Pioneer Woman’s peppermint fudge delivers maximum flavor with minimal effort.
Silky chocolate melts seamlessly with condensed milk, creating irresistible texture.
Crushed peppermint candies provide delightful crunch and festive elegance.
Homemade desserts connect families through shared culinary experiences.
Readers who crave delicious simplicity should whip up this recipe, snap a photo, share with friends, and spread holiday cheer through social media platforms.
Print
Pioneer Woman Chucks Fudge Recipe
- Total Time: 20 minutes
- Yield: 20 1x
Description
Ree Drummond’s legendary chuck wagon fudge delivers rich chocolate bliss with minimal effort. Cowboy-approved sweetness melts on your tongue, promising a delightful treat that connects you to rustic ranch traditions.
Ingredients
Chocolate:
- 3 cups (720 milliliters) semi-sweet chocolate chips
Dairy:
- 1 can (14 ounces or 397 grams) sweetened condensed milk
Garnish:
- 8 peppermint candies, crushed
Instructions
- Create a solid foundation by lining an 8×8-inch (20×20 centimeters) square baking pan with aluminum foil, ensuring a wrinkle-free surface. Apply a light coating of nonstick cooking spray to prevent sticking.
- Establish a gentle heating method by partially filling a saucepan with 2 inches (5 centimeters) of water and bringing it to a soft simmer. Position a heatproof glass bowl atop the saucepan, making certain the bottom of the bowl hovers above the water’s surface.
- Combine chocolate chips and sweetened condensed milk in the suspended bowl, allowing them to slowly transform into a velvety mixture. Stir intermittently, promoting even melting over 5 to 7 minutes until achieving a perfectly smooth consistency.
- Transfer the molten chocolate blend carefully into the prepared pan, using a spatula to distribute evenly across the surface. Generously scatter crushed peppermint candies across the top, ensuring uniform coverage.
- Facilitate setting by placing the pan in the refrigerator for a minimum of 2 hours. Once the fudge has completely solidified, extract it from the pan by lifting the foil edges. Gently peel away the foil and slice into bite-sized, delectable squares.
Notes
- Crush peppermint candies just before sprinkling to maintain maximum crispness and vibrant holiday color.
- Refrigerate fudge for at least 2-3 hours to achieve that signature dense, velvety texture that melts perfectly on your tongue.
- Dip a sharp knife in hot water and quickly dry between cuts to create clean, professional-looking fudge slices every time.
- Wrap individual pieces in wax paper for easy gifting or grab-and-go treats that stay fresh and maintain their creamy consistency.
- Store in an airtight container in the refrigerator, where the fudge will keep its rich flavor and smooth texture for up to a week.
- Double boiler technique prevents chocolate from scorching, guaranteeing a silky-smooth base that’s pure chocolatey perfection.
- Prep Time: 10 minutes
- Cook Time: 10 minutes
- Category: Desserts, Snacks
- Method: Melting
- Cuisine: American
Nutrition
- Serving Size: 20
- Calories: 290
- Sugar: 31 g
- Sodium: 90 mg
- Fat: 12 g
- Saturated Fat: 7 g
- Unsaturated Fat: 4 g
- Trans Fat: 0 g
- Carbohydrates: 43 g
- Fiber: 1 g
- Protein: 2 g
- Cholesterol: 10 mg
Ethan Miller
Founder & Lead Content Writer
Expertise
Education
Portland Community College
Culinary Institute of the Pacific
Ethan’s culinary journey began in his grandmother’s kitchen, where he first learned to play with flavors and ingredients. With formal training in culinary arts and a deep love for international cuisines, Ethan’s goal is to share the joy of cooking with others.
He believes food is all about creativity and bringing people together, one meal at a time. When he’s not experimenting with new dishes, he enjoys hiking in the Oregon wilderness and discovering fresh, local ingredients.