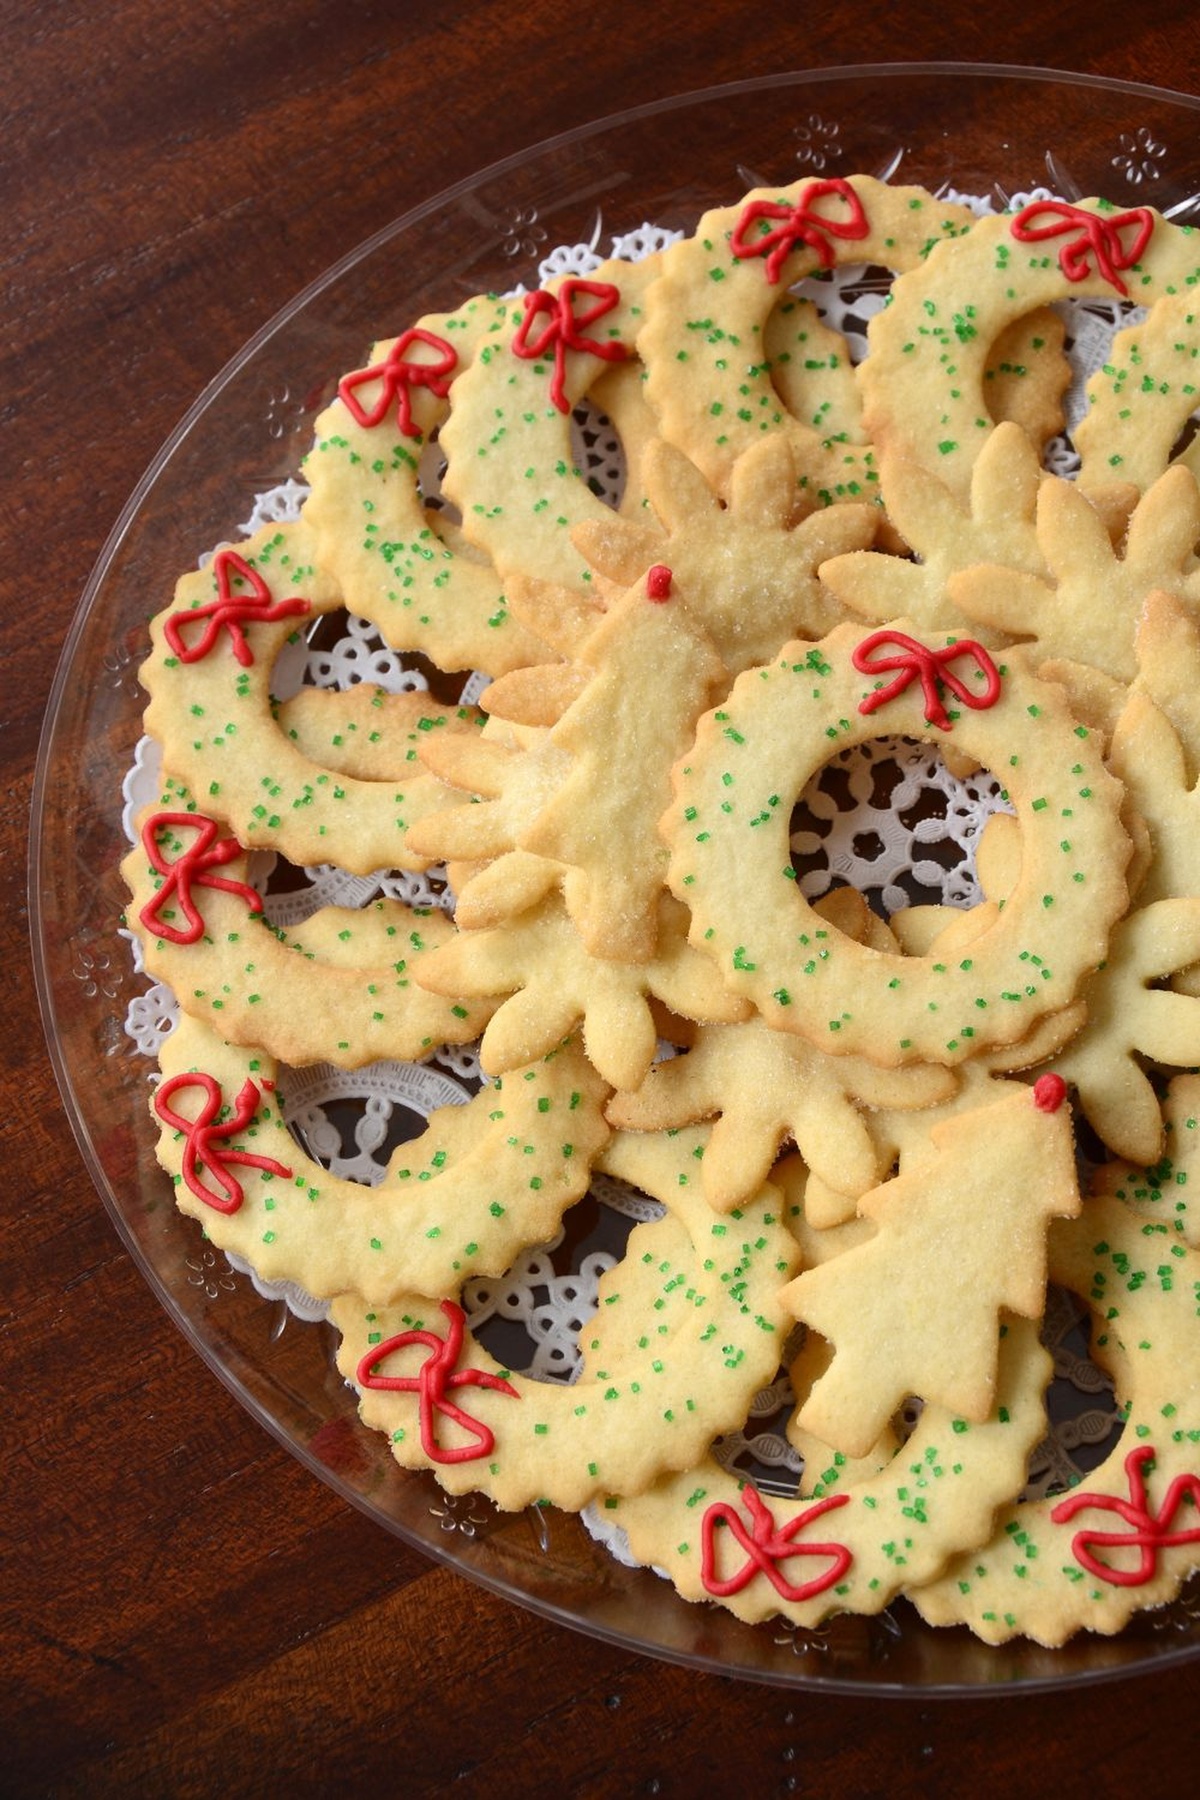
Quick & Delicious Joy Of Cooking Sand Tarts Recipe
Sand tarts dance between rustic simplicity and elegant charm in this classic recipe from Joy Of Cooking.
Delicate cookies crumble with a whispered sweetness that melts effortlessly on your tongue.
Rich butter and fine sugar blend into a tender, melt-in-your-mouth treat that speaks of home and comfort.
Generations of bakers have treasured these understated yet sophisticated little confections, transforming basic ingredients into something magical.
Crisp edges and soft centers create a textural symphony that captures the essence of traditional baking.
Light and delicate, these cookies carry memories of family kitchens and shared moments of pure delight.
Each bite promises a connection to culinary heritage and the warmth of home-baked goodness: prepare to fall in love with sand tarts.
Savor The Delightful Crunch Of Sand Tarts Recipe

Essential Ingredients For Sand Tarts Recipe
How To Craft Sand Tarts Recipe

Step 1: Cream Butter and Sugar
Grab softened butter and granulated sugar. Use an electric mixer or wooden spoon to blend until the mixture becomes light and fluffy, about 2-3 minutes.
Step 2: Add Flour and Eggs
Gradually incorporate flour and eggs into the butter-sugar mixture. Mix until a smooth, consistent dough forms.
Step 3: Chill the Dough
Wrap the dough securely in plastic wrap and refrigerate for 1 hour. This helps the dough become more manageable and enhances flavor development.
Step 4: Prepare Work Surface
Lightly dust a clean countertop or cutting board with flour to prevent sticking.
Step 5: Roll Out Dough
Take a softball-sized portion of chilled dough. Roll it out using a rolling pin until it’s extremely thin (approximately 1/8 inch thick or thinner than a CD).
Step 6: Cut Cookie Shapes
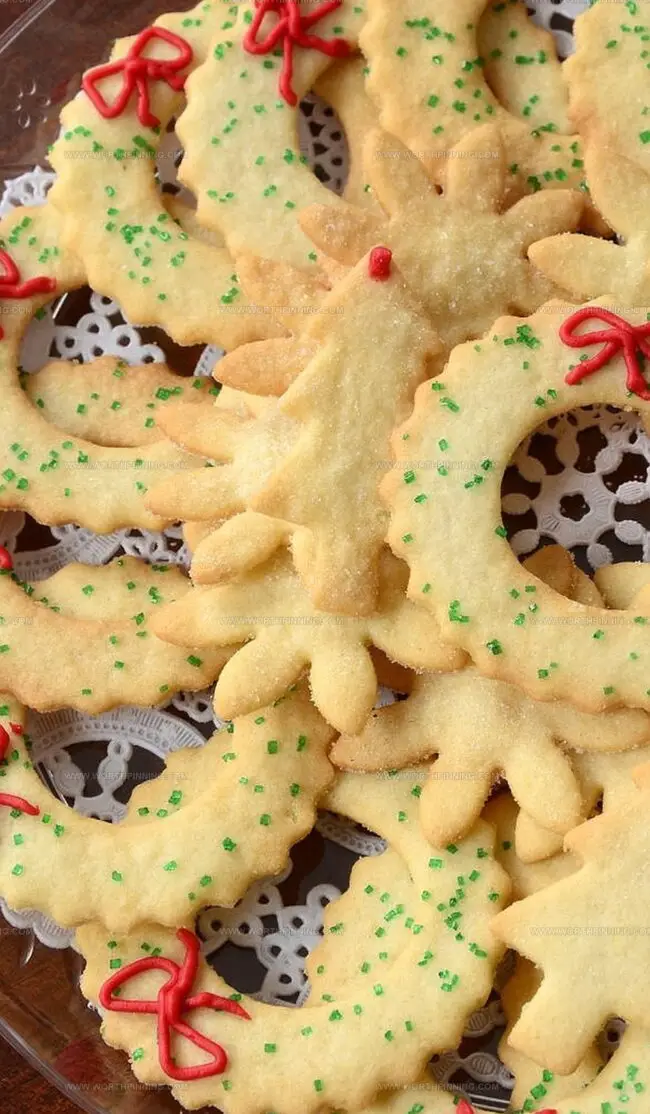
Select your favorite cookie cutters. Press firmly into the rolled dough to create festive shapes.
Step 7: Arrange on Baking Sheet
Place cut cookie shapes onto an ungreased cookie sheet, leaving small spaces between each cookie.
Step 8: Prepare Egg Wash and Decorations
Create an egg wash by whisking 1 egg. Gently brush the surface of each cookie.
Step 9: Add Sprinkle Toppings
Ingredients for cinnamon sugar topping:Sprinkle colored sugar or cinnamon-sugar mixture over cookies.
Step 10: Bake Cookies
Preheat oven to 350°F (175°C). Bake cookies for 6-8 minutes until edges turn light golden brown.
Useful Pointers For Sand Tarts Recipe

Tips For Keeping Sand Tarts Recipe Crisp
Creative Twists On Sand Tarts Recipe
Parting Thoughts On Sand Tarts Recipe
Sand Tarts Recipe Conclusion:
Holiday kitchens sparkle with heritage when classic recipes like sand tarts emerge from family cookbooks.
German-American traditions dance through delicate cookie memories, connecting generations with whispers of sweet nostalgia.
Crisp edges and delicate sugar crystals create magical moments of culinary celebration.
Careful preparation transforms simple ingredients into memorable treats that whisper family stories.
Baking becomes more than technique – it connects hearts across kitchen counters and dinner tables.
With each golden-edged cookie, you craft edible memories that will warm winter gatherings: sprinkle generously, share freely, comment below, and spread delicious joy through this cherished recipe.
Print
Joy Of Cooking Sand Tarts Recipe
- Total Time: 25 minutes
- Yield: 24 1x
Description
Delightful Sand Tarts from Joy of Cooking showcase a classic holiday cookie with buttery, crumbly texture and delicate spiced flavor. Cinnamon-dusted rounds melt in your mouth, offering a nostalgic taste of festive cheer that connects generations of bakers.
Ingredients
Main Ingredients:
- 4 Cups (480 grams) flour
- 4 eggs
- ½ pound (226 grams) butter, 2 sticks, softened
- 1 egg for egg wash
Sweetening Ingredient:
- 1 Box (3 ¾ Cups or 450 grams) 10x sugar (confectioner’s sugar)
Instructions
- Thoroughly cream softened butter and granulated sugar in a large mixing bowl until the mixture becomes light and fluffy.
- Gradually incorporate all-purpose flour and eggs into the butter mixture, stirring until a smooth, cohesive dough forms.
- Wrap the prepared dough tightly in plastic wrap and chill in the refrigerator for a minimum of 60 minutes to allow the ingredients to meld and the dough to firm up.
- Remove the chilled dough and place it on a generously floured work surface, selecting a portion approximately the size of a softball.
- Using a rolling pin, carefully roll out the dough until it reaches an ultra-thin consistency, comparable to the thickness of a compact disc or even thinner.
- Select your preferred cookie cutter and precisely cut out shapes from the rolled dough, ensuring clean and defined edges.
- Transfer the delicate cut-out shapes onto an ungreased baking sheet, spacing them slightly apart to prevent sticking.
- Gently brush the surface of each cookie with a light egg wash to create a beautiful golden sheen when baked.
- For added sweetness and visual appeal, sprinkle colorful sugar crystals over the egg-washed cookies.
- Optional: Create a fragrant cinnamon sugar topping by mixing 3 tablespoons (45 milliliters) of granulated sugar with 1 teaspoon (5 milliliters) of ground cinnamon, then evenly distribute over the cookies.
- Preheat the oven to 350°F (175°C) and bake the cookies for 6-8 minutes, watching carefully until they develop a delicate golden color around the edges.
Notes
- Chill dough in the refrigerator for at least 30 minutes to prevent spreading during baking.
- Roll out cookies uniformly using a measured rolling pin for consistent thickness.
- Melt butter completely at room temperature to ensure smooth ingredient integration.
- Experiment with different cookie shapes using fun seasonal cutters for visual appeal.
- Dust work surface lightly with flour to prevent dough from sticking and tearing.
- Allow baked cookies to cool on the sheet for 5 minutes before transferring to a wire rack.
- Store cookies in an airtight container to maintain freshness for up to one week.
- Use parchment paper for easy removal and minimal cleanup after baking.
- Select unsalted butter for better control of overall recipe saltiness.
- Keep ingredients at similar temperatures to help them blend more effectively.
- Prep Time: 10 minutes
- Cook Time: 15 minutes
- Category: Desserts, Snacks
- Method: Baking
- Cuisine: American
Nutrition
- Serving Size: 24
- Calories: 180
- Sugar: 10 g
- Sodium: 50 mg
- Fat: 7 g
- Saturated Fat: 4 g
- Unsaturated Fat: 2 g
- Trans Fat: 0 g
- Carbohydrates: 25 g
- Fiber: 1 g
- Protein: 3 g
- Cholesterol: 30 mg
Ethan Miller
Founder & Lead Content Writer
Expertise
Education
Portland Community College
Culinary Institute of the Pacific
Ethan’s culinary journey began in his grandmother’s kitchen, where he first learned to play with flavors and ingredients. With formal training in culinary arts and a deep love for international cuisines, Ethan’s goal is to share the joy of cooking with others.
He believes food is all about creativity and bringing people together, one meal at a time. When he’s not experimenting with new dishes, he enjoys hiking in the Oregon wilderness and discovering fresh, local ingredients.