The Ultimate Melty Tuna Melt: Comfort in Every Cheesy Bite
Tuna melts are a classic comfort food that brings together tasty seafood with melted cheese.
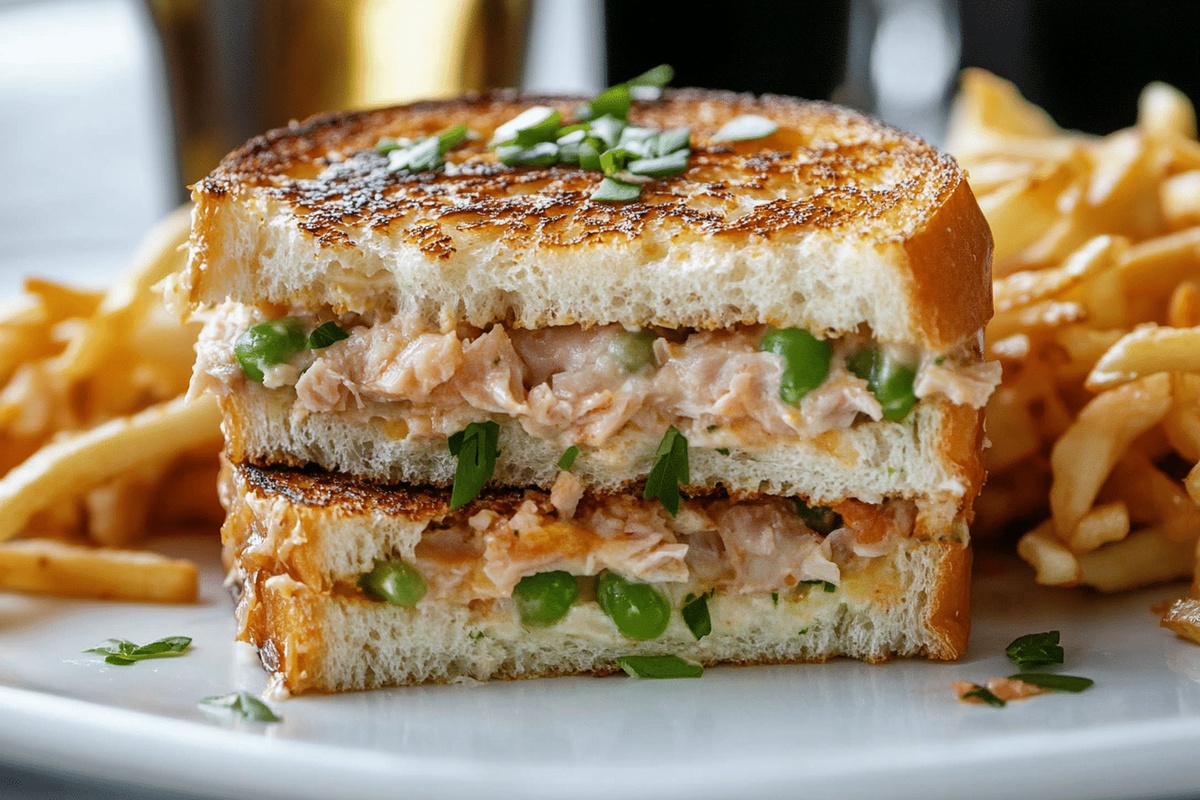
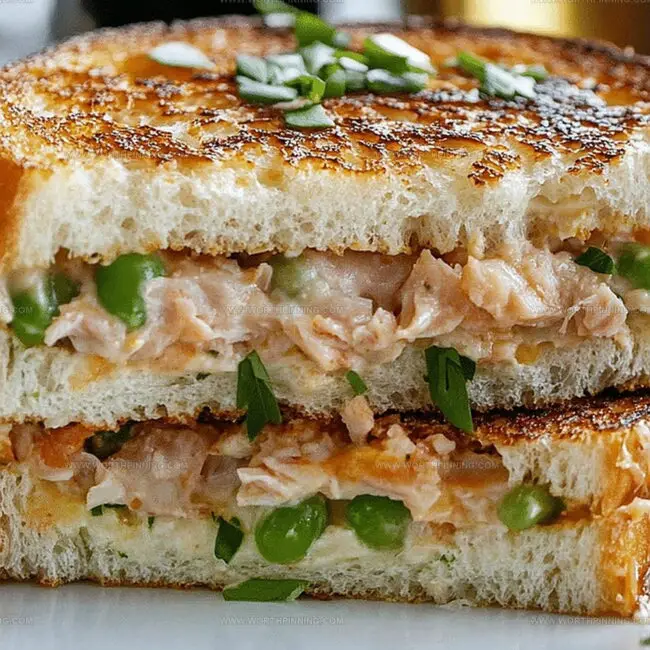
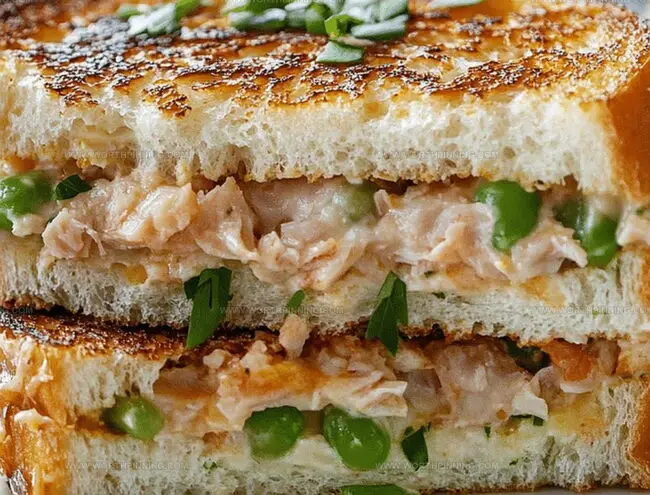
This sandwich, tucked between slices of crispy, golden-brown bread, turns an everyday meal into something truly satisfying.
People everywhere enjoy making this dish because it can be changed up in so many ways.
A great tuna melt has creamy mayonnaise-mixed tuna paired with sharp cheese and toasted bread.
The mix of textures and flavors creates a harmony that makes this sandwich perfect for lunch or dinner.
Many generations have loved this simple yet delicious choice when looking for something quick and filling to eat.
Why Melty Tuna Melt Is So Comforting
Melty Tuna Melt Ingredient Guide
Base Ingredients:Fresh Aromatics and Herbs:Seasoning and Cheese:How To Make A Melty Tuna Melt
Step 1: Prepare Tuna Filling
In a mixing bowl, combine:Stir ingredients thoroughly until well blended.
Thermomix Alternative: Chop vegetables first for 6 seconds at speed 4, then add remaining ingredients and mix for 10 seconds in reverse at speed 2.
Step 2: Butter And Layer Bread
Select sourdough bread slices and butter one side of each slice.
Place cheese on half of the bread slices.
Spread prepared tuna mixture evenly over cheese.
Cover with remaining bread slices, ensuring buttered side faces outward.
Step 3: Grill To Golden Perfection
Heat skillet or griddle over medium heat.
Place assembled sandwiches in pan.
Cook until bread turns golden brown and cheese melts completely.
Flip carefully to ensure even browning on both sides.
Step 4: Serve And Enjoy
Transfer sandwiches to serving plate.
Optional: Sprinkle freshly grated Parmesan cheese on top.
Serve immediately while warm and crispy.
Tips To Keep Your Melty Tuna Melt Gooey
How To Store And Reheat Melty Tuna Melt
Perfect Sides With Melty Tuna Melt
Tasty Variations On Melty Tuna Melt
Melty Tuna Melt FAQs
This version uses fresh herbs like dill and chives, plus a mix of pickles and red onion for extra flavor complexity that elevates the classic sandwich.
Sourdough works best for its tangy flavor and crispy texture, but you can substitute with whole wheat, rye, or white bread depending on your preference.
No, the Thermomix is optional. You can easily chop ingredients by hand or use a food processor to mix the tuna salad if you prefer.
Use Greek yogurt instead of mayonnaise, choose whole grain bread, and add extra vegetables like chopped spinach or bell peppers to increase nutritional value.
Print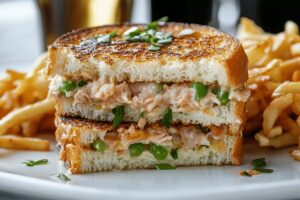
Irresistibly Melty Tuna Melt Recipe
- Total Time: 20 minutes
- Yield: 4 1x
Description
Savory California tuna melt promises coastal comfort with golden-crisp bread and rich, gooey cheese. Perfectly balanced layers of fresh ingredients create a classic sandwich that brings seaside memories right to your plate.
Ingredients
Main Ingredients:
- 425 grams (15 ounces) canned tuna, drained
- 12 slices sourdough bread
- 6 slices burger cheese (or cheddar)
Vegetables and Flavor Enhancers:
- ½ cup whole egg mayonnaise (or Kewpie mayo)
- 3 celery stalks, diced
- ¼ red onion, finely diced
- 35 grams (¼ cup) pickles or dill cucumbers, finely diced
- 2 tablespoons fresh dill & chives, chopped
- 1 tablespoon Dijon mustard
- Salt & pepper to taste
Finishing Ingredients:
- Butter (for spreading)
- Finely grated Parmesan (optional, for topping)
Instructions
- Prepare tuna mixture by blending drained tuna with mayonnaise, finely chopped celery, diced red onion, minced pickles, chopped dill, chives, Dijon mustard, salt, and pepper in a mixing bowl until thoroughly combined.
- For Thermomix users, pulse celery, onion, pickles, dill, and chives in the appliance for 6 seconds at speed 4, then scrape down sides and incorporate remaining ingredients, mixing for 10 seconds in reverse at speed 2.
- Gently spread softened butter on one side of each sourdough bread slice, ensuring complete coverage.
- Arrange slices with unbuttered sides facing inward, layering sharp cheddar cheese on bottom slice, then generously spread the prepared tuna mixture.
- Crown the sandwich with another slice of bread, positioning the buttered exterior facing outward to create a golden, crispy exterior during cooking.
- Heat a skillet or griddle over medium temperature, carefully placing the assembled sandwich and cooking until bread turns a rich golden brown and cheese melts completely.
- Optional: Dust the top of the sandwich with freshly grated Parmesan cheese for an extra flavor boost.
- Slice diagonally and serve immediately while warm and crispy.
Notes
- Customize the tuna salad by swapping mayo with Greek yogurt for a lighter, tangier version that reduces calories and adds protein.
- Experiment with different cheese types like sharp cheddar, provolone, or Swiss for unique flavor combinations that complement the tuna.
- Make the sandwich gluten-free by using gluten-free bread or lettuce wraps, perfect for those with dietary restrictions or health-conscious eaters.
- Boost nutrition
- Prep Time: 5 minutes
- Cook Time: 15 minutes
- Category: Lunch, Snacks
- Method: Grilling
- Cuisine: American
Nutrition
- Serving Size: 4
- Calories: 350
- Sugar: 2g
- Sodium: 800mg
- Fat: 20g
- Saturated Fat: 6g
- Unsaturated Fat: 12g
- Trans Fat: 0g
- Carbohydrates: 30g
- Fiber: 2g
- Protein: 15g
- Cholesterol: 50mg
Sophia Rivera
Recipe Developer & Kitchen Tips Specialist
Expertise
Education
Austin Community College
San Antonio Culinary Institute
Sophia’s passion for baking began in her family kitchen, where she spent hours experimenting with new recipes. With a background in baking and pastry arts, she loves making desserts that are as visually stunning as they are delicious.
Sophia is all about using seasonal, locally sourced ingredients to create treats that everyone will enjoy. When she’s not creating mouth-watering desserts, you can find her gardening, making new recipes, or enjoying a relaxing afternoon with her family.