Quick Jamie Oliver Cheese And Onion Pie Recipe For Cozy Nights
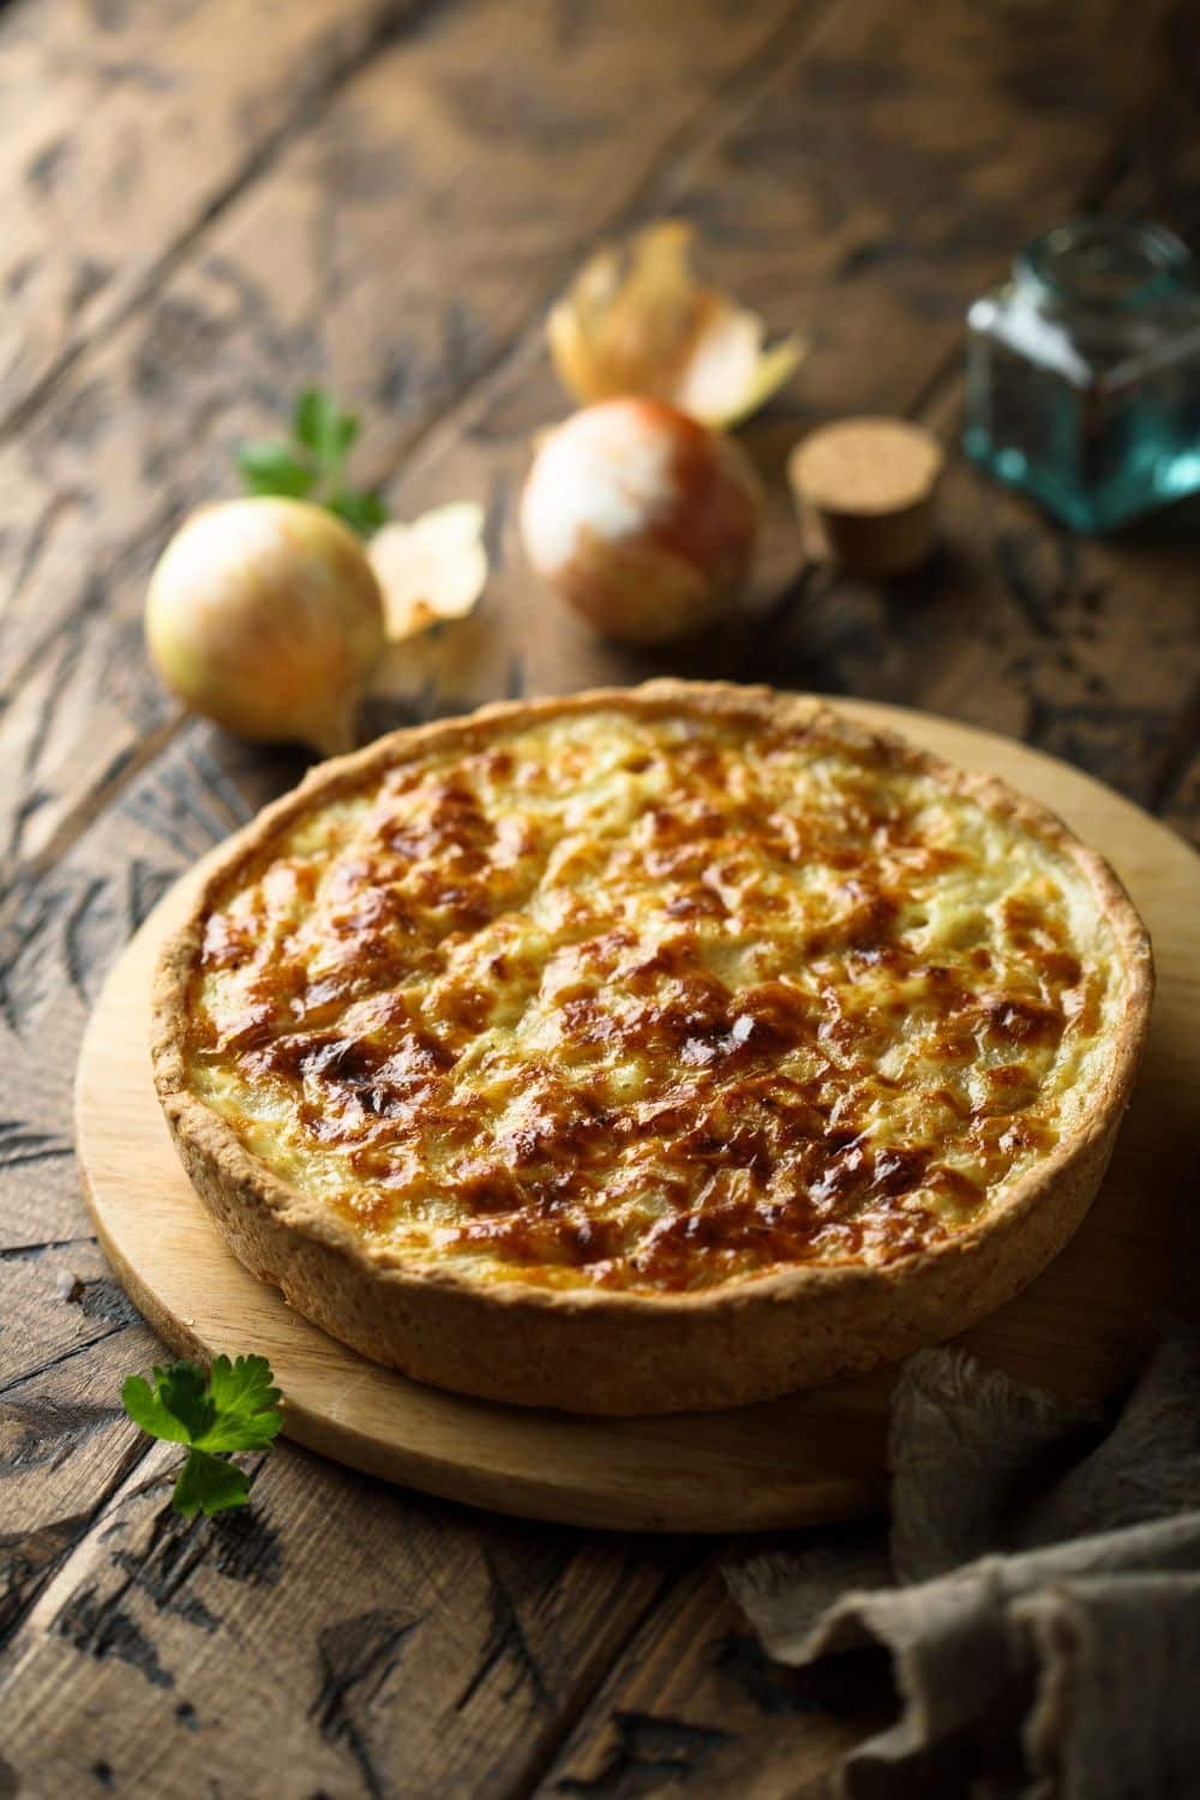
Jamie Oliver’s cheese and onion pie bursts with comforting classic British flavors that warm the soul.
Rustic pastry traditions blend seamlessly with homestyle cooking in this delectable dish.
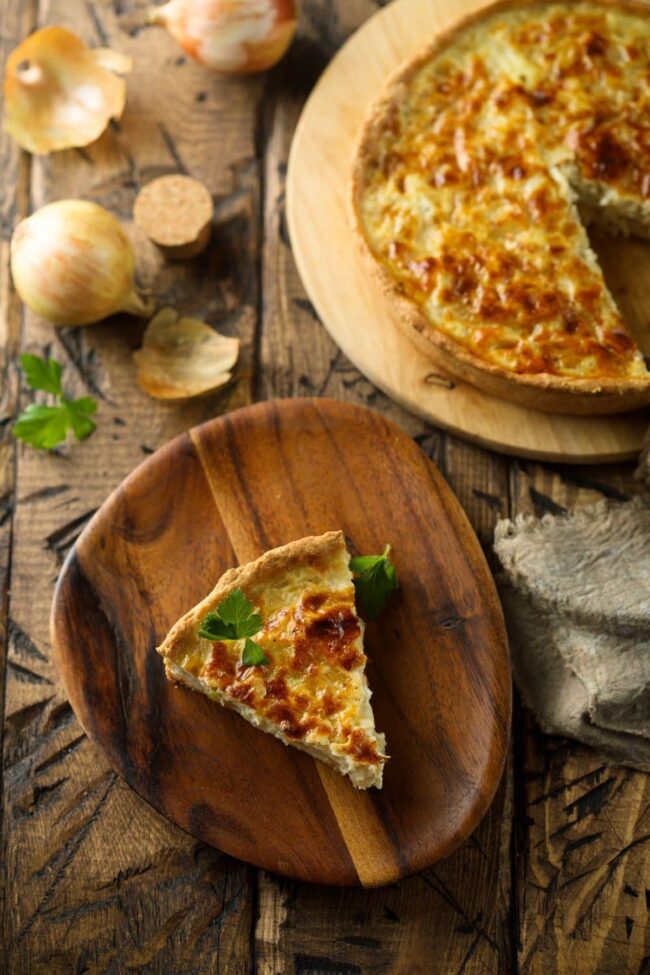
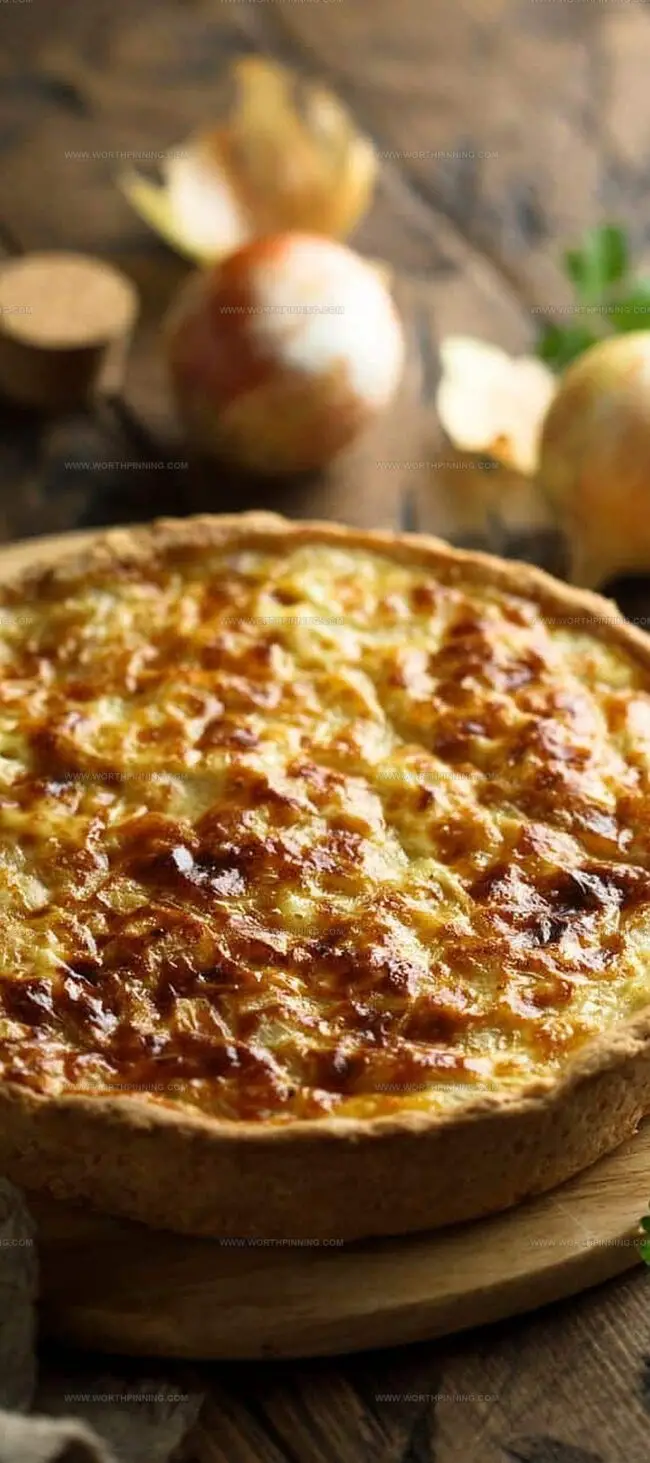
Golden, flaky layers cradle a luscious filling that sings with tangy cheese and sweet caramelized onions.
Each forkful promises a delightful journey through culinary comfort and tradition.
Simple ingredients transform into something magical when combined with love and care.
The recipe celebrates humble pantry staples, turning them into a feast for family and friends.
This pie will become your new weekend cooking obsession.
Quick Recipe Overview

Ingredients in Jamie Oliver’s Cheese and Onion Pie
For Pastry Dough:For Filling:For Finishing:Tools to Bake Cheese and Onion Pie
Cooking Directions for Jamie Oliver’s Pie
Craft Savory Onion Cheese Pie
Whip up a delightful pastry in your kitchen that’ll make everyone’s mouth water! This easy recipe transforms simple ingredients into a mouthwatering masterpiece.
Toss flour, cold butter, and a dash of salt into a food processor. Pulse until the mixture looks like coarse crumbs. Drizzle in cold water and mix until a smooth dough forms. Wrap and chill in the refrigerator to let the flavors meld.
Gently cook onions until perfectly tender. In a mixing bowl, combine the cooled onions with creamy cheese. Crack fresh eggs and whisk them into the mixture, seasoning with black pepper and a pinch of salt for extra zest.
Roll out the chilled dough on a flour-dusted surface. Carefully line a pie dish with two-thirds of the pastry. Spread the onion and cheese filling evenly across the base, creating a delicious foundation for your pie.
Top the pie with the remaining rolled dough. Crimp the edges to create a beautiful seal and cut a small steam vent. Brush the entire surface with beaten egg to achieve a gorgeous golden finish.
Slide the pie into a preheated oven. Bake until the crust turns a gorgeous golden brown, filling your kitchen with an irresistible aroma. Let the pie rest briefly before slicing to allow the filling to set.
Serve warm and watch as everyone asks for seconds!
Flavor Additions for Cheese and Onion Pie
Experiment with different cheese varieties like sharp cheddar, creamy gouda, or tangy blue cheese to create unique flavor profiles.
Sprinkle fresh herbs like thyme, chives, or parsley into the filling for an extra layer of aromatic goodness.
Toss in some roasted garlic, spinach, or caramelized leeks to elevate the filling’s complexity and nutrition.
Replace regular flour with gluten-free flour blend for those with dietary restrictions, ensuring everyone can enjoy this delicious pie.
Presentation Tips for Cheese and Onion Pie

Storage Instructions for Cheese and Onion Pie
Print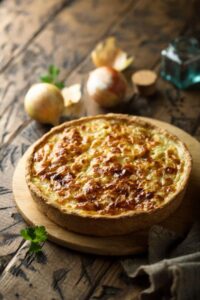
Hearty Jamie Oliver Cheese And Onion Pie Recipe
- Total Time: 1 hour
- Yield: 5 1x
Description
Jamie Oliver’s cheese and onion pie blends rich cheddar and caramelized onions in a buttery pastry shell. Simple British comfort creates delicious satisfaction with minimal ingredients and maximum flavor.
Ingredients
- 500 g / 17.6 oz plain flour
- 500 g / 17.6 oz mature cheddar, grated
- 250 g / 8.8 oz cold butter, diced
- 3 large eggs
- 2 large onions, finely chopped
Instructions
- Pastry Preparation: Pulse flour, butter, and salt in a food processor until crumbly. Drizzle ice-water while mixing until dough forms. Wrap and chill for half an hour to relax gluten strands.
- Onion Transformation: Gently cook onions in water until translucent and soft. Drain completely and cool to room temperature.
- Filling Composition: Combine cooled onions with grated cheese, introducing black pepper and salt. Whisk eggs and fold into cheese-onion mixture until thoroughly blended.
- Pastry Deployment: Roll two-thirds of chilled dough and line a 25-centimeter pie dish, ensuring complete base and side coverage. Press dough carefully to eliminate air pockets.
- Pie Assembly: Distribute cheese-onion filling evenly across pastry base. Roll remaining dough to coin-thickness and create a precise top crust.
- Sealing and Finishing: Brush dish edges with beaten egg. Position top crust, crimping edges securely. Pierce central steam vent and apply comprehensive egg wash for golden sheen.
- Baking Ritual: Position pie in preheated oven at 200°C for conventional or 180°C for convection. Bake approximately 40 minutes until crust transforms to rich amber-brown. Allow 10-minute resting period post-baking for optimal filling structure.
Notes
- Pastry Perfection: Chill the dough for exactly 30 minutes to ensure a flaky, tender crust that doesn’t shrink during baking.
- Onion Optimization: Completely drain onions to prevent soggy pie bottom and concentrate the rich, sweet flavor.
- Sealing Secrets: Crimp pie edges firmly and create a small steam vent to prevent filling leakage and ensure even cooking.
- Golden Glaze: Egg wash is crucial for achieving a professional, shiny, amber-brown crust that looks as good as it tastes.
- Prep Time: 20 minutes
- Cook Time: 40 minutes
- Category: Lunch, Dinner
- Method: Baking
- Cuisine: British
Nutrition
- Serving Size: 5
- Calories: 600
- Sugar: 2 g
- Sodium: 400 mg
- Fat: 40 g
- Saturated Fat: 25 g
- Unsaturated Fat: 15 g
- Trans Fat: 0 g
- Carbohydrates: 50 g
- Fiber: 3 g
- Protein: 20 g
- Cholesterol: 150 mg
Sophia Rivera
Recipe Developer & Kitchen Tips Specialist
Expertise
Education
Austin Community College
San Antonio Culinary Institute
Sophia’s passion for baking began in her family kitchen, where she spent hours experimenting with new recipes. With a background in baking and pastry arts, she loves making desserts that are as visually stunning as they are delicious.
Sophia is all about using seasonal, locally sourced ingredients to create treats that everyone will enjoy. When she’s not creating mouth-watering desserts, you can find her gardening, making new recipes, or enjoying a relaxing afternoon with her family.