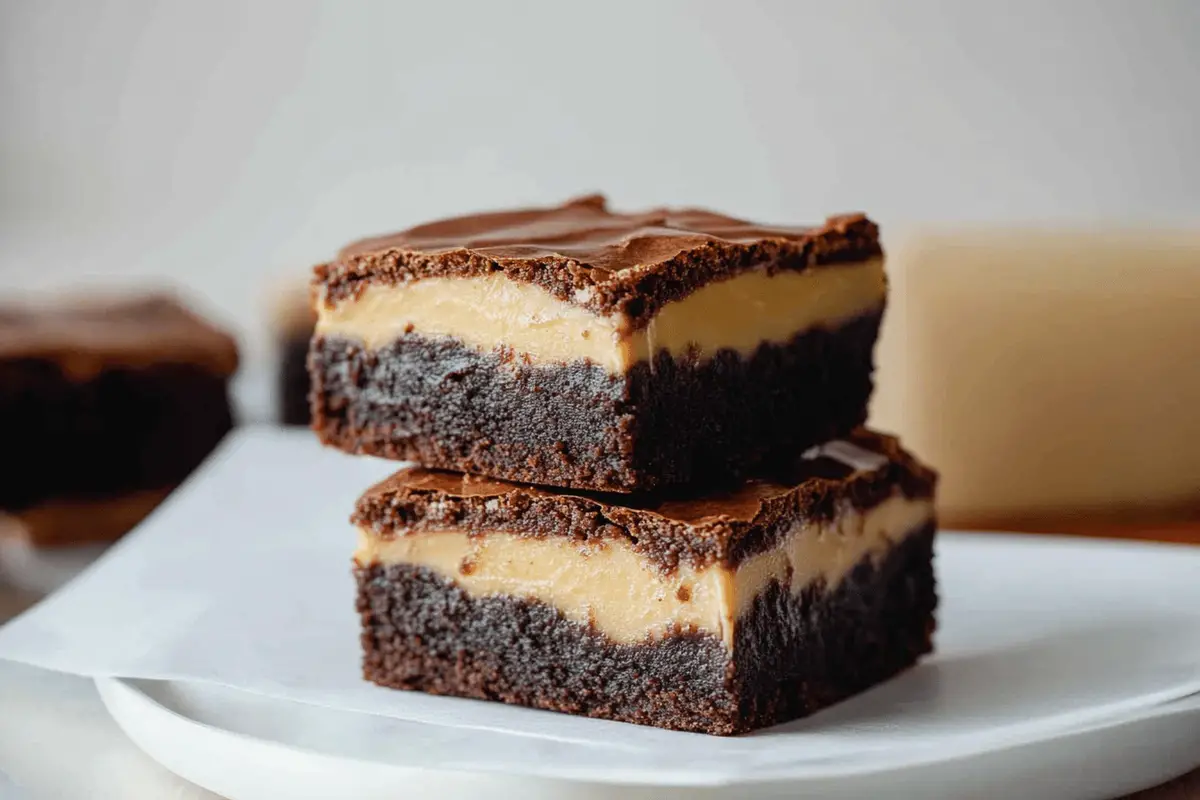
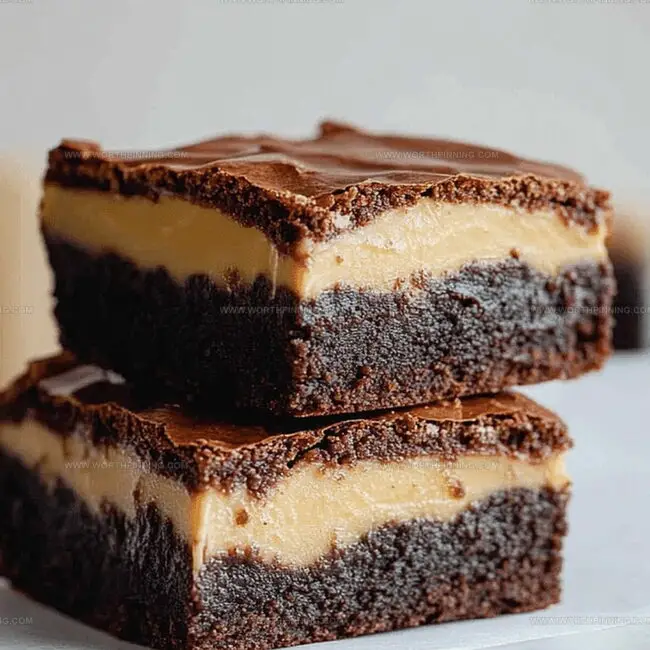
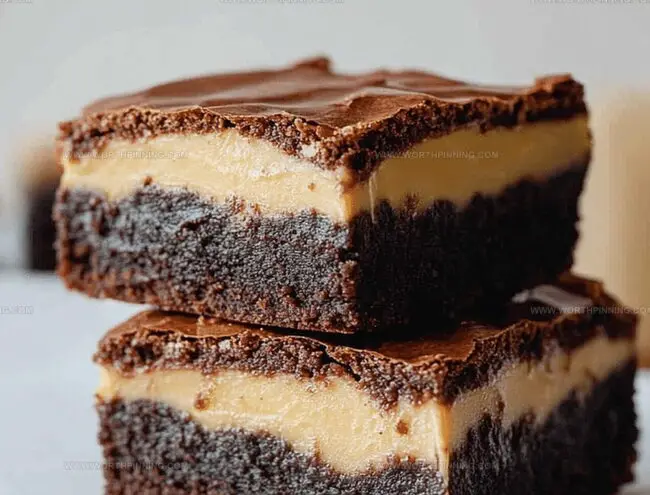
Irresistibly Gooey Buckeye Brownies: A Sweet Chocolate-Peanut Delight
Buckeye brownies are a delicious blend of chocolate and peanut butter, originating from the Midwest.
These treats take inspiration from traditional buckeye candies but add a rich brownie twist.
Ohio’s dessert traditions come alive in this sweet and salty masterpiece.
Fans of chocolate can’t resist the fudgy brownie base topped with creamy peanut butter goodness.
This recipe highlights local baking customs while offering an impressive dessert option.
Both novice bakers and experienced pastry experts enjoy the straightforward yet elegant appeal of these unique brownies.
Why Buckeye Brownies Steal The Show
Must-Have Items For Buckeye Brownies
Brownie Base:Peanut Butter Layer:Chocolate Topping:How To Bake Buckeye Brownies Right
Step 1: Prep The Baking Space
Heat the oven to 350°F. Line an 8-inch square pan with foil or parchment paper, creating easy lift-out edges. Spray with nonstick cooking spray.
Step 2: Create Brownie Base
In a large mixing bowl, combine:Whisk until blended. Add eggs and vanilla extract, stirring until smooth and silky.
Step 3: Mix Dry Ingredients
Sift into the wet mixture:Gently whisk until ingredients are just incorporated.
Step 4: Bake Brownie Foundation
Pour batter into prepared pan, spreading evenly. Bake for 23-28 minutes until a toothpick shows moist crumbs. Allow to cool completely.
Step 5: Craft Peanut Butter Layer
Microwave in a safe bowl:Stir until completely smooth. Add vanilla extract and salt.
Step 6: Create Peanut Butter Filling
Gradually mix in powdered sugar. The mixture will become thick – use hands to knead if needed.
Step 7: Layer Peanut Butter
Flatten peanut butter mixture and spread across cooled brownies in an even layer.
Step 8: Prepare Chocolate Topping
Microwave chocolate chips and butter in 30-second intervals at half power, stirring between each session until perfectly smooth.
Step 9: Finish With Chocolate
Pour melted chocolate over peanut butter layer, smoothing to create an even coating.
Step 10: Chill And Serve
Refrigerate for 45-60 minutes until chocolate sets completely. Lift from pan using parchment edges, slice into bars, and enjoy your homemade treat!
Great Tips For Buckeye Brownies
Storing Buckeye Brownies The Smart Way
Top Picks To Serve With Buckeye Brownies
Fun Ways To Remix Buckeye Brownies
Buckeye Brownies Q&A
Not at all! They’re surprisingly simple. The recipe involves basic steps like mixing, melting, and layering. Even beginner bakers can successfully create these delicious treats with some patience and careful following of instructions.
Yes, you can make some substitutions. For peanut butter, you can use almond butter or sunflower seed butter. For chocolate chips, dark or milk chocolate work well. Just keep proportions consistent for best results.
Check the brownies around 23-25 minutes. When a toothpick inserted comes out with a few moist crumbs, they’re done. Avoid overbaking, which can make them dry. The edges should look set but the center slightly soft.
The combination of fudgy brownie base, creamy peanut butter layer, and smooth chocolate topping creates an incredible texture. The layers provide a rich, decadent mouthfeel that’s both soft and substantial.
Print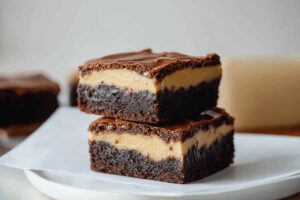
Divine Buckeye Brownies Recipe
- Total Time: 1 hour 10 minutes
- Yield: 16 1x
Description
Chocolate lovers rejoice with these irresistible Buckeye Brownies, combining rich fudgy layers and creamy peanut butter magic. Rich chocolate and smooth peanut butter create a delectable Ohio-inspired dessert you’ll crave again and again.
Ingredients
Main Ingredients:
- 1 cup (200g) granulated sugar
- 2 large eggs
- 1 cup (250g) creamy peanut butter
- ½ cup (90g) semi-sweet chocolate chips
- ½ cup (115g) unsalted butter, melted and slightly cooled
Dry Ingredients:
- ½ cup (45g) unsweetened cocoa powder
- ½ cup (65g) all-purpose flour
- 1 ½ cups (180g) powdered sugar
Flavor Enhancers:
- 1 teaspoon pure vanilla extract
- 5 tablespoons (70g) unsalted butter
- 3 tablespoons (43g) unsalted butter
- ¼ teaspoon salt
- ½ teaspoon pure vanilla extract
- ⅛ teaspoon salt
Instructions
- Prepare the baking vessel by lining an 8-inch square pan with foil or parchment, ensuring edges hang over for easy extraction. Lightly coat with nonstick spray to prevent sticking.
- Create a rich brownie base by whisking melted butter and sugar until thoroughly combined. Incorporate eggs and vanilla extract, mixing until the mixture achieves a silky consistency.
- Gently fold cocoa powder, flour, and salt into the wet ingredients, stirring minimally to maintain a tender texture.
- Transfer the brownie batter into the prepared pan, distributing evenly with a spatula to ensure uniform baking.
- Bake in a preheated 350°F oven for approximately 25 minutes. The brownies are ready when a toothpick emerges with a few moist crumbs. Allow to cool completely at room temperature.
- Craft the peanut butter layer by melting peanut butter and butter in the microwave, stirring between brief heating intervals until smooth and integrated.
- Enhance the peanut butter mixture with vanilla extract and a pinch of salt, stirring to distribute flavors evenly.
- Gradually incorporate powdered sugar into the peanut butter base, mixing thoroughly. If the mixture becomes too stiff, knead with hands to create a cohesive layer.
- Carefully spread the peanut butter mixture over the cooled brownie base, creating an even, smooth surface.
- Prepare the chocolate topping by melting chocolate chips and butter in the microwave, using 50% power and stirring between short intervals to prevent burning.
- Pour the glossy chocolate layer over the peanut butter, tilting the pan to ensure complete and even coverage.
- Chill the assembled dessert in the refrigerator for approximately 45 minutes, allowing the chocolate to set completely and flavors to meld.
- Remove from the refrigerator and use the parchment overhang to lift the entire dessert from the pan. Slice into precise squares, revealing the beautiful layers.
Notes
- Ensure brownies are completely cool before adding peanut butter layer to prevent melting and maintain distinct layers.
- Use room temperature eggs for better batter integration and smoother texture.
- Sifting dry ingredients prevents clumping and creates a more uniform brownie base.
- For gluten-free option, swap all-purpose flour with almond or gluten-free blend, maintaining same measurement.
- Opt for natural peanut butter with
- Prep Time: 45 minutes
- Cook Time: 25 minutes
- Category: Desserts, Snacks
- Method: Baking
- Cuisine: American
Nutrition
- Serving Size: 16
- Calories: 360
- Sugar: 30g
- Sodium: 210mg
- Fat: 22g
- Saturated Fat: 10g
- Unsaturated Fat: 8g
- Trans Fat: 0g
- Carbohydrates: 36g
- Fiber: 2g
- Protein: 7g
- Cholesterol: 40mg
Sophia Rivera
Recipe Developer & Kitchen Tips Specialist
Expertise
Education
Austin Community College
San Antonio Culinary Institute
Sophia’s passion for baking began in her family kitchen, where she spent hours experimenting with new recipes. With a background in baking and pastry arts, she loves making desserts that are as visually stunning as they are delicious.
Sophia is all about using seasonal, locally sourced ingredients to create treats that everyone will enjoy. When she’s not creating mouth-watering desserts, you can find her gardening, making new recipes, or enjoying a relaxing afternoon with her family.