Delicious Cherry Cheesecake Bliss: A Heavenly Treat You’ll Love
The classic cherry cheesecake is a timeless dessert that people love all around the world.
Its creamy texture and rich taste make it a treat that’s hard to resist.
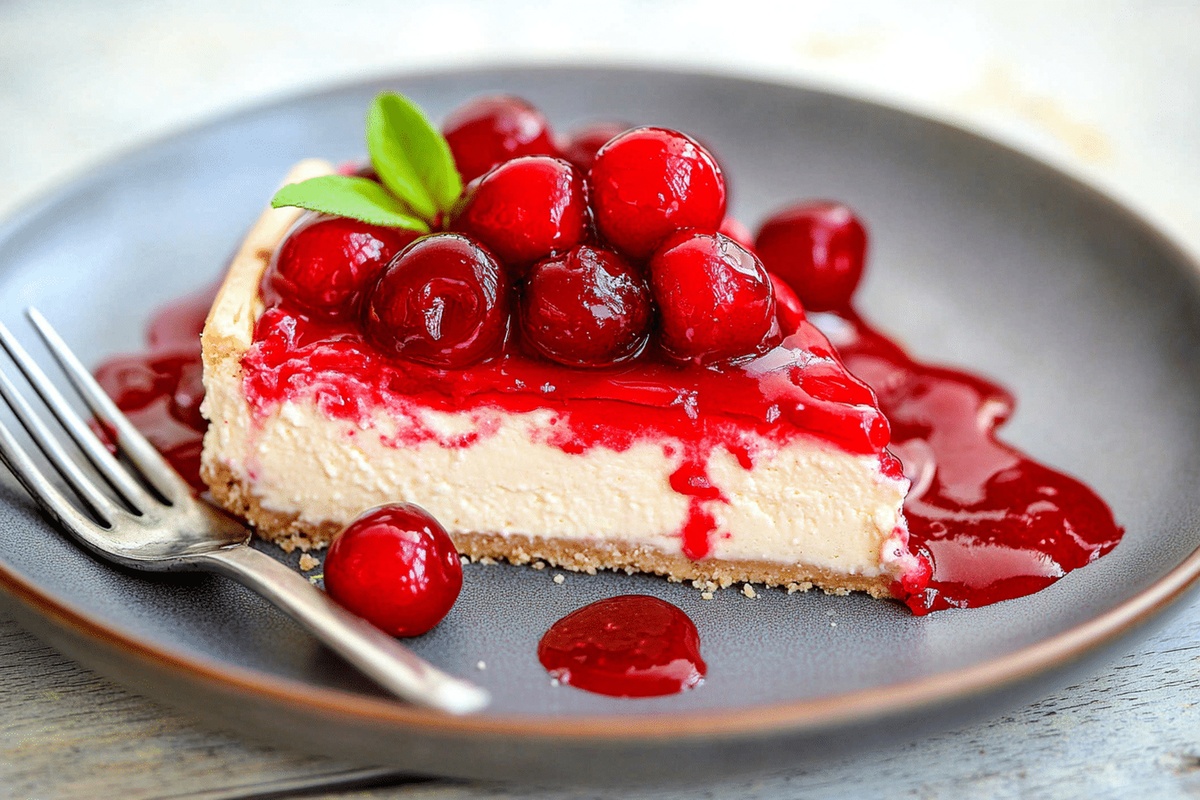
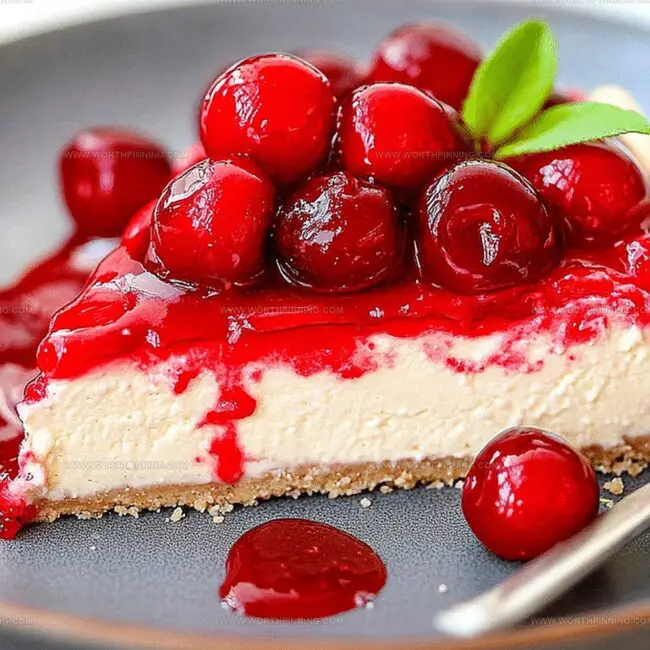
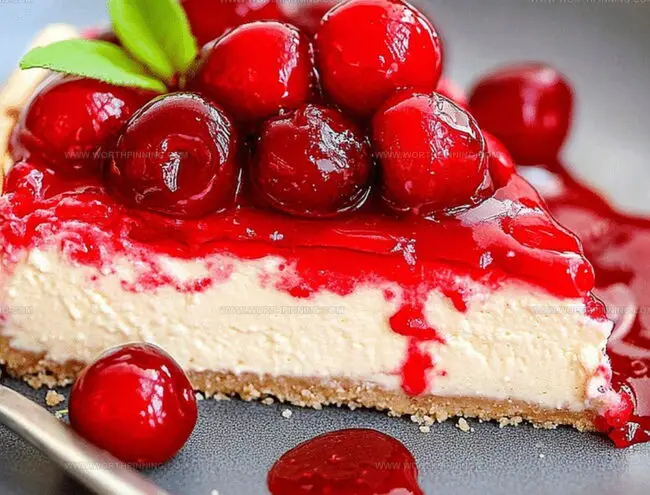
This cheesecake combines soft cream cheese, a delicate graham cracker crust, and bright cherry toppings to turn an ordinary sweet into something truly special.
It’s both elegant and easy to make, blending traditional baking methods with fresh flavors.
Whether you’re an expert baker or just someone who enjoys making desserts, you’ll find great joy in preparing and enjoying this delicious dish.
Each bite of cherry cheesecake offers pure happiness on a plate.
What Makes Cherry Cheesecake Bliss So Loved
What’s In Cherry Cheesecake Bliss
Crust Ingredients:Cheesecake Filling Ingredients:Topping Ingredients:Simple Steps For Cherry Cheesecake Bliss
Step 1: Craft the Crumbly Crust
Grab a mixing bowl and toss in:Mix everything until it forms a cohesive mixture. Press the crumb blend firmly into the bottom of a 9×9-inch baking dish. Pop it in the refrigerator while you work on the next magical layer.
Step 2: Whip Up the Creamy Filling
In a large mixing bowl, grab your electric mixer and beat together:Blend until the mixture becomes silky smooth and dreamy.
Step 3: Create Fluffy Cloud Cream
In a separate bowl, grab your whisk or mixer and whip the heavy cream until it forms gorgeous stiff peaks. Gently fold this pillowy cream into the cream cheese mixture, blending until perfectly combined.
Step 4: Layer the Delightful Dessert
Spread the luscious cheesecake filling evenly across the chilled crust, creating a perfect creamy canvas.
Step 5: Crown with Cherry Goodness
Spoon the cherry pie filling over the cheesecake layer, distributing it evenly to create a vibrant ruby-red topping.
Step 6: Chill and Anticipate
Cover your masterpiece and tuck it into the refrigerator. Let it rest and set for at least 4 hours, or ideally overnight. This waiting game allows all the flavors to mingle and become absolutely irresistible.
Tips To Make Cherry Cheesecake Bliss Easier
Storing Cherry Cheesecake Bliss Without A Mess
Cherry Cheesecake Bliss Goes Great With These
Cherry Cheesecake Bliss Recipe Variations
Cherry Cheesecake Bliss Questions And Answers
Yes, you can substitute graham crackers with crushed cookies like Oreos or digestive biscuits for a unique flavor and texture.
Absolutely! Use gluten-free graham crackers or almond flour as a crust alternative to make the recipe gluten-free.
Ensure cream cheese is completely softened at room temperature and beat it thoroughly, scraping down the sides of the bowl to achieve a smooth, creamy consistency.
Yes, this cherry cheesecake can be made a day ahead and stored in the refrigerator, which actually helps the flavors meld together and enhances the taste.
Print
Delectable Cherry Cheesecake Bliss Recipe
- Total Time: 15 minutes
- Yield: 8 1x
Description
Indulgent cherry cheesecake promises a delightful culinary journey through creamy layers and sweet fruit. Smooth cream cheese meets tangy cherries, creating a heavenly dessert that will transport you to dessert paradise with each delectable bite.
Ingredients
Main Ingredients:
- 16 ounces (454 grams) cream cheese, softened
- 1 can (21 ounces / 595 grams) cherry pie filling
- 1 cup heavy whipping cream
Crust Ingredients:
- 2 cups graham cracker crumbs
- ½ cup unsalted butter, melted
- 2 tablespoons granulated sugar
Sweeteners and Flavoring:
- 1 cup powdered sugar
- 1 teaspoon vanilla extract
Instructions
- Transform graham crackers into a rustic base by blending with melted butter and sugar until the mixture achieves a sandy consistency.
- Press the crumb mixture meticulously into a 9×9-inch baking dish, creating a compact foundation. Chill in the refrigerator to set the crust firmly.
- Whisk cream cheese until velvety smooth, incorporating powdered sugar and vanilla extract to develop a luxurious, creamy texture.
- In a separate vessel, whip heavy cream to stiff, billowy peaks that hold their shape elegantly.
- Gently integrate the whipped cream into the cream cheese mixture, folding with a delicate touch to maintain airiness and prevent deflation.
- Carefully spread the silky cheesecake mixture across the chilled crust, ensuring an even, smooth surface.
- Crown the cheesecake with a vibrant layer of cherry pie filling, distributing the glossy crimson topping uniformly.
- Seal the dessert and allow it to rest in the refrigerator for a minimum of 4 hours, permitting flavors to meld and texture to set perfectly.
- Before serving, let the cheesecake rest at room temperature for 10 minutes to enhance its creamy consistency and flavor profile.
Notes
- Swap graham crackers with gluten-free alternatives like almond or coconut flour cookies for a celiac-friendly version.
- Reduce sugar content by using stevia or monk fruit sweetener in both crust and filling for a lower-calorie dessert.
- For a fresh twist, replace canned cherry pie filling with homemade cherry compote using fresh seasonal cherries and less added sugar.
- Enhance texture by adding crushed toasted alm
- Prep Time: 15 minutes
- Cook Time: 0 minutes
- Category: Desserts
- Method: None
- Cuisine: American
Nutrition
- Serving Size: 8
- Calories: 450
- Sugar: 30 g
- Sodium: 200 mg
- Fat: 30 g
- Saturated Fat: 18 g
- Unsaturated Fat: 10 g
- Trans Fat: 0 g
- Carbohydrates: 40 g
- Fiber: 1 g
- Protein: 5 g
- Cholesterol: 100 mg
Sophia Rivera
Recipe Developer & Kitchen Tips Specialist
Expertise
Education
Austin Community College
San Antonio Culinary Institute
Sophia’s passion for baking began in her family kitchen, where she spent hours experimenting with new recipes. With a background in baking and pastry arts, she loves making desserts that are as visually stunning as they are delicious.
Sophia is all about using seasonal, locally sourced ingredients to create treats that everyone will enjoy. When she’s not creating mouth-watering desserts, you can find her gardening, making new recipes, or enjoying a relaxing afternoon with her family.