Bold Cherry Pie Recipe

Create a Perfectly Sweet Homemade Cherry Pie Today

Cherry pies are a classic American dessert loved by many generations.

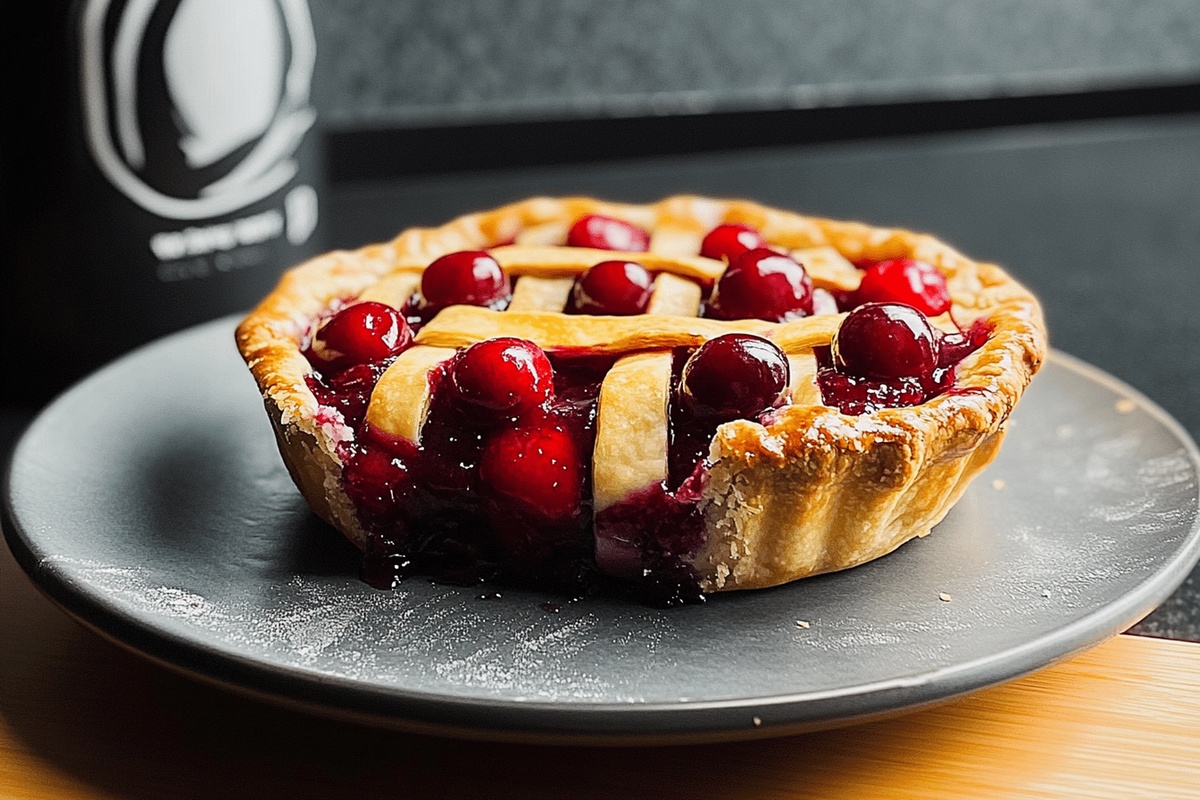
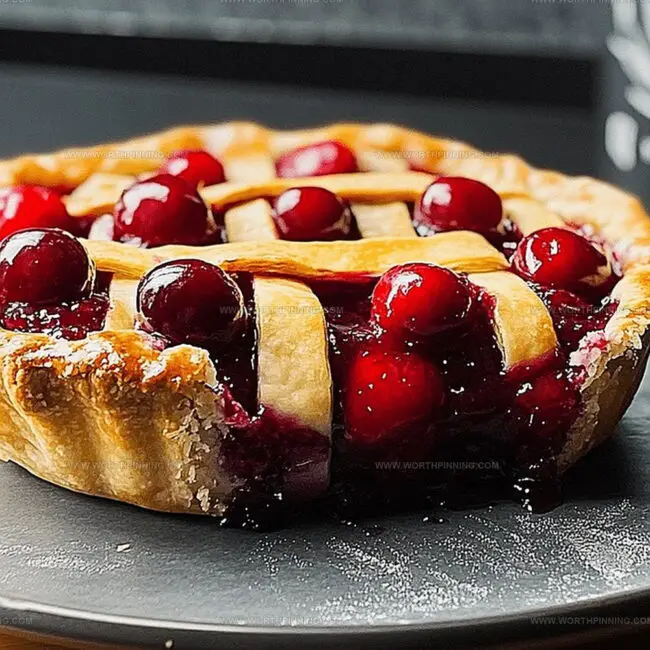
The sweet and tart cherries nestled in a flaky, golden crust create an experience that brings back warm memories of home and tradition.

Both seasoned bakers and those who enjoy making desserts at home have long cherished this timeless pastry as a symbol of comfort and seasonal plenty.

With its vibrant red filling paired with buttery pastry, it pleases people young and old.

Though it started from European baking traditions, cherry pie has become a must-have dessert during many cultural celebrations and family get-togethers.

Different regional twists and personal recipes highlight the flexibility and lasting appeal of this iconic sweet treat.

Why Cherry Pie Is A Classic

  • Effortlessly Impressive: Wow guests with a stunning homemade cherry pie that looks professionally crafted yet simple to prepare.
  • Quick and Easy Technique: Master the recipe in under two hours, making it perfect for spontaneous dessert cravings or last-minute gatherings.
  • Family-Friendly Baking: Create delicious memories together by involving kids in mixing, rolling crust, and arranging the beautiful lattice top.
  • Versatile Seasonal Delight: Enjoy this classic dessert year-round by using fresh summer cherries or convenient canned options during winter months.

Cherry Pie Ingredients List

Main Ingredients:

Fruit Base:
  • Fresh Cherries, Canned Cherries: Sweet and tart fruit that creates the classic pie filling, with fresh cherries offering bright flavor and canned cherries providing convenient alternative.
Pie Crust:
  • Pie Crust Dough: Flaky base and top layer that holds the cherry filling, homemade or store-bought pastry works well.
Thickening and Flavor Enhancers:
  • Cornstarch: Essential for creating smooth, thick pie filling without watery texture.
  • Sugar: Balances cherry tartness and adds sweetness to the filling.
  • Lemon Juice: Brightens flavor and helps control fruit browning.
Binding and Finishing Ingredients:
  • Egg White: Creates golden, shiny crust surface when brushed on top.
  • Butter: Adds rich flavor and helps prevent dry filling, optional for fresh cherries.
  • Cinnamon: Warm spice that complements cherry flavor, light sprinkle enhances overall taste.
Cooking and Preparation Elements:
  • Granulated Sugar: Provides sweet crunch on top of pie crust.
  • Reserved Cherry Juice: Used for creating thickened filling sauce.

How To Make Cherry Pie From Scratch

How To Make Cherry Pie From Scratch

Step 1: Sizzle Fresh Cherries

  • Pit and halve cherries
  • Add sugar and lemon juice to a saucepan
  • Cook over medium heat until juices emerge
  • Remove cherries with a slotted spoon
  • Mix cornstarch with cherry juice
  • Return to saucepan and cook until thickened
  • Pour sauce over cherries

Step 2: Transform Canned Cherries

  • Drain canned cherries
  • Reserve liquid
  • Dissolve cornstarch in reserved juice
  • Heat remaining juice with sugar
  • Bring to low boil
  • Stir in cornstarch mixture
  • Cook until thickened
  • Add butter and lemon juice
  • Fold in cherries

Step 3: Craft Bottom Crust

  • Roll out first pie crust to 12-inch diameter
  • Place in 9-inch pie dish
  • Spoon cherry filling
  • Sprinkle with cinnamon
  • Dot with butter pieces

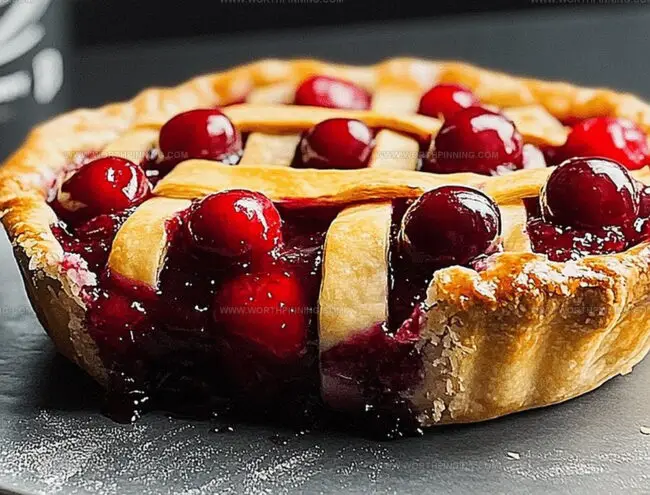
Step 4: Weave Lattice Topping

  • Roll out second pie crust
  • Cut into half-inch strips
  • Create lattice pattern
  • Pinch and crimp edges

Step 5: Finish with Golden Touch

  • Brush with egg white
  • Sprinkle granulated sugar

Step 6: Bake to Perfection

  • Preheat oven to 400°F
  • Bake 40-45 minutes
  • Cover with foil after 25 minutes

Step 7: Cool and Savor

  • Transfer to wire rack
  • Cool for several hours
  • Serve at room temperature
  • Optional: Refrigerate overnight

Step 8: Store with Care

  • Cover loosely
  • Refrigerate up to 3 days
  • Enjoy within recommended timeframe

Tips To Get Cherry Pie Just Right

  • Select Fresh Cherries: Choose ripe, firm cherries with deep, vibrant color for the most flavorful pie filling.
  • Control Sweetness: Adjust sugar levels based on cherry's natural sweetness; taste the filling before thickening to balance flavors perfectly.
  • Prevent Soggy Crust: Sprinkle a thin layer of breadcrumbs or ground almonds on the bottom crust to absorb excess liquid and maintain crispiness.
  • Create Perfect Lattice: Freeze pie crust strips for 10 minutes before weaving to make them more manageable and prevent stretching.
  • Enhance Flavor Depth: Add a splash of almond extract or vanilla to the cherry filling for a more complex and rich taste profile.

How To Store And Reheat Cherry Pie

  • Refrigeration: Store leftover cherry pie in an airtight container or wrap tightly with plastic wrap. Keep refrigerated for up to 4 days to maintain freshness and prevent spoilage.
  • Freezing: Wrap the whole pie or individual slices in plastic wrap, then aluminum foil. Freeze for up to 3 months. Thaw overnight in the refrigerator before serving.
  • Reheating Whole Pie: Warm in a preheated oven at 350°F for 15-20 minutes. Cover with foil to prevent crust from burning and keep filling moist.
  • Individual Slice Reheating: Microwave a slice for 20-30 seconds or warm in a toaster oven until heated through. Add a scoop of vanilla ice cream for extra deliciousness.

Great Pairings With Cherry Pie

  • Enhance Beverage Choices: Serve a chilled glass of vanilla-infused bourbon or a light moscato wine that balances the pie's sweet-tart cherry profile.
  • Elevate Ice Cream Companion: Top with rich vanilla bean or almond-flavored ice cream, creating a creamy contrast against the pie's warm, flaky crust.
  • Discover Cheese Harmony: Accompany with a mild mascarpone or soft goat cheese to provide a subtle tangy counterpoint to the dessert's sweetness.
  • Complete Morning Pairing: Enjoy alongside a freshly brewed medium-roast coffee with hints of caramel, which beautifully complements the cherry's deep fruity notes.

Tasty Variations On Cherry Pie

  • Gluten-Free Cherry Pie: Replace traditional wheat flour pie crust with gluten-free pie crust made from almond flour, coconut flour, or pre-made gluten-free pastry mix.
  • Vegan Cherry Pie: Substitute butter with coconut oil or vegan margarine. Use plant-based pie crust and replace egg wash with non-dairy milk or maple syrup for browning.
  • Low-Sugar Cherry Pie: Use stevia or monk fruit sweetener instead of sugar. Select tart cherries to naturally reduce sugar content and minimize added sweeteners.
  • No-Bake Cherry Pie: Create a chilled version using graham cracker crust, cream cheese filling, and fresh cherry topping. Refrigerate instead of baking for a quick summer dessert option.

Common Questions About Cherry Pie

  • What are the best types of cherries for this pie?

Sour cherries like Montmorency work best because they provide a tangy flavor and hold their shape during cooking. Sweet cherries like Bing are also good if you prefer a sweeter pie.

  • How can I prevent a soggy bottom crust?

Pre-bake the bottom crust for 10 minutes before adding filling, and make sure to drain excess liquid from cherries. You can also sprinkle a thin layer of breadcrumbs or ground nuts on the crust to absorb moisture.

  • Can I make this pie ahead of time?

Yes, you can prepare the pie a day in advance. Keep it covered at room temperature or refrigerate. The filling will set nicely, making slicing easier. Just reheat slightly before serving if you prefer warm pie.

  • How do I know when the pie is fully baked?

The crust should be golden brown, and the filling will be bubbling around the edges. A knife inserted near the center should come out with slightly thickened cherry juice. The total baking time is typically 40-45 minutes.

Print
clock clock iconcutlery cutlery iconflag flag iconfolder folder iconinstagram instagram iconpinterest pinterest iconfacebook facebook iconprint print iconsquares squares iconheart heart iconheart solid heart solid icon
Bold Cherry Pie Recipe

Bold Cherry Pie Recipe


5 Stars 4 Stars 3 Stars 2 Stars 1 Star

4.9 from 22 reviews

  • Total Time: 1 hour 5 minutes
  • Yield: 8 1x

Description

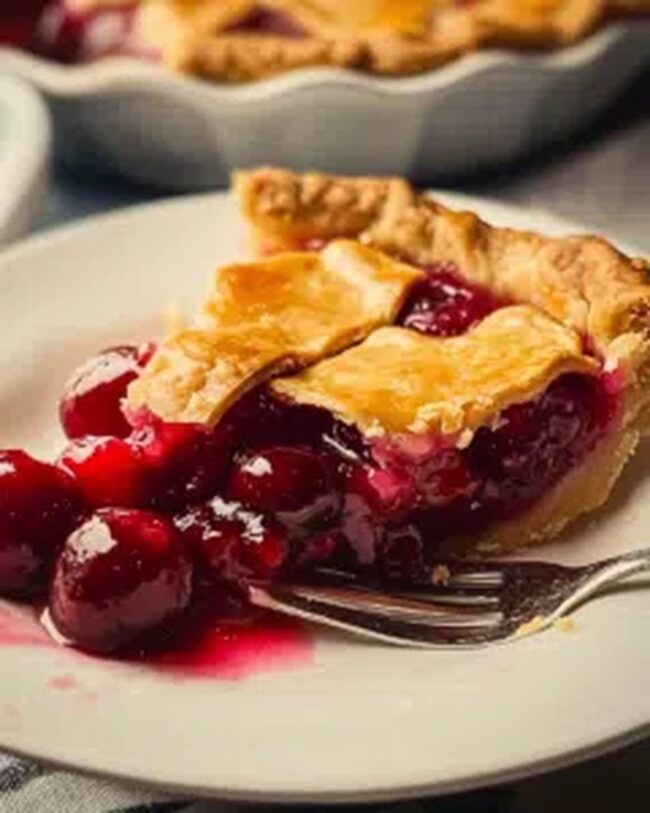
Sweet memories of grandma’s kitchen come alive with this classic Cherry Pie, a nostalgic dessert that whispers comfort and joy. Buttery, flaky crust cradles rich, tangy cherries, promising a slice of pure homemade happiness you’ll savor with each delightful bite.


Ingredients

Scale

Cherries:

  • 1.5 pounds (680 grams) fresh sour cherries, pitted and halved
  • 3 cans (14.5 ounces / 411 grams each) sour cherries, drained

Filling Ingredients:

  • ¾ cup granulated sugar
  • ⅓ cup cornstarch
  • 2 tablespoons lemon juice
  • 2 tablespoons unsalted butter
  • ½ teaspoon ground cinnamon

Crust Ingredients:

  • 1 homemade pie crust (for bottom and top)
  • 1 large egg white, beaten
  • Granulated sugar (for sprinkling)

Instructions

  1. Transform fresh or canned cherries into a luscious pie filling by gently simmering them with sugar and lemon juice until their natural juices emerge.
  2. Create a silky sauce by whisking cornstarch into the released cherry liquid, cooking until it reaches a glossy, thickened consistency.
  3. Separate the cherries using a slotted spoon, then reunite them with the luxurious sauce, allowing the mixture to meld and cool to room temperature.
  4. Preheat the oven to a robust 400°F, preparing for the pie’s golden transformation.
  5. Delicately roll out the first pie crust, draping it into a 9-inch pie dish with gentle precision.
  6. Lavish the crust with the cooled cherry filling, sprinkling a whisper of cinnamon across the surface.
  7. Dot the filling with tiny butter fragments if using fresh cherries, enhancing the pie’s richness.
  8. Craft a lattice top by slicing the second crust into elegant ½-inch strips, weaving them in an intricate pattern over the glistening filling.
  9. Seal the pie’s edges with a careful crimp, creating a decorative border that locks in the fruity essence.
  10. Brush the lattice with beaten egg white, then dust with a sparkling layer of granulated sugar for a luminous finish.
  11. Slide the pie into the preheated oven, baking for 40-45 minutes and tenting with foil after 25 minutes to prevent excessive browning.
  12. Rescue the pie from the oven and transfer to a wire rack, allowing it to cool and set for several hours.
  13. Serve at room temperature or chill overnight, letting the flavors intensify and meld into a sublime dessert experience.

Notes

  • Adjust sugar levels based on cherry sweetness, tasting the filling before adding to ensure balanced flavor.
  • Quickly pit cherries using a cherry pitter or paperclip to save time and prevent messy hands.
  • Prevent a soggy bottom crust by sprinkling crushed graham crackers or breadcrumbs before adding filling.
  • Create a gluten-free version by using alternative pie crust made from almond flour or gluten-free
  • Prep Time: 20 minutes
  • Cook Time: 45 minutes
  • Category: Desserts
  • Method: Baking
  • Cuisine: American

Nutrition

  • Serving Size: 8
  • Calories: 250
  • Sugar: 18 g
  • Sodium: 150 mg
  • Fat: 8 g
  • Saturated Fat: 4 g
  • Unsaturated Fat: 3 g
  • Trans Fat: 0 g
  • Carbohydrates: 38 g
  • Fiber: 2 g
  • Protein: 3 g
  • Cholesterol: 20 mg
Sophia Rivera

Sophia Rivera

Recipe Developer & Kitchen Tips Specialist

Expertise

  • Baking and Pastry Arts
  • Seasonal and Local Ingredient Utilization
  • Dessert Menu Planning
  • Culinary Event Coordination

Education

Austin Community College

  • Degree: Associate of Applied Science in Baking and Pastry Arts
  • Focus: Techniques in baking, pastry creation, and dessert presentation.

San Antonio Culinary Institute

  • Program: Diploma in Farm-to-Table Culinary Practices
  • Focus: Emphasis on utilizing locally sourced ingredients and understanding seasonal flavors.

Sophia’s passion for baking began in her family kitchen, where she spent hours experimenting with new recipes. With a background in baking and pastry arts, she loves making desserts that are as visually stunning as they are delicious. 

Sophia is all about using seasonal, locally sourced ingredients to create treats that everyone will enjoy. When she’s not creating mouth-watering desserts, you can find her gardening, making new recipes, or enjoying a relaxing afternoon with her family.

Leave a Reply

Your email address will not be published. Required fields are marked *

Recipe rating 5 Stars 4 Stars 3 Stars 2 Stars 1 Star