
Iconic Bill Miller Fried Chicken Recipe with Crispy Perfection
Bill Miller fried chicken transforms ordinary poultry into a sizzling Southern sensation that captures the heart of comfort cuisine.
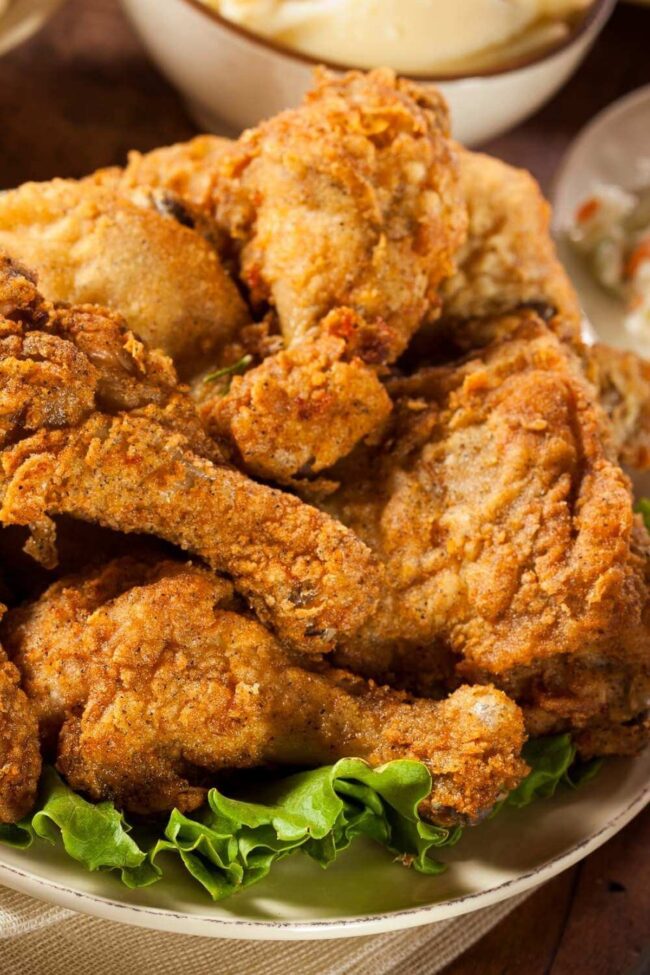
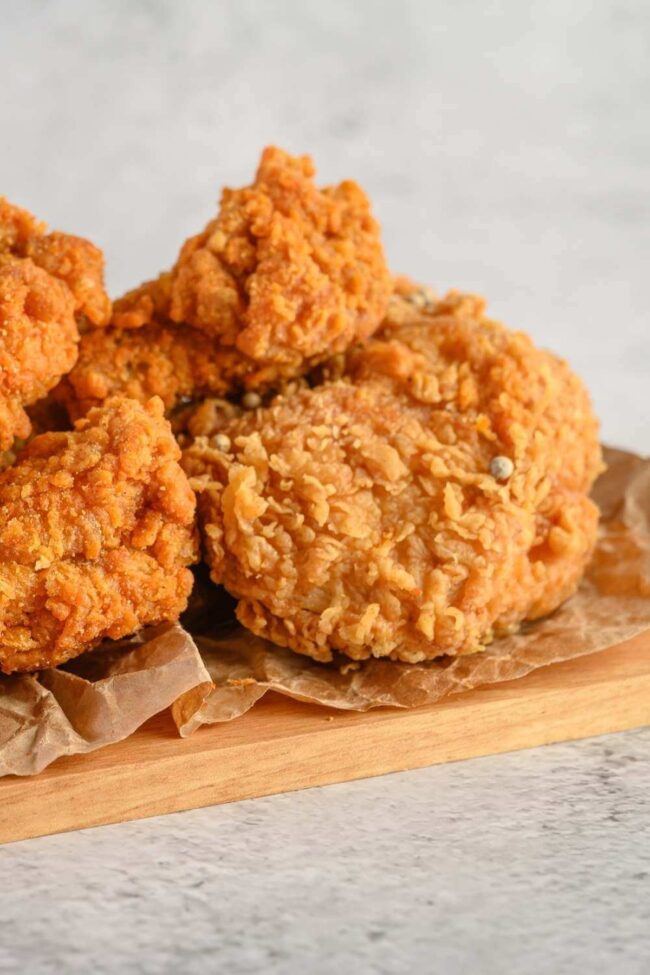
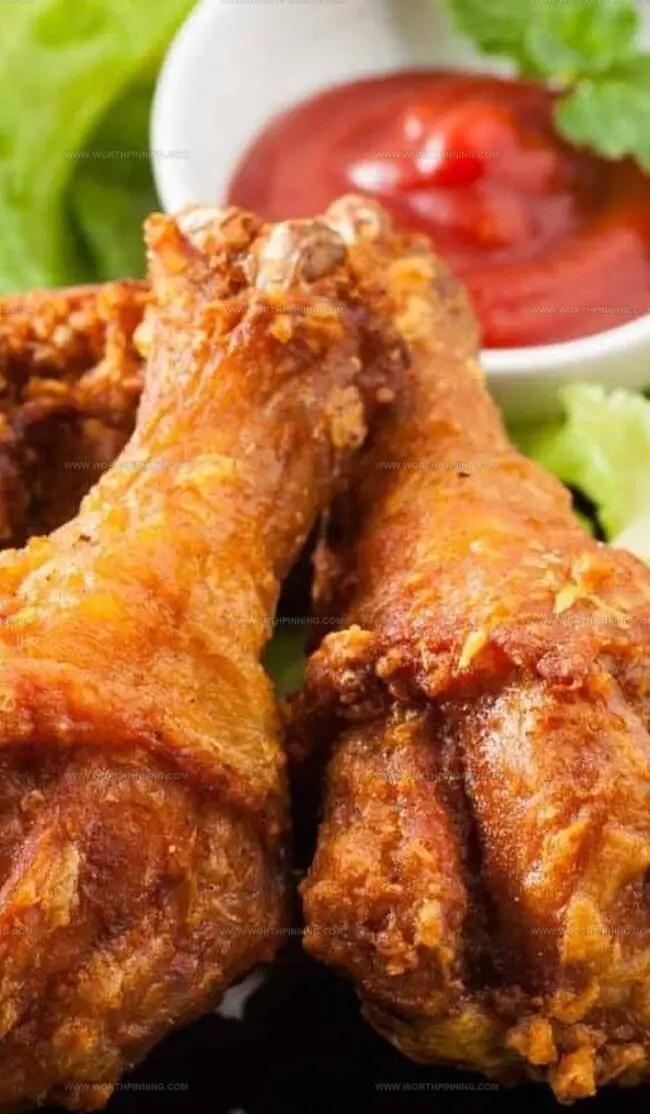
Crispy golden layers crackle with robust spices, promising an explosion of flavor in every bite.
Generations of culinary artisans have carefully crafted this legendary recipe, infusing each piece with deep-rooted Southern charm.
The secret lies in the harmonious blend of perfectly seasoned breading and expertly fried technique.
Tender meat nestled beneath a crunchy exterior creates a textural symphony that dances across your palate.
Spices whisper tales of home kitchens and time-honored traditions, inviting you to savor a slice of authentic Southern cooking.
This recipe promises to become your new comfort food obsession, delivering pure culinary bliss straight to your plate.
Quick Recipe Overview
Ingredients to Make Bill Miller Fried Chicken
For Chicken Preparation:For Batter Components:For Frying Essentials:Essential Tools for Bill Miller Fried Chicken
How to Prepare Bill Miller Fried Chicken at Home
Blend a powerful flavor punch by combining garlic powder, seasoned salt, black pepper, and onion powder in a large mixing bowl.
Combine flour, baking powder, and baking soda in another bowl. Gradually add water and mix with your hands until the batter reaches a silky, slightly runny consistency that’ll make your chicken crispy and delightful.
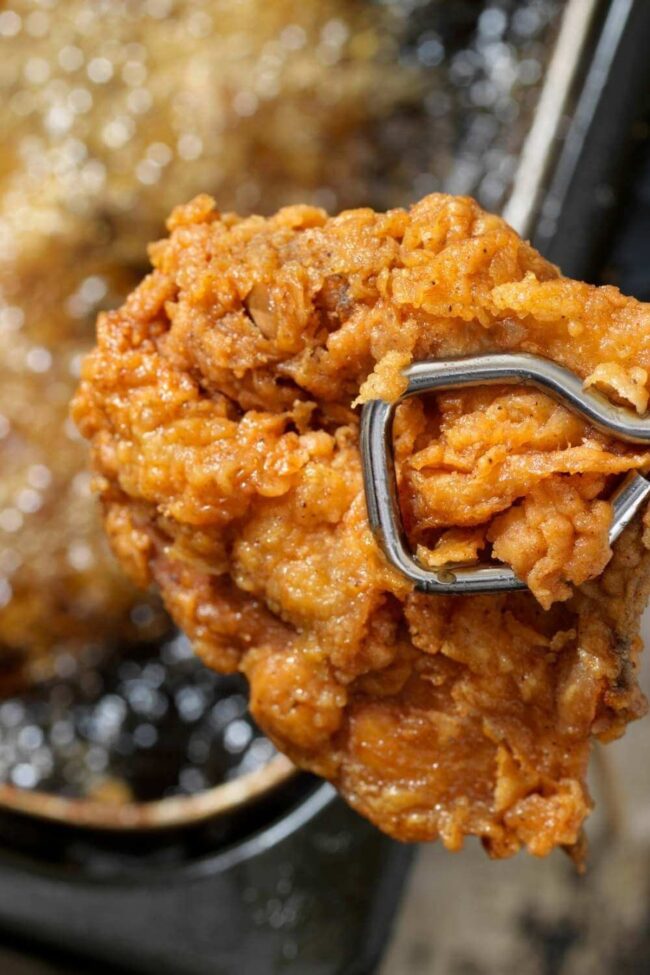
Heat vegetable oil in a deep pan until it sizzles at 375°F, creating the perfect golden-brown playground for your chicken pieces.
Thoroughly massage the seasoning mix into each chicken piece, then lovingly dip and swirl each one in the dreamy batter, ensuring a complete flavor-packed coating.
Gently lower battered chicken into the hot oil, covering with a lid to trap the magic. Cook for about 7 minutes, then flip and continue cooking for an additional 7-9 minutes until the chicken reaches a safe internal temperature of 165°F.
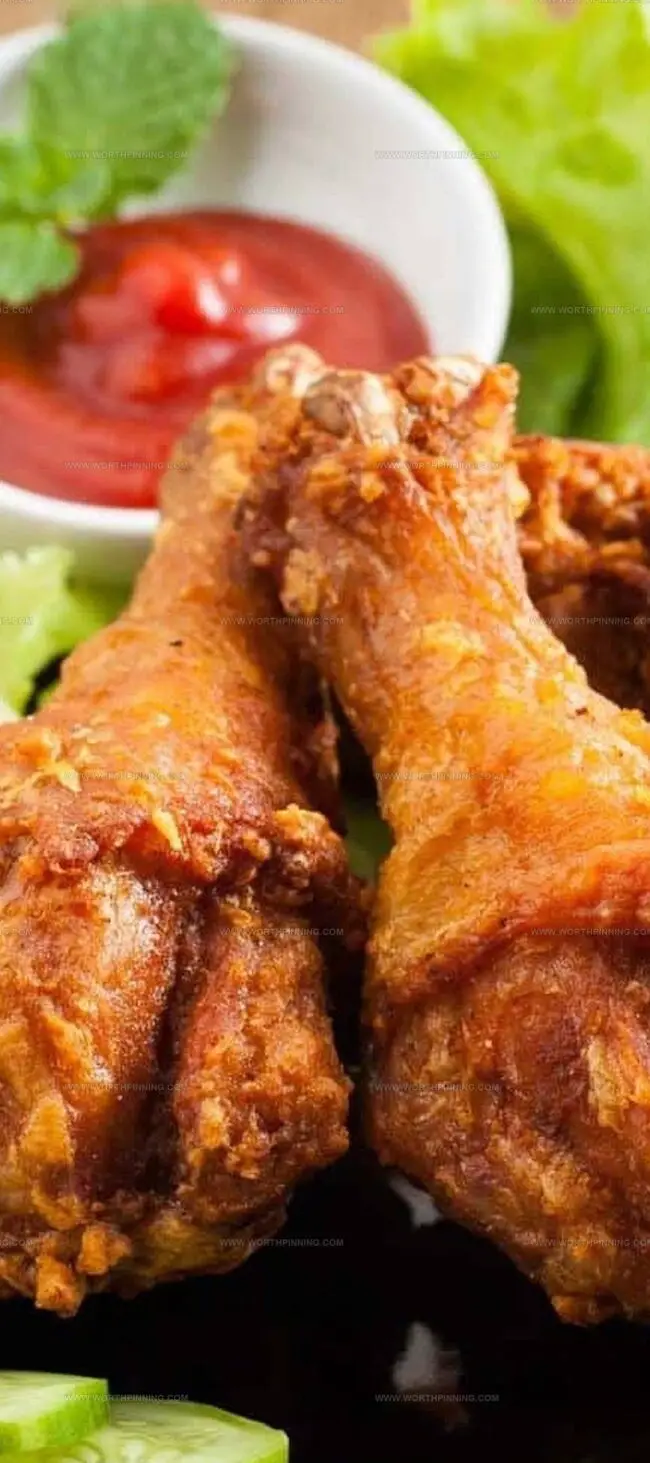
Rescue your golden beauties from the oil, letting them rest on a wire rack to drain excess oil. Sprinkle with a final touch of kosher salt for an irresistible crunch that’ll have everyone asking for seconds.
Ways to Customize Bill Miller Fried Chicken
Explore exciting ways to elevate this classic fried chicken recipe.
Experiment with different herb and spice combinations like smoked paprika, cayenne, or dried herbs to create unique flavor profiles that match your taste preferences.
Swap water with buttermilk or beer for extra richness and tenderness. Cold liquid helps create a crispier coating that locks in moisture and delivers maximum crunch.
Use a digital thermometer to maintain consistent oil temperature between 365-375°F. Fluctuations can lead to greasy or undercooked chicken, so monitor carefully during frying.
Marinate chicken pieces overnight in buttermilk or seasoned brine for deeper flavor penetration. Refrigerate prepared batter separately to save time during meal preparation.
Serving Bill Miller Fried Chicken with Style
Planning & Storage Tips for Fried Chicken by Bill Miller

Ultimate Bill Miller Fried Chicken Recipe
- Total Time: 26 minutes
- Yield: 8 1x
Description
Southern-style Bill Miller fried chicken brings crispy, golden perfection to your dinner table. Seasoned flour coating and buttermilk marinade create irresistible flavor you’ll crave again and again.
Ingredients
- 8 pieces chicken breasts (split down the middle)
- 2 cups all-purpose flour
- 1 ½ cups water (more or less)
- 2 ¼ tsps baking powder
- 2 tsps garlic powder
- 1 ½ tsps seasoned salt
- 1 ½ tsps black pepper
- 1 tsp onion powder
- ½ tsp baking soda
- Kosher salt (to taste)
- Oil (for frying)
Instructions
- Oil Preparation: Heat a robust pot with 3 inches of oil to 375°F, creating an ideal frying environment for crispy chicken.
- Seasoning Blend: Massage chicken pieces with garlic powder, seasoned salt, black pepper, and onion powder, ensuring thorough and uniform coverage.
- Batter Creation: Whisk flour, baking powder, and baking soda together, then gradually introduce water to form a silky, slightly runny batter that clings delicately to the chicken.
- Coating Technique: Submerge each seasoned chicken piece into the batter, allowing excess to cascade off, generating a gossamer-thin, even layer.
- Frying Process: Gently lower battered chicken into the sizzling oil, maintaining strategic spacing to guarantee maximum crispness and golden-brown perfection.
- Cooking Progression: Cover the pan and fry for 14-16 minutes total, flipping midway, until chicken achieves a deep golden exterior and internal temperature reaches 165°F.
- Finishing Touch: Transfer chicken to a wire rack, letting excess oil drain, and immediately sprinkle with kosher salt for enhanced flavor profile.
Notes
- Maintain Precise Oil Temperature: Keep oil consistently at 375°F for perfect golden-brown crispiness; use a digital thermometer to monitor heat throughout cooking.
- Seasoning Technique Matters: Ensure chicken is thoroughly coated with dry seasonings before battering to guarantee maximum flavor penetration and even taste distribution.
- Batter Consistency is Crucial: Aim for a slightly runny pancake batter texture; too thick creates heavy coating, too thin results in weak coverage.
- Drain Smartly for Crispiness: Use a wire rack instead of paper towels to prevent soggy bottom, allowing excess oil to drip and maintaining crisp exterior.
- Prep Time: 10 minutes
- Cook Time: 16 minutes
- Category: Dinner, Snacks
- Method: Frying
- Cuisine: American
Nutrition
- Serving Size: 8
- Calories: 400
- Sugar: 0 g
- Sodium: 900 mg
- Fat: 20 g
- Saturated Fat: 3 g
- Unsaturated Fat: 15 g
- Trans Fat: 0 g
- Carbohydrates: 40 g
- Fiber: 2 g
- Protein: 25 g
- Cholesterol: 100 mg
Sophia Rivera
Recipe Developer & Kitchen Tips Specialist
Expertise
Education
Austin Community College
San Antonio Culinary Institute
Sophia’s passion for baking began in her family kitchen, where she spent hours experimenting with new recipes. With a background in baking and pastry arts, she loves making desserts that are as visually stunning as they are delicious.
Sophia is all about using seasonal, locally sourced ingredients to create treats that everyone will enjoy. When she’s not creating mouth-watering desserts, you can find her gardening, making new recipes, or enjoying a relaxing afternoon with her family.