Tangy Mary Berry Pear Chutney Recipe
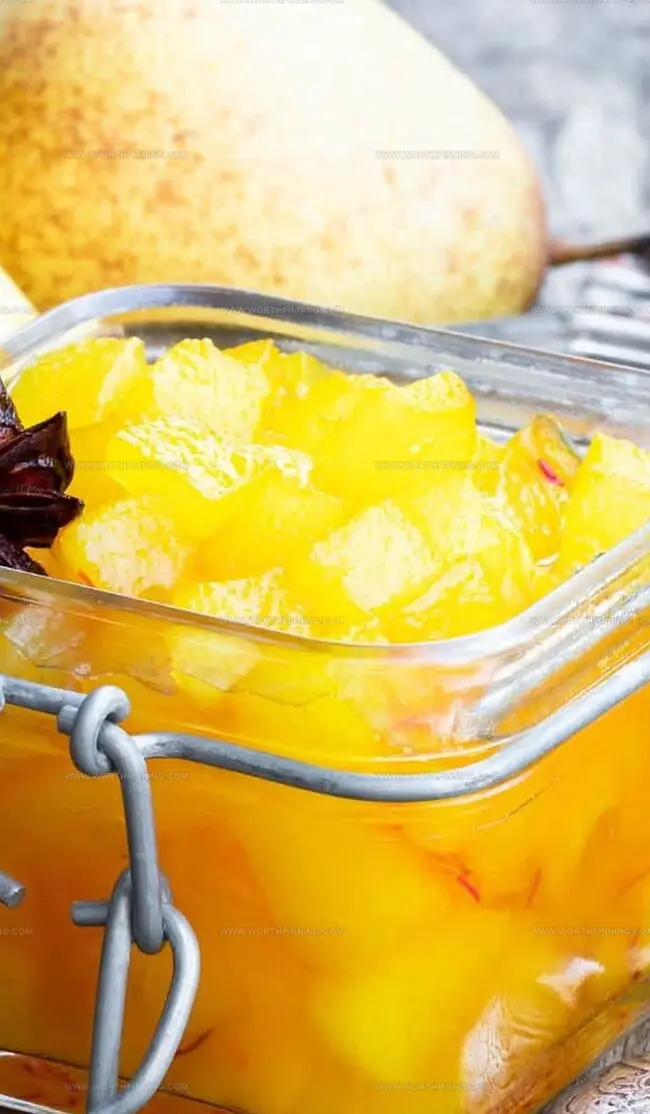
Pear chutney bursts with tantalizing flavors that elevate every bite of your meal.
This vibrant condiment blends sweet pears with a symphony of warm spices, creating a taste sensation that tingles your palate.
Generations of culinary enthusiasts have cherished the art of crafting this magical preserve in their home kitchens.
The delicate balance of ingredients transforms ordinary dishes into extraordinary culinary experiences.
Spices and fruits merge in a delightful dance, promising a burst of complexity with each spoonful.
Each batch carries the essence of seasonal freshness and artisanal craftsmanship.
Embark on a flavor journey that will forever change how you think about condiments.
Quick Recipe Overview
Mary Berry Pear Chutney Ingredient List
For Fresh Produce:For Spices and Seasonings:For Sweet and Tangy Components:Tools for Making Mary Berry Pear Chutney
Prepare Mary Berry Pear Chutney in Simple Steps

Create A Flavor-Packed Pear Chutney
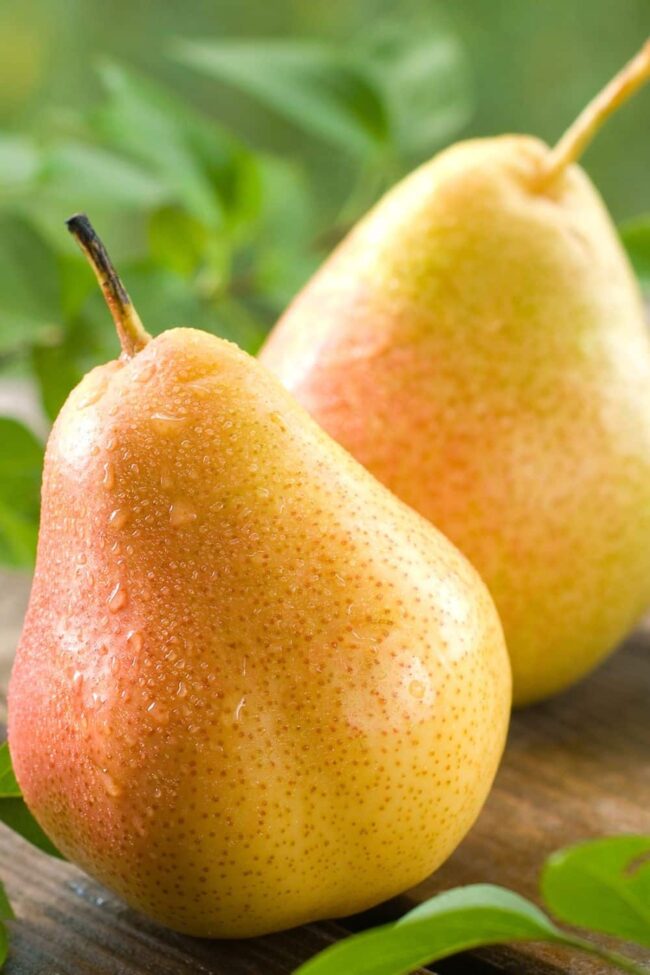
Grab those ripe pears and slice them into small chunks. Mince ginger and garlic to release their intense flavors. Dice a tiny chile pepper for a surprise kick of heat.
Toss your pear pieces into a large pot with brown sugar, vinegar, and a medley of warm spices. Sprinkle in ground coriander, allspice, salt, and black pepper to create a complex flavor profile. Add raisins for unexpected sweetness and a splash of fresh lemon juice to brighten the entire mixture.
Let the ingredients dance together over medium heat, stirring occasionally. Watch the pears soften and break down, releasing their natural sugars. Reduce heat and allow the chutney to simmer gently, developing deep, rich flavors. The mixture will slowly thicken and become glossy, transforming into a rich, jammy consistency.
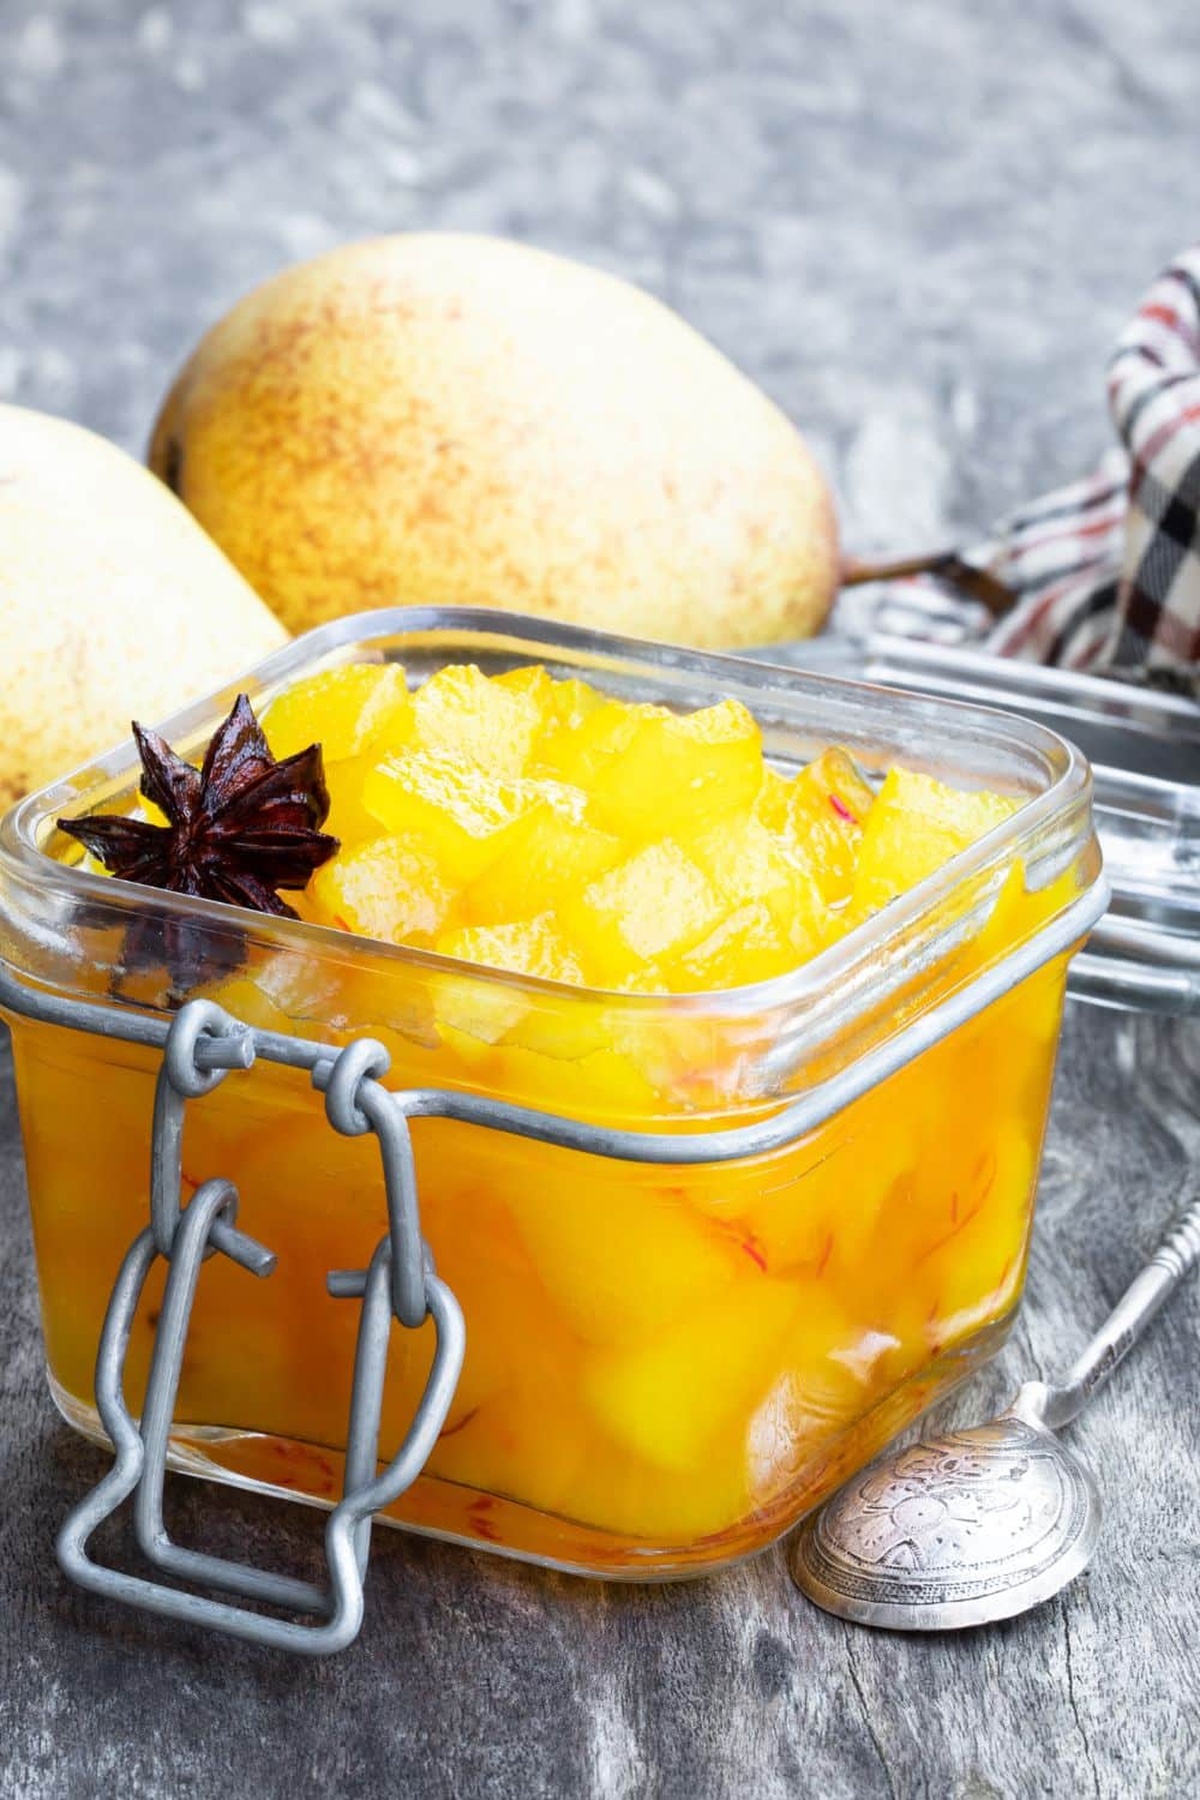
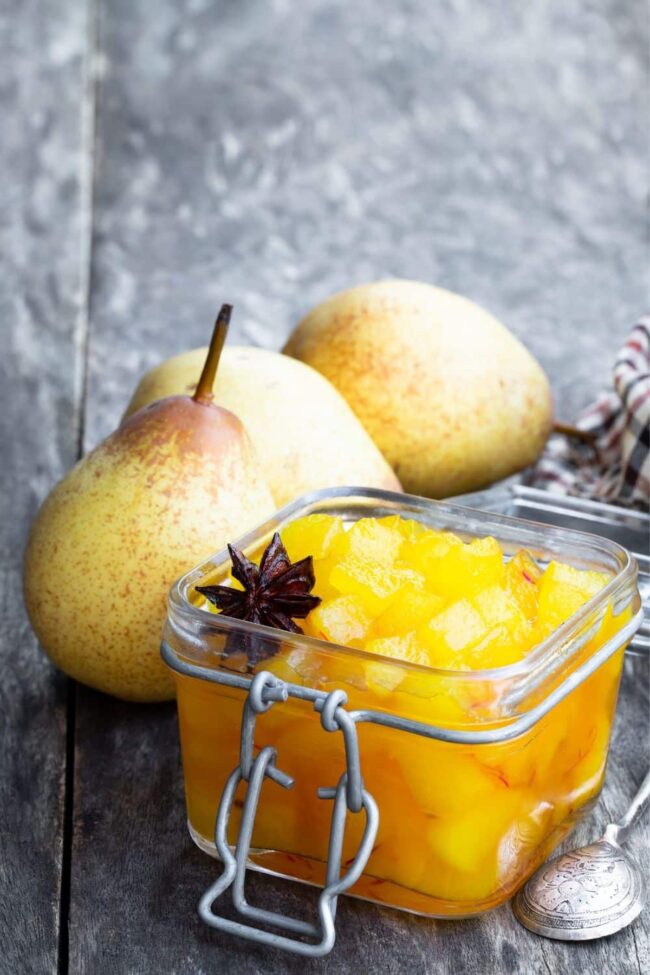
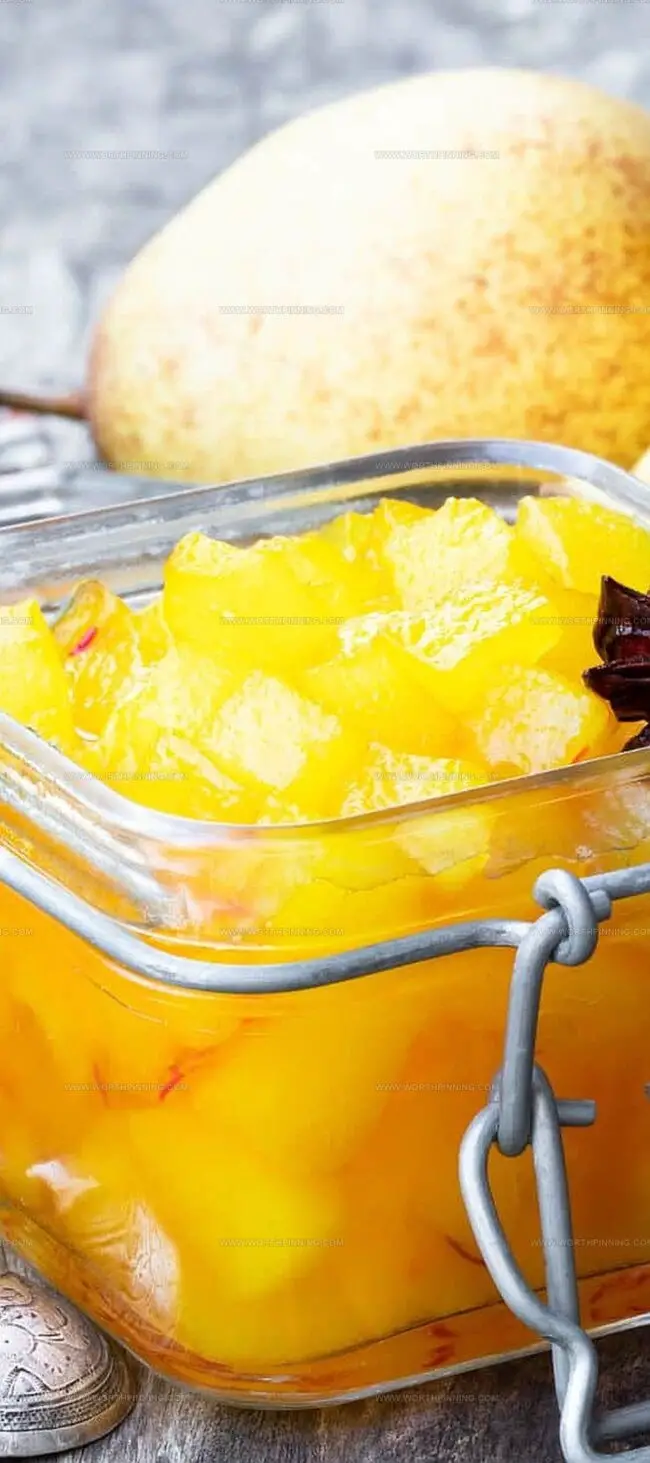
Continue cooking until the chutney reaches a thick, spreadable texture. The liquid should reduce and concentrate, creating an intense flavor bomb. Remove from heat and let it cool completely. Your chutney will continue to thicken as it cools.
Transfer the cooled chutney to clean containers. It will keep in the refrigerator for two weeks or can be frozen for future enjoyment. Serve alongside roasted meats, spread on sandwiches, or use as a gourmet condiment to elevate any dish.
Variation Ideas for Mary Berry Pear Chutney
Suggestions to Serve Mary Berry Pear Chutney
How to Store Mary Berry’s Pear Chutney

Tangy Mary Berry Pear Chutney Recipe
- Total Time: 1 hour
- Yield: 8 1x
Description
Delightful mary berry pear chutney brings together sweet and tangy flavors from British culinary traditions. Home cooks can easily preserve this condiment with simple ingredients and minimal preparation time.
Ingredients
- 3 lbs (1.36 kg) pears, fresh, peeled, cored, coarsely chopped
- 1 ½ cups (360 ml) apple cider vinegar
- 1 ¼ cups (250 g) brown sugar, light
- 1 ½ cups (225 g) raisins
- ¼ cup (60 g) ginger, fresh, peeled, finely chopped
- 1 lemon, small, seeded, finely chopped or slivered
- 1 clove garlic, peeled, finely chopped
- 1 chile pepper, small, hot, finely chopped
- ½ tsp kosher salt
- ¼ tsp allspice, ground
- ¼ tsp black pepper, freshly ground
- ¼ tsp coriander, ground
- 1 pinch cloves, ground
Instructions
- Preparation: Gather all ingredients including pears, brown sugar, apple cider vinegar, raisins, lemon juice, ginger, garlic, chile, salt, allspice, black pepper, coriander, and cloves into a large heavy-bottomed saucepan.
- Infusion: Heat the mixture over medium flame, stirring consistently to prevent burning and ensure balanced flavor integration, allowing ingredients to mingle and release their aromatic essences.
- Boiling Process: Bring the concoction to a robust boil, then immediately reduce to a gentle simmer, letting the components transform and meld into a harmonious blend while softening the pears.
- Reduction and Concentration: Continue cooking on low heat, stirring intermittently to prevent adherence to the pan bottom, observing the gradual breakdown of pears and thickening of the mixture into a rich, complex consistency.
- Texture Refinement: If excess liquid remains after 30 minutes, incrementally increase heat to high, stirring vigilantly to encourage liquid evaporation and flavor intensification until the chutney reaches a jam-like thickness.
- Cooling and Preservation: Remove from heat, allow complete cooling at room temperature, then carefully transfer the chutney into sterilized glass containers with secure sealing.
- Storage: Refrigerate for up to 2 weeks, freeze for 3 months, or process in a water bath for up to 1 year of shelf-stable preservation.
Notes
- Prevent Burning: Stir continuously on medium heat to avoid scorching and ensure even flavor distribution throughout the cooking process.
- Monitor Liquid Consistency: Watch carefully and adjust heat if mixture is too watery, gradually increasing to high to reduce and concentrate flavors.
- Texture is Key: Aim for a thick, jam-like consistency with pears almost completely broken down for optimal chutney texture.
- Proper Storage: Use sterilized airtight containers and refrigerate for 2 weeks, freeze for 3 months, or water bath process for up to 1 year of shelf life.
- Prep Time: 25 minutes
- Cook Time: 35 minutes
- Category: Snacks, Dinner
- Method: Simmering
- Cuisine: UK
Nutrition
- Serving Size: 8
- Calories: 150
- Sugar: 30 g
- Sodium: 100 mg
- Fat: 0 g
- Saturated Fat: 0 g
- Unsaturated Fat: 0 g
- Trans Fat: 0 g
- Carbohydrates: 36 g
- Fiber: 2 g
- Protein: 1 g
- Cholesterol: 0 mg
Sophia Rivera
Recipe Developer & Kitchen Tips Specialist
Expertise
Education
Austin Community College
San Antonio Culinary Institute
Sophia’s passion for baking began in her family kitchen, where she spent hours experimenting with new recipes. With a background in baking and pastry arts, she loves making desserts that are as visually stunning as they are delicious.
Sophia is all about using seasonal, locally sourced ingredients to create treats that everyone will enjoy. When she’s not creating mouth-watering desserts, you can find her gardening, making new recipes, or enjoying a relaxing afternoon with her family.