
Speedy Apple Chutney Recipe: Jamie Oliver’s Zesty Spread
Apple chutney transforms mundane meals into flavor explosions that tantalize every sense.
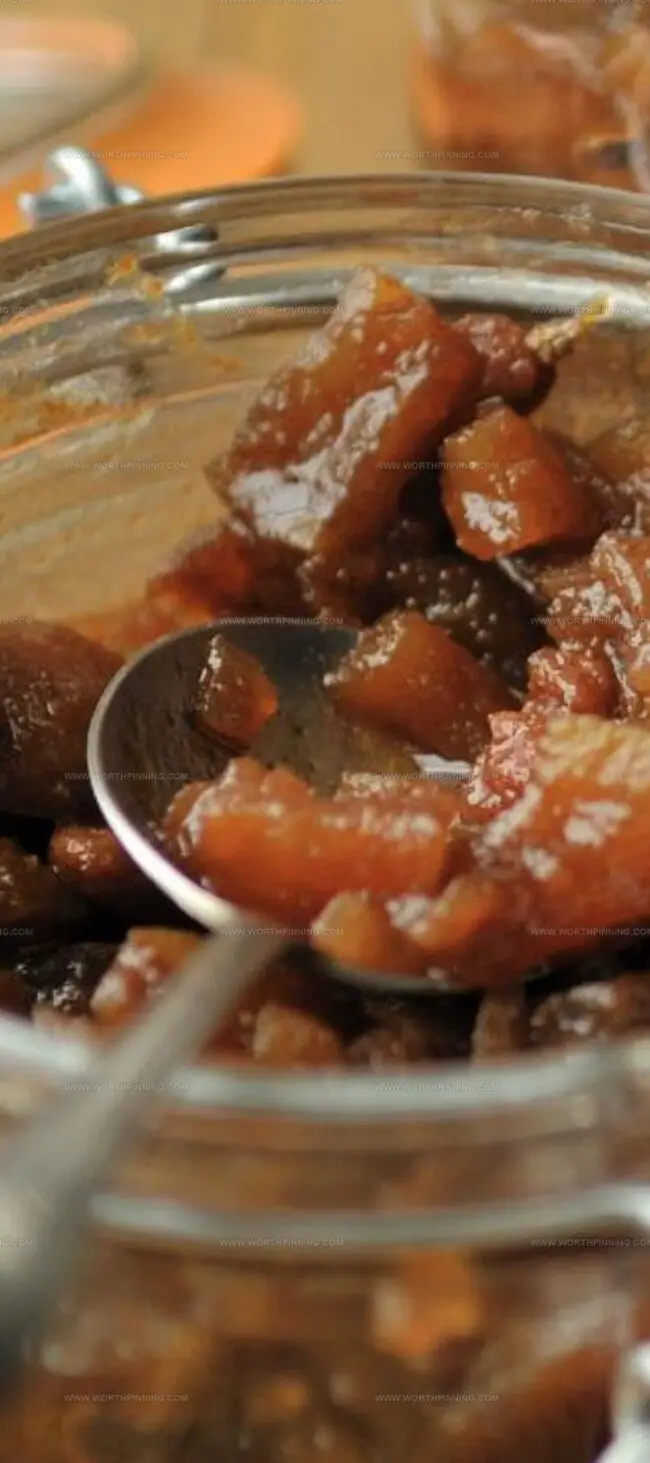
This vibrant condiment weaves sweet and spicy threads into a culinary tapestry that surprises and delights.
Fresh apples mingle with aromatic spices, creating a symphony of taste that transcends ordinary preserves.
Sultanas and warm spices add unexpected depth, while malt vinegar introduces a zesty undertone.
Each spoonful carries the essence of seasonal harvests, blending complexity with comfort.
The interplay of ingredients tells a rich story on your plate, dancing between bright sweetness and subtle heat.
Grab a jar and let this chutney turn your next meal into an unforgettable experience.
Quick Recipe Overview
Ingredients for Jamie Oliver Apple Chutney
For Fruit Base:For Aromatic Enhancers:For Seasoning and Balance:Tools for Making Jamie Oliver Apple Chutney
Jamie Oliver Apple Chutney Step-by-Step Instructions

Chop apples and onions into tiny bits. Get ready to create a tangy masterpiece that’ll make your taste buds dance with excitement.
Toss all your chopped goodies into a big cooking pot. Sprinkle in spices and vinegar like you’re casting a culinary spell. Turn up the heat and watch the ingredients start to mingle and become friends.
Lower the heat and let everything simmer gently. This is where the real transformation happens. Stir occasionally, letting the flavors get to know each other intimately. The mixture will start to thicken and become glossy, promising a rich and complex taste adventure.
Check if your chutney is ready by running a spoon across the bottom of the pot. If it leaves a trail that doesn’t immediately flood back, you’ve hit chutney perfection. The consistency should be thick and luxurious, like a culinary work of art.
Carefully pour the steaming hot chutney into clean glass jars. Seal them tight and let them cool completely. Tuck these flavor bombs away in a dark, cool spot. Patience is key – wait 2-3 months to let the flavors develop into a mind-blowing taste sensation that’ll make your meals extraordinary.
Tips to Tweak Jamie Oliver Apple Chutney

How to Serve Jamie Oliver Apple Chutney
Planning and Storing Jamie Oliver Apple Chutney
Print
Tangy Jamie Oliver Apple Chutney Recipe
- Total Time: 1 hour 20 minutes
- Yield: 5 1x
Description
Jamie oliver’s apple chutney brings together sweet and tangy flavors from classic British cuisine. Spices and fruits meld into a perfect condiment that elevates any meal with rich, complex taste.
Ingredients
- 900 g (2 lbs) apples, cored and chopped
- 225 g (8 oz) onions, chopped
- 340 g (12 oz) granulated sugar
- 425 ml (14.5 fl oz) malt vinegar
- 110 g (4 oz) sultanas, raisins, or chopped dates
- 15 g (0.5 oz) salt
- 15 g (0.5 oz) ground coriander
- 15 g (0.5 oz) paprika
- 15 g (0.5 oz) mixed spice
Instructions
- Ingredient Preparation: Finely dice onions into uniform cubes and chop apples into consistent bite-sized pieces, ensuring precise measurement of all spices.
- Cooking Foundation: Combine prepped ingredients in a preserving pan, distributing evenly over medium heat while stirring to facilitate smooth sugar dissolution and prevent burning.
- Flavor Development: Reduce heat to low after reaching a gentle boil, allowing ingredients to simmer and meld, creating deep, complex flavor nuances for 90-120 minutes.
- Consistency Check: Verify chutney’s readiness using the spoon test by drawing a wooden spoon across the pan’s base and observing if a clear channel remains without immediate liquid refilling.
- Preservation Process: Remove from heat, let rest briefly, then carefully transfer the hot mixture into sterilized glass jars, wiping rims clean and securing lids tightly.
- Maturation Stage: Allow chutney to cool completely at room temperature, then store in a cool, dark pantry for 2-3 months to develop and intensify its flavor profile.
Notes
- Precise Ingredient Prep: Uniformly dice onions and apples to ensure even cooking and consistent texture throughout the chutney.
- Low and Slow Simmering: Maintain gentle heat to develop deep, complex flavors without burning or scorching the mixture.
- Master the Spoon Test: Check chutney’s readiness by creating a clear channel on the pan’s base that doesn’t immediately refill with liquid.
- Proper Preservation Technique: Sterilize jars meticulously and allow chutney to mature for 2-3 months to enhance its rich, developed flavor profile.
- Prep Time: 20 minutes
- Cook Time: 1 hour 45 minutes
- Category: Snacks, Appetizer, Dinner
- Method: Simmering
- Cuisine: UK
Nutrition
- Serving Size: 5
- Calories: 130
- Sugar: 26 g
- Sodium: 210 mg
- Fat: 0 g
- Saturated Fat: 0 g
- Unsaturated Fat: 0 g
- Trans Fat: 0 g
- Carbohydrates: 32 g
- Fiber: 1 g
- Protein: 1 g
- Cholesterol: 0 mg
Sophia Rivera
Recipe Developer & Kitchen Tips Specialist
Expertise
Education
Austin Community College
San Antonio Culinary Institute
Sophia’s passion for baking began in her family kitchen, where she spent hours experimenting with new recipes. With a background in baking and pastry arts, she loves making desserts that are as visually stunning as they are delicious.
Sophia is all about using seasonal, locally sourced ingredients to create treats that everyone will enjoy. When she’s not creating mouth-watering desserts, you can find her gardening, making new recipes, or enjoying a relaxing afternoon with her family.