Dreamy Strawberry Poke Cake Recipe: Summer’s Sweet Charm
Sweet summer memories flood back when making this creamy strawberry poke cake that bursts with fruity delight.
Memories of grandma’s kitchen inspire every tender, moist bite.
Layers of soft white cake become magical when punctured with delectable strawberry sauce.
Each forkful promises a cool, refreshing escape from ordinary desserts.
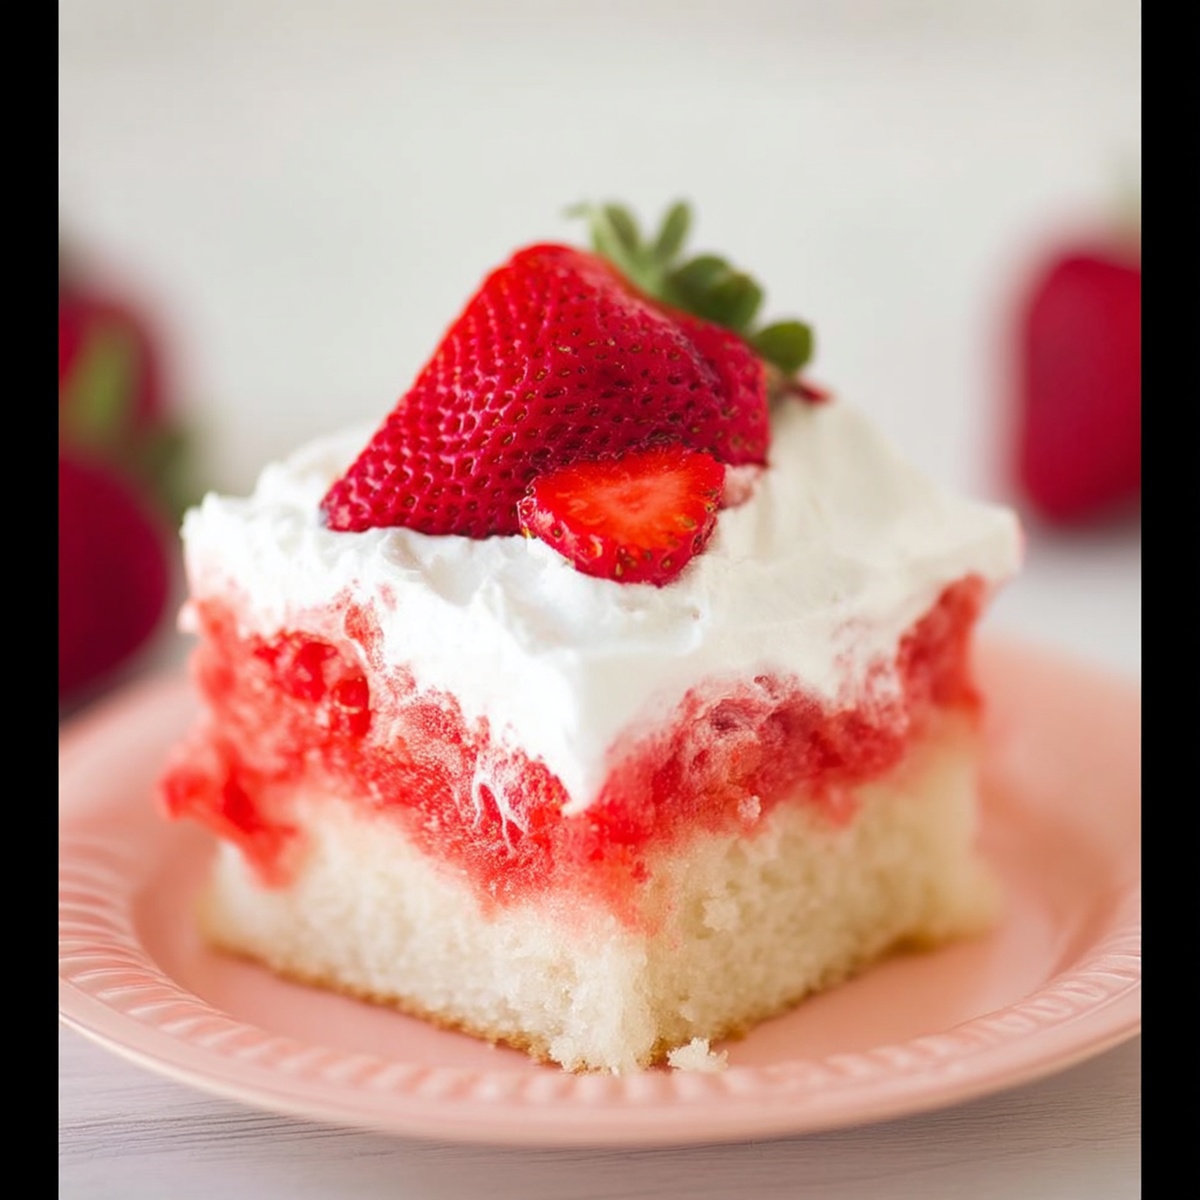
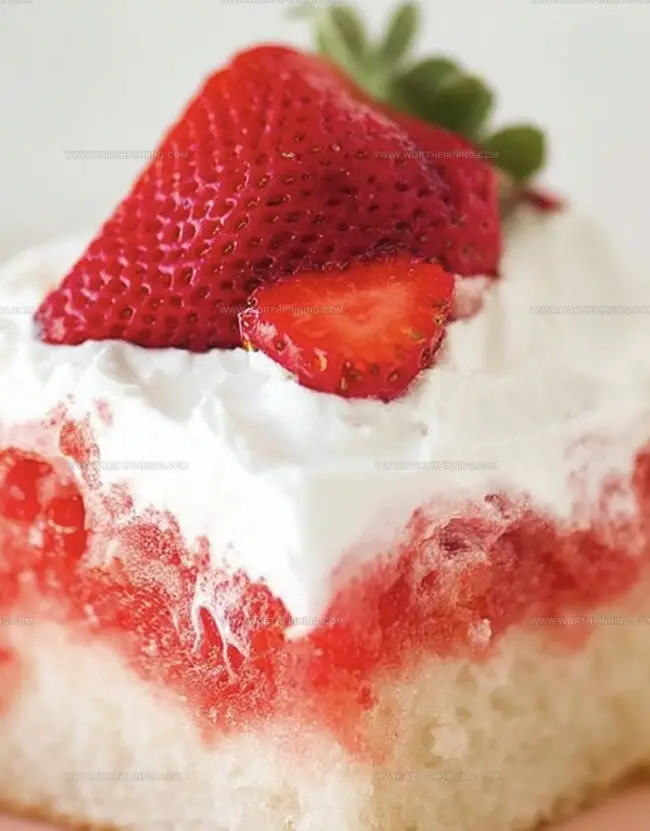
Whipped cream and fresh berries crown this dreamy treat with pure elegance.
Luscious and light, this simple cake feels like a celebration of sunshine.
You’ll want to share this irresistible dessert with everyone you know.
Grab a slice and savor pure bliss.
What Makes Strawberry Poke Cake So Popular

What to Gather Before Baking Strawberry Poke Cake
Cake Base:Filling and Flavor:Topping and Garnish:Step-by-Step Guide to Preparing Strawberry Poke Cake
Step 1: Bake The Cake Base
Preheat the oven to 350°F. Prepare cake mix following package directions. Pour batter into a 9×13-inch baking dish. Bake according to package time, typically 25-30 minutes. Allow cake to cool for 15-20 minutes at room temperature.
Step 2: Create Cake Holes
Using a fork or wooden spoon handle, carefully poke multiple holes across the entire cake surface. Ensure holes are evenly distributed and go about halfway through the cake’s depth.
Step 3: Prepare Strawberry Gelatin
In a mixing bowl, combine strawberry Jell-O with:Stir ingredients until gelatin completely dissolves.
Step 4: Infuse Cake With Gelatin
Slowly pour gelatin mixture over the cake, making sure liquid seeps into every hole. This will create a vibrant strawberry flavor throughout the dessert.
Step 5: Chill And Set
Refrigerate cake for minimum 3 hours or overnight. This allows gelatin to set and flavors to fully integrate.
Step 6: Add Creamy Topping
Spread whipped topping evenly across chilled cake surface.
Step 7: Garnish And Serve
Top cake with fresh sliced strawberries. Add extra strawberries for decoration if desired. Slice and enjoy chilled.
Kitchen Tips to Improve Your Strawberry Poke Cake
How to Keep Strawberry Poke Cake Fresh for Later
Serving Companions for Strawberry Poke Cake
Strawberry Poke Cake Twists to Try Next
Answers to FAQs on Strawberry Poke Cake
You’ll need a white or vanilla cake mix, strawberry Jell-O, water, whipped topping, and fresh strawberries. The basic pantry staples make this dessert simple to prepare.
Absolutely! This cake requires minimal baking skills. You’ll follow the cake mix instructions, poke some holes, and pour Jell-O over the cake. Even novice bakers can create a delicious dessert with this foolproof method.
Yes, you can swap strawberry Jell-O for other flavors like raspberry or cherry. This allows you to customize the cake’s taste and experiment with different fruity combinations.
The cake needs to refrigerate for at least 3 hours, but overnight chilling is recommended. This ensures the Jell-O sets properly and the flavors meld together perfectly.
Print
Strawberry Poke Cake Recipe
- Total Time: 40 minutes
- Yield: 12 1x
Description
Sweet strawberry poke cake delights dessert enthusiasts with its moist layers and luscious filling. Creamy strawberry essence and whipped topping create a heavenly treat you’ll crave again and again.
Ingredients
Main Ingredients:
- 1 box white cake mix
- 1 (3 ounces/85 grams) box strawberry Jell-O
- 1 ½ cups fresh strawberries, sliced
Baking and Liquid Ingredients:
- 1 cup boiling water
- ½ cup cold water
- 1 cup eggs (as specified on cake mix box)
- ½ cup vegetable oil
- 1 cup water (as specified on cake mix box)
Topping Ingredients:
- 1 tub (8 ounces/227 grams) whipped topping, thawed
- Optional: extra strawberries for garnish
Instructions
- Prepare the cake batter according to package guidelines and transfer to a rectangular baking dish.
- Bake the cake in a preheated oven at 350F (175C) for approximately 25-30 minutes until golden and fully cooked.
- Allow the cake to cool for 15-20 minutes at room temperature.
- Create numerous small perforations across the entire cake surface using a fork or wooden spoon handle.
- Dissolve the strawberry Jell-O completely in boiling water, stirring until no granules remain.
- Incorporate cold water into the gelatin mixture, blending thoroughly.
- Carefully drizzle the liquid gelatin over the cake, ensuring it penetrates all the created holes.
- Chill the cake in the refrigerator for a minimum of 3 hours, allowing the gelatin to set and infuse the cake completely.
- Once fully chilled, evenly distribute whipped topping across the cake’s surface using a smooth, gentle motion.
- Garnish the cake with fresh sliced strawberries, arranging them decoratively to enhance visual appeal and add a burst of fruity flavor.
Notes
- Ensure cake mix is thoroughly combined to prevent lumps and create a smooth, even texture.
- Use a wooden spoon handle or chopstick to create consistent, evenly spaced holes for maximum Jell-O absorption.
- Chill cake completely before adding whipped topping to prevent melting and maintain a clean, professional appearance.
- Swap regular cake mix with gluten-free or sugar-free alternatives for dietary restrictions, adjusting liquid ratios as needed.
- Prep Time: 10 minutes
- Cook Time: 30 minutes
- Category: Desserts
- Method: Baking
- Cuisine: American
Nutrition
- Serving Size: 12
- Calories: 350
- Sugar: 5 g
- Sodium: 300 mg
- Fat: 10 g
- Saturated Fat: 1.5 g
- Unsaturated Fat: 8 g
- Trans Fat: 0 g
- Carbohydrates: 58 g
- Fiber: 7 g
- Protein: 9 g
- Cholesterol: 0 mg
Ethan Miller
Founder & Lead Content Writer
Expertise
Education
Portland Community College
Culinary Institute of the Pacific
Ethan’s culinary journey began in his grandmother’s kitchen, where he first learned to play with flavors and ingredients. With formal training in culinary arts and a deep love for international cuisines, Ethan’s goal is to share the joy of cooking with others.
He believes food is all about creativity and bringing people together, one meal at a time. When he’s not experimenting with new dishes, he enjoys hiking in the Oregon wilderness and discovering fresh, local ingredients.