
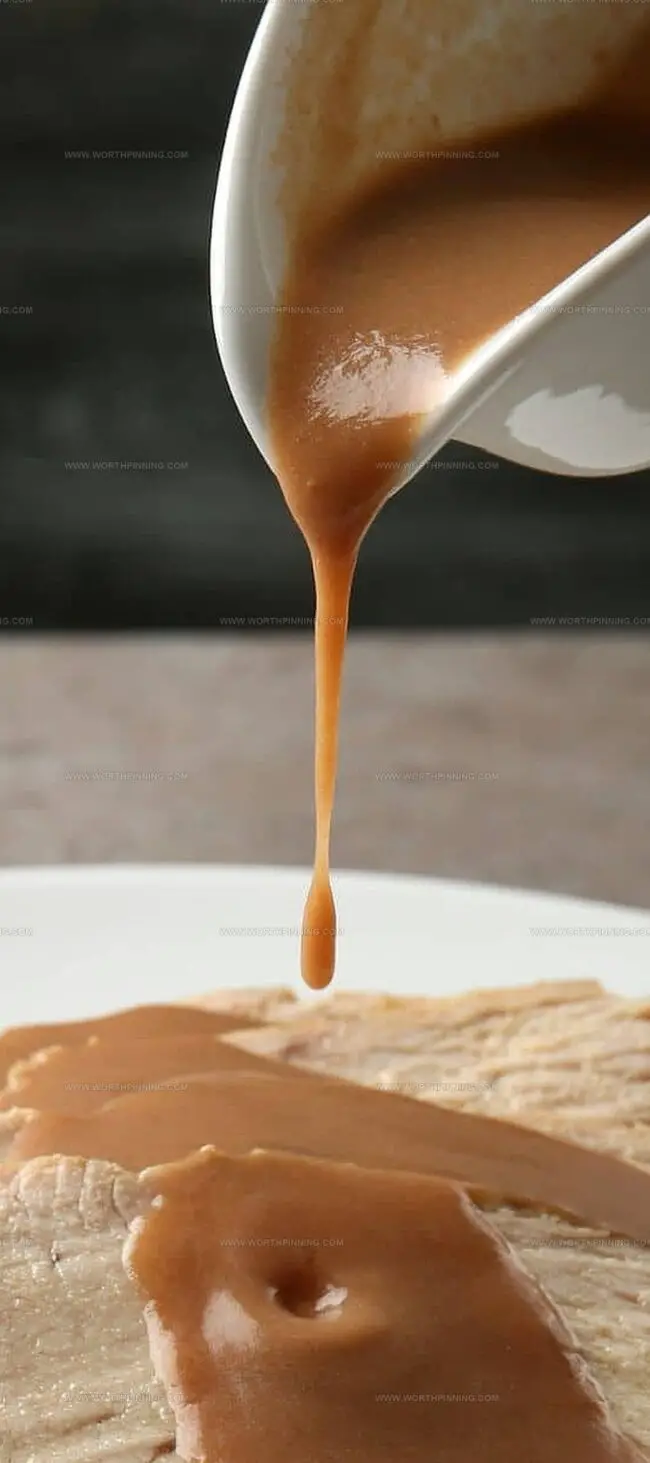
Make Jamie Oliver’s Dreamy Turkey Gravy Recipe
Jamie Oliver’s turkey gravy unlocks a world of mouthwatering possibilities for home cooks craving restaurant-quality flavor.
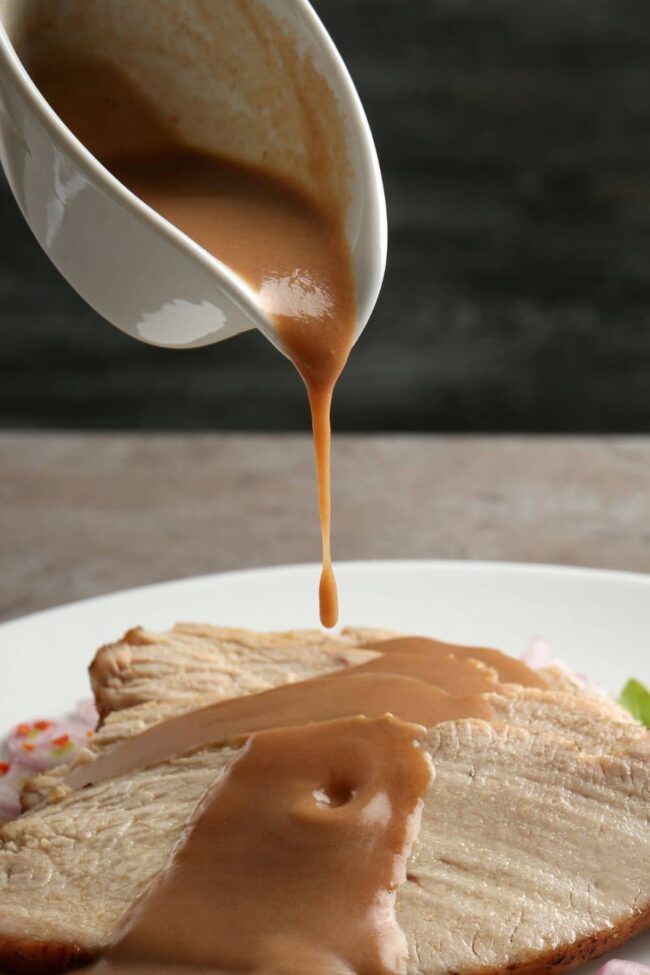
Transforming bland meals into culinary masterpieces, this sauce brings depth and sophistication to any dining experience.
Simple ingredients combine with expert techniques to create a gravy that dances on taste buds.
Professional chefs and kitchen novices alike can master this recipe with confidence.
Rich, velvety textures and complex seasonings elevate ordinary roasted meats into memorable dishes.
Each spoonful promises a burst of tantalizing flavors that will have dinner guests asking for seconds.
Get ready to become the star of your next family gathering with this game-changing sauce.
Quick Recipe Overview
Ingredients for Jamie Oliver’s Turkey Gravy
For Aromatic Base Vegetables:For Thickening Agents:For Flavor Enhancers:Cooking Tools for Jamie Oliver’s Gravy
How to Prepare Turkey Gravy
Chop onions and carrots into hearty chunks. Spread these vegetables across a roasting tray, adding turkey giblets and rosemary sprigs to create a rich, aromatic base that will infuse incredible depth into your gravy.
Place your turkey atop the vegetable mixture, allowing drippings to mingle and create a flavor-packed liquid. After roasting, carefully separate the fat and cooking juices, transferring them to a saucepan for the next magical transformation.
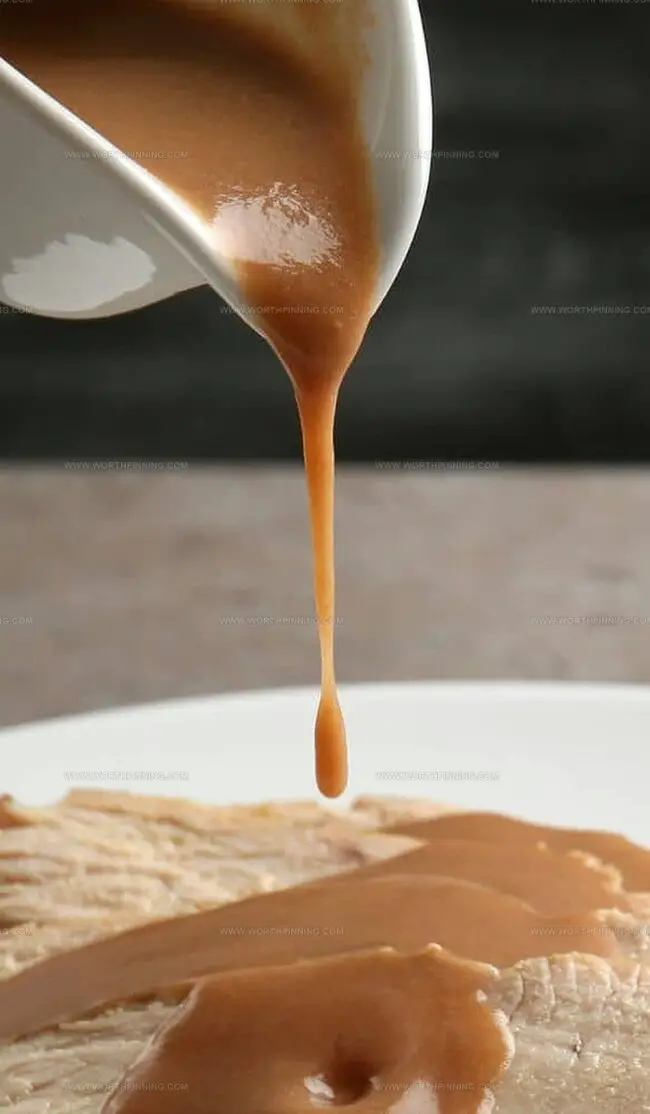
Sprinkle flour into the bubbling juices, whisking with enthusiasm to create a smooth, luxurious texture. The gravy will gradually transform, becoming more robust and velvety with each stir.
Introduce a splash of port or wine and a dollop of jam, allowing these ingredients to simmer and meld together. Watch as the gravy deepens in color and develops a tantalizing complexity that will elevate your entire meal.
Strain the gravy through a fine mesh, removing any chunky bits. Skim off any foam, then taste and season with salt and pepper. Your homemade gravy is now ready to become the star of the dining table, promising to transform an ordinary meal into an extraordinary culinary experience.
Tips for Flavoring Jamie Oliver’s Turkey Gravy
Serving Options for Turkey Gravy
How to Store Leftover Turkey Gravy
Print
Savory Jamie Oliver Turkey Gravy Recipe
- Total Time: 1 hour
- Yield: 4 1x
Description
Jamie Oliver’s turkey gravy brings rich, savory depth to holiday meals with classic British culinary expertise. Homemade sauce elevates roast dinners, creating memorable experiences you will savor with family and friends.
Ingredients
- 1 turkey giblets
- 4 cups (946 ml) chicken or turkey stock
- 2 large onions, cut up
- 3 medium carrots, washed and cut up chunky
- 2 sprigs fresh rosemary
- 3 tsps cornflour or plain flour
- 2 tsps jam (e.g., quince)
- 100 ml (3.4 fl oz) acid (e.g., port)
Instructions
- Flavor Foundation: Scatter chopped onions, roughly cut carrots, giblets, and rosemary sprigs across the bottom of a roasting tray, creating an aromatic landscape for the roasting protein.
- Roasting Process: Position turkey or selected meat over the vegetable and herb mixture, allowing natural flavors to meld and infuse during cooking.
- Liquid Extraction: After roasting, carefully separate pan juices and rendered fat into a saucepan, bringing the liquid to a rapid boil over high heat.
- Thickening Technique: Whisk cornstarch or flour into the bubbling liquid, ensuring a silky-smooth consistency without any lumpy interruptions.
- Flavor Enhancement: Introduce jam and port, stirring thoroughly to weave complex layers of taste throughout the developing gravy.
- Reduction and Refinement: Simmer the mixture for 20-25 minutes, allowing the gravy to deepen in color and intensify in flavor, stirring periodically to prevent burning.
- Straining and Finishing: Strain the gravy through a fine-mesh colander, capturing the rich liquid while removing vegetable fragments and ensuring a refined texture.
- Final Polish: Remove any surface foam by tilting the pan, creating a glossy, professional-looking gravy with pristine clarity.
- Seasoning Adjustment: Conduct a final taste test, fine-tuning with salt and pepper to achieve a perfectly balanced and harmonious sauce.
Notes
- Flavor Foundation: Create a robust base with chopped onions, carrots, and fresh rosemary to enhance the meat’s taste and provide depth to your gravy.
- Thickening Technique: Whisk cornstarch or flour gradually to prevent lumps, ensuring a silky-smooth gravy texture without clumping.
- Flavor Boosters: Add jam and port to introduce complex, rich undertones that elevate the gravy from ordinary to extraordinary.
- Straining Strategy: Use a fine-mesh strainer to remove vegetable fragments, resulting in a clean, glossy, and professional-looking sauce.
- Prep Time: 15 minutes
- Cook Time: 45 minutes
- Category: Dinner, Appetizer
- Method: Roasting
- Cuisine: American
Nutrition
- Serving Size: 4
- Calories: 80
- Sugar: 2 g
- Sodium: 700 mg
- Fat: 3 g
- Saturated Fat: 1 g
- Unsaturated Fat: 2 g
- Trans Fat: 0 g
- Carbohydrates: 10 g
- Fiber: 1 g
- Protein: 5 g
- Cholesterol: 15 mg
Sophia Rivera
Recipe Developer & Kitchen Tips Specialist
Expertise
Education
Austin Community College
San Antonio Culinary Institute
Sophia’s passion for baking began in her family kitchen, where she spent hours experimenting with new recipes. With a background in baking and pastry arts, she loves making desserts that are as visually stunning as they are delicious.
Sophia is all about using seasonal, locally sourced ingredients to create treats that everyone will enjoy. When she’s not creating mouth-watering desserts, you can find her gardening, making new recipes, or enjoying a relaxing afternoon with her family.