Barefoot Contessa’s Dreamy French Apple Tart Recipe Uncovered
Golden autumn afternoons call for a delightful Barefoot Contessa French apple tart that captures the essence of rustic elegance.
Buttery pastry and tender apples create a symphony of flavors that dance across your palate.
Crisp, sweet-tart apples nestled in a delicate, flaky crust promise pure indulgence.
This classic French dessert brings a touch of Parisian charm to your kitchen with minimal effort.
Each slice tells a story of simplicity and sophisticated taste.
The aroma of caramelized apples and buttery pastry will draw everyone to the table.
You’ll fall in love with this irresistible tart that turns an ordinary evening into a gourmet experience.
Quick Recipe Overview

Ingredients for French Apple Tart
For The Pastry Base:For The Fruit Filling:For The Finishing Touches:Tools You Need to Bake French Apple Tart
Baking Instructions for French Apple Tart

Rustic French Apple Delight
Create a smooth, buttery dough by blending flour, salt, and sugar in a food processor. Add chilled butter and pulse until crumbly. Stream in icy water until the mixture forms a cohesive ball. Wrap the dough and let it rest in the refrigerator for a peaceful hour.
Gently peel and halve ripe apples, removing their delicate cores. Slice them into elegant, thin pieces that will dance across the pastry surface.
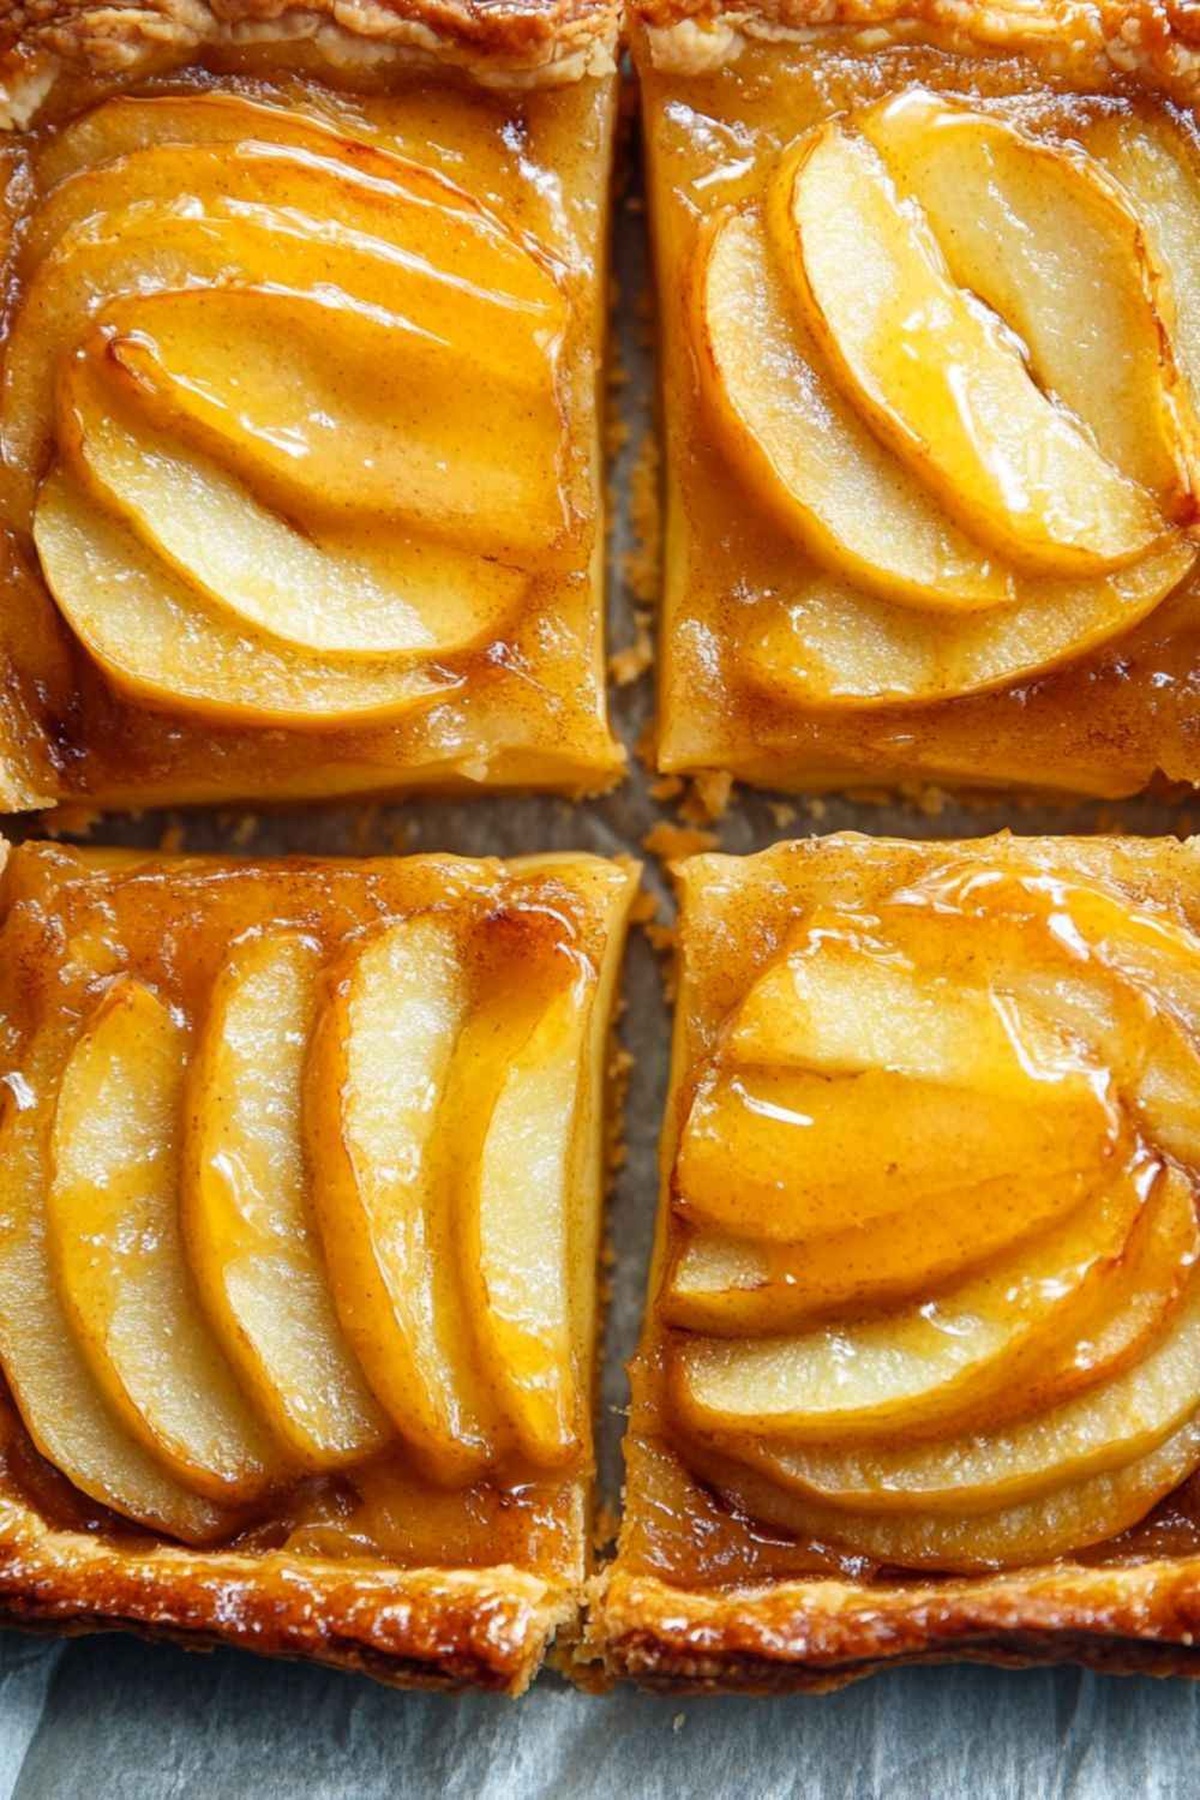
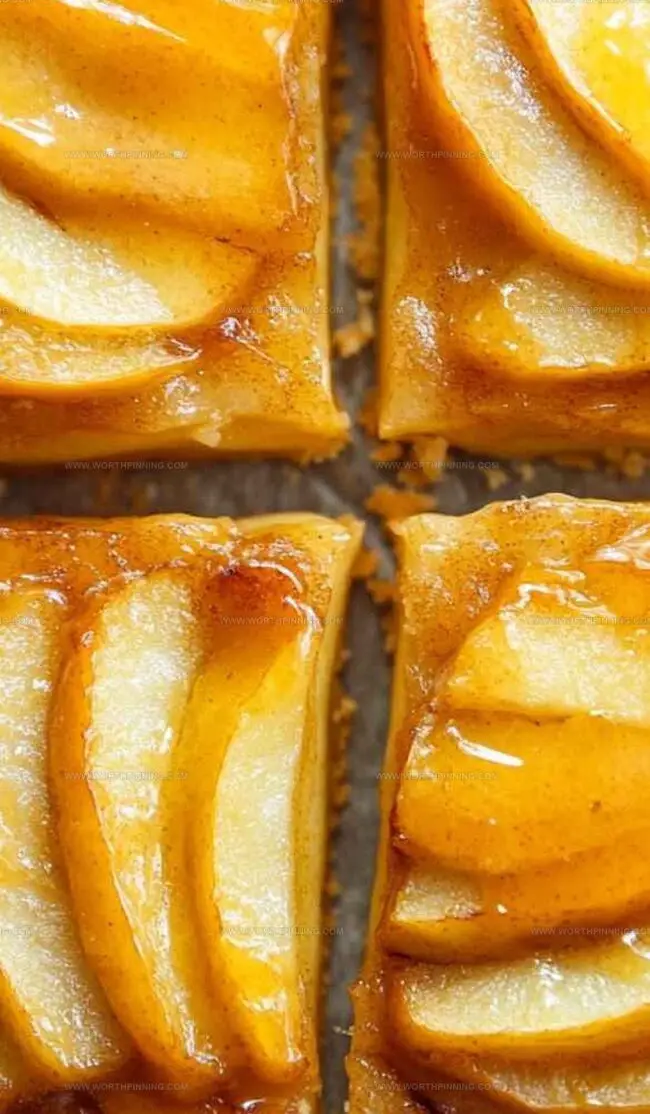
Carefully roll out the chilled dough onto a baking sheet, creating a freeform canvas. Arrange apple slices in graceful, overlapping rows that cascade across the golden pastry. Sprinkle with a gentle dusting of sugar and dot with small butter pearls.
Slide the tart into a preheated oven, allowing it to transform. Watch as the edges turn a beautiful golden brown and apple edges caramelize into a rich amber color. Rotate midway to ensure even browning.
Once baked to perfection, brush the tart with a shimmering glaze of warmed apricot preserves. This will create a stunning, glossy finish that catches the light beautifully.
Allow the tart to cool slightly, then slice and serve. Enjoy warm or at room temperature, celebrating the simple elegance of French countryside baking.
Apple Tart Tips and Flavor Tweaks

How to Serve French Apple Tart Beautifully
Refrigeration and Storage Tips for Apple Tart
Print
Rustic French Apple Tart Recipe
- Total Time: 1 hour 20 minutes
- Yield: 8 1x
Description
Barefoot Contessa’s French apple tart blends European elegance with rustic charm. Delicate pastry and caramelized apples create a simple yet sophisticated dessert for intimate gatherings you’ll savor with pure delight.
Ingredients
- 4 Granny Smith apples
- 250 g (2 cups) plain flour
- 100 g (½ cup) sugar
- 1 tbsp sugar
- ½ tsp kosher salt
- 170 g (12 tbsps / 1 ½ sticks) unsalted butter, cold & diced
- 55 g (4 tbsps / ½ stick) unsalted butter, cold & diced
- 120 mL (½ cup) ice-cold water
- 120 g (½ cup) apricot jelly or warm sieved apricot jam
- 2 tbsps Calvados, rum, or water
Instructions
- Pastry Preparation: Pulse flour, salt, and sugar in a food processor. Add chilled butter cubes and process until crumbly. Stream ice-cold water until dough forms. Knead into a compact ball, wrap in plastic, and refrigerate for one hour to stabilize.
- Dough Rolling: Extract chilled dough and roll into a precise 25×35 centimeter rectangular shape. Trim edges neatly and transfer to a parchment-lined baking sheet. Return to refrigerator to maintain structure.
- Apple Transformation: Peel and halve apples through the stem, removing cores. Slice crosswise into uniform 6-millimeter thickness, ensuring consistent cooking and visual appeal.
- Tart Assembly: Preheat oven to 200°C/180°C fan. Arrange apple slices in overlapping diagonal rows across pastry base. Sprinkle granulated sugar and dot with butter to enhance flavor and caramelization.
- Baking Process: Place tart in preheated oven and bake for 45-60 minutes. Rotate midway to promote even browning. Look for golden pastry and caramelized apple edges. Pierce pastry if it unexpectedly puffs to release air.
- Finishing Touch: Warm apricot jelly with Calvados until smooth. Brush glaze over apples and pastry to create a sophisticated, glossy finish. Cool slightly before serving at warm or room temperature.
Notes
- Chill Dough Strategically: Refrigerate pastry for at least 1 hour to prevent shrinkage and ensure a flaky, tender crust that holds its shape during baking.
- Slice Apples Precisely: Cut apple slices uniformly at ¼ inch thickness to guarantee even cooking and a visually stunning presentation with consistent caramelization.
- Monitor Baking Carefully: Rotate the tart halfway through cooking to achieve golden-brown pastry and prevent uneven browning, watching for potential pastry puffing.
- Glaze for Glamour: Apply warm apricot jelly glaze immediately after baking to create a professional, glossy finish that enhances both appearance and flavor.
- Prep Time: 20 minutes
- Cook Time: 1 hour
- Category: Desserts
- Method: Baking
- Cuisine: French
Nutrition
- Serving Size: 8
- Calories: 360
- Sugar: 15g
- Sodium: 120mg
- Fat: 22g
- Saturated Fat: 14g
- Unsaturated Fat: 6g
- Trans Fat: 0g
- Carbohydrates: 39g
- Fiber: 3g
- Protein: 2g
- Cholesterol: 60mg
Sophia Rivera
Recipe Developer & Kitchen Tips Specialist
Expertise
Education
Austin Community College
San Antonio Culinary Institute
Sophia’s passion for baking began in her family kitchen, where she spent hours experimenting with new recipes. With a background in baking and pastry arts, she loves making desserts that are as visually stunning as they are delicious.
Sophia is all about using seasonal, locally sourced ingredients to create treats that everyone will enjoy. When she’s not creating mouth-watering desserts, you can find her gardening, making new recipes, or enjoying a relaxing afternoon with her family.