
Cozy Autumn Magic: Barefoot Contessa’s Apple Pie Bars Recipe
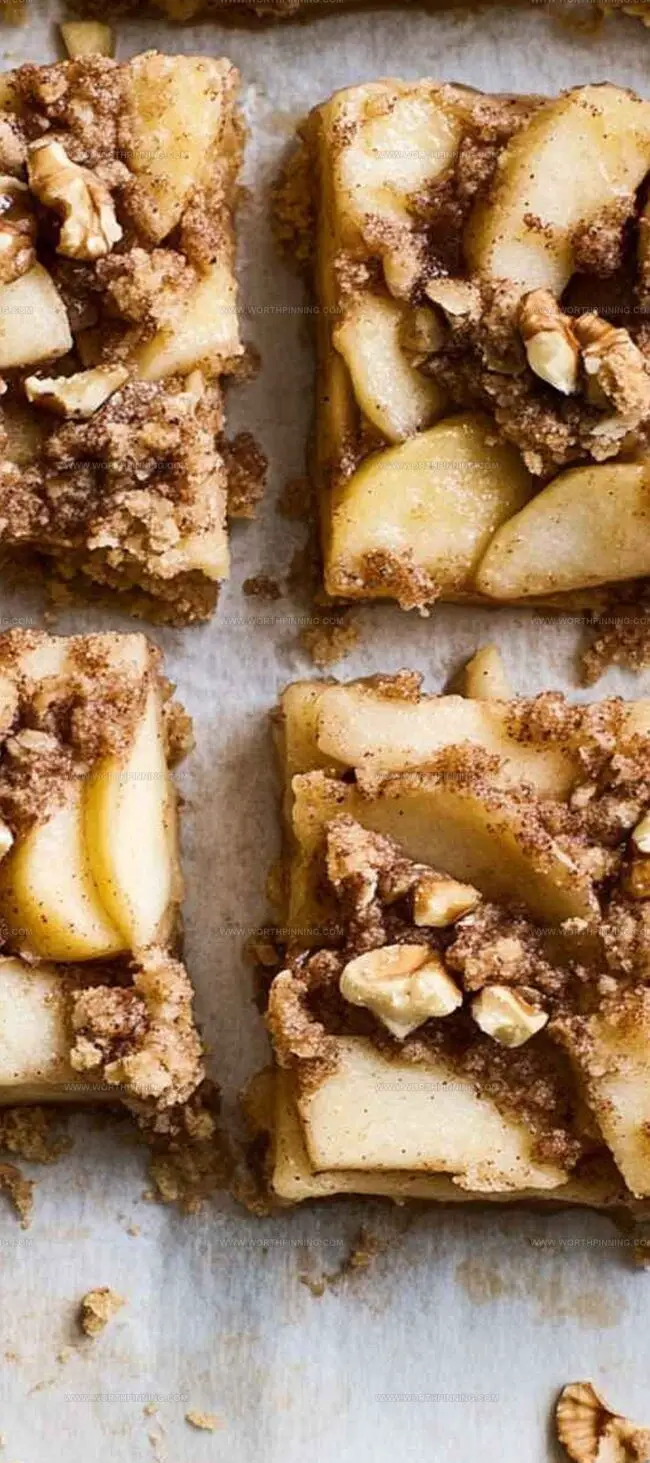
Warm, golden apple pie bars whisper comfort and nostalgia with every delectable bite.
Sweet autumn memories dance through this beloved Barefoot Contessa apple pie bars recipe that captures the essence of homemade goodness.
Each bar promises a perfect balance of tender apples and buttery crust that melts in your mouth.
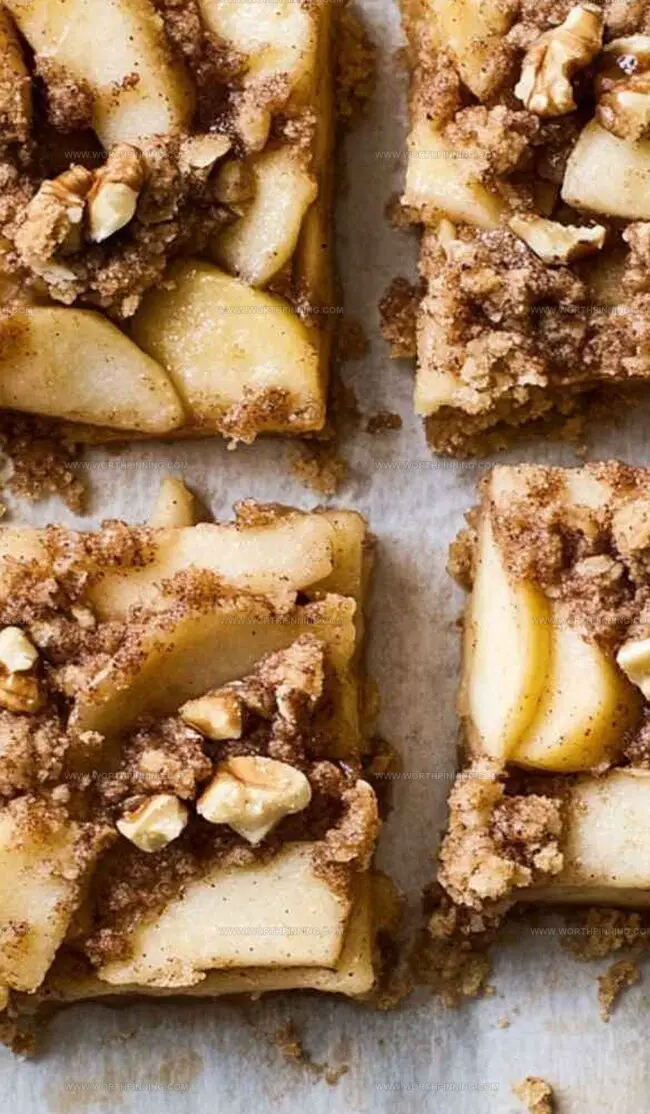
The delightful combination of cinnamon, brown sugar, and fresh fruit creates an irresistible treat that feels like a warm hug.
Layers of flaky pastry embrace soft, spiced apple filling in a dessert that’s both rustic and elegant.
Simple ingredients come together to craft a dessert that celebrates the pure joy of baking.
Grab your ingredients and get ready to savor a slice of pure, comforting bliss.
Quick Recipe Overview

Ingredients for Apple Pie Bars
For The Buttery Base:For The Apple Filling:For The Crunchy Topping:Tools You’ll Need for Apple Pie Bars
Apple Pie Bars Baking Guide

Set the oven temperature to create the perfect baking environment for these delectable treats.
Blend sugars and butter until smooth, gradually incorporating flour to create a silky, rich base.
Press most of the dough into a baking pan, forming elegant edges that will cradle the apple filling.
Allow the crust to transform into a golden, crispy foundation that will support the luscious apple layer.
Mix remaining dough with crunchy walnuts and warm cinnamon to create a textural contrast.
Transform fresh apples in a sizzling pan, coaxing out their natural sweetness and softening them to perfection.
Gently spread the caramelized apple mixture over the waiting crust, then sprinkle the crumbly topping like a delicate blanket.
Let the bars transform in the oven, developing a golden, crispy top that promises incredible flavor.
Patiently wait for the bars to cool completely, then slice into squares of pure comfort and joy.
How to Customize Apple Pie Bars
Serving Style for Apple Pie Bars
How to Keep Apple Pie Bars Fresh
Print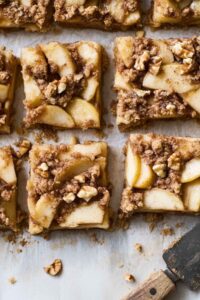
Rustic Barefoot Contessa Apple Pie Bars Recipe
- Total Time: 1 hour 15 minutes
- Yield: 12 1x
Description
Barefoot Contessa apple pie bars blend classic dessert flavors with convenient bar form. Delicate pastry and warm spices create a comforting treat that welcomes you to savor each delightful bite.
Ingredients
- 680g (1.5 lbs) Granny Smith apples, peeled, cored, and sliced 3mm (⅛ inch) thick
- 680g (1.5 lbs) Golden Delicious apples, peeled, cored, and sliced 3mm (⅛ inch) thick
- 2 tbsps fresh lemon juice
- 50g (¼ cup) caster sugar
- 1 tsp ground cinnamon
- ⅛ tsp ground nutmeg
- 55g (4 tbsps) unsalted butter
Instructions
- Crust Preparation: Blend butter, sugars, and vanilla until ethereally light and airy, then gently fold in flour and salt to create a uniform dough.
- Base Formation: Press two-thirds of the dough into a 9×13-inch baking tin, sculpting a slightly raised perimeter, then chill for structural integrity.
- Initial Baking: Roast the crust at 190°C until achieving a rich golden hue, allowing complete cooling for optimal texture.
- Apple Caramelization: Transform apple slices in a skillet with butter, lemon juice, and warming spices, cooking until luxuriously soft and concentrated.
- Crumble Creation: Combine remaining dough with walnuts and cinnamon, fracturing into rustic, uneven clusters.
- Assembly and Final Bake: Layer caramelized apples across the pre-baked crust, generously crown with walnut-cinnamon crumble, and return to the oven at 175°C until the topping turns a burnished golden brown.
- Serving: Allow the bars to cool completely before slicing into elegant squares, revealing layers of tender apples and crisp, nutty topping.
Notes
- Chill the Crust: Refrigerate the dough for 20 minutes to prevent shrinkage and maintain a crisp, structured base during baking.
- Master Apple Caramelization: Cook apples slowly to remove excess moisture, creating a rich, concentrated flavor without making the filling soggy.
- Crumble Technique: Pinch the topping into irregular pieces for a rustic, textured look that provides delightful crunch and visual appeal.
- Cooling is Crucial: Allow bars to cool completely before cutting to ensure clean slices and help the filling set properly.
- Prep Time: 25 minutes
- Cook Time: 50 minutes
- Category: Desserts, Snacks
- Method: Baking
- Cuisine: American
Nutrition
- Serving Size: 12
- Calories: 250
- Sugar: 10g
- Sodium: 50mg
- Fat: 12g
- Saturated Fat: 7g
- Unsaturated Fat: 5g
- Trans Fat: 0g
- Carbohydrates: 35g
- Fiber: 3g
- Protein: 2g
- Cholesterol: 30mg
Sophia Rivera
Recipe Developer & Kitchen Tips Specialist
Expertise
Education
Austin Community College
San Antonio Culinary Institute
Sophia’s passion for baking began in her family kitchen, where she spent hours experimenting with new recipes. With a background in baking and pastry arts, she loves making desserts that are as visually stunning as they are delicious.
Sophia is all about using seasonal, locally sourced ingredients to create treats that everyone will enjoy. When she’s not creating mouth-watering desserts, you can find her gardening, making new recipes, or enjoying a relaxing afternoon with her family.