
Buttery Pioneer Woman Pie Crust Recipe
Pioneer Woman’s pie crust with butter transforms ordinary baking into an artisan experience that connects generations of home cooks.
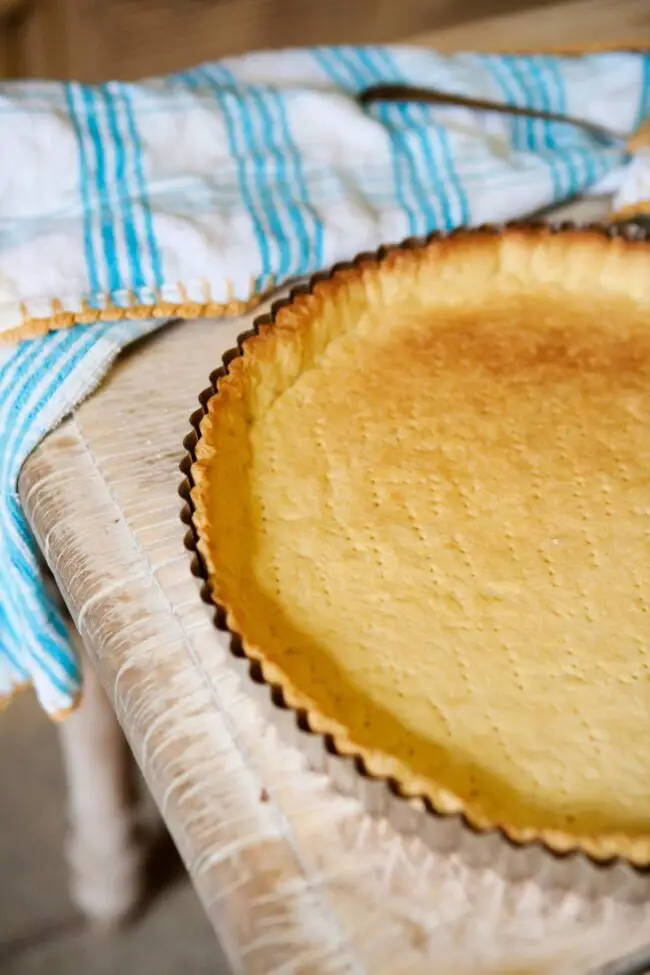
Flaky, golden, and rich with dairy goodness, this recipe represents culinary tradition at its finest.
Crafting such a crust requires precision, patience, and understanding of delicate ingredient interactions.
Professional bakers and passionate home cooks treasure this method for creating sublime pastry foundations.
Tender layers emerge through careful technique and strategic ingredient selection, promising a mouthwatering result.
The magic happens when cold butter meets flour, creating remarkable textural complexity that elevates any sweet or savory filling.
Why Pioneer Woman Pie Crust With Butter Works

Ingredients in Pioneer Woman Pie Crust With Butter
Flour Base:Butter Component:Liquid Binding:How to Make Pioneer Woman Pie Crust With Butter
Step 1: Gather Your Baking Buddies
Collect all ingredients and tools. You’ll need:A clean workspace is your secret weapon!
Step 2: Create Your Flour Foundation
Mix flour and salt in a large bowl. Stir gently to distribute salt evenly throughout the flour. This step ensures balanced flavor in your crust.
Step 3: Butter Breakdown Magic
Cut cold butter into 1/2-inch cubes. Drop butter into flour mixture. Use pastry cutter or fingertips to blend until mixture looks like rough breadcrumbs. Some larger butter chunks are perfect – they’ll create delicious flaky layers later.
Step 4: Liquid Love
In separate small bowl, combine ice water and apple cider vinegar. Vinegar helps prevent gluten development, making crust extra tender.
Step 5: Gentle Dough Dance
Slowly drizzle liquid over flour mixture. Toss with fork until dough starts coming together. Stop adding liquid when dough feels just moistened but not wet.
Step 6: Quick Dough Handling
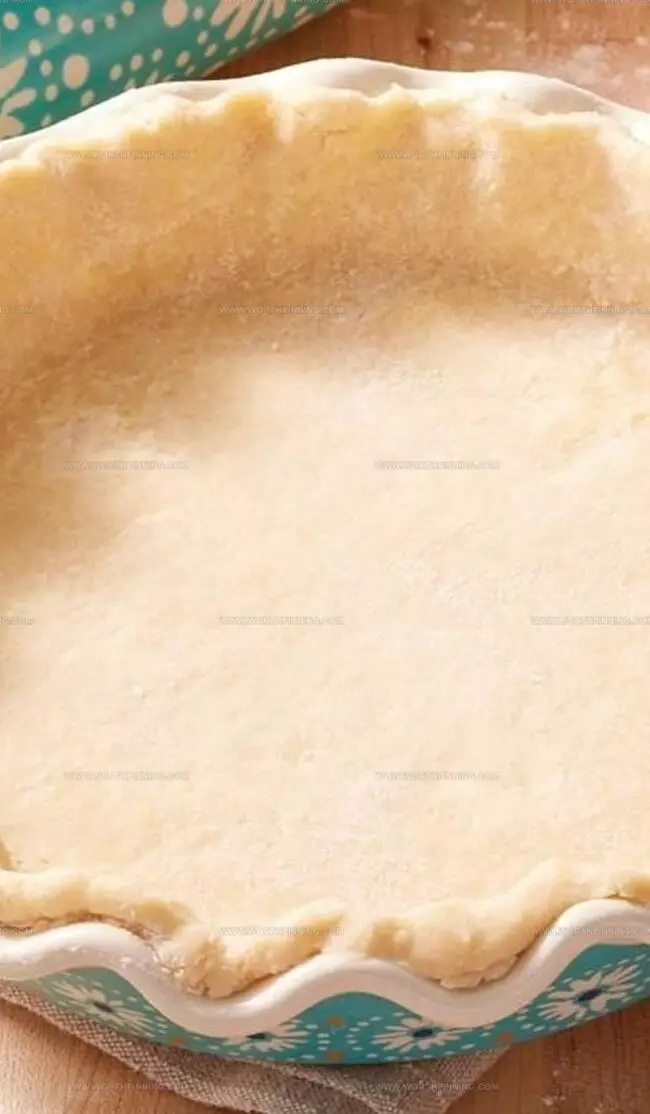
Lightly knead dough 4-5 times. Divide into 2 equal disks. Wrap each disk in plastic wrap. Press gently to create smooth surface.
Step 7: Chill and Relax
Refrigerate dough for 2 hours or up to 2 days. Cold resting allows butter to solidify and gluten to relax, ensuring ultimate flakiness.
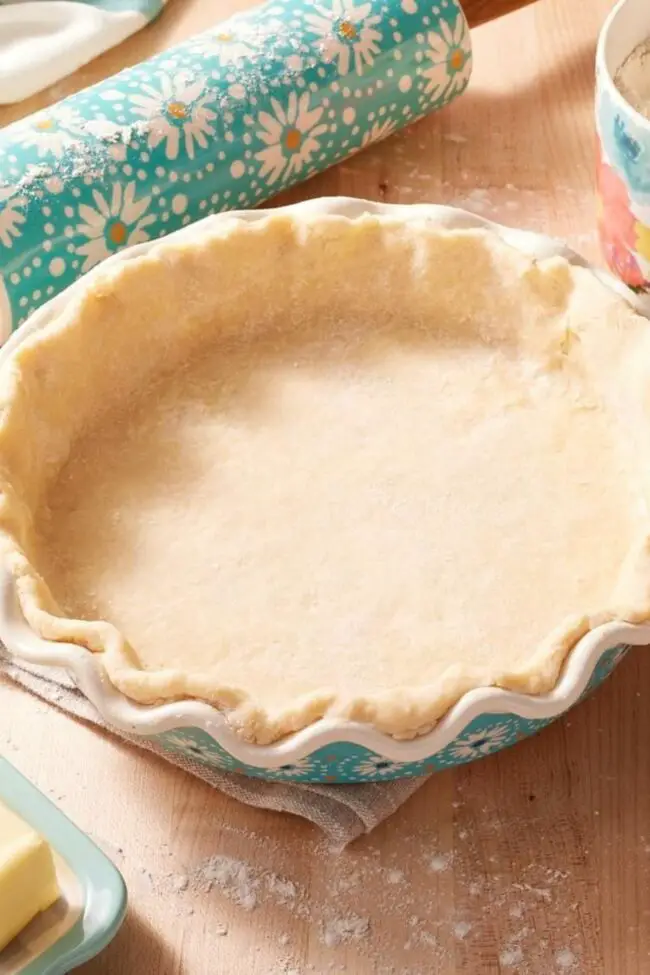
Step 8: Ready for Pie Adventure
Remove dough from refrigerator 10 minutes before rolling. Your pie crust is now ready for baking magic!
Pro Tips for Pioneer Woman Pie Crust With Butter
Store Pioneer Woman Pie Crust With Butter
Airtight Shield: Protect your freshly made pie crust by wrapping it securely in plastic wrap or placing it in a sealed container. Refrigeration keeps the buttery goodness intact for 3-4 days, preserving its delicate texture and rich flavor.
Freezer Haven: Transform long-term storage into a breeze by carefully tucking your pie crust into a heavy-duty freezer bag. Double-wrap with aluminum foil to prevent freezer burn and maintain its pristine quality for up to 2 months. Gentle thawing in the refrigerator overnight ensures your crust remains as perfect as the moment you made it.
Moisture Guard: Prevent unwanted moisture and potential flavor absorption by storing the crust away from strong-smelling foods. Use a dedicated section of your refrigerator or freezer, keeping it isolated from other ingredients that might compromise its delicate butter-rich character.
Versions of Pioneer Woman Pie Crust With Butter
Wrap-Up for Pioneer Woman Pie Crust With Butter
Savory pie crusts reach new heights with Pioneer Woman’s butter-based technique.
Culinary magic happens when cold butter meets flour, creating flaky layers that melt in your mouth.
Home bakers can master this simple yet sophisticated method with minimal ingredients and maximum flavor.
Crisp, golden edges promise a pastry experience that elevates any pie from ordinary to extraordinary.
Share this recipe, spark conversation, and inspire fellow bakers to create their own buttery masterpiece – you’ll not want to miss the delicious journey ahead.
Print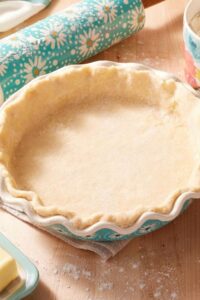
Pioneer Woman Pie Crust With Butter Recipe
- Total Time: 25 minutes
- Yield: 8 1x
Description
Flaky Pioneer Woman Pie Crust delivers buttery perfection with simple ingredients. Home bakers can master this classic recipe that creates delicate, golden pastry for sweet and savory pies.
Ingredients
Main Ingredients:
- 2.5 cups (591 ml) all-purpose flour
- 1 cup (227 grams) unsalted butter, cubed and kept cold
Seasoning:
- 1 teaspoon (5 grams) kosher salt
Liquid Ingredients:
- 6 tablespoons (90 ml) water, chilled
- 1 tablespoon (15 ml) apple cider vinegar
Instructions
- In a spacious mixing bowl, sift together the all-purpose flour (240 grams or 2 cups) and salt (5 grams or 1 teaspoon), creating a uniform dry base for the pie crust.
- Extract cold butter (226 grams or 8 ounces) from the refrigerator and slice into small, precise cubes. Integrate the butter into the flour mixture using a pastry blender or fingertips, working quickly to maintain the butter’s chilled temperature and creating a landscape of uneven, coarse crumbs.
- Prepare a chilling liquid by combining ice-cold water (120 milliliters or 1/2 cup) with apple cider vinegar (15 milliliters or 1 tablespoon). Pour the liquid incrementally over the flour-butter mixture, using a fork to gently fold and incorporate until the dough begins to show signs of cohesion.
- Transfer the slightly moistened mixture onto a clean surface and perform minimal, deliberate kneading; no more than 4-5 gentle compressions; just enough to form a unified, shaggy mass without developing excessive gluten.
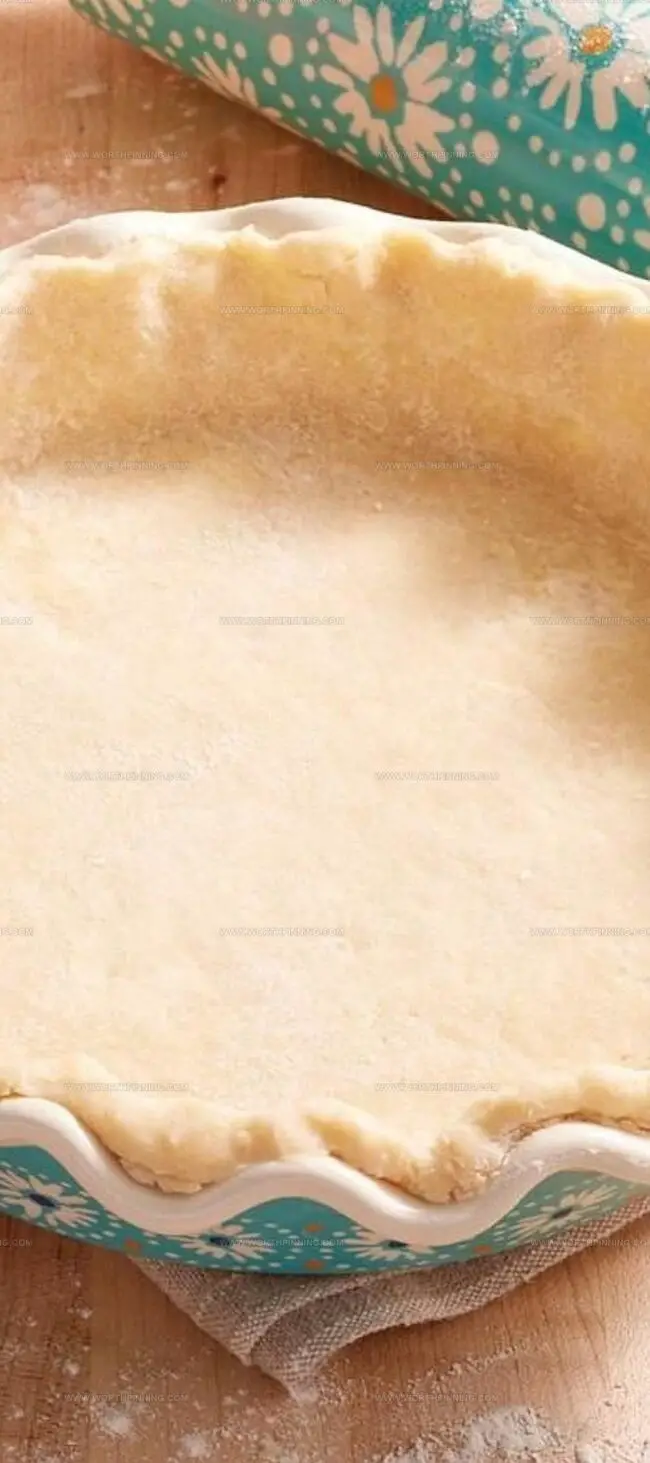
- Partition the dough into two equal portions, carefully shaping each into a flat, round disk approximately 1 centimeter (1/2 inch) thick. Encase each disk securely in plastic wrap, ensuring no air pockets remain.
- Nestle the wrapped dough disks into the refrigerator for a minimum of 2 hours or up to 48 hours, allowing the gluten to relax and butter to solidify, which guarantees a flaky, tender crust with exceptional structural integrity.
- When ready to use, remove the dough from the refrigerator and let it rest at room temperature for 5-10 minutes to soften slightly, making it more pliable for rolling and shaping.
Notes
- Chilling transforms your pie dough from good to extraordinary, allowing butter to solidify and gluten to relax for maximum flakiness.
- Cold butter creates magical layers that separate during baking, delivering a melt-in-your-mouth texture professional bakers adore.
- Minimal handling prevents tough crusts, letting you gently mix ingredients until they just come together.
- Apple cider vinegar adds unexpected tenderness and subtle complexity that elevates your pastry from ordinary to remarkable.
- Refrigerating dough disks overnight gives you flexibility and improves overall texture, making prep easier for spontaneous baking adventures.
- Prep Time: 25 minutes
- Cook Time: 0 minutes
- Category: Desserts
- Method: Baking
- Cuisine: American
Nutrition
- Serving Size: 8
- Calories: 400
- Sugar: 0 g
- Sodium: 200 mg
- Fat: 30 g
- Saturated Fat: 18 g
- Unsaturated Fat: 12 g
- Trans Fat: 0 g
- Carbohydrates: 34 g
- Fiber: 1 g
- Protein: 4 g
- Cholesterol: 60 mg
Ethan Miller
Founder & Lead Content Writer
Expertise
Education
Portland Community College
Culinary Institute of the Pacific
Ethan’s culinary journey began in his grandmother’s kitchen, where he first learned to play with flavors and ingredients. With formal training in culinary arts and a deep love for international cuisines, Ethan’s goal is to share the joy of cooking with others.
He believes food is all about creativity and bringing people together, one meal at a time. When he’s not experimenting with new dishes, he enjoys hiking in the Oregon wilderness and discovering fresh, local ingredients.