Easy Pioneer Woman Baked Chicken Breast Recipe That’s Perfect
Baked chicken breast transforms ordinary poultry into a mouthwatering centerpiece that tantalizes taste buds with minimal effort.
Seasoned simply yet strategically, this culinary classic promises succulence in every single bite.
Home cooks adore how quickly it comes together without sacrificing flavor or texture.
Such straightforward preparation means you can breeze through dinner preparation with confidence and ease.
Tender, juicy meat emerges from the oven looking golden and inviting, promising a satisfying meal that feels both comforting and elegant.
Smart seasoning techniques elevate this protein from basic to brilliant, ensuring each slice remains moist and delectable.
The secret lies in understanding temperature, timing, and technique: you’ll want to master this game-changing method.
Why Baked Chicken Breast Is a Weeknight Hero
What You Need for Pioneer’s Chicken Breast
Simple Steps for Juicy Chicken Breast

Step 1: Warm Up The Oven
Crank the oven to a sizzling 425°F (220°C). Grab a rimmed baking sheet and give it a light massage with olive oil to prevent sticking.
Step 2: Massage The Chicken
Take your chicken breasts and give them a luxurious olive oil rub. In a large mixing bowl, drizzle of olive oil and coat each piece completely.
Step 3: Sprinkle On The Magic
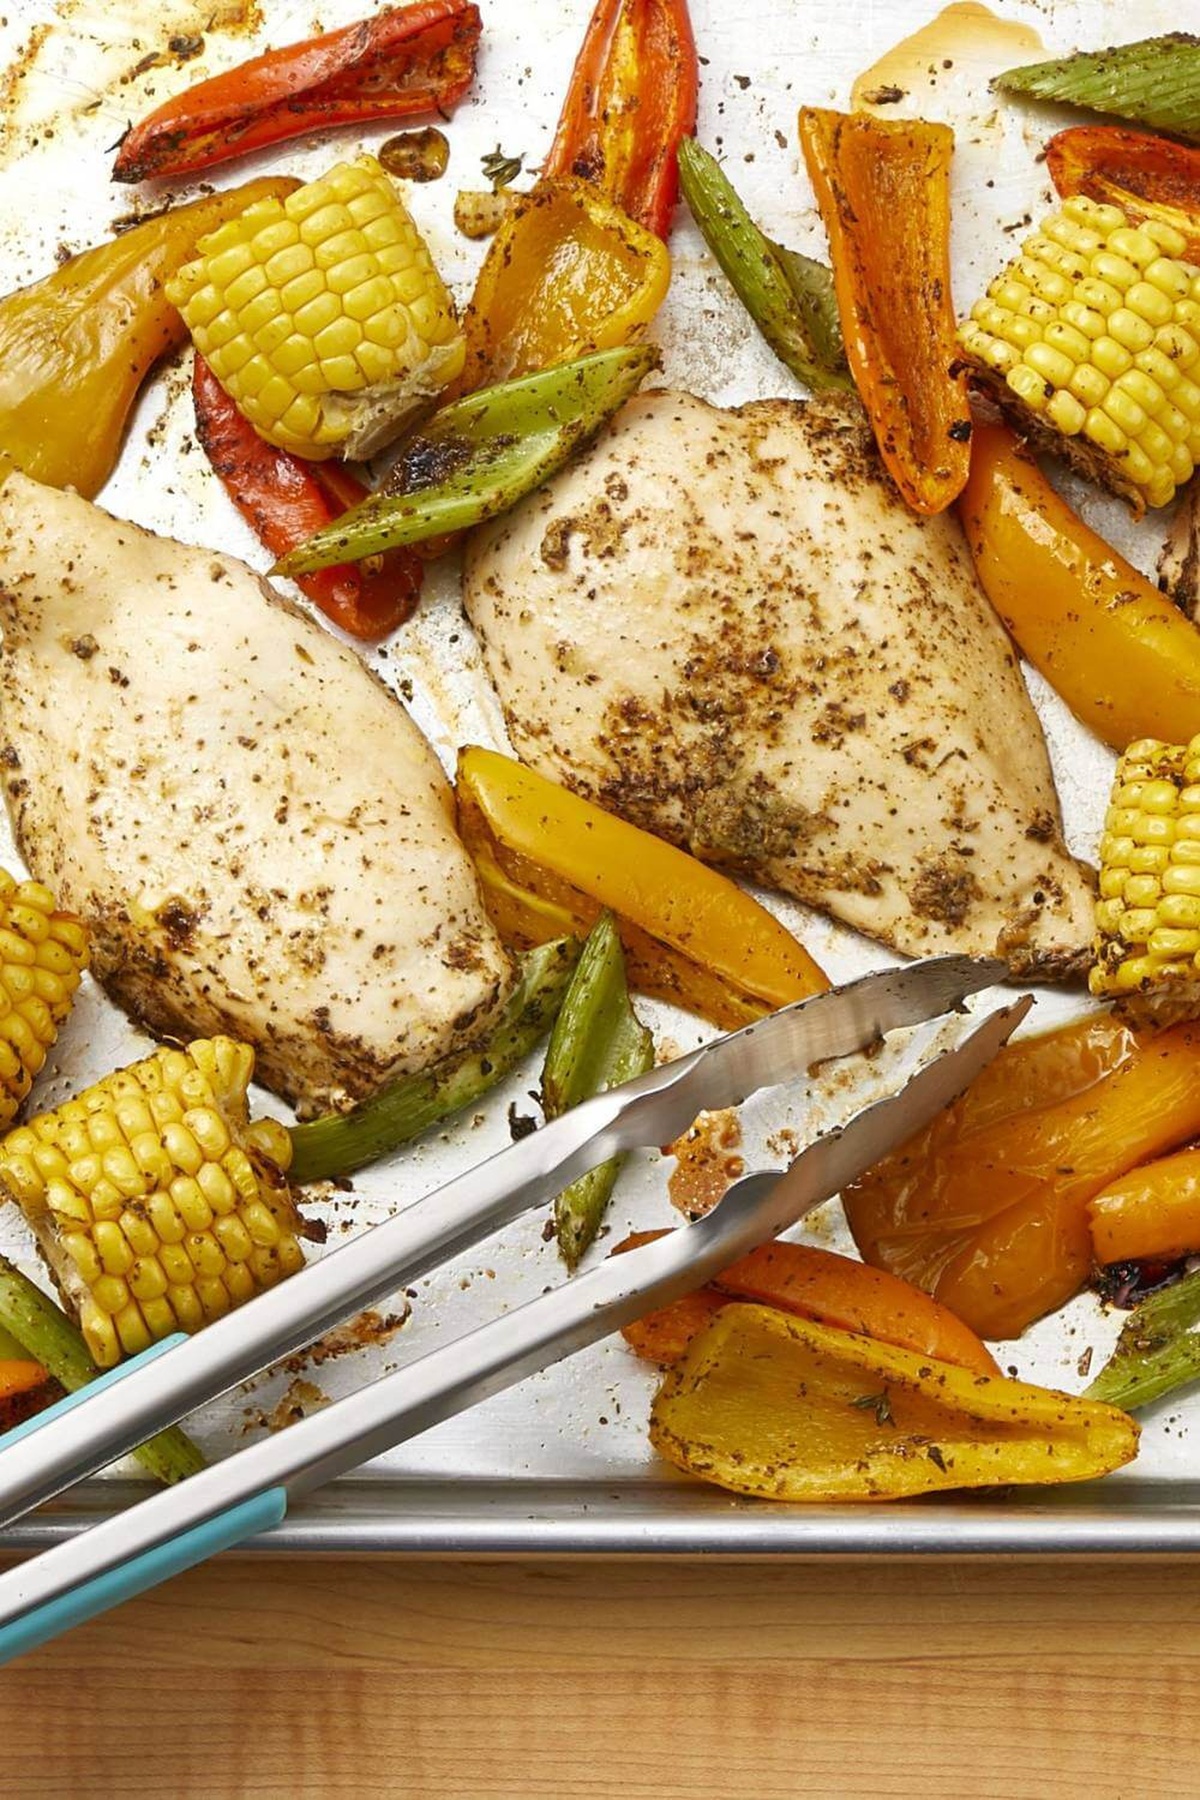
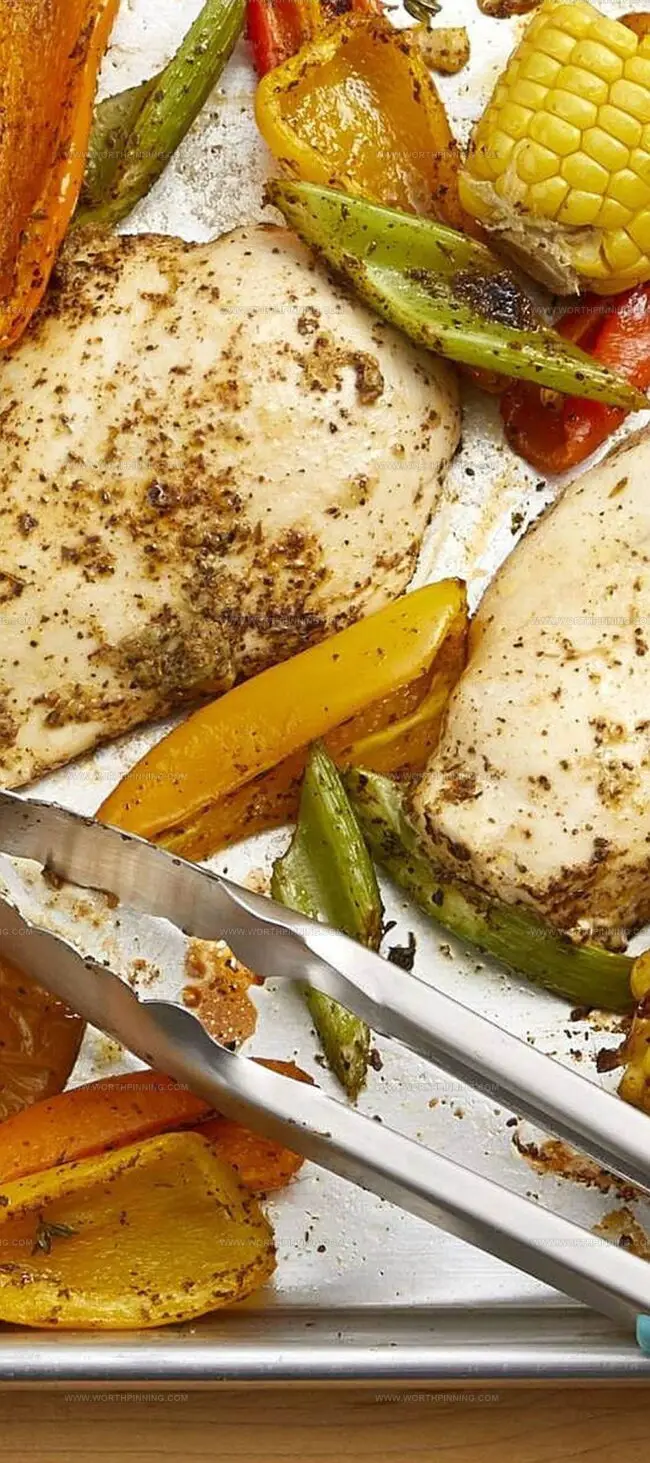
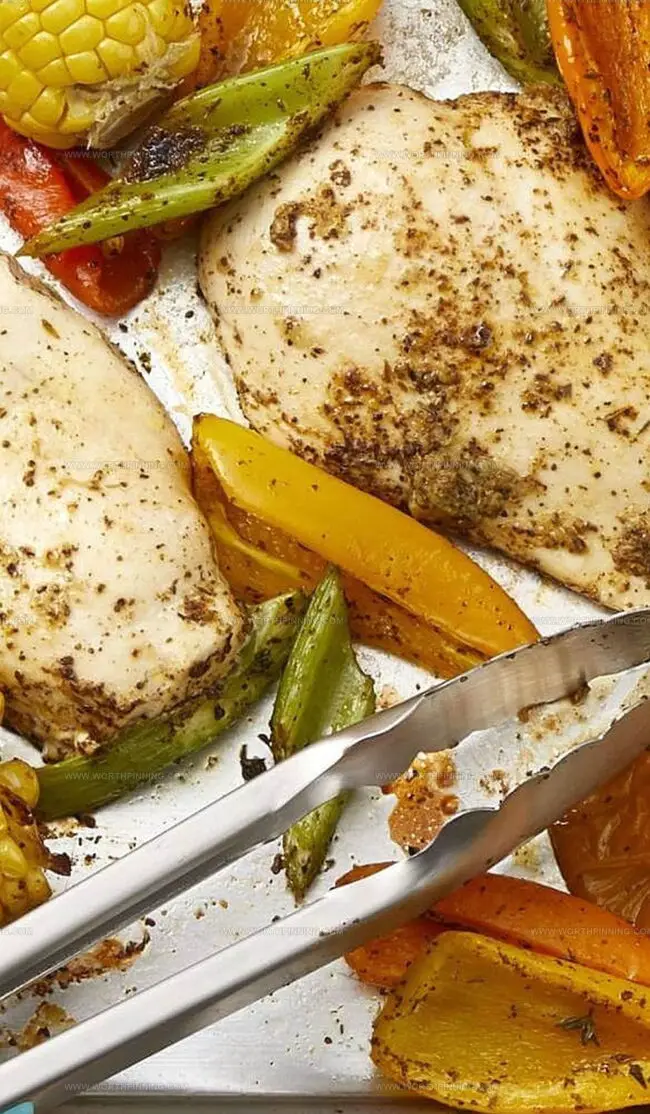
Lay out the chicken breasts on the prepared baking sheet. Shower them with:Spread the seasonings evenly for maximum flavor explosion.
Step 4: Bake To Perfection
Slide the baking sheet into the hot oven. Let the chicken dance and sizzle for 25 minutes. Midway through cooking, give the pan a quick spin to ensure every inch gets golden and delicious.
Step 5: Let It Relax
Once the chicken is cooked through (internal temperature should reach 165°F), transfer to a serving platter. Allow it to rest for 5 minutes. This crucial pause lets the juices redistribute, guaranteeing each bite is incredibly moist and tender.
Tips to Avoid Dry Chicken
Chicken Breast Storage That Works
Try These Flavor Swaps
Wrapping Up with Baked Chicken Breast
Culinary magic emerges from Pioneer Woman’s baked chicken breast, promising a simple yet extraordinary dining experience.
Juicy, flavorful chicken breasts become your weeknight dinner hero with minimal effort and maximum satisfaction.
Each golden-brown piece whispers kitchen confidence and home-cooked comfort.
Salt and pepper transform ordinary ingredients into a memorable meal that delights palates and simplifies cooking challenges.
Precise oven technique guarantees perfectly cooked protein without complicated techniques.
Readers, dive into this foolproof recipe that elevates home cooking – share its deliciousness, comment with your flavor twists, and spread kitchen joy through this delectable chicken masterpiece.
Print
Pioneer Woman Baked Chicken Breast Recipe
- Total Time: 1 hour 10 minutes
- Yield: 4 1x
Description
Juicy Pioneer Woman Baked Chicken Breast brings classic comfort to dinner tables with minimal effort. Herb-seasoned chicken promises a delightful meal that delivers home-style flavor you can savor in just minutes.
Ingredients
Main Protein:
- 4 skinless, boneless chicken breasts (about 8 ounces/226 grams each)
Seasoning:
- Kosher salt, to taste
- Black pepper, to taste
Cooking Fat:
- 1 tablespoon (15 milliliters) olive oil, plus more for the pan
Instructions
- Prepare the cooking environment by heating the oven to 425°F (220°C) and lightly coating a rimmed baking sheet with olive oil to prevent sticking.
- Select fresh chicken breasts and place them in a spacious mixing bowl, drizzling with 1 tablespoon of olive oil to create a light, protective coating that enhances moisture retention.
- Carefully arrange the olive oil-coated chicken breasts onto the prepared baking sheet, maintaining even spacing to promote uniform heat distribution.
- Generously sprinkle kosher salt and freshly ground black pepper across the surface of each chicken breast, ensuring comprehensive and balanced seasoning.
- Transfer the baking sheet to the preheated oven, positioning it in the center rack for consistent heat exposure.
- Midway through the cooking process, carefully rotate the baking sheet 180 degrees to guarantee equal browning and prevent potential hot spots in the oven.
- Cook the chicken for approximately 25 minutes, or until the internal temperature reaches 165°F (74°C), which indicates complete and safe cooking.
- Remove the chicken from the oven and allow it to rest on a clean platter for 5 minutes, enabling the internal juices to redistribute and ensuring maximum tenderness and flavor.
Notes
- Infuse olive oil with your favorite herbs like rosemary or thyme for a personalized aromatic boost.
- Resting allows chicken juices to redistribute, ensuring each slice stays incredibly moist and tender.
- Verify doneness by inserting a meat thermometer into the thickest part of the chicken, confirming it reaches a safe 165°F (74°C).
- Prep Time: 30 minutes
- Cook Time: 40 minutes
- Category: Dinner
- Method: Baking
- Cuisine: American
Nutrition
- Serving Size: 4
- Calories: 250
- Sugar: 0 g
- Sodium: 200 mg
- Fat: 14 g
- Saturated Fat: 2 g
- Unsaturated Fat: 10 g
- Trans Fat: 0 g
- Carbohydrates: 0 g
- Fiber: 0 g
- Protein: 26 g
- Cholesterol: 70 mg
Ethan Miller
Founder & Lead Content Writer
Expertise
Education
Portland Community College
Culinary Institute of the Pacific
Ethan’s culinary journey began in his grandmother’s kitchen, where he first learned to play with flavors and ingredients. With formal training in culinary arts and a deep love for international cuisines, Ethan’s goal is to share the joy of cooking with others.
He believes food is all about creativity and bringing people together, one meal at a time. When he’s not experimenting with new dishes, he enjoys hiking in the Oregon wilderness and discovering fresh, local ingredients.