
Discover Pioneer Woman’s Quick & Homey Apple Jelly Recipe
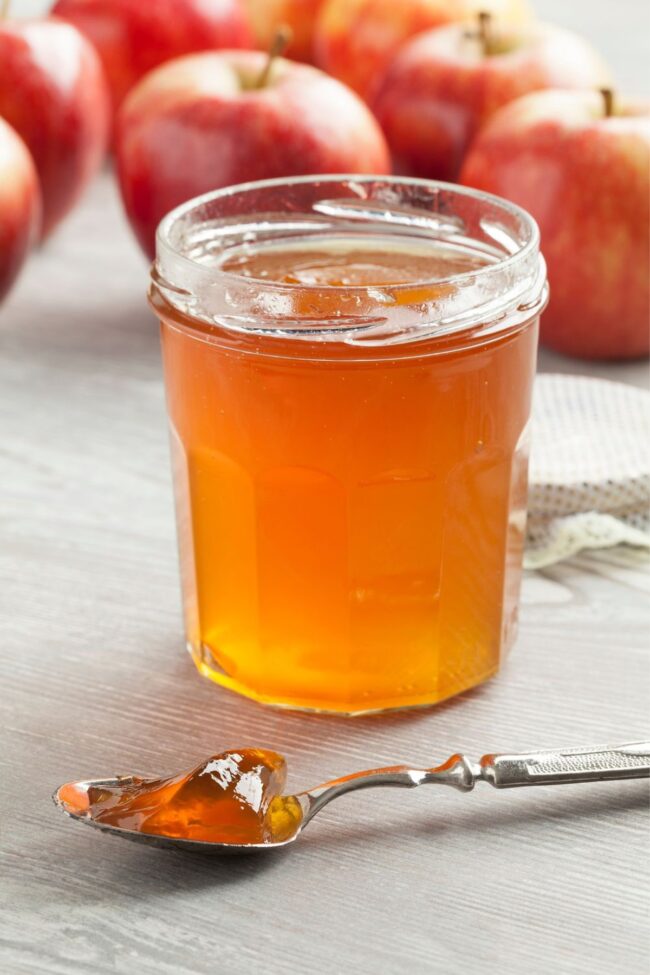
Pioneer Woman’s apple jelly transforms ordinary juice into a golden, spreadable treasure that captures the essence of autumn’s bounty.
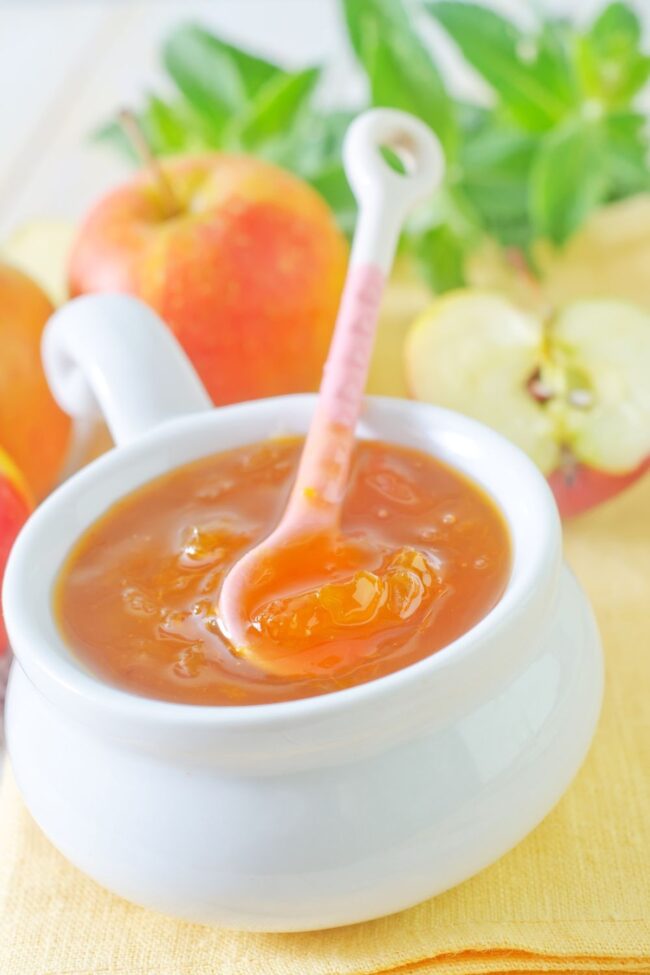
Sweet and vibrant, this homemade condiment brings memories of countryside kitchens and family gatherings around rustic breakfast tables.
Crafting such a delightful preserve requires minimal ingredients and surprisingly little effort.
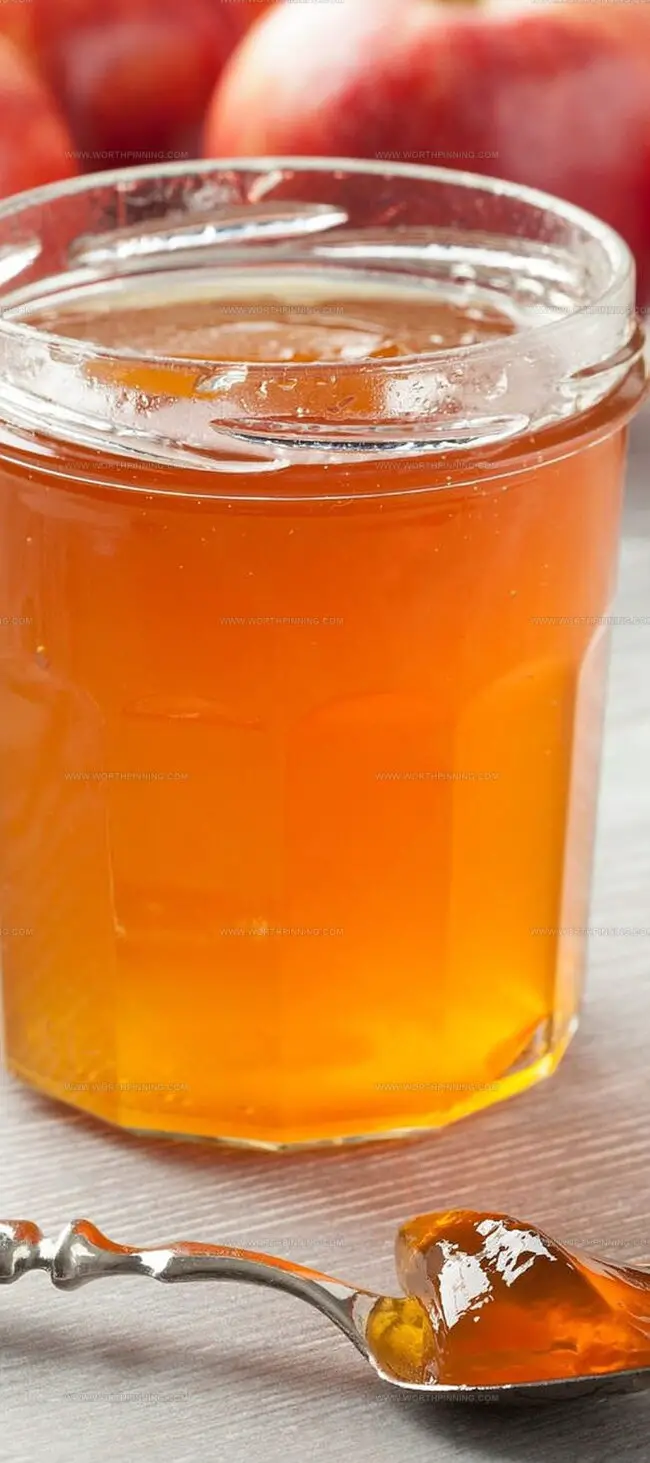
Warm, fragrant, and gloriously translucent, the jelly glistens like liquid sunshine when properly prepared.
Home cooks appreciate how simple techniques can produce such remarkable results from basic ingredients.
Skilled preservation methods turn humble apple juice into a delectable spread that elevates morning toast or afternoon scones.
The magic lies in understanding precise temperature control and ingredient ratios that create perfectly set, smooth jelly: get ready to impress everyone with your culinary prowess.
Why Apple Jelly from Pioneer Is a Staple
What You Need for Apple Jelly
Main Ingredients:Supportive Ingredients:Canning Ingredients:Apple Jelly Instructions Made Simple
Step 1: Prep Your Canning Station
Gather all your canning equipment, including:Sanitize everything thoroughly to ensure food safety.
Step 2: Create Apple Juice Base
In a large saucepan, combine:Whisk ingredients until smoothly blended, eliminating any lumps.
Step 3: Enhance Flavor and Texture
Stir in unsalted butter to reduce foaming and improve overall consistency.
Step 4: Bring to Boisterous Boil
Heat mixture over high heat, stirring frequently. Watch for vigorous bubbling that cannot be stirred down.
Step 5: Sugar Transformation
Quickly add granulated sugar all at once. Stir continuously to prevent burning.
Step 6: Rolling Boil Magic
Maintain a hard, rolling boil for exactly 1 minute. Keep stirring constantly to prevent scorching.
Step 7: Foam Removal
Remove from heat and skim off any white foam using a metal spoon.
Step 8: Gel Test
Place a small spoonful on a chilled saucer. After 30 seconds, check if it wrinkles when pushed with your finger.
Step 9: Jar Filling
Carefully ladle hot jelly into sterilized jars, leaving 1/4 inch headspace at the top.
Step 10: Seal and Process
Wipe jar rims clean, place lids, and screw bands until fingertip-tight.
Submerge jars in boiling water bath, ensuring 1-2 inches water coverage.
Process for 10 minutes at sea level (adjust time for high altitudes).
Step 11: Cooling and Storage
Remove jars and let cool undisturbed for 12-24 hours.
Tips for Clear and Smooth Jelly
How to Store Apple Jelly
Add Spices or Fruit for a Twist
Apple Jelly Wrap-Up
Homemade apple jelly captures pure orchard magic, transforming simple ingredients into liquid sunshine.
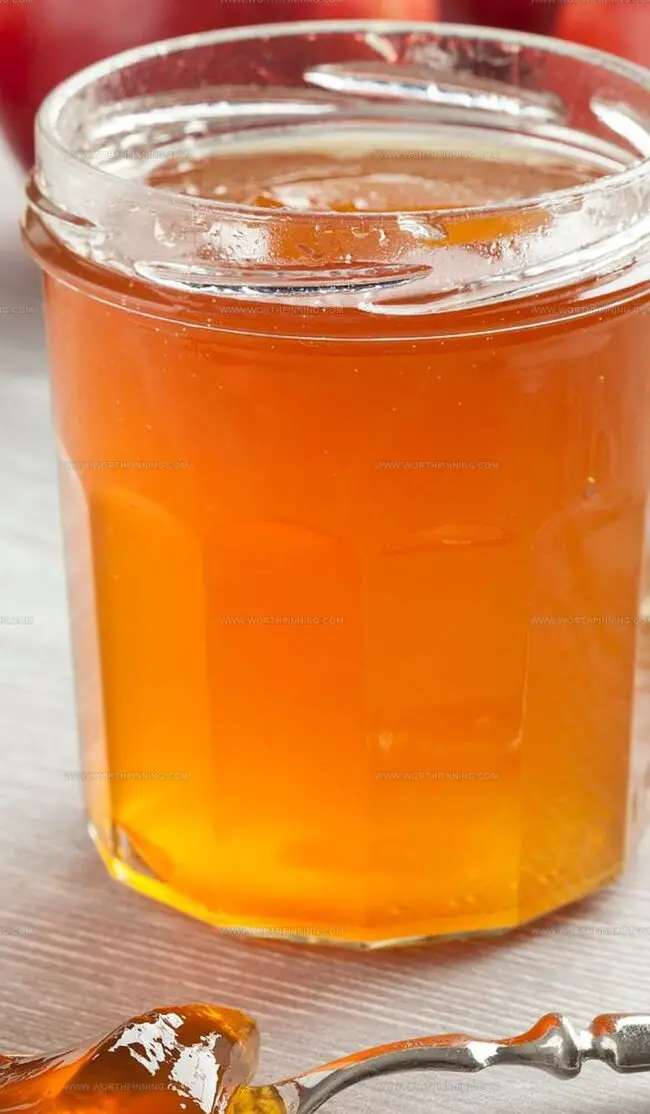
Preserved memories sparkle within each gleaming jar, connecting generations through sweet culinary traditions.
Family recipes carry whispers of autumn’s golden harvest, celebrating seasonal abundance.
Crafting jelly becomes more than cooking – it’s a heartfelt art form honoring heritage and creativity.
Precise techniques guarantee success for passionate home preservers seeking delectable results.
You can dive into this delightful journey, share their jelly-making adventures, spread the love through comments, and inspire fellow kitchen enthusiasts to embrace this timeless craft.
Print
Pioneer Woman Apple Jelly Recipe
- Total Time: 30 minutes
- Yield: 6 1x
Description
Homemade Pioneer Woman Apple Jelly delivers pure orchard sweetness with minimal ingredients and effortless preparation. Warm autumn memories mingle with simple seasonal charm, inviting you to savor each silky spoonful of this classic preserve.
Ingredients
Main Ingredients:
- 3 cups unsweetened apple juice (710 ml)
- 3 ⅓ cups granulated sugar (670 g)
Thickening Agents:
- 4 tablespoons classic pectin (60 ml)
Optional Ingredient:
- ½ teaspoon butter (2.5 ml)
Instructions
- Sanitize your canning equipment by thoroughly washing the jars, lids, and canner with hot, soapy water, then rinse well and prepare a clean workspace.
- In a large, heavy-bottomed saucepan, combine apple juice (236 milliliters or 8 fluid ounces) and pectin, whisking gently until the powdery pectin is mostly dissolved.
- Incorporate unsalted butter (14 grams or 1/2 ounce) into the juice mixture, stirring to help prevent excessive foaming during cooking.
- Position the saucepan over high heat, bringing the liquid to a vigorous, rolling boil while stirring consistently to prevent scorching.
- Swiftly add the entire measured quantity of granulated sugar (about 400 grams or 14 ounces), stirring rapidly to ensure complete integration.
- Continue boiling at maximum heat, maintaining constant, aggressive stirring for precisely 60 to 70 seconds to activate the pectin and achieve proper set.
- Remove the saucepan from heat and use a metal spoon to delicately skim any accumulated foam from the jelly’s surface.
- Conduct a gel test by dropping a small amount of hot jelly onto a chilled ceramic plate, allowing it to cool for 30 seconds, and checking its consistency.
- Carefully ladle the hot jelly into sterilized glass jars, leaving approximately 6 millimeters (1/4 inch) of headspace at the top.
- Wipe jar rims meticulously with a clean, damp cloth to ensure a proper seal, then apply heated lids and screw bands until fingertip-tight.
- Gently lower filled jars into the prepared boiling water bath canner, ensuring they are completely submerged by 2.5 centimeters (1 inch) of water.
- Process the jars in the boiling water bath for 10 minutes, then turn off heat and allow jars to rest in the water for an additional 5 minutes before removing.
Notes
- Preserve summer’s sweet memories by transforming ripe apples into a glistening, homemade spread that bursts with natural flavor.
- Clean jars meticulously to prevent unexpected spoilage and ensure your jelly remains safe and delectable for months.
- Seal jars carefully after processing in boiling water, creating an airtight barrier that locks in freshness and prevents bacterial growth.
- Check gel consistency using the freezer plate method, guaranteeing a perfect texture that’s neither too runny nor overly stiff.
- Remove foam during cooking to achieve a crystal-clear jelly that looks professionally crafted and visually stunning.
- Select the most crisp and vibrant apples to create a pure, bright preserve that celebrates the essence of seasonal harvests.
- Prep Time: 10 minutes
- Cook Time: 20 minutes
- Category: Breakfast, Snacks, Desserts
- Method: Boiling
- Cuisine: American
Nutrition
- Serving Size: 6
- Calories: 174
- Sugar: 29 g
- Sodium: 1 mg
- Fat: 0.2 g
- Saturated Fat: 0 g
- Unsaturated Fat: 0 g
- Trans Fat: 0 g
- Carbohydrates: 44 g
- Fiber: 0 g
- Protein: 0.1 g
- Cholesterol: 0 mg
Ethan Miller
Founder & Lead Content Writer
Expertise
Education
Portland Community College
Culinary Institute of the Pacific
Ethan’s culinary journey began in his grandmother’s kitchen, where he first learned to play with flavors and ingredients. With formal training in culinary arts and a deep love for international cuisines, Ethan’s goal is to share the joy of cooking with others.
He believes food is all about creativity and bringing people together, one meal at a time. When he’s not experimenting with new dishes, he enjoys hiking in the Oregon wilderness and discovering fresh, local ingredients.