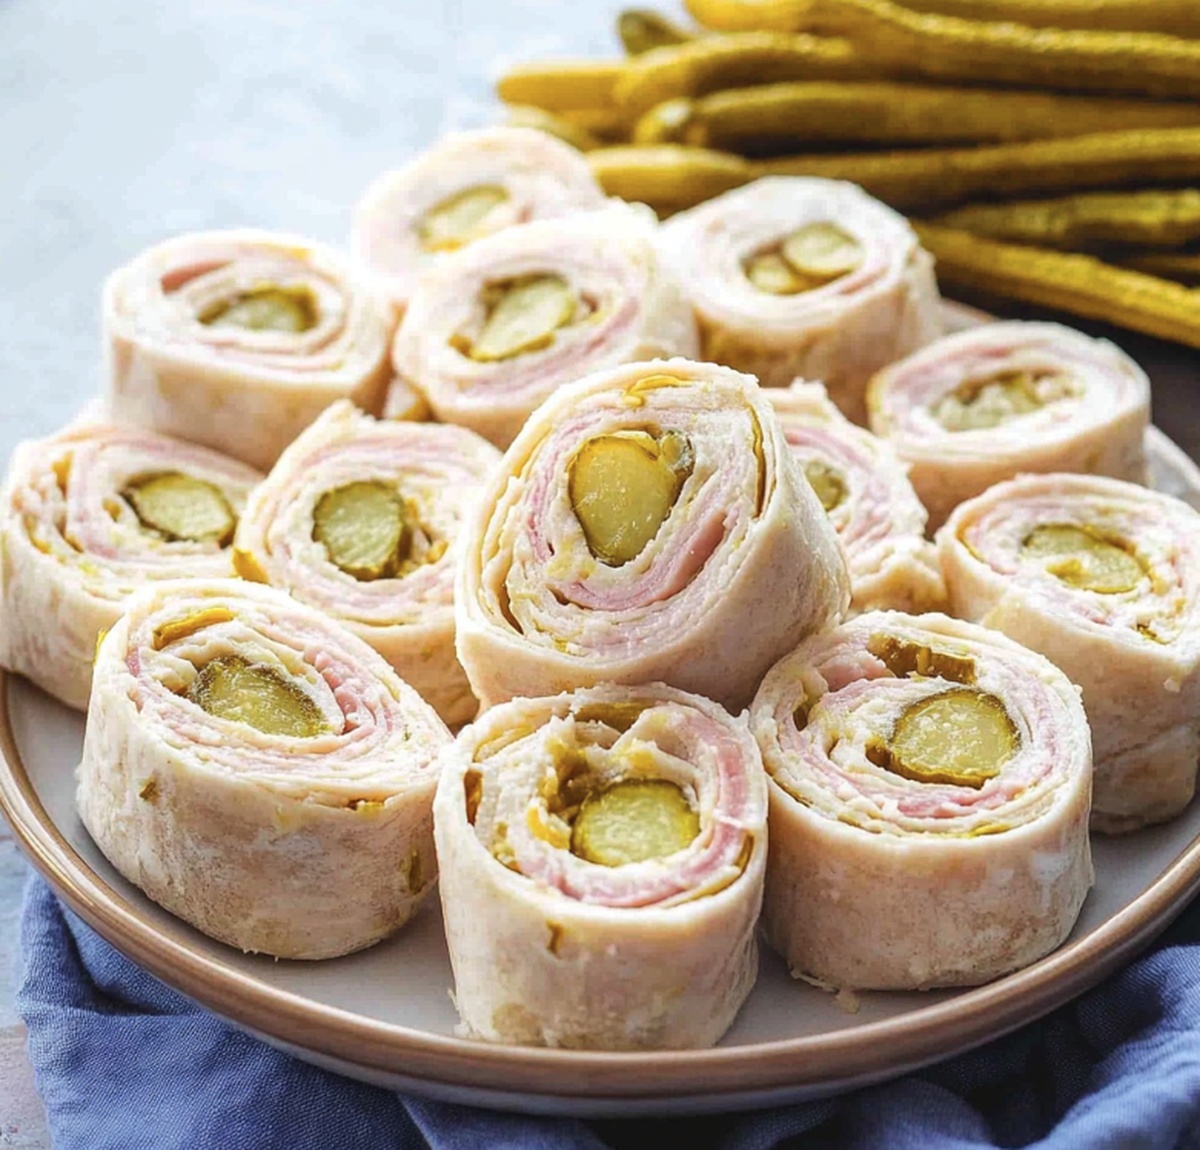
Tasty Pickle Dip Pinwheels Recipe: A Fresh Party Favorite
Savory pickle dip pinwheels dance across my favorite appetizer plate with delightful charm.
Creamy cheese and tangy pickle bits create a perfect flavor combination.
Unexpected guests always ask about this crowd-pleasing snack that takes minutes to prepare.
Soft tortillas wrap around a zesty spread that promises pure deliciousness.
No complicated techniques or fancy equipment stand between you and these irresistible rolls.
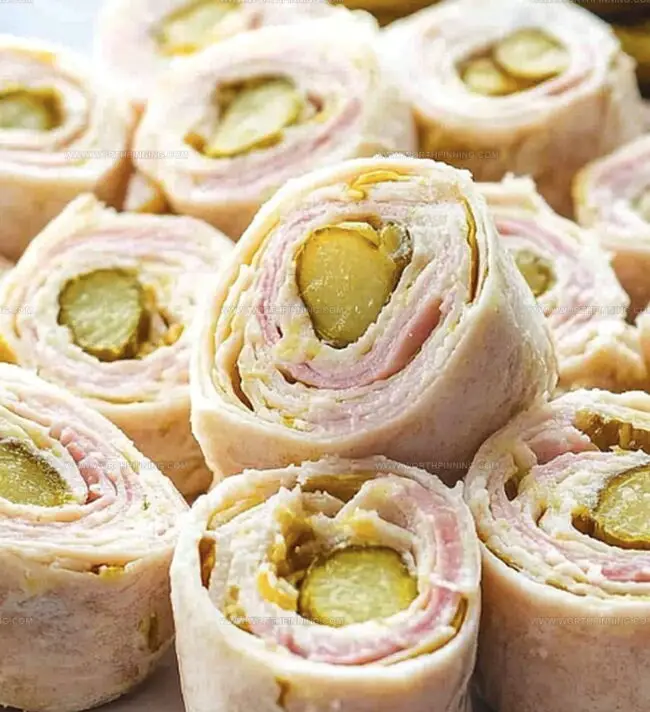
Simple ingredients merge into a party-ready treat that disappears faster than you can slice them.
Bring these pinwheels to your next gathering, and watch everyone request the recipe.
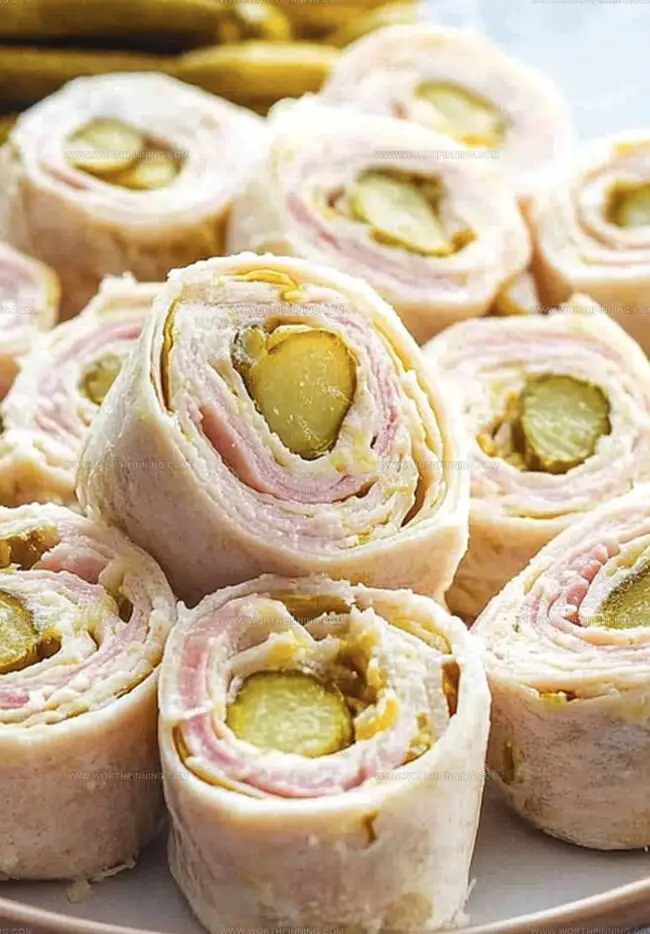
Pickle Dip Pinwheels That Disappear Fast
Ingredients for Bold Pickle Dip Pinwheels
Main Protein and Dairy:Wrap and Seasoning:Pickle and Garnish:How to Roll Up Pickle Dip Pinwheels
Step 1: Whip Up Creamy Pickle Fusion
Create a tangy filling by blending:Mix ingredients thoroughly until smooth and well combined, ensuring no lumps remain.
Step 2: Layer Flavor Foundations
Spread the creamy pickle mixture evenly across tortillas, ensuring complete coverage. Top each tortilla with:Distribute ingredients carefully to cover the entire surface.
Step 3: Roll and Chill Magic
Tightly roll each tortilla, creating compact cylindrical shapes. Wrap each roll completely in plastic wrap, sealing edges securely. Place rolls in refrigerator for minimum 30 minutes to allow flavors to meld and texture to firm.
Step 4: Transform Into Bite-Sized Delights
Remove chilled rolls from refrigerator. Unwrap carefully. Using a sharp knife, slice rolls into bite-sized pinwheels approximately 1 inch thick. Arrange on serving platter and present immediately for maximum freshness and flavor.
Pickle Dip Tips to Keep It Tidy
Store Pinwheels Easily Without Soggy Results
Flavor Matches for Pickle Dip Pinwheels
Cool Pinwheel Spins to Try Next
Pinwheel Questions? We’ve Got the List
The combination of cream cheese, chopped pickles, garlic powder, and onion powder creates a tangy, savory taste that makes these pinwheels irresistibly delicious.
Yes! You can experiment with flour tortillas, whole wheat tortillas, or even spinach tortillas to add variety and personal flair to the pinwheels.
Absolutely! You can prepare the pinwheels up to a day in advance and keep them refrigerated, which actually helps the flavors meld together and makes them easier to slice.
These are perfect for appetizers, game day snacks, potlucks, or any casual get-together where you want a quick, crowd-pleasing finger food that’s easy to eat and full of flavor.
Print
Pickle Dip Pinwheels Recipe
- Total Time: 40 minutes
- Yield: 8 1x
Description
Creamy pickle dip pinwheels deliver a zesty twist on classic party appetizers, blending tangy flavors with smooth cream cheese. Partygoers will devour these elegant roll-ups, packed with dill pickle punch and rich spreadable goodness for an irresistible snack.
Ingredients
Main Protein:
- 4 slices deli ham (or turkey)
Dairy and Cheese:
- 8 ounces (226 grams) cream cheese, softened
Wrap and Seasonings:
- 2 large flour tortillas (burrito-sized)
- ½ cup dill pickles, finely chopped
- ½ teaspoon garlic powder
- ½ teaspoon onion powder
- ¼ teaspoon black pepper
Instructions
- Create a velvety fusion of tangy cream cheese and zesty pickles by whisking together softened cream cheese, finely diced pickles, aromatic garlic powder, pungent onion powder, and a sprinkle of freshly ground black pepper until the mixture reaches a smooth, harmonious consistency.
- Lay out soft tortillas and meticulously spread the creamy pickle blend in an even, edge-to-edge layer, ensuring complete coverage of each tortilla’s surface.
- Strategically arrange two slices of savory ham atop the cream cheese mixture, positioning them to cover the majority of the tortilla’s landscape.
- Carefully and tightly roll each tortilla into a compact cylinder, applying gentle pressure to maintain a uniform shape and secure the filling.
- Encase each rolled tortilla tightly in plastic wrap, creating a sealed environment that will help the pinwheels maintain their form and enhance flavor melding.
- Refrigerate the wrapped rolls for a minimum of 30 minutes, allowing the ingredients to set and the flavors to intensify and marry together.
- Remove from refrigeration, unwrap each roll, and slice into precise 1-inch segments using a sharp knife, creating elegant, bite-sized pinwheels ready for serving.
Notes
- Customize pickle intensity by adjusting the amount of chopped pickles to suit personal taste preferences.
- Swap traditional ham with turkey or roast beef for dietary variety and different flavor profiles.
- Ensure cream cheese is softened at room temperature for smoother, easier mixing and spreading.
- Make ahead and store wrapped pinwheels in the refrigerator for up to 24 hours before serving to enhance flavor development.
- Prep Time: 10 minutes
- Cook Time: 30 minutes
- Category: Appetizer, Snacks
- Method: None
- Cuisine: American
Nutrition
- Serving Size: 8
- Calories: 250
- Sugar: 3 g
- Sodium: 400 mg
- Fat: 15 g
- Saturated Fat: 9 g
- Unsaturated Fat: 4 g
- Trans Fat: 0 g
- Carbohydrates: 20 g
- Fiber: 1 g
- Protein: 10 g
- Cholesterol: 50 mg
Ethan Miller
Founder & Lead Content Writer
Expertise
Education
Portland Community College
Culinary Institute of the Pacific
Ethan’s culinary journey began in his grandmother’s kitchen, where he first learned to play with flavors and ingredients. With formal training in culinary arts and a deep love for international cuisines, Ethan’s goal is to share the joy of cooking with others.
He believes food is all about creativity and bringing people together, one meal at a time. When he’s not experimenting with new dishes, he enjoys hiking in the Oregon wilderness and discovering fresh, local ingredients.