Cozy Jamie Oliver Marble Cake Recipe: Swirls of Sweetness
Marble cake by Jamie Oliver weaves culinary magic into every slice, transforming simple ingredients into an edible masterpiece.
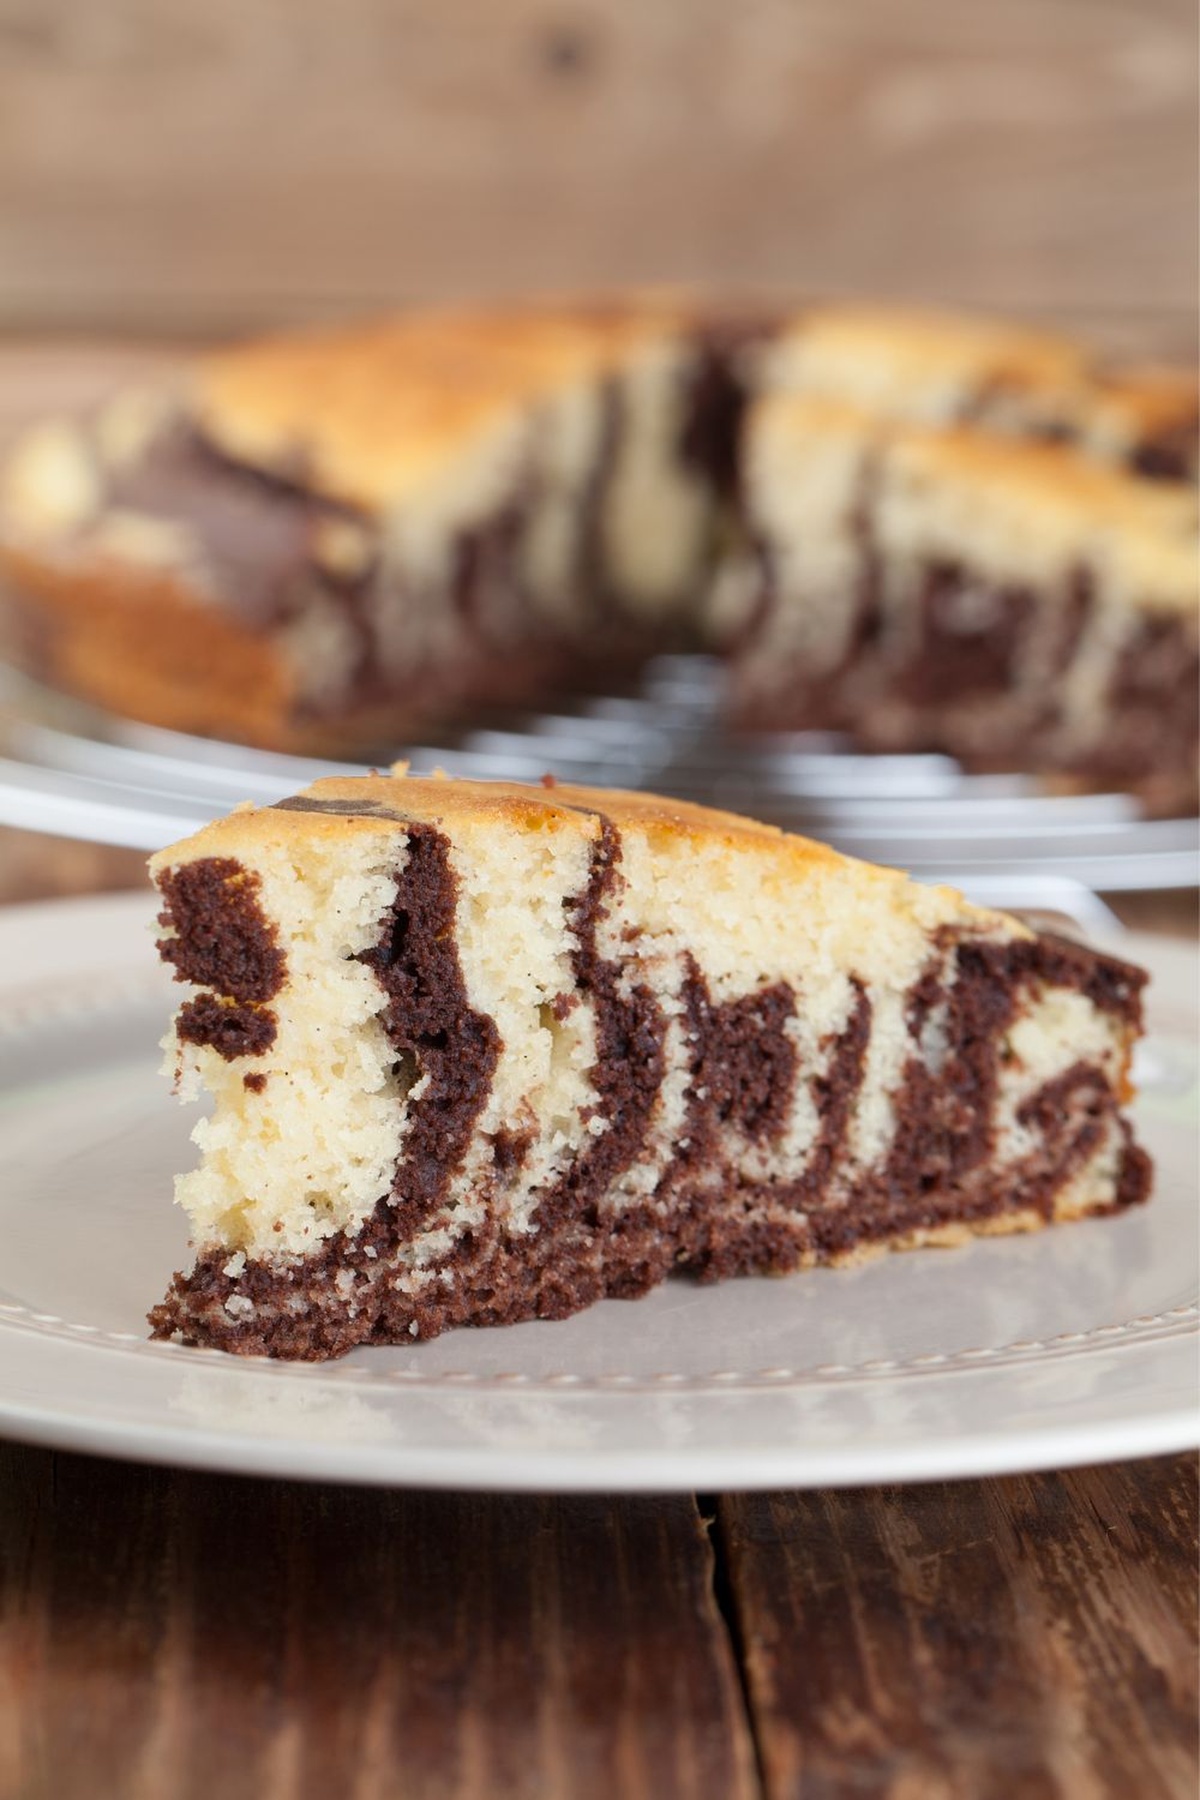
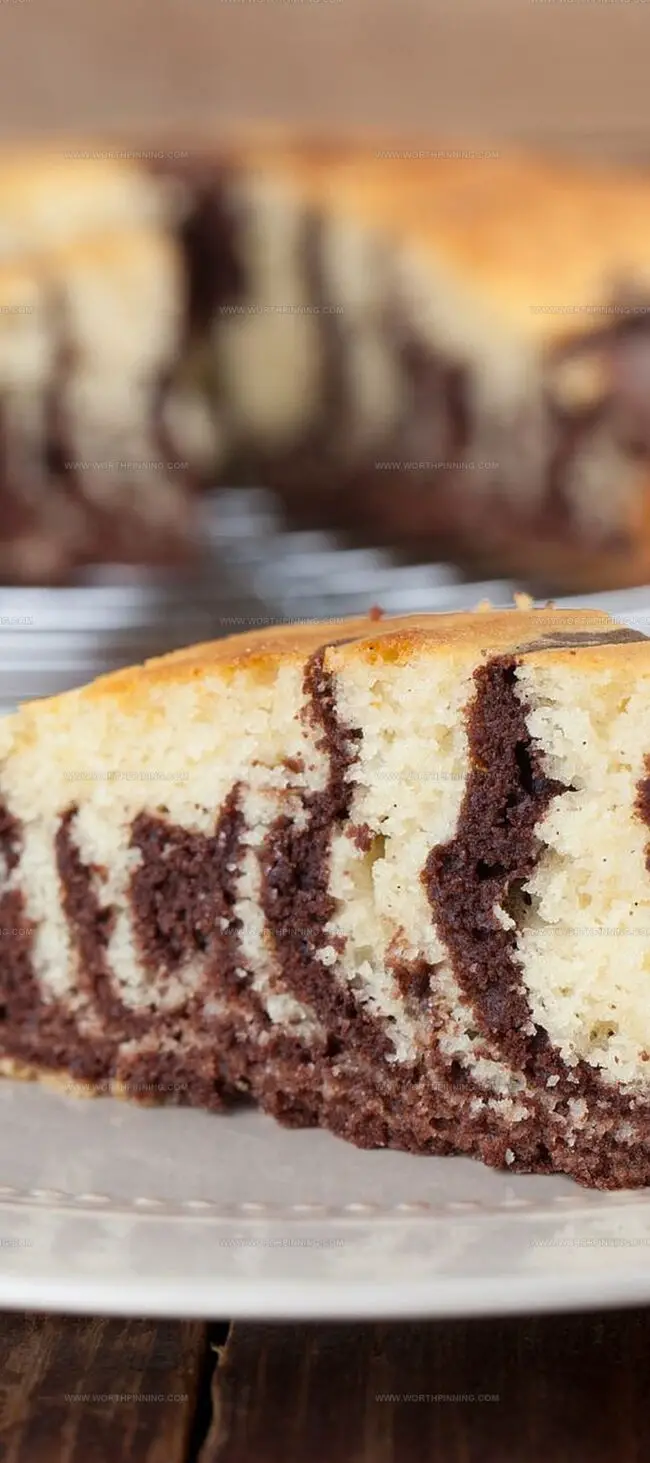
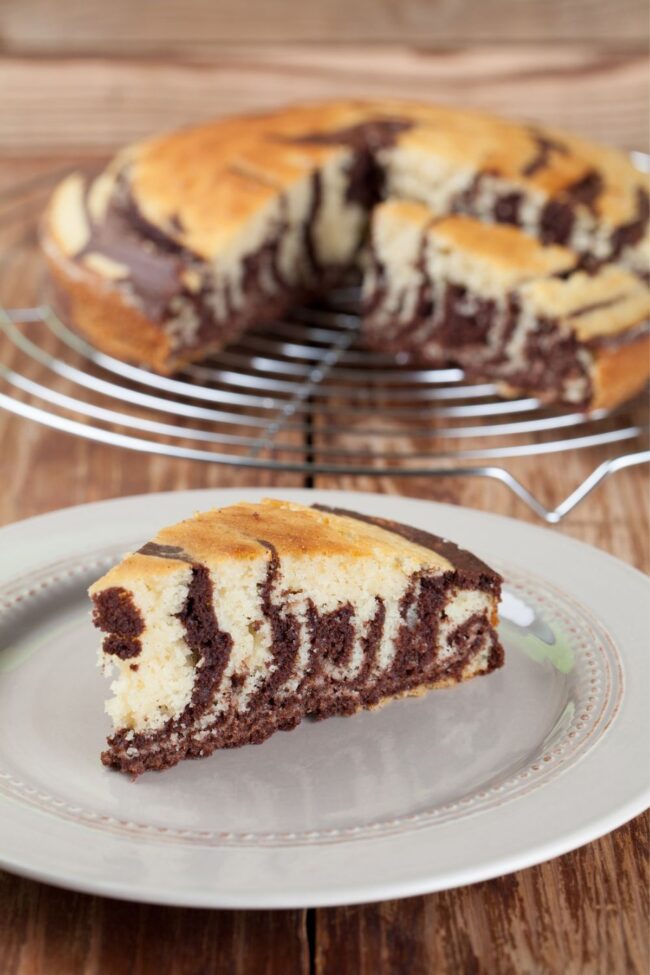
Chocolate and vanilla swirl together like elegant dancers, creating a mesmerizing pattern that catches the eye.
Soft, tender crumbs promise an indulgent experience that tantalizes taste buds with each forkful.
Bakers of all skill levels can craft this stunning dessert with surprising ease.
The recipe balances rich flavors and stunning visual appeal, making it a crowd-pleaser for any occasion.
Contrasting colors blend seamlessly, turning an ordinary cake into an extraordinary treat.
Get ready to earn serious kitchen kudos with this show-stopping dessert that looks as divine as it tastes.
Quick Recipe Overview
Ingredients in Jamie Oliver’s Marble Cake
For Base Ingredients:For Chocolate Enhancement:For Preparation Support:Equipment Needed for Jamie Oliver’s Marble Cake
Step-by-Step Marble Cake Instructions
Crank your oven to a toasty 180°C and grab a round cake pan. Swipe the pan with butter and line the bottom with parchment paper for easy cake removal.
Toss softened butter, sugar, eggs, flour, milk, and vanilla into a large mixing bowl. Blend everything until the mixture looks silky smooth and creamy, making sure no lumps remain.
Divide the batter into two separate bowls, preparing for a delightful color transformation.
Sprinkle cocoa powder into one bowl, stirring until the batter turns a rich, dark chocolate color with zero dry powder spots.
Grab two spoons and start dropping dollops of vanilla and chocolate batters into the pan. Don’t aim for perfection – random, uneven layers create the most stunning marble effect.
Give the pan a gentle tap on the counter to coax out any sneaky air bubbles hiding in the batter.
Take a skewer or thin knife and glide it through the batter, creating dreamy, unpredictable swirls. Let your inner artist run wild with twists and turns.
Slide the pan into the oven and let it bake for 45-55 minutes. Check doneness by inserting a skewer – if it comes out clean, your cake is ready to shine.
Let the cake rest in the pan for 10 minutes, then transfer to a wire rack. Once completely cooled, slice and enjoy your masterpiece.
Baking Tips for Jamie Oliver’s Marble Cake

Experiment with different flavor combinations by replacing vanilla with almond, lemon, or orange extract for a unique twist.
Use dark, milk, or white chocolate powder instead of traditional cocoa to create varied color and taste profiles in your marble cake.
Add a dollop of sour cream or Greek yogurt to the batter for an extra tender, rich texture that keeps the cake incredibly soft.
Dust the cooled cake with powdered sugar, drizzle with chocolate ganache, or top with fresh berries to elevate its visual appeal and taste experience.
Serving Jamie Oliver’s Marble Cake
Storage Plan for Marble Cake
Print
Moist Jamie Oliver Marble Cake Recipe
- Total Time: 1 hour 10 minutes
- Yield: 8 1x
Description
Silky jamie oliver marble cake blends chocolate and vanilla swirls into one delightful dessert. Elegant layers create sweet harmony for home bakers seeking a classic treat you’ll savor with pure delight.
Ingredients
- 225 g (8 oz) butter, softened
- 225 g (8 oz) caster sugar
- 4 eggs
- 225 g (8 oz) self-raising flour
- 3 tbsps (45 ml) milk
- 1 tsp vanilla extract
- 2 tbsps (30 ml) cocoa powder
Instructions
- Oven Preparation: Position the oven rack in the center and preheat to 180°C (356°F) for standard ovens or 160°C (320°F) for fan-assisted ovens. Meticulously grease the cake tin and line the base with parchment paper.
- Batter Creation: Blend softened butter, sugar, eggs, flour, milk, and vanilla extract using an electric mixer until smooth and homogeneous. Ensure the mixture is free from lumps and has a consistent texture.
- Batter Division: Split the prepared batter equally between two mixing bowls, creating a neutral canvas for the marble effect. Integrate cocoa powder into one portion, transforming it into a rich chocolate variant.
- Marble Technique: Layer alternating spoonfuls of vanilla and chocolate batters into the prepared tin, creating a random yet intentional pattern. Gently tap the tin against the counter to release any trapped air bubbles.
- Swirl Design: Use a thin skewer or knife to delicately drag through the layered batters, generating intricate swirls without disturbing the underlying pattern. Aim for a visually appealing marble effect that hints at the cake’s dual nature.
- Baking Process: Transfer the tin to the preheated oven and bake for 45-55 minutes. Verify doneness by inserting a clean skewer into the center – it should emerge completely clean, indicating the cake is perfectly baked through.
Notes
- Butter Temperature Matters: Use room temperature butter for smooth, lump-free batter that blends effortlessly and creates a consistent cake texture.
- Swirl Technique: Drag skewer gently and minimally to create beautiful marble patterns without overmixing, which can muddy the distinct color layers.
- Oven Calibration Check: Verify your oven’s actual temperature with a separate thermometer to ensure precise baking and prevent under or overbaking.
- Moisture Preservation: Let cake cool completely in the tin before removing to maintain structural integrity and prevent crumbling, keeping the delicate marble design intact.
- Prep Time: 15 minutes
- Cook Time: 55 minutes
- Category: Desserts, Snacks
- Method: Baking
- Cuisine: American
Nutrition
- Serving Size: 8
- Calories: 400
- Sugar: 25 g
- Sodium: 50 mg
- Fat: 20 g
- Saturated Fat: 12 g
- Unsaturated Fat: 8 g
- Trans Fat: 0 g
- Carbohydrates: 52 g
- Fiber: 1 g
- Protein: 6 g
- Cholesterol: 120 mg
Sophia Rivera
Recipe Developer & Kitchen Tips Specialist
Expertise
Education
Austin Community College
San Antonio Culinary Institute
Sophia’s passion for baking began in her family kitchen, where she spent hours experimenting with new recipes. With a background in baking and pastry arts, she loves making desserts that are as visually stunning as they are delicious.
Sophia is all about using seasonal, locally sourced ingredients to create treats that everyone will enjoy. When she’s not creating mouth-watering desserts, you can find her gardening, making new recipes, or enjoying a relaxing afternoon with her family.