
Quick & Easy Michael Symon Pita Bread Recipe for Perfect Pockets
Michael Symon’s pita bread transforms ordinary ingredients into a culinary revelation that speaks to the heart of home cooking.
Ancient techniques merge with modern simplicity in this remarkable bread that promises warmth and comfort.
Soft, pillowy textures emerge from a handful of humble components waiting to be transformed.
Every kitchen becomes a sanctuary of creativity when these ingredients combine with intention and care.
Delicate yet sturdy, this bread carries the potential to transport your meal from mundane to magnificent.
Professional chefs and home cooks find joy in mastering this timeless technique.
The magic happens when passion meets precision, creating something truly extraordinary: follow along.
Why Michael Symon’s Pita Bread Recipe Will Become Your New Go-To Bread
What You Need for Michael Symon’s Pita Bread Recipe
Yeast and Activators:Dry Ingredients:Fat and Oil:How to Make Michael Symon’s Pita Bread Recipe
Step 1: Activate Yeast
In a mixer bowl, combine active dry yeast, sugar, and warm water (110°F). Gently stir and let sit for 5-10 minutes until the mixture becomes foamy and bubbly.
Step 2: Create Soft Dough
Add ingredients to the activated yeast:Use a dough hook to mix for 6-8 minutes until a smooth, elastic dough forms. If mixing by hand, knead on a floured surface until soft and slightly tacky.
Step 3: First Dough Rise
Transfer dough to a lightly oiled bowl, cover with a clean kitchen towel. Place in a warm spot for 1 hour or until the dough doubles in size. The warmth helps develop rich flavors and soft texture.
Step 4: Shape Pita Portions
Punch down the risen dough and divide into 6 equal portions. Roll each piece into a smooth ball. Let rest for 15 minutes to relax the gluten and make shaping easier.
Step 5: Roll and Prepare Pitas
On a floured surface, roll each dough ball into a 7-8 inch round, about 1/4 inch thick. Aim for a circular shape with even thickness.
Step 6: Cooking Technique
Choose your preferred cooking method:
Stovetop Method:Oven Method:Step 7: Serve and Store
Allow pitas to cool on a wire rack for 5 minutes. Serve immediately or store in an airtight container for up to 3 days. For longer storage, freeze for up to 1 month.
Pro Tips for Perfect Pita Bread
How to Store Michael Symon’s Pita Bread Recipe

Delicious Variations of Michael Symon’s Pita Bread Recipe
Soft and Fluffy Delights with Michael Symon’s Pita Bread Recipe
Culinary adventures often lead to unexpected delights, and Michael Symon’s pita bread recipe proves this perfectly.
Home kitchens can become Mediterranean bakeries with just a few simple ingredients and precise techniques.
Small details make significant differences in bread-making mastery.
Pita creation transforms basic pantry staples into magical circular breads that complement countless dishes.
Hungry readers should dive into this recipe, share their delicious results across social platforms, spark conversations with fellow cooking enthusiasts, and spread the joy of homemade pita magic.
Print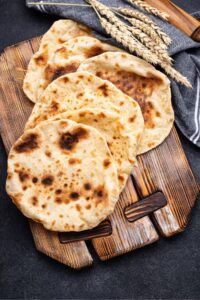
Michael Symon Pita Bread Recipe
- Total Time: 43 minutes
- Yield: 4 1x
Description
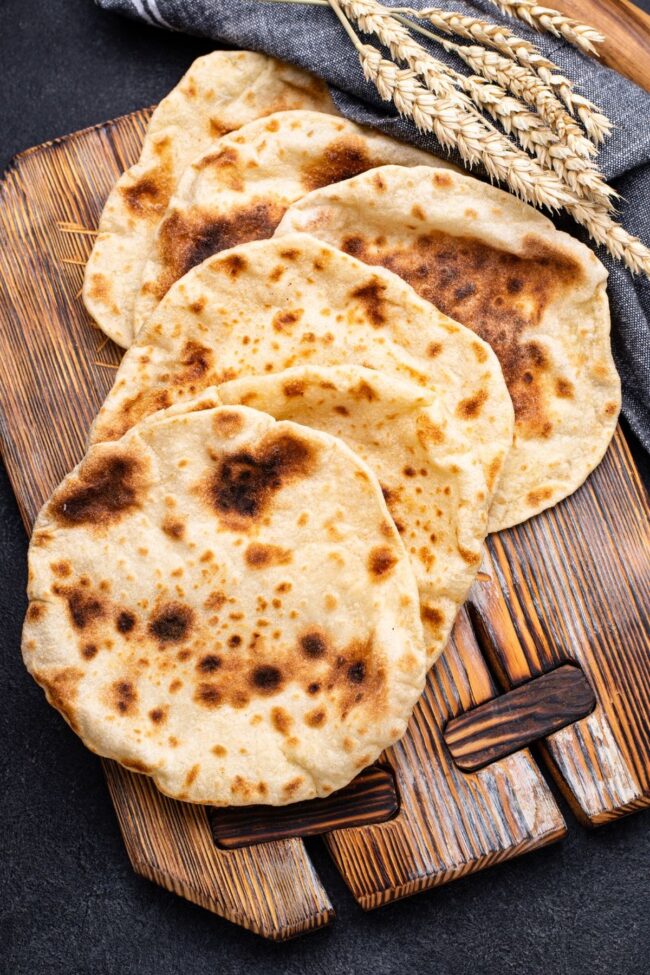
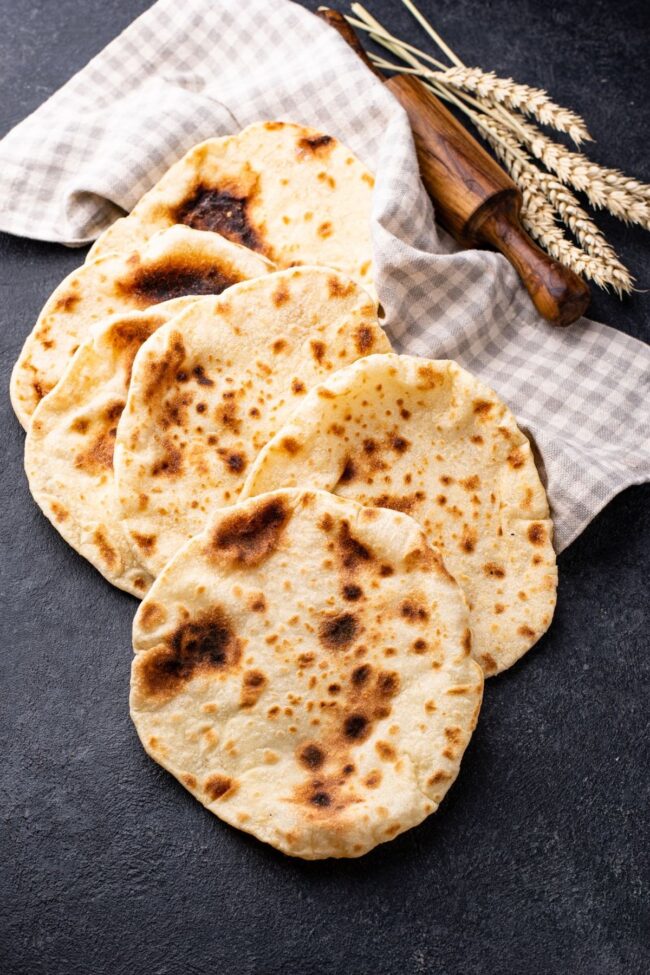
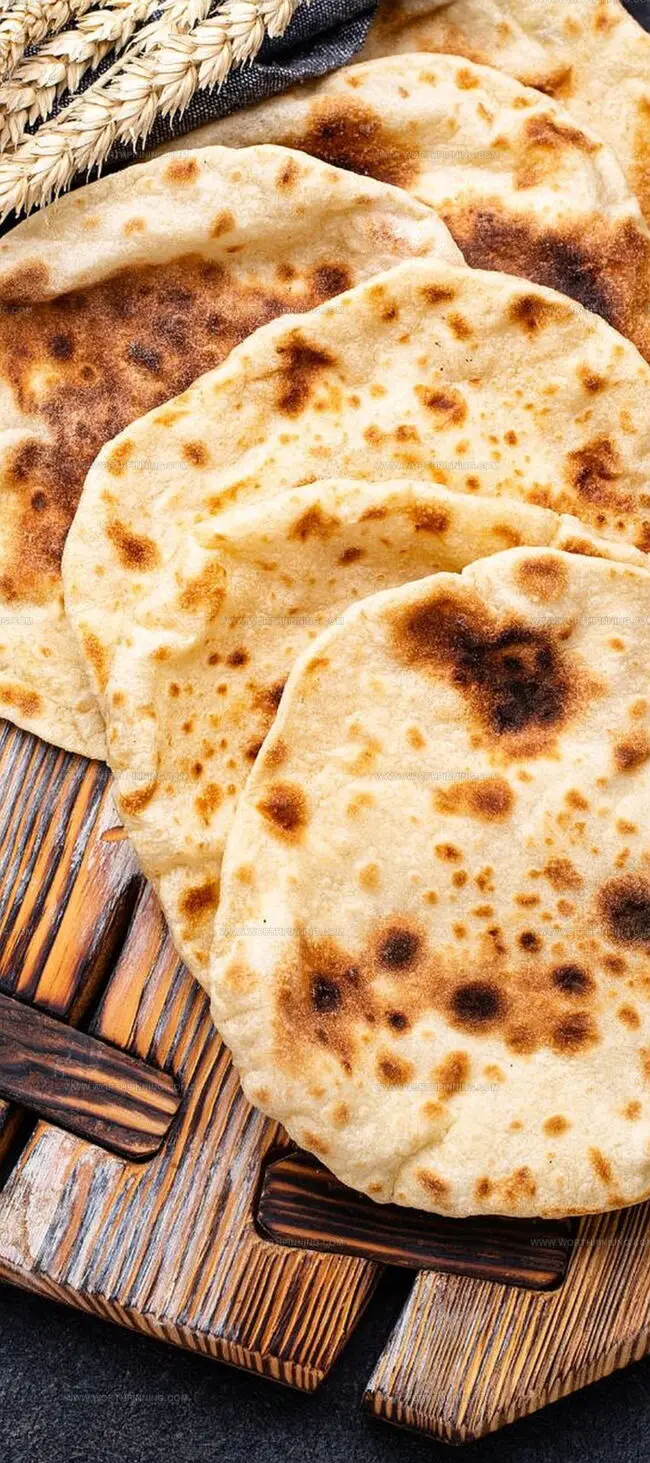
Crispy, pillowy Michael Symon Pita Bread delivers Mediterranean magic right from your kitchen. Warm, freshly baked pockets promise a delightful journey through authentic flavors, inviting you to savor each delectable bite.
Ingredients
Main Ingredients:
- 500–530 grams (17–18.5 ounces) strong white bread flour or 50% white and 50% whole-wheat flour
- 360 grams (12.7 ounces) lukewarm water
Leavening and Seasoning:
- 3 teaspoons dry instant yeast
- 1 teaspoon salt
- 1 teaspoon sugar
Instructions
- Activate the yeast by whisking it with granulated sugar and lukewarm water (105-115°F/40-46°C) in a stand mixer bowl. Let the mixture rest for 5-10 minutes until it becomes frothy and develops a distinct yeasty aroma.
- Gradually incorporate all-purpose flour and kosher salt into the activated yeast mixture. Use the dough hook attachment to knead for 6-8 minutes, transforming the ingredients into a smooth, cohesive, and slightly tacky dough ball.
- Gently massage extra virgin olive oil across the entire surface of the dough, ensuring complete coverage. Transfer the dough to a lightly greased ceramic bowl, cover with a clean kitchen towel, and allow it to rise in a draft-free warm area for 20-25 minutes until it visibly doubles in volume.
- Punch down the risen dough to release trapped air bubbles. Divide the dough into 6 equal portions using a bench scraper or sharp knife. Shape each portion into a round ball and let them rest for 15 minutes to relax the gluten.
- On a lightly floured surface, use a wooden rolling pin to gently flatten each dough ball into a 7-8 inch (17.8-20.3 centimeters) circular disc, maintaining an even thickness of approximately 1/4 inch (6 millimeters).
- Select your preferred cooking method: For a crisp exterior, heat a cast-iron skillet or non-stick pan over medium-high heat. Alternatively, for a softer texture, use a preheated oven with a pizza stone.
- Cook each pita for 2-3 minutes per side in the skillet, watching for golden-brown spots and characteristic bubbling. If using an oven, bake at 475°F (246°C) for 4-5 minutes until the pitas puff and develop light brown coloration.
- Remove the pitas from heat and immediately wrap them in a clean, slightly damp kitchen towel to maintain moisture and softness. Allow them to rest for 3-5 minutes before serving.
Notes
- Precise flour measurement ensures dough elasticity and prevents dry or overly sticky texture.
- Warm environment accelerates yeast activity, helping dough rise faster during cooler kitchen conditions.
- Gentle hand-stretching technique creates more authentic, rustic pita bread with irregular air pockets.
- Resting periods between kneading and shaping allow gluten to relax, improving overall bread texture.
- Room temperature ingredients blend more smoothly, promoting consistent dough development.
- Wooden surfaces provide ideal kneading platforms, absorbing excess moisture and preventing sticking.
- Covering dough during resting prevents skin formation and maintains moisture for better rising.
- Consistent dough temperature contributes to even baking and uniform bread appearance.
- Minimal handling prevents tough, dense bread by preserving delicate gluten structure.
- Quick movements during shaping help retain air bubbles, resulting in softer, more pillowy pitas.
- Prep Time: 40 minutes
- Cook Time: 3 minutes
- Category: Snacks, Lunch, Dinner
- Method: Baking, Sautéing
- Cuisine: American
Nutrition
- Serving Size: 4
- Calories: 211
- Sugar: 0.5 g
- Sodium: 128 mg
- Fat: 1.4 g
- Saturated Fat: 0.2 g
- Unsaturated Fat: 1.2 g
- Trans Fat: 0 g
- Carbohydrates: 43 g
- Fiber: 1.5 g
- Protein: 7.5 g
- Cholesterol: 0 mg
Ethan Miller
Founder & Lead Content Writer
Expertise
Education
Portland Community College
Culinary Institute of the Pacific
Ethan’s culinary journey began in his grandmother’s kitchen, where he first learned to play with flavors and ingredients. With formal training in culinary arts and a deep love for international cuisines, Ethan’s goal is to share the joy of cooking with others.
He believes food is all about creativity and bringing people together, one meal at a time. When he’s not experimenting with new dishes, he enjoys hiking in the Oregon wilderness and discovering fresh, local ingredients.