
Julia Child’s Quick & Easy White Bread Recipe for Beginners
Julia Child’s white bread transforms ordinary ingredients into a culinary masterpiece that speaks to home bakers everywhere.
Soft, pillowy textures emerge from a classic recipe passed down through generations of passionate cooking enthusiasts.
Her approach to baking simplifies complex techniques, making bread-making accessible and enjoyable for everyone.
Rich, golden crusts and tender interiors promise a sensory experience that goes beyond mere sustenance.
Bakers of all skill levels can confidently create this timeless recipe with minimal equipment and maximum satisfaction.
The magic lies in understanding fundamental techniques that turn humble ingredients into something extraordinary.
Prepare to elevate your kitchen skills and delight friends and family with this classic bread:
Savor the Classic Appeal of Julia Child White Bread
Key Ingredients for Julia Child White Bread
Yeast and Liquid Ingredients:Flour and Dry Ingredients:Fat and Finishing Ingredients:A Comprehensive Guide to Julia Child White Bread

Step 1: Awaken the Yeast
Grab your mixer bowl and pour warm water. Sprinkle yeast into the water and let it sit for 5 minutes until it becomes creamy and bubbly.
Step 2: Mix the Base Ingredients
Add these ingredients to the yeast mixture:Stir everything together until well combined.
Step 3: Knead the Dough
Use a dough hook on low speed. Gradually add remaining flour until the dough feels soft and slightly tacky. Keep kneading for 7 to 10 minutes until the dough forms a smooth ball that pulls away from the bowl’s sides.
Step 4: First Dough Rise
Transfer dough to a lightly greased bowl. Flip the dough to coat all sides with oil. Cover with plastic wrap and let it rest in a warm, draft-free spot. Wait 45 to 60 minutes until the dough doubles in size.
Step 5: Shape the Loaves
Gently press dough on a floured surface to release air bubbles. Divide dough into 2 equal portions. For each portion:Step 6: Second Dough Rise
Cover loaves loosely. Let them rise in a warm, draft-free area for 30 to 45 minutes until they double in size.
Step 7: Prepare the Oven
Position oven rack on the lowest setting. Preheat to 400°F (200°C).
Step 8: Bake the Bread
Brush loaves with melted butter. Bake for 30 to 35 minutes, rotating pan halfway through. Bread is ready when golden brown and internal temperature reaches 195°F (90°C).
Step 9: Cool and Serve
Remove bread from oven. Brush with additional melted butter. Let cool in pans for 10 minutes. Remove from pans and cool completely before slicing.
Insider Tips for Julia Child White Bread
Smart Storage Solutions for Julia Child White Bread
Creative Twists on Julia Child White Bread
Closing Reflections on Julia Child White Bread
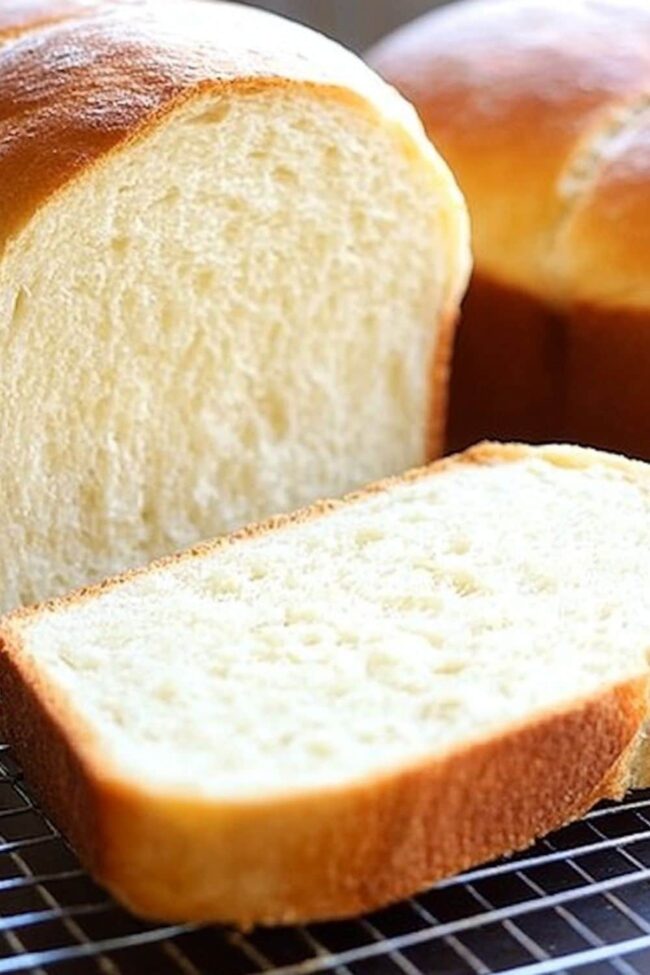
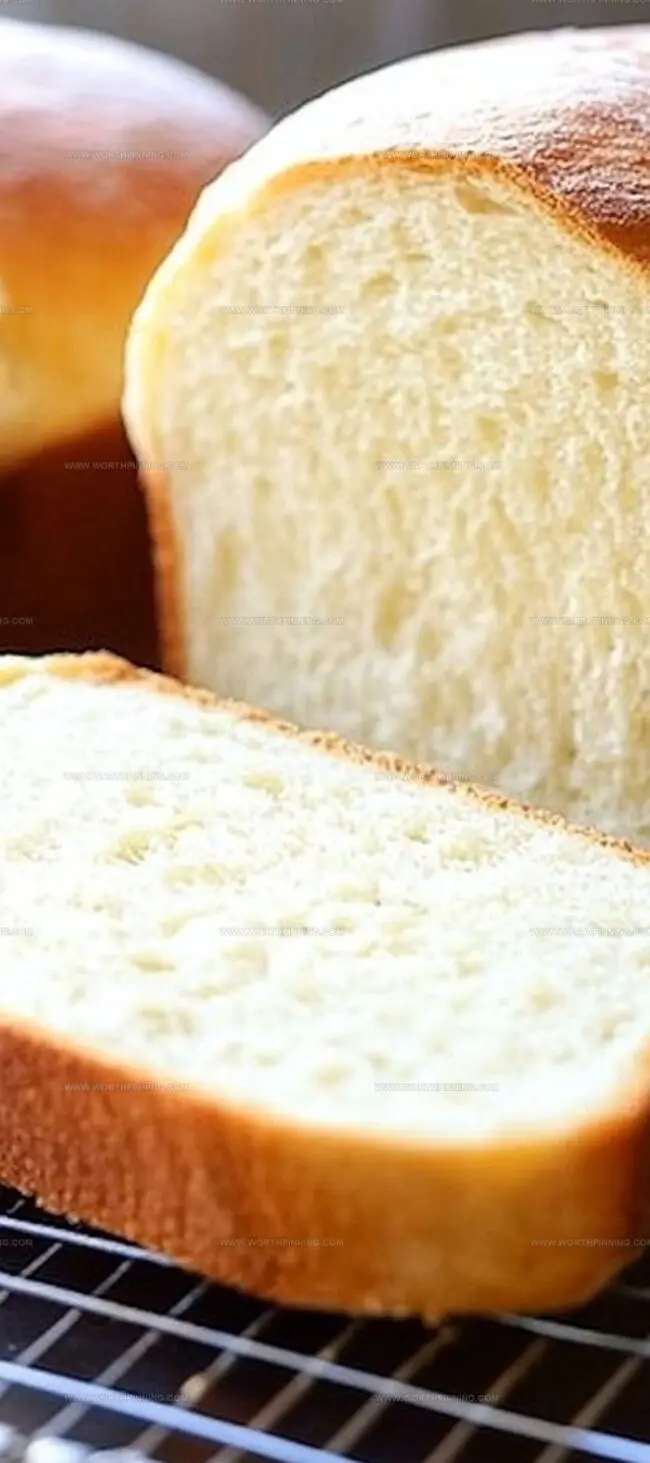
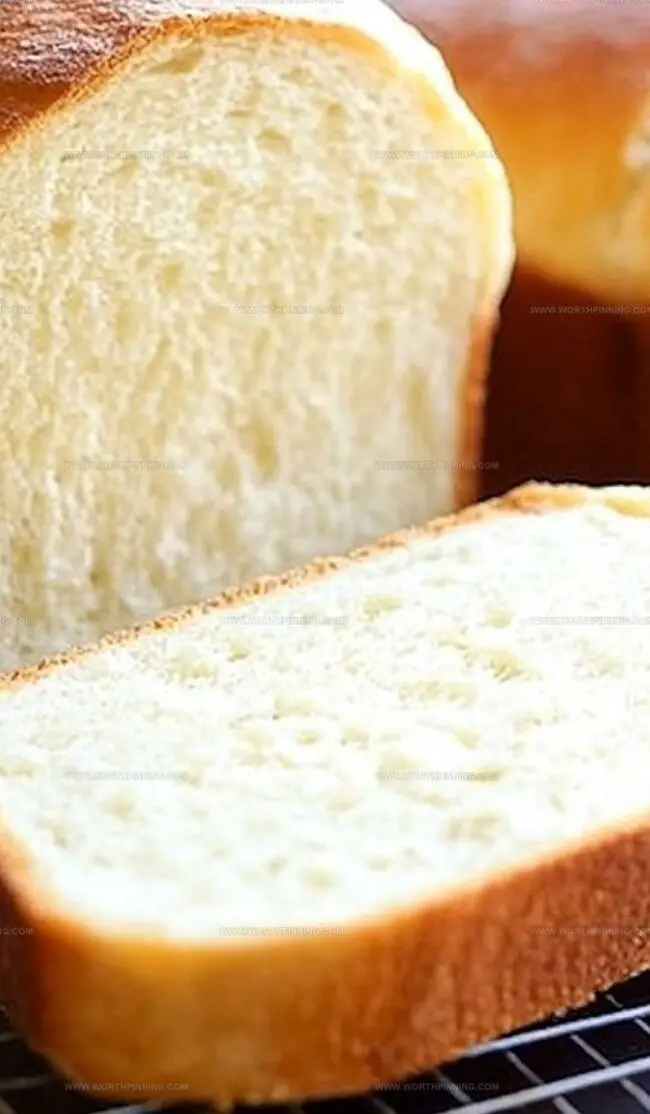
Julia Child’s white bread recipe unveils culinary magic through simple ingredients and masterful techniques.
Kitchen adventures become extraordinary with this classic formula.
European bread-making traditions shine through each carefully crafted step.
Passionate home bakers can recreate bakery-quality loaves with precision and love.
Warm, golden slices promise comfort and satisfaction at every meal.
Go ahead: share this recipe, comment with your baking triumphs, and spread delicious inspiration across your favorite social platforms!
Print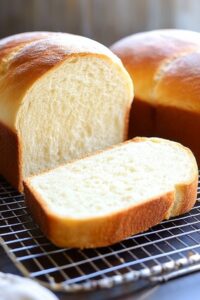
Julia Child White Bread Recipe
- Total Time: 1 hour 10 minutes
- Yield: 12 1x
Description
Julia Child’s classic white bread brings French bakery magic to home kitchens with simple ingredients and foolproof techniques. Pillowy slices promise comfort and warmth, inviting you to savor each rustic, homemade bite.
Ingredients
Dry Ingredients:
- 9 to 10 cups all-purpose flour
- 4.5 teaspoons instant yeast (2 × 0.25-ounce packets)
- 0.25 cup granulated sugar
- 1 tablespoon salt
Liquid Ingredients:
- 0.75 cup warm water
- 2.67 cups warm water
- 3 tablespoons unsalted butter, cubed, at room temperature
Finishing Ingredient:
- 3 tablespoons unsalted butter, melted, for brushing
Instructions
- Prepare the yeast mixture by dissolving active dry yeast in 180 milliliters (¾ cup) of lukewarm water. Allow the mixture to sit for 5 minutes until it becomes frothy and creamy.
- In a stand mixer bowl, combine the yeast mixture with 640 milliliters (2⅔ cups) of additional warm water, granulated sugar, salt, softened unsalted butter, and 5 cups of all-purpose flour. Mix the ingredients thoroughly until they are well incorporated.
- Gradually introduce the remaining flour into the mixture using a dough hook attachment. Knead on low speed until the dough develops a soft, slightly tacky texture that cleanly pulls away from the bowl’s sides, approximately 7 to 10 minutes.
- Transfer the dough to a lightly greased mixing bowl, rotating it to ensure complete surface coverage. Cover with plastic wrap and place in a warm, draft-free location. Allow the dough to rise and expand until it doubles in volume, which typically takes 45 to 60 minutes.
- Gently deflate the risen dough on a lightly floured work surface. Divide the dough into two equal portions. For each section, flatten into a 23×30 centimeters (9×12 inch) rectangular shape, then tightly roll from the shorter edge. Seal the seams and ends, tucking them underneath, and carefully place into greased 23-centimeter (9-inch) loaf pans.
- Loosely cover the shaped loaves and return them to a warm, draft-free environment. Allow a second rise until the dough volume doubles, which usually takes 30 to 45 minutes.
- Position an oven rack at the lowest setting and preheat to 200 degrees Celsius (400 degrees Fahrenheit).
- Before baking, delicately brush the loaves with melted butter. Bake for 30 to 35 minutes, rotating the pans halfway through the cooking process. The bread is ready when it achieves a golden-brown color and reaches an internal temperature of 90 degrees Celsius (195 degrees Fahrenheit) when tested with an instant-read thermometer.
- Remove the bread from the oven and immediately brush with additional melted butter. Allow the loaves to rest in the pans for 10 minutes, then carefully transfer to a wire rack to cool completely before slicing.
Notes
- Warm water helps yeast wake up and start working its magic, creating tiny bubbles that make bread soft and fluffy.
- Kitchen scales are bread-making superheroes, transforming ingredient guesswork into precise measurements that guarantee perfect texture.
- Kneading develops gluten strands, turning a sticky mess into a smooth, stretchy dough that rises like a champion.
- Patience matters most during rising time – let the dough grow slowly and confidently, like a bread-in-training expanding to its full potential.
- Preheating the oven creates a cozy, consistent environment where bread transforms from raw dough to golden, crusty perfection.
- Prep Time: 30 minutes
- Cook Time: 40 minutes
- Category: Breakfast, Lunch, Dinner, Snacks
- Method: Baking
- Cuisine: American
Nutrition
- Serving Size: 12
- Calories: 315
- Sugar: 8 g
- Sodium: 250 mg
- Fat: 6 g
- Saturated Fat: 3.5 g
- Unsaturated Fat: 2.5 g
- Trans Fat: 0 g
- Carbohydrates: 58 g
- Fiber: 2 g
- Protein: 7 g
- Cholesterol: 15 mg
Ethan Miller
Founder & Lead Content Writer
Expertise
Education
Portland Community College
Culinary Institute of the Pacific
Ethan’s culinary journey began in his grandmother’s kitchen, where he first learned to play with flavors and ingredients. With formal training in culinary arts and a deep love for international cuisines, Ethan’s goal is to share the joy of cooking with others.
He believes food is all about creativity and bringing people together, one meal at a time. When he’s not experimenting with new dishes, he enjoys hiking in the Oregon wilderness and discovering fresh, local ingredients.