
Easy Joy Of Cooking White Bread Recipe: Fluffy Perfection
White bread from Joy of Cooking represents a timeless culinary tradition that transforms simple ingredients into a comforting staple.
Kitchen enthusiasts adore this classic recipe for its straightforward approach and reliable results.
Soft, pillowy textures emerge from carefully balanced components that work together harmoniously.
Home bakers appreciate how minimal techniques can produce such delectable outcomes.
Professional and amateur cooks find satisfaction in mastering this fundamental bread-making skill.
Aromatic and warm, the finished loaf promises a sensory experience that connects generations of food lovers.
Crafting this bread invites you to create something both nourishing and deeply satisfying: prepare to embark on a delicious journey.
Reasons to Love White Bread Recipe

Key Ingredients for White Bread Recipe
Flour Base:Liquid and Activation Components:Fat and Seasoning Elements:White Bread Recipe Cooking Directions

Step 1: Gather Ingredients
Collect all your bread-making essentials, including flour, yeast, salt, sugar, water, and butter. You’ll want everything ready before starting your baking adventure.
Step 2: Create Dough Mixture
In a large mixing bowl, combine:Blend ingredients thoroughly for 8-10 minutes until a smooth, elastic dough forms. The mixture should feel soft and pliable.
Step 3: Let Dough Rise
Transfer dough to a lightly oiled bowl, covering it with a clean kitchen towel. Place in a warm, draft-free spot for 45-60 minutes. The dough should double in size, looking puffy and soft.
Step 4: Shape And Prepare Loaf
Gently punch down the risen dough and shape it into a rectangular form. Place carefully into a greased 9×5 inch loaf pan. Cover and let rise again for 30-45 minutes.
Step 5: Bake To Golden Perfection
Preheat oven to 450°F. Bake for 10 minutes, then reduce temperature to 350°F. Continue baking for 25-30 minutes until the top turns golden brown and sounds hollow when tapped.
Step 6: Cool And Enjoy
Remove bread from oven and transfer to a wire cooling rack. Allow to cool completely for 1 hour before slicing. Enjoy your homemade bread with butter or your favorite spread!
Helpful Tips for White Bread Recipe
White Bread RecipeStorage Tricks You Should Know

Twists on White Bread Recipe
White Bread Recipe Recap
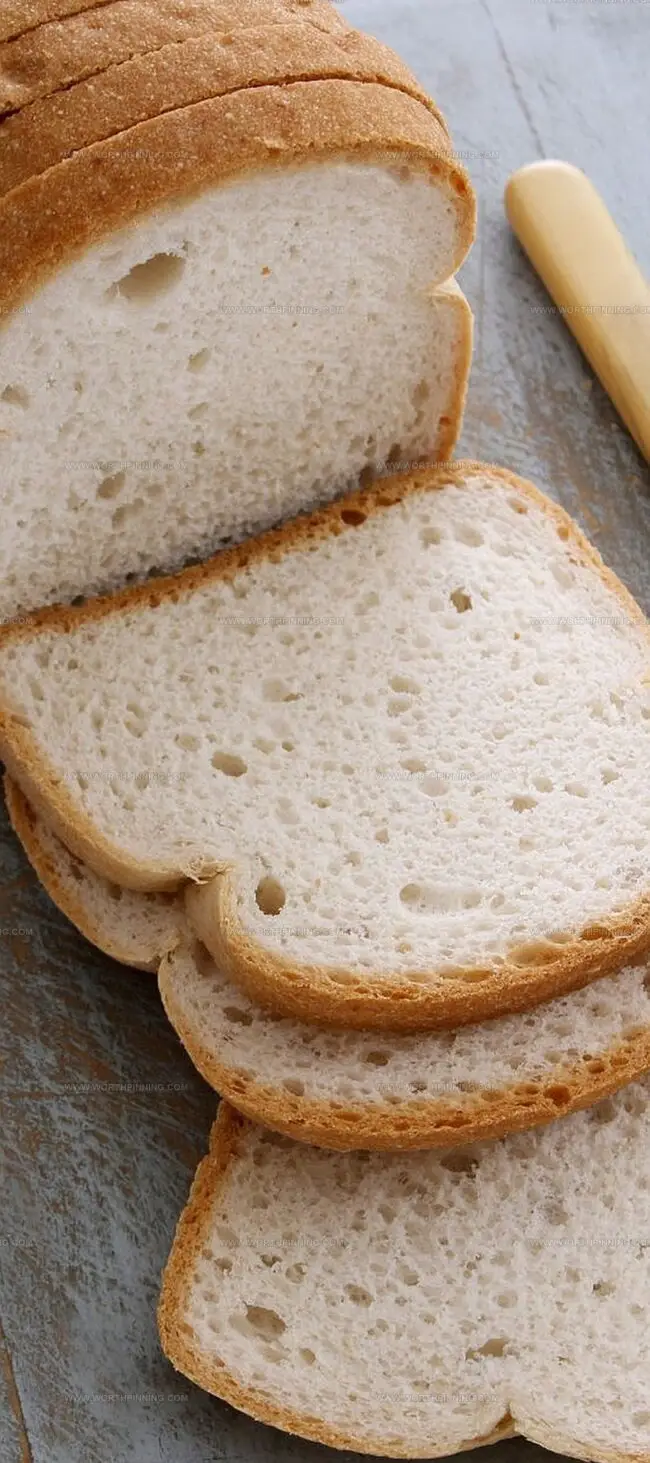
White bread emerges as kitchen magic, transforming simple pantry staples into golden comfort.
Warm, fragrant slices tell stories of home kitchens and cherished memories.
Precise measurements and patient techniques guarantee bread perfection with minimal effort.
Comfort meets craftsmanship in this classic recipe, inviting home bakers to explore culinary traditions.
Classic techniques connect generations through shared baking experiences.
Slice, savor, and share this homemade masterpiece – followers can explore more baking adventures, drop delightful comments below, and spread bread-baking love across social platforms.
Print
Joy Of Cooking White Bread Recipe
- Total Time: 1 hour
- Yield: 12 1x
Description
Classic White Bread emerges as a timeless comfort from home kitchens across America. Homemade loaves promise golden crusts and tender crumbs that welcome warm butter and create memories with each delectable slice.
Ingredients
Primary Ingredients:
- 3 cups (720 ml) bread flour
- 1 cup (240 ml) warm water (115-125°F)
- 2.25 teaspoons active dry yeast
Seasoning Ingredients:
- 1.5 teaspoons salt
- 1 tablespoon sugar
Enriching Ingredients:
- 2 tablespoons softened butter
Instructions
- Vigorously combine all ingredients in a large mixing bowl, stirring continuously for 8-10 minutes until a smooth, elastic dough forms, ensuring all components are thoroughly integrated.
- Transfer the dough to a lightly oiled (15 milliliters or 1 tablespoon) ceramic or glass bowl, covering it with a clean kitchen towel or plastic wrap to create a warm, draft-free environment for proofing.
- Allow the dough to rise in a warm location for 30-40 minutes, or until it expands to approximately double its original volume, gently pressing with fingertips to test readiness.
- Carefully shape the risen dough and gently place it into a prepared 23 centimeters × 13 centimeters (9 × 5 inches) loaf pan, ensuring even distribution and smooth surface.
- Perform a second proofing by letting the dough rest in the pan for an additional 25-35 minutes, watching for noticeable expansion and slight dome formation.
- Preheat the oven to 230 degrees Celsius (450 degrees Fahrenheit) during the final proofing stage to ensure precise temperature when baking begins.
- Place the loaf pan in the preheated oven, immediately reducing temperature to 175 degrees Celsius (350 degrees Fahrenheit) after 10 minutes of initial high-heat baking.
- Continue baking for an additional 25-35 minutes, monitoring the bread’s surface for a rich golden-brown coloration and checking internal temperature reaches 88-90 degrees Celsius (190-195 degrees Fahrenheit).
- Remove the baked loaf from the oven and immediately transfer to a wire cooling rack, allowing complete cooling for 60-90 minutes before slicing to maintain optimal texture and structure.
Notes
- Yeast needs warm (not hot) liquid to wake up and start working magic in your bread.
- Kneading develops gluten, transforming sticky ingredients into a smooth, stretchy dough that rises beautifully.
- Coating your pan and bowl with a thin layer of oil helps bread release easily after baking.
- Rising time allows flavors to develop and creates those soft, tender air pockets bread lovers crave.
- Prep Time: 20 minutes
- Cook Time: 40 minutes
- Category: Breakfast, Lunch, Snacks
- Method: Baking
- Cuisine: American
Nutrition
- Serving Size: 12
- Calories: 150
- Sugar: 0.5 g
- Sodium: 170 mg
- Fat: 3 g
- Saturated Fat: 1.5 g
- Unsaturated Fat: 1.5 g
- Trans Fat: 0 g
- Carbohydrates: 28 g
- Fiber: 1 g
- Protein: 4 g
- Cholesterol: 5 mg
Ethan Miller
Founder & Lead Content Writer
Expertise
Education
Portland Community College
Culinary Institute of the Pacific
Ethan’s culinary journey began in his grandmother’s kitchen, where he first learned to play with flavors and ingredients. With formal training in culinary arts and a deep love for international cuisines, Ethan’s goal is to share the joy of cooking with others.
He believes food is all about creativity and bringing people together, one meal at a time. When he’s not experimenting with new dishes, he enjoys hiking in the Oregon wilderness and discovering fresh, local ingredients.