Quick & Easy Joy Of Cooking Pizza Dough Recipe for Beginners
Pizza dough transforms ordinary ingredients into a canvas of culinary creativity that sparks excitement in home kitchens everywhere.
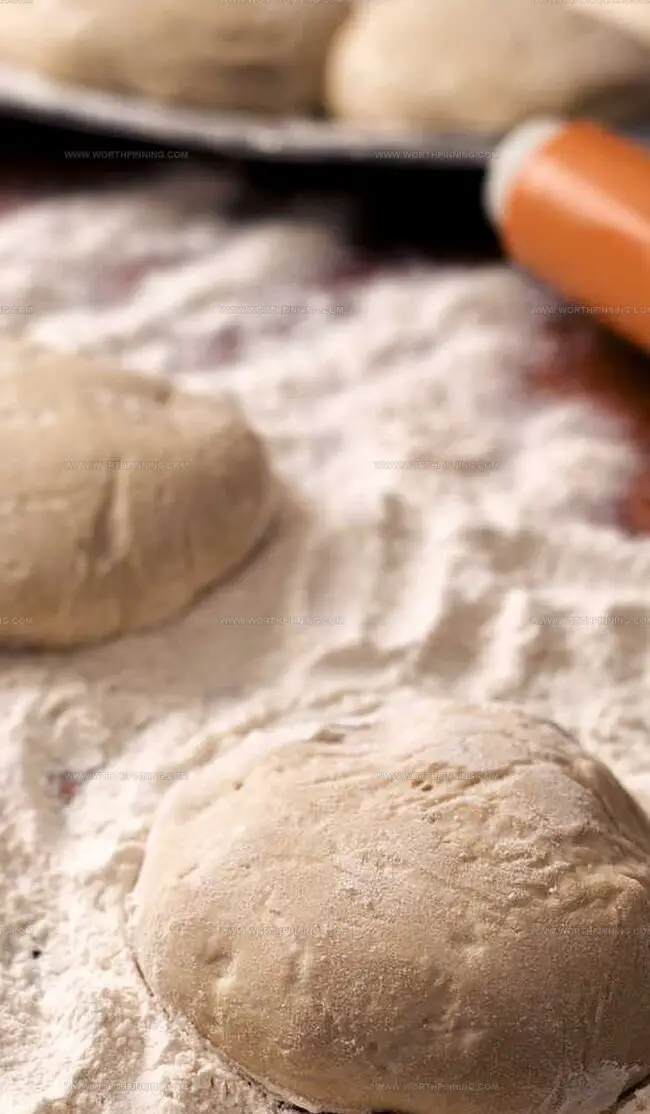
Kneading and stretching become an artistic dance of flour, water, and magic.
Soft, pillowy textures emerge from simple pantry staples when combined with precision and care.
Professional bakers and weekend warriors find satisfaction in crafting this fundamental bread base.
Temperature and technique play crucial roles in developing perfect elasticity and flavor depth.
Mastering pizza dough requires patience, practice, and a willingness to experiment with techniques that elevate your cooking skills: Get ready to become a dough whisperer.
Embrace The Artisanal Charm Of Pizza Dough
Key Ingredients For Pizza Dough
Flour and Leavening Agents:Liquid and Fat Components:Optional Flavor Enhancers:How To Knead Pizza Dough
Step 1: Prepare Dry Ingredients
Mix in a large bowl:Optional: Add garlic powder and dried basil for extra flavor
Step 2: Combine Wet Ingredients
Stir in:Mix thoroughly with a wooden spoon until well blended
Step 3: Build Dough Consistency
Gradually add another flour. Continue adding up to flour until dough becomes:Note: Dough will feel slightly sticky but manageable
Step 4: Prepare Rising Container
Spread olive oil in a clean, large bowl. Brush bowl sides completely with oil
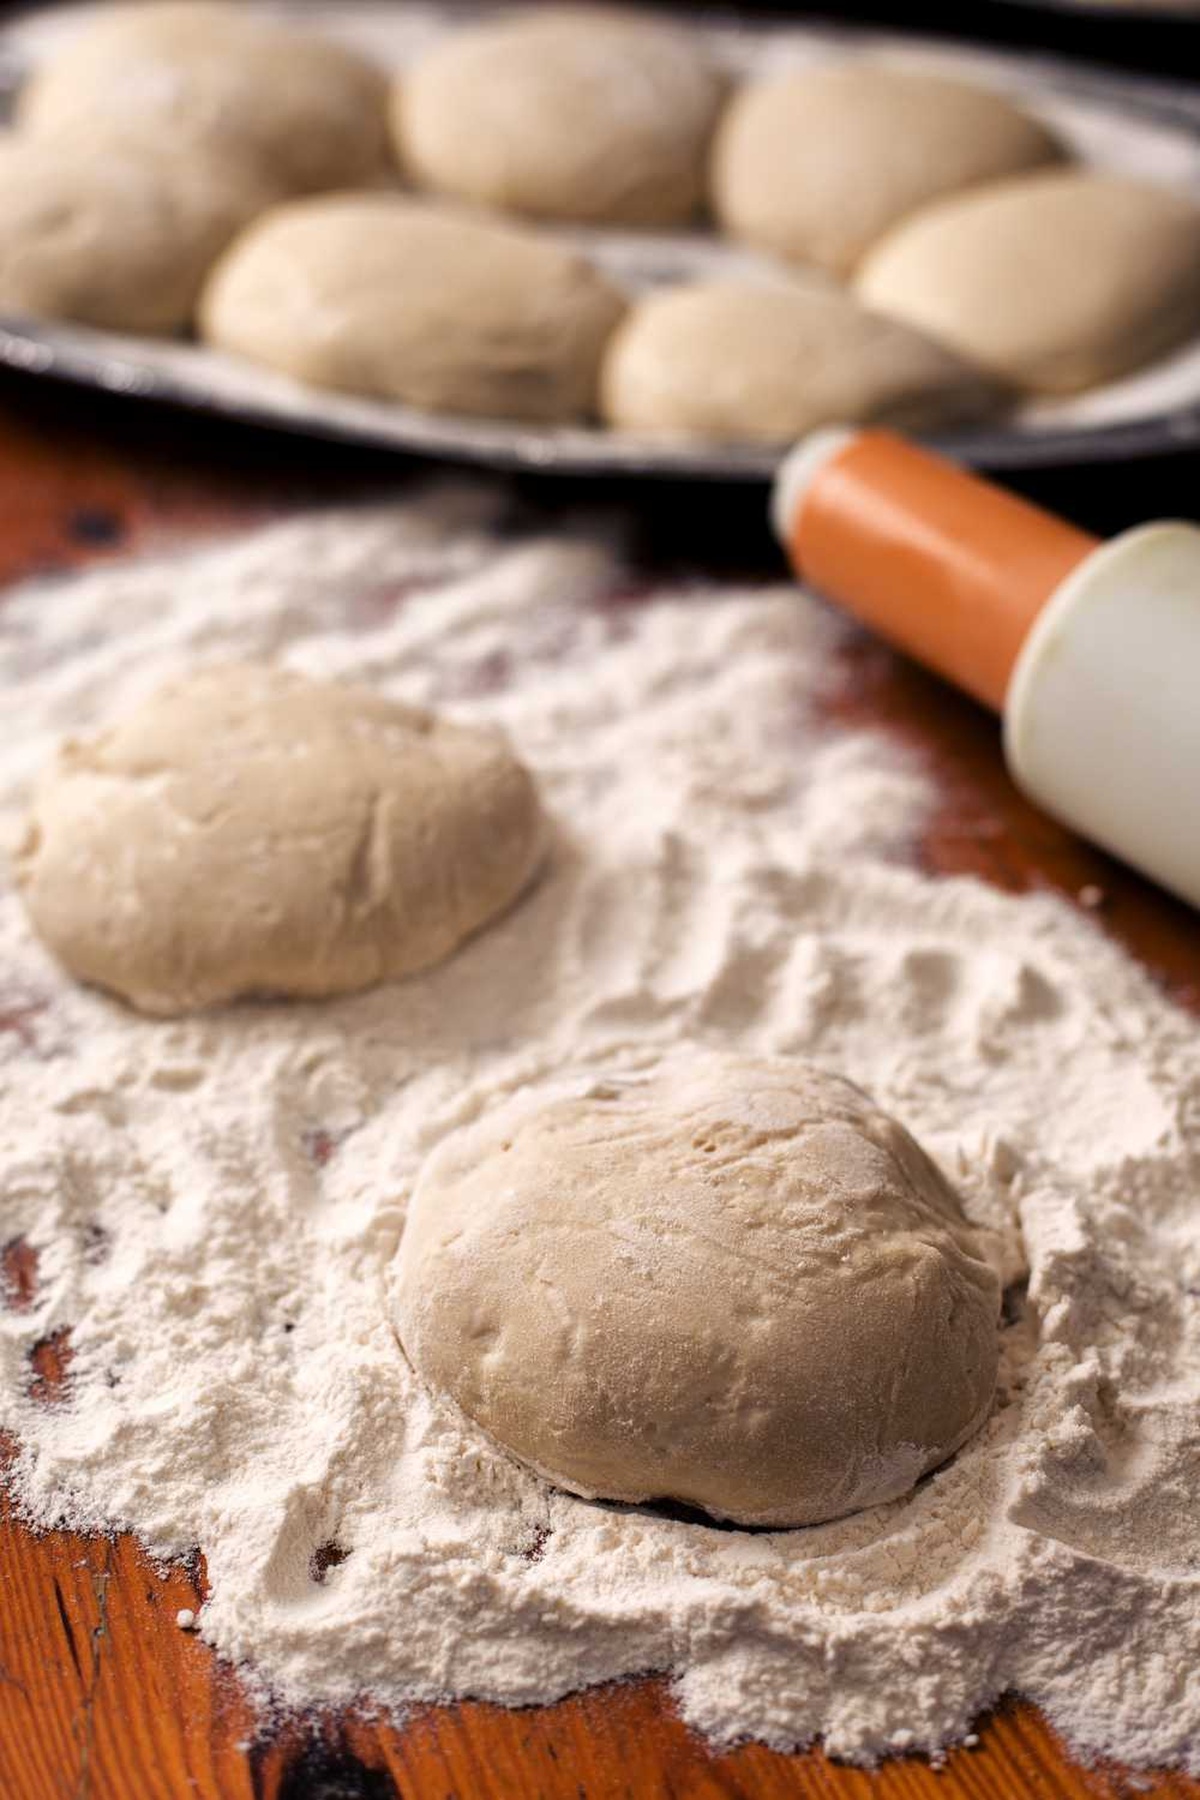
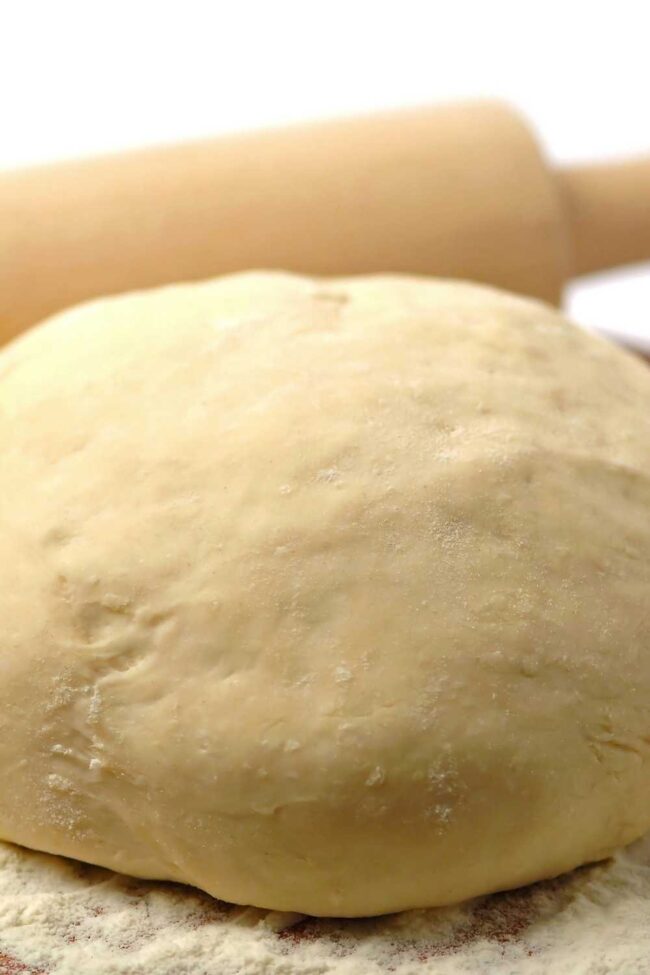
Step 5: Initial Dough Shaping
Roll pizza dough into a smooth round ball. Coat entire surface with olive oil
Step 6: Allow Dough to Rise
Cover bowl with plastic wrap. Place in warm location for 30 minutes
Tip: Dough should double in size during this time
Step 7: Knead and Prepare
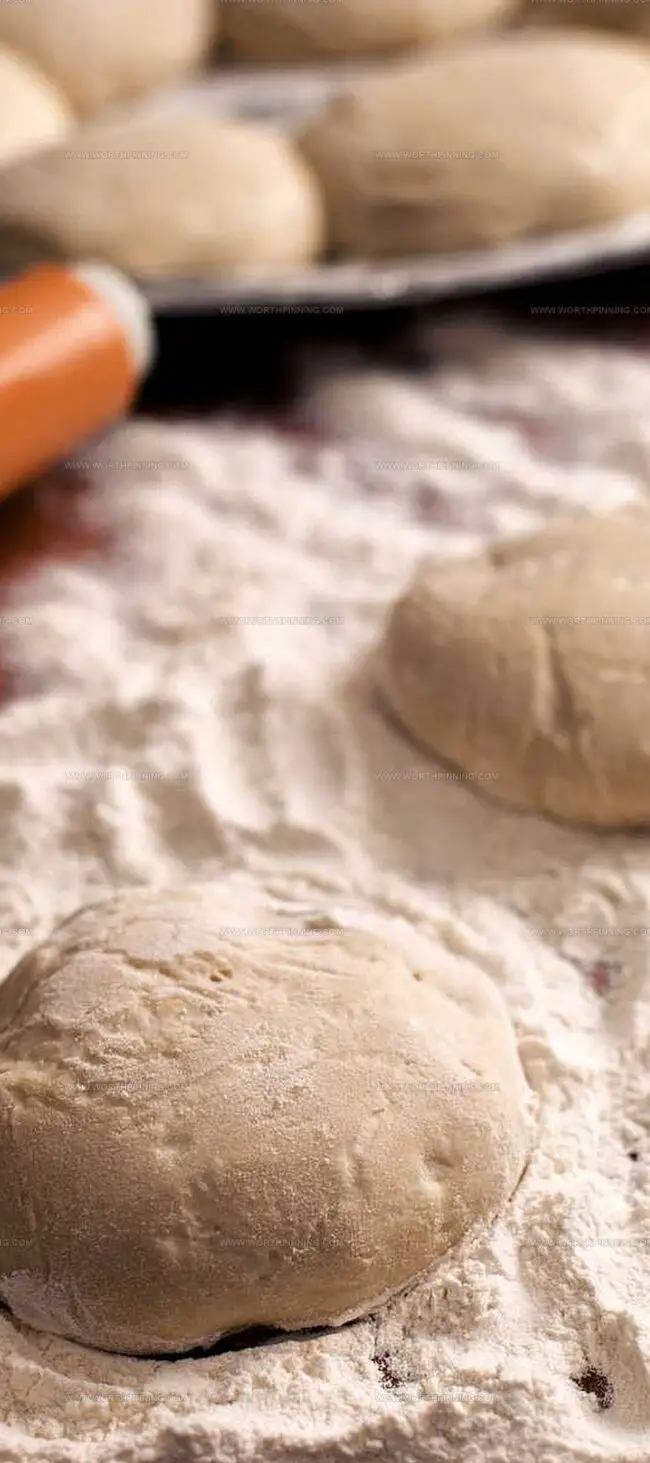
Gently deflate risen dough. Transfer to lightly floured surface
Knead 3-5 times to restore smoothness
Step 8: Shape Pizza Crust
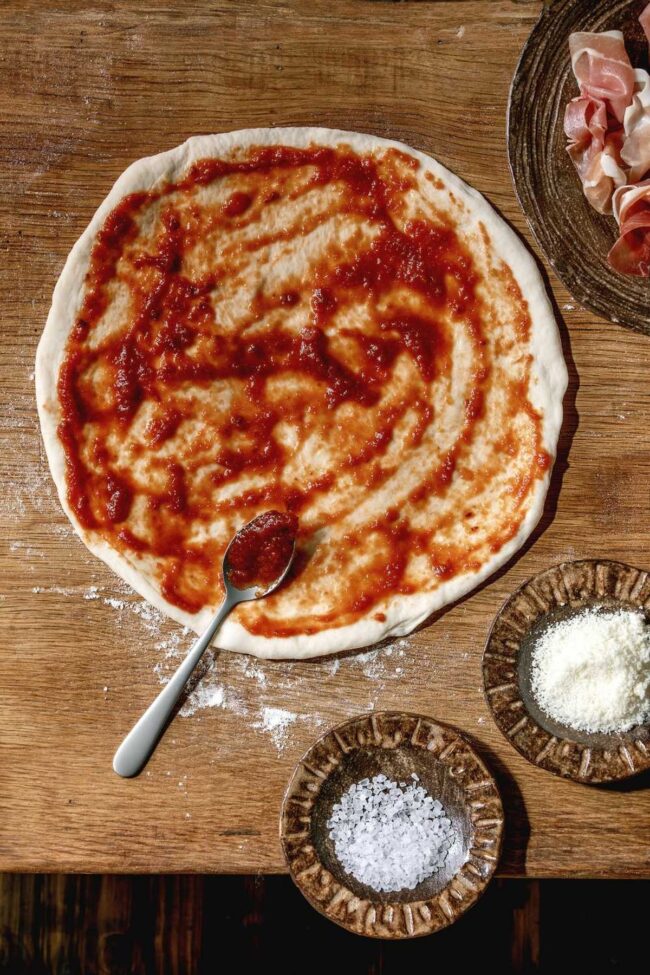
Use hands or rolling pin to shape dough into 12-inch circle
Create raised edges by pinching or folding outer rim
Step 9: Prepare for Baking
Line pizza pan with parchment paper
Transfer shaped dough to prepared pan
Step 10: Finish Crust Preparation
Drizzle olive oil over entire pizza surface
Use pastry brush to coat crust thoroughly
Step 11: Prevent Bubbling
Create fork holes in center of pizza dough
Step 12: Bake to Perfection
Preheat oven to 425°F (215°C)
Add preferred sauce and toppings
Bake 13-15 minutes until golden brown
Slice and serve immediately
Practical Pointers For Pizza Dough
Preservation Tips For Pizza Dough
Creative Variations For Pizza Dough
Parting Thoughts On Pizza Dough
Pizza crafting becomes pure magic with this foolproof recipe that transforms simple ingredients into culinary art.
Homemade pizza dough offers unparalleled satisfaction compared to store-bought alternatives.
Kitchen adventures reach new heights when perfecting this classic Italian staple.
Personal creativity shines through unique topping combinations and hand-rolled techniques.
Crispy crusts and rich flavors await those willing to embrace baking mastery.
Passionate cooks can elevate their culinary skills by mastering this delightful recipe – go ahead, share your pizza masterpiece with friends, comment on your favorite toppings, and like this guide that unlocks delicious possibilities.
Print
Joy Of Cooking Pizza Dough Recipe
- Total Time: 30 minutes
- Yield: 2 1x
Description
Homemade pizza dough brings Italian culinary magic straight to kitchen counters with simple ingredients and classic techniques. Rich flour, active yeast, and gentle kneading create a perfect foundation that lets home cooks craft authentic pizzas you’ll crave repeatedly.
Ingredients
Main Ingredients:
- 2–2 ⅓ cups (250–295 grams) all-purpose flour or bread flour
- 1 packet (2 ¼ teaspoons) instant yeast
- ¾ cup (177 milliliters) warm water
Seasoning Ingredients:
- 1 ½ teaspoons sugar
- ¾ teaspoon salt
- ⅛–¼ teaspoon garlic powder and/or dried basil leaves (optional)
Oil and Additional Ingredients:
- 2 tablespoons olive oil
- Additional olive oil (for coating)
Instructions
- In a spacious mixing bowl, combine all-purpose flour (125 grams or 1 cup), instant yeast, granulated sugar, and salt. Enhance the flavor profile by incorporating garlic powder and dried basil for an aromatic touch.
- Create a smooth mixture by introducing olive oil and warm water, stirring thoroughly with a wooden spoon until ingredients are well integrated.
- Incrementally fold in the remaining flour (125 grams or 1 cup), continuing to add up to an additional 1/3 cup (40 grams) until the dough transforms into a cohesive, elastic mass that effortlessly separates from the bowl’s interior.
- Generously coat a clean, large bowl with olive oil, ensuring complete coverage using a pastry brush.
- Carefully shape the dough into a perfect sphere, gently rolling it in the olive oil-coated bowl to ensure complete moisturization.
- Drape a sheet of plastic wrap over the bowl, positioning it in a consistently warm environment to allow optimal rising conditions.
- Allow the dough to rest and expand for approximately 30 minutes, during which time it should visibly double in volume.
- Preheat the oven to 425°F (215°C) while the dough is rising, preparing for the upcoming baking process.
- Delicately deflate the risen dough, transferring it to a lightly floured surface and kneading gently 3-5 times to restore smoothness.
- Using hands or a rolling pin, carefully stretch and shape the dough into a 12-inch (30.5 centimeters) circular foundation.
- Meticulously crimp or fold the outer edges to create a defined crust, then position the dough on a parchment-lined pizza pan.
- Drizzle approximately 1 tablespoon (15 milliliters) of olive oil across the surface, using a pastry brush to distribute evenly and ensure complete coverage.
- Puncture the central area with fork tines to prevent unwanted air bubble formation during baking.
- Apply preferred pizza sauce and selected toppings, then bake in the preheated oven for 13-15 minutes until the crust achieves a golden-brown coloration.
- Remove from oven, allow brief cooling, slice into wedges, and serve immediately for optimal taste and texture.
Notes
- Cold ingredients slow down yeast activation, so let butter and eggs reach room temperature before mixing.
- Knead gently on a lightly floured surface to develop gluten without making the dough tough.
- Proofing time varies with kitchen temperature – warmer spaces speed up rising, cooler spaces slow it down.
- Check dough readiness by gently poking it; if the indentation remains, it’s perfectly proofed.
- Humidity affects flour absorption, so adjust liquid measurements if your kitchen feels extra dry or humid.
- Invest in a quality instant-read thermometer to monitor water temperature precisely for yeast performance.
- Rest dough between kneading sessions to relax gluten and make handling easier.
- Use a clear glass bowl when rising to easily track dough expansion.
- Store unused flour in an airtight container to maintain freshness and prevent moisture absorption.
- Experiment with different flour blends to customize texture and flavor complexity.
- Prep Time: 15 minutes
- Cook Time: 15 minutes
- Category: Lunch, Dinner, Snacks
- Method: Baking
- Cuisine: American
Nutrition
- Serving Size: 2
- Calories: 375
- Sugar: 0.75 g
- Sodium: 0.38 g
- Fat: 7 g
- Saturated Fat: 1 g
- Unsaturated Fat: 6 g
- Trans Fat: 0 g
- Carbohydrates: 72 g
- Fiber: 3 g
- Protein: 9 g
- Cholesterol: 0 mg
Ethan Miller
Founder & Lead Content Writer
Expertise
Education
Portland Community College
Culinary Institute of the Pacific
Ethan’s culinary journey began in his grandmother’s kitchen, where he first learned to play with flavors and ingredients. With formal training in culinary arts and a deep love for international cuisines, Ethan’s goal is to share the joy of cooking with others.
He believes food is all about creativity and bringing people together, one meal at a time. When he’s not experimenting with new dishes, he enjoys hiking in the Oregon wilderness and discovering fresh, local ingredients.