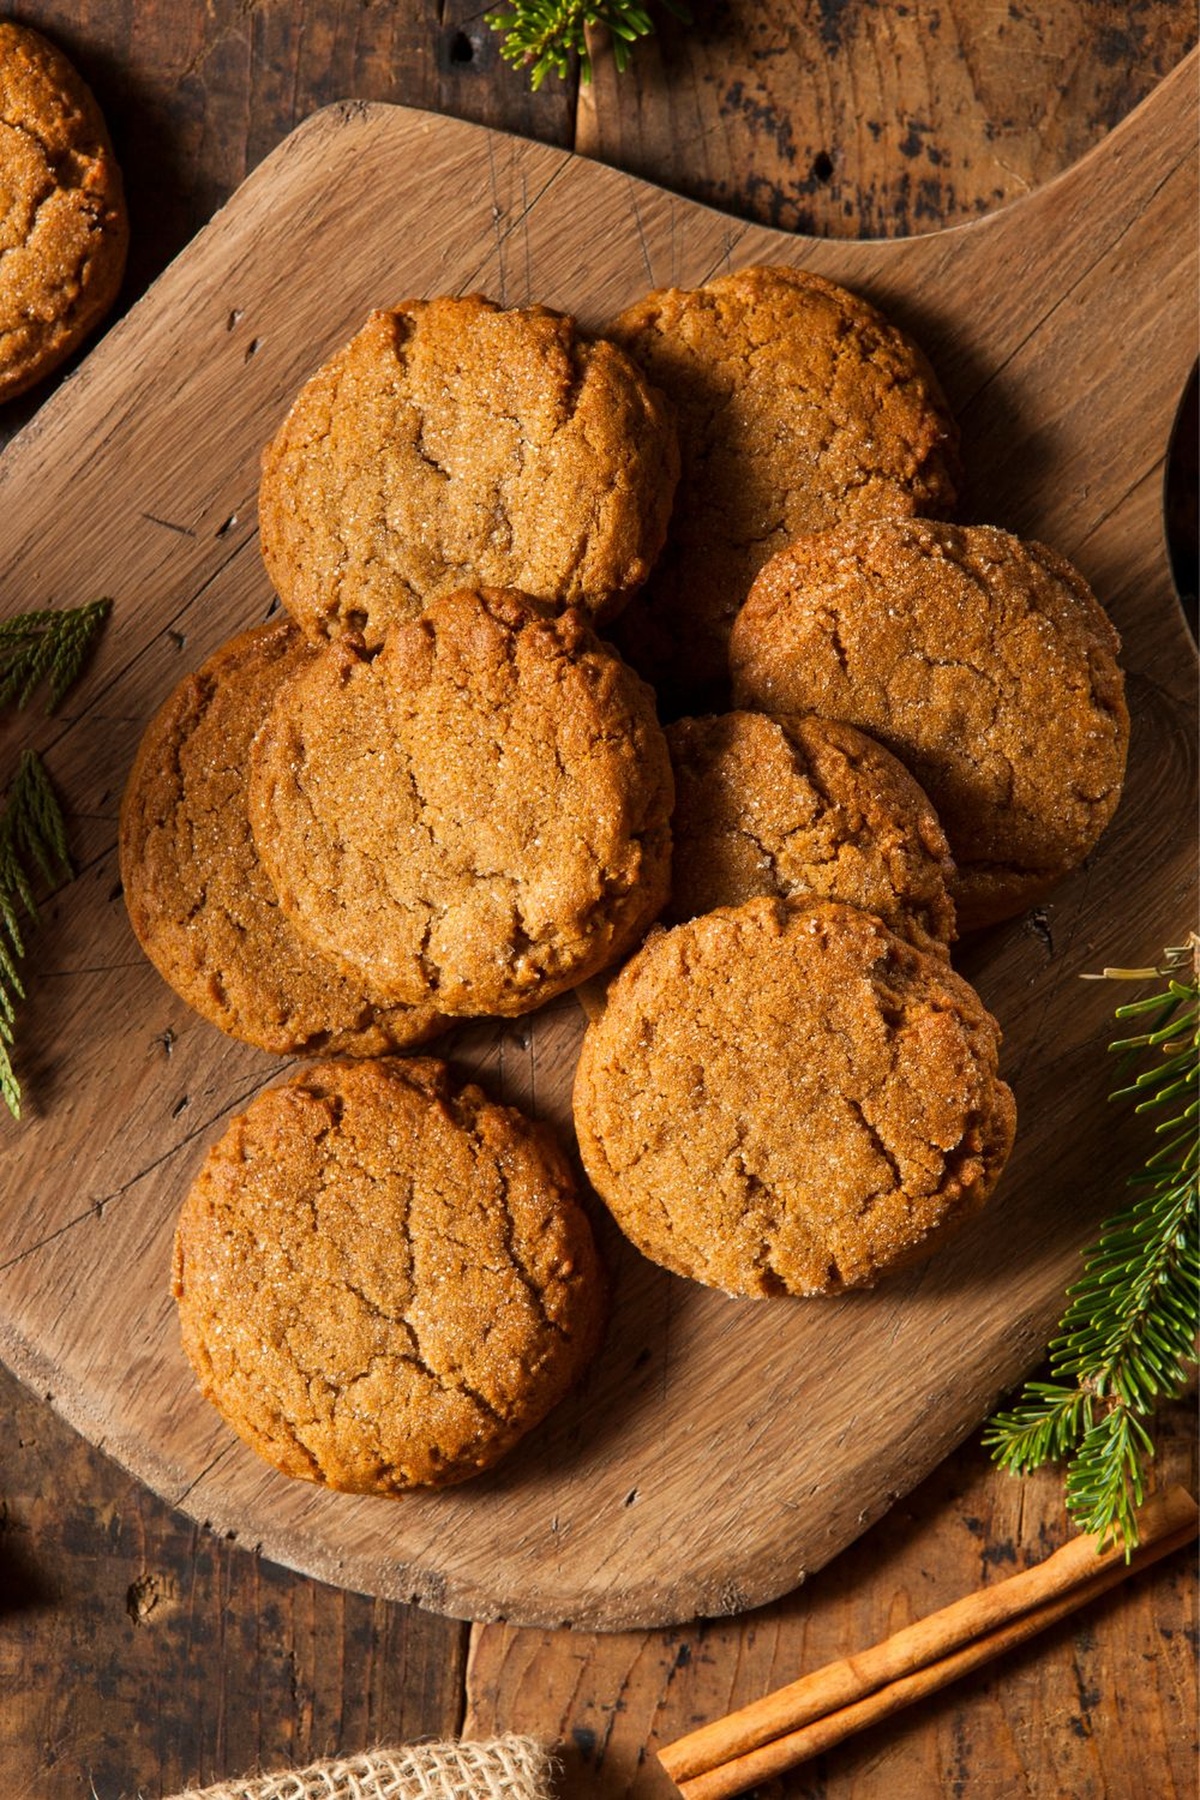
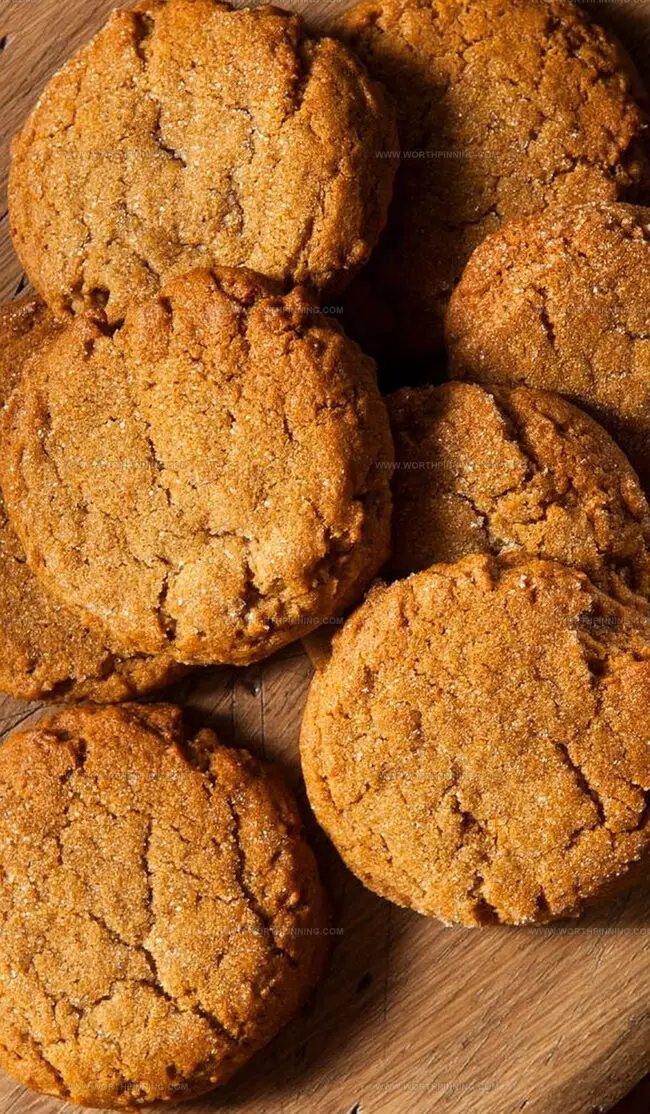
Quick & Easy Joy Of Cooking Gingerbread Cookies Recipe
Gingerbread cookies spark memories of cozy winter kitchens and festive celebrations that warm hearts instantly.
Rich, spicy aromas waft through homes, creating an atmosphere of comfort and nostalgia.
These delightful treats combine sweet and zesty flavors that dance across your palate with remarkable intensity.
Soft yet crisp textures provide a sensory experience that transforms simple ingredients into magical culinary moments.
Generations of home bakers have cherished this classic recipe, passing down techniques that elevate humble ingredients into something extraordinary.
Baking these cookies connects us to cherished traditions and creates opportunities for sharing love through delicious homemade treats: prepare to embark on a delectable journey.
Reasons to Love Gingerbread Cookies
What’s In Gingerbread Cookies
Main Ingredients:
Wet Ingredients:Dry Ingredients:Spice Ingredients:How to Make Gingerbread Cookies
Step 1: Cream Sugar and Butter
Grab your electric mixer or hand mixer. Blend sugar and butter in a large mixing bowl until the mixture turns pale and creamy, about 2-3 minutes.
Step 2: Add Wet Ingredients
Mix in 1 egg white, vanilla extract, and molasses. Blend until ingredients are fully combined and smooth.
Step 3: Combine Dry Ingredients
In a separate bowl, whisk together:Step 4: Create Cookie Dough
Slowly fold dry ingredients into wet mixture. Stir until just incorporated. Cover the bowl with plastic wrap and refrigerate for 1 hour.
Step 5: Prepare Baking Setup
Preheat oven to 350°F (180°C). Line 2 baking sheets with parchment paper.
Step 6: Shape Cookie Balls
Pour granulated sugar into a small bowl. Remove chilled dough and roll into 1-inch balls (about 15 grams each).
Step 7: Coat and Flatten Cookies
Roll each cookie ball completely in sugar. Place on baking sheet with 2 inches of space between them. Gently press down on each ball using the bottom of a glass.
Step 8: Bake and Cool Cookies
Bake for 8-10 minutes until edges are set but centers remain soft. Transfer to a wire rack and let cool completely.
Expert Advice on Gingerbread Cookies
Helpful Tips for Gingerbread CookiesStorage
Gingerbread Cookies Recipe Variations
Gingerbread Cookies Recap
Gingerbread cookies offer more than mere sweetness – they weave nostalgic memories through delicate spices and warm aromas.
Home kitchens come alive with classic comfort when these treats emerge from ovens across generations.
Classic recipes connect families through shared culinary traditions passed between grandparents and children.
Winter celebrations gain magical moments with these delightful rounds of happiness.
Crisp edges and tender centers create perfect balance in each delectable bite.
Passionate bakers can share their cookie creations, spark conversations, inspire community connections, and spread delightful joy through social media channels – so snap, post, and spread gingerbread love!
Print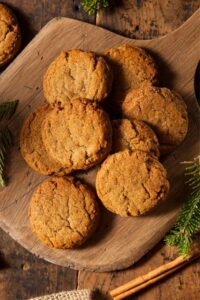
Joy Of Cooking Gingerbread Cookies Recipe
- Total Time: 30 minutes
- Yield: 24 1x
Description
Gingerbread cookies bring festive warmth from classic American holiday traditions. Spicy molasses and rich cinnamon create delightful memories of winter celebrations that welcome friends and family around sweet, crisp cookies perfect for sharing.
Ingredients
Main Ingredients:
- 2 ⅔ cups (345 grams) all-purpose flour
- 1 cup (225 grams) unsalted butter, at room temperature
- 1 cup (205 grams) firmly packed light brown sugar
- 1 cup (200 grams) granulated white sugar
Spices and Seasonings:
- 2 teaspoons (10 grams) baking soda
- ½ teaspoon (2 grams) salt
- 1 teaspoon (2 grams) ground cinnamon
- 1 teaspoon (2 grams) ground ginger
- ½ teaspoon (1 gram) ground cloves
Wet Ingredients:
- ¼ cup (60 milliliters) (90 grams) unsulphured molasses
- 2 large egg whites (60 grams), at room temperature
- ½ teaspoon (1 gram) pure vanilla extract (optional)
Instructions
- In an electric mixer or using a hand mixer, cream together sugar and butter until the mixture becomes light, airy, and pale, approximately 2-3 minutes.
- Incorporate egg whites, vanilla extract, and molasses into the butter mixture, blending until thoroughly combined.
- In a separate bowl, thoroughly whisk together flour, baking soda, salt, and spices to ensure even distribution of dry ingredients.
- Gently fold the dry ingredient mixture into the wet ingredients, stirring until just incorporated to prevent overmixing.
- Cover the batter with plastic wrap and refrigerate for a minimum of 1 hour, allowing the dough to firm up and develop deeper flavors.
- Preheat the oven to 350°F (180°C) and line two baking sheets with parchment paper.
- Place granulated white sugar in a medium-sized bowl for coating the cookies.
- Remove the chilled dough and shape into small balls weighing approximately 15 grams (1 inch) each.
- Roll each dough ball completely in granulated sugar, ensuring full coverage.
- Arrange the sugar-coated balls on the prepared baking sheets, spacing them about 2 inches (5 centimeters) apart.
- Gently flatten each cookie using the bottom of a glass to create a uniform shape.
- Bake for 8-10 minutes, watching for slightly set edges while maintaining a soft center.
- Remove from the oven and allow cookies to cool completely on a wire rack, where they will continue to crisp slightly.
Notes
- Refrigerating the dough helps prevent spreading and creates a more concentrated flavor profile.
- Pressing cookies with a clean drinking glass ensures consistent thickness and professional-looking results.
- Soft centers come from slightly shorter baking times, while crispy edges require a few extra minutes in the oven.
- Store remaining dough in an airtight container for up to two weeks, allowing spontaneous cookie cravings to be quickly satisfied.
- Prep Time: 20 minutes
- Cook Time: 10 minutes
- Category: Desserts, Snacks
- Method: Baking
- Cuisine: American
Nutrition
- Serving Size: 24
- Calories: 114
- Sugar: 9.5 g
- Sodium: 3.1 mg
- Fat: 4.1 g
- Saturated Fat: 2.6 g
- Unsaturated Fat: 1.5 g
- Trans Fat: 0 g
- Carbohydrates: 18.2 g
- Fiber: 0.4 g
- Protein: 0.9 g
- Cholesterol: 0 mg
Ethan Miller
Founder & Lead Content Writer
Expertise
Education
Portland Community College
Culinary Institute of the Pacific
Ethan’s culinary journey began in his grandmother’s kitchen, where he first learned to play with flavors and ingredients. With formal training in culinary arts and a deep love for international cuisines, Ethan’s goal is to share the joy of cooking with others.
He believes food is all about creativity and bringing people together, one meal at a time. When he’s not experimenting with new dishes, he enjoys hiking in the Oregon wilderness and discovering fresh, local ingredients.