Easy & Delightful Joy Of Cooking Fudge Recipe You’ll Love
Sweet, creamy fudge has been a beloved dessert that captivates taste buds with its rich, indulgent texture.
Crafting this delectable treat requires precision, patience, and a passion for culinary artistry.
Generations of home bakers have perfected the delicate balance of ingredients that transform simple components into a mouthwatering confection.
The magic happens when careful temperature control and expert techniques merge to create a smooth, velvety delight.
Chocolate lovers find themselves drawn to the irresistible allure of this classic confection that melts effortlessly on the tongue.
Each batch represents a tiny celebration of flavor, promising pure satisfaction with every decadent bite.
You’ll fall in love with the process of transforming basic ingredients into a luxurious dessert that sparks joy: prepare to become a fudge-making maestro.
Fudge Fantasy: Why It’ll Satisfy Any Sweet Tooth

Building Blocks for Velvety Fudge
Base And Coating:Primary Ingredients:Finishing Ingredients:Making Fudge: Your Easy Guide
Step 1: Prepare Baking Pan
Grease an 8 x 8 inch pan with softened unsalted butter, covering all surfaces completely. Set aside.
Step 2: Combine Ingredients
In a heavy 3-quart saucepan, mix together:Step 3: Start Cooking
Heat the mixture over medium-low heat, stirring continuously with a wooden spoon until ingredients blend smoothly.
Step 4: Create Steam Seal
Cover the pan for 2-3 minutes, allowing steam to wash down sugar crystals from pan edges.
Step 5: Monitor Temperature
Attach a candy thermometer to pan side (avoiding bottom contact). Continue cooking without stirring until mixture reaches 236°F (soft ball stage). If sugar crystals form, gently brush pan edges with cold water.
Step 6: Cool Initial Mixture
Remove from heat. Sprinkle butter on top without mixing. Let cool to 110°F (38-43°C).
Step 7: Finish Fudge
Remove thermometer. Add:Beat mixture using wooden spoon or electric mixer until smooth and loses glossy appearance.
Step 8: Set and Serve
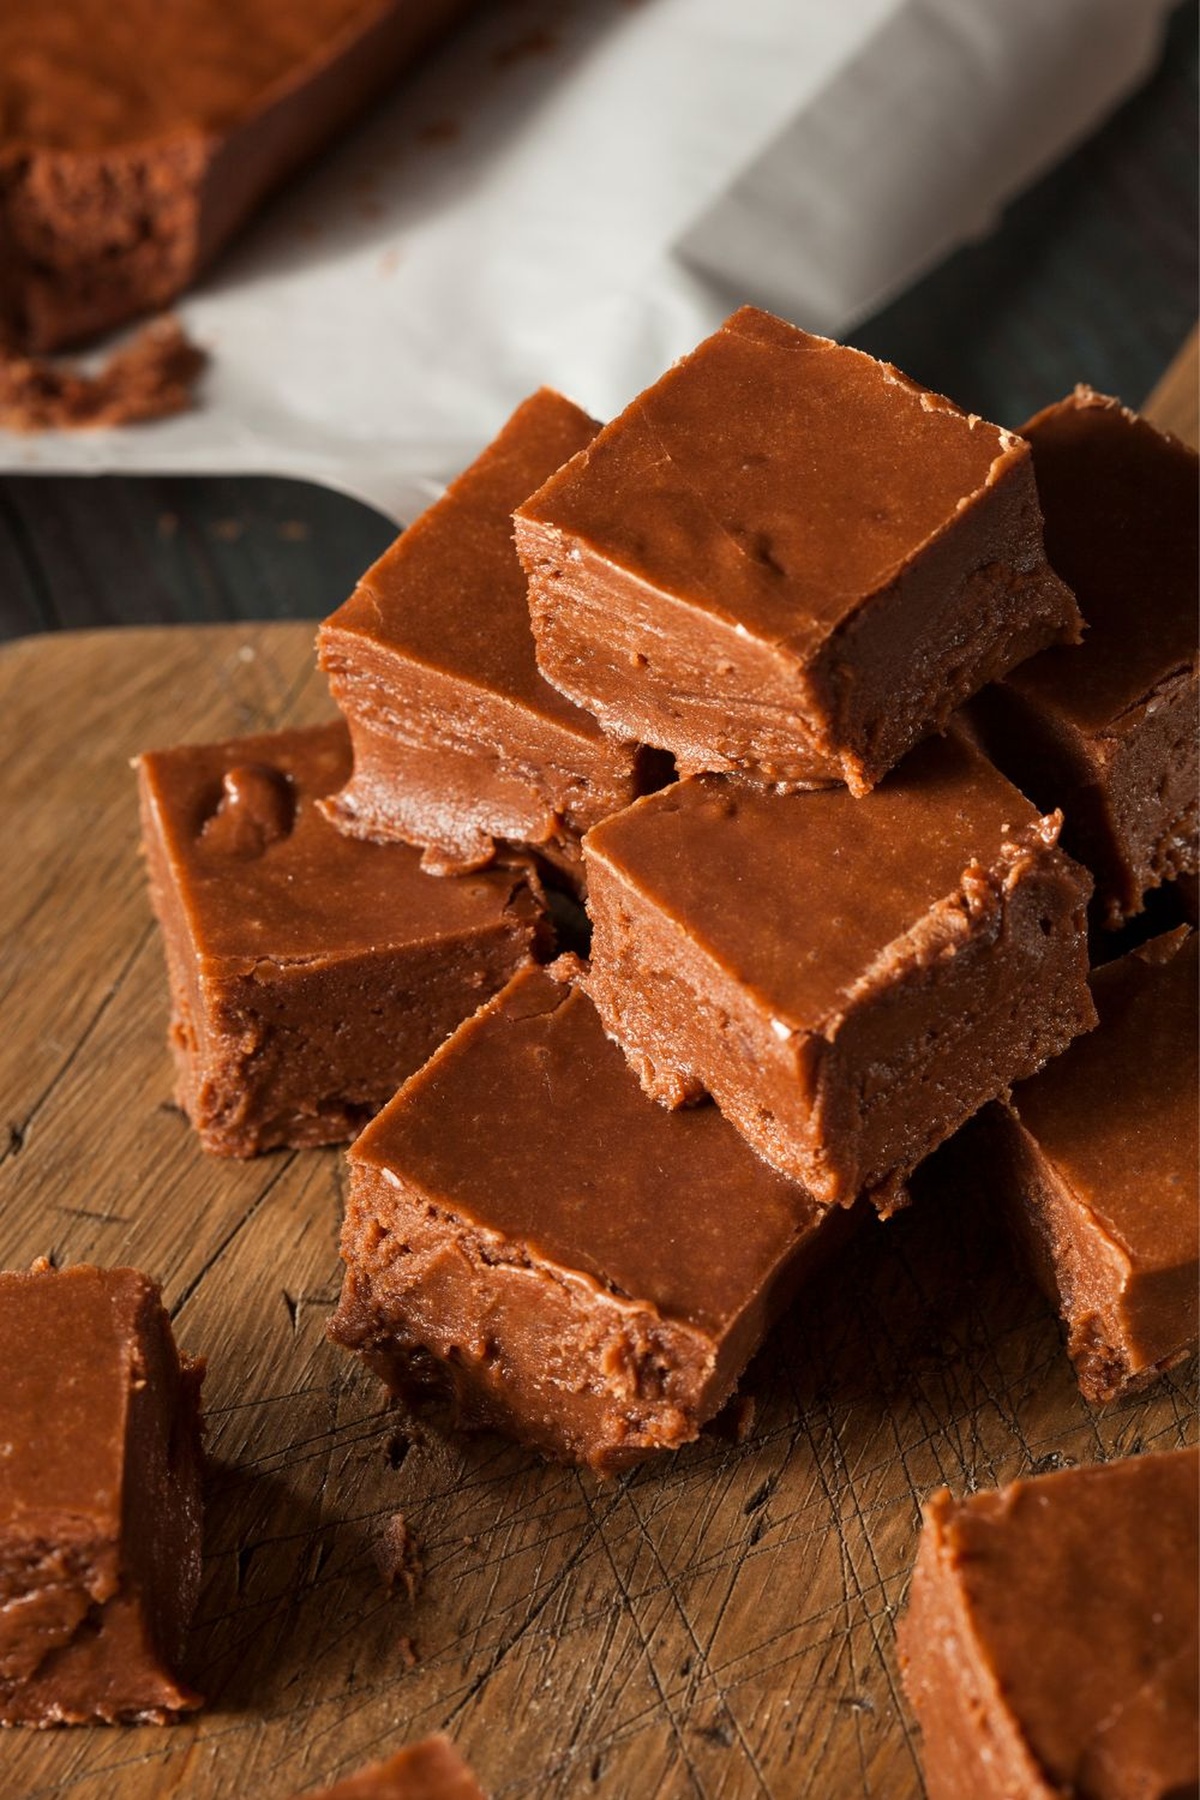
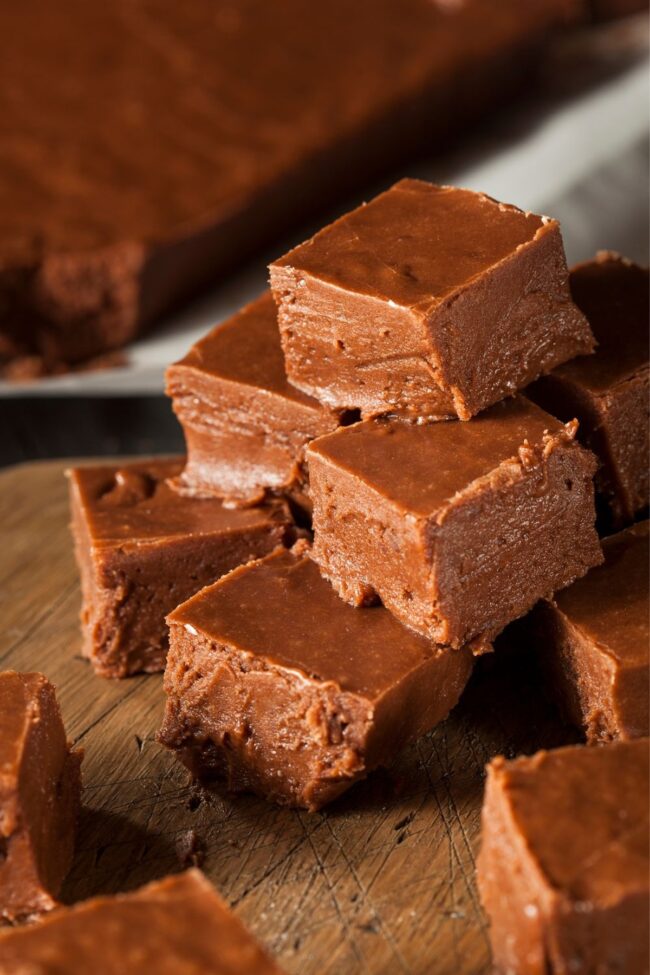
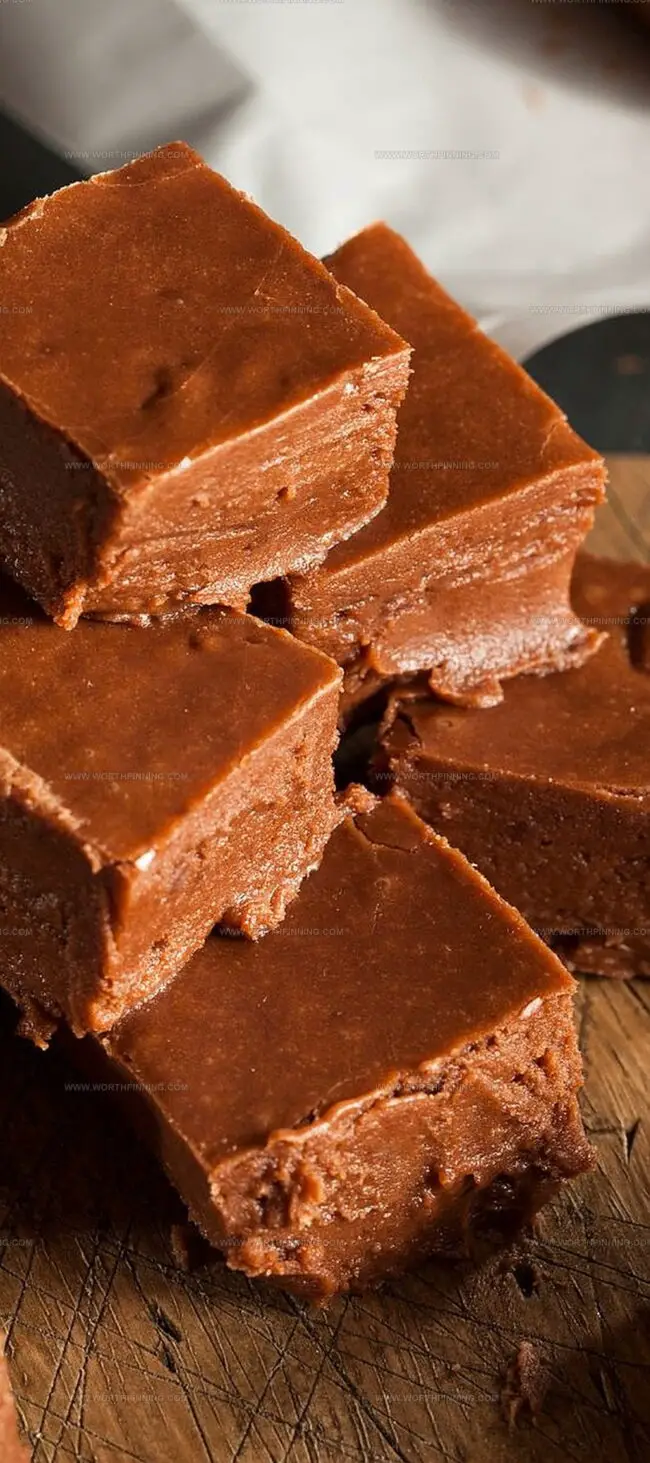
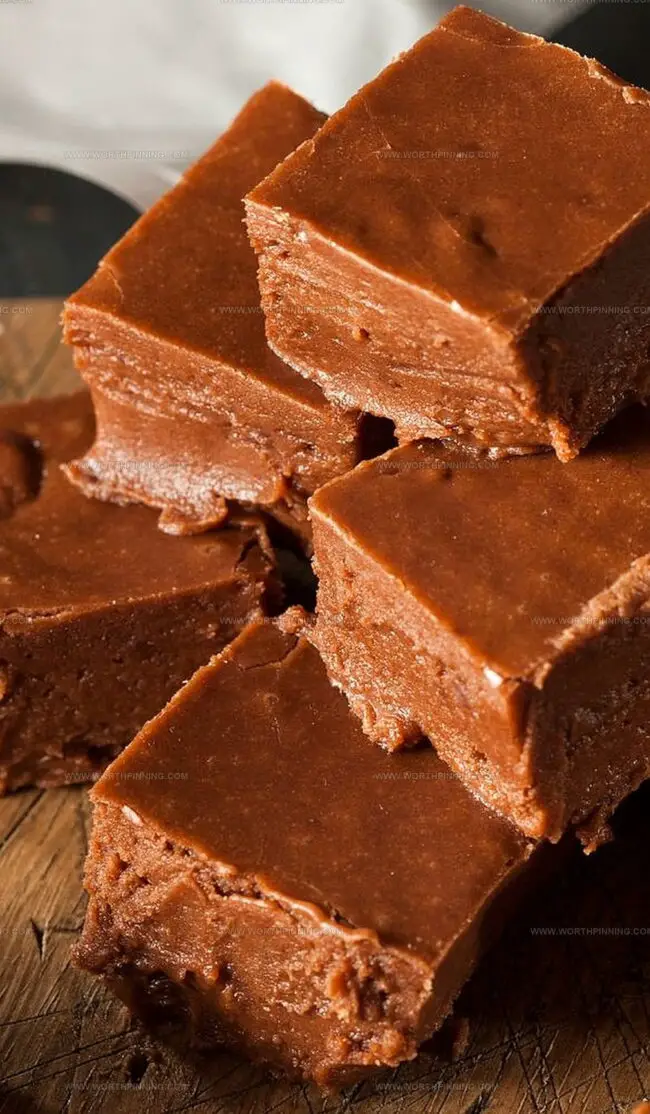
Pour into prepared pan. Allow 3-4 hours to completely cool. Cut into 1-inch squares. Store in airtight container.
Pro Tips for Melt-in-Your-Mouth Fudge
Fudge Storage: Keeping It Fresh
Flavorful Variations for Your Fudge
Fudge Finale: Sweet Endings
Chocolate fudge whispers sweet memories of grandma’s kitchen and festive celebrations.
Silky chocolate squares promise pure indulgence with each delectable bite.
Rich flavors melt into a luxurious experience that connects generations through culinary magic.
Classic recipes like this fudge reveal profound connections between ingredients and emotion.
Kitchen alchemy transforms simple components into extraordinary treats that spark joy.
Chocolate lovers will savor these moments: share this recipe, sprinkle deliciousness across social networks, and inspire fellow culinary adventurers to create their own delightful masterpiece.
Print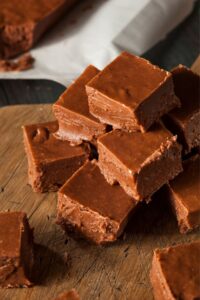
Joy Of Cooking Fudge Recipe
- Total Time: 35 minutes
- Yield: 25 1x
Description
Silky chocolate fudge from Joy of Cooking delivers pure indulgence with its creamy texture and rich flavor. Smooth squares of sweet perfection invite chocolate lovers to savor each luxurious bite.
Ingredients
Main Ingredients:
- 2 cups (400 grams) granulated white sugar
- 2 squares (2 ounces) (60 grams) unsweetened chocolate, chopped
- ⅔ cup (160 ml) half-and-half (or light cream)
Fats and Enhancers:
- 2 tablespoons (28 grams) unsalted butter, cut into pieces
- 2 tablespoons light corn syrup
Seasoning and Flavor:
- 1/8 teaspoon salt
- 1 teaspoon pure vanilla extract
Instructions
- Prepare a 20 x 20 x 5 centimeters (8 x 8 x 2 inches) baking pan by generously greasing the entire surface with room temperature unsalted butter.
- In a heavy-bottomed saucepan measuring 2-1/2 to 3 quarts, combine half-and-half, sugar, chocolate, and light corn syrup, whisking thoroughly to create a smooth mixture.
- Place the saucepan over medium-low heat, stirring continuously with a wooden spoon to prevent scorching or uneven heating.
- Cover the pan for 2 to 3 minutes, allowing condensation to wash down any sugar crystals clinging to the pan’s edges.
- Carefully attach a candy thermometer to the side of the pan, ensuring it does not touch the bottom, and continue cooking without stirring until the mixture reaches the soft ball stage at 236 degrees Fahrenheit (113 degrees Celsius).
- Remove the pan from heat and sprinkle two tablespoons of butter across the surface, letting it melt naturally without stirring.
- Allow the fudge to cool undisturbed until it reaches a lukewarm temperature between 38 to 43 degrees Celsius (110 degrees Fahrenheit).
- Extract the candy thermometer and incorporate salt and vanilla extract, beating the mixture with a wooden spoon or electric hand mixer until the fudge becomes smooth and begins to lose its glossy appearance.
- Transfer the fudge to the prepared pan, spreading it evenly, and let it set at room temperature for several hours before cutting into uniform squares.
Notes
- Slow and steady wins when melting chocolate, preventing scorching and maintaining a silky smooth consistency.
- Cast iron or heavy-bottomed pans distribute heat evenly, reducing risks of uneven cooking or burning.
- Keep your candy thermometer suspended mid-liquid, ensuring an accurate temperature reading without interference from pan surfaces.
- Patience matters most after cooking – letting the mixture settle and cool completely guarantees clean, sharp-edged squares.
- Room temperature allows chocolate to set properly, creating a professional-looking final product with perfect texture.
- Gentle stirring prevents sugar crystallization, which could make your chocolate grainy or lumpy.
- Clean utensils are crucial to prevent moisture from disrupting the chocolate’s delicate composition.
- Using a sharp knife dipped in hot water ensures clean, precise cuts when portioning your chocolate treat.
- Wipe down the knife between each slice to maintain crisp, neat edges on your squares.
- Store in an airtight container at cool room temperature to preserve the chocolate’s glossy finish and rich flavor.
- Prep Time: 15 minutes
- Cook Time: 20 minutes
- Category: Desserts, Snacks
- Method: Boiling
- Cuisine: American
Nutrition
- Serving Size: 25
Ethan Miller
Founder & Lead Content Writer
Expertise
Education
Portland Community College
Culinary Institute of the Pacific
Ethan’s culinary journey began in his grandmother’s kitchen, where he first learned to play with flavors and ingredients. With formal training in culinary arts and a deep love for international cuisines, Ethan’s goal is to share the joy of cooking with others.
He believes food is all about creativity and bringing people together, one meal at a time. When he’s not experimenting with new dishes, he enjoys hiking in the Oregon wilderness and discovering fresh, local ingredients.