
Easy & Delightful Joy Of Cooking Apple Pie Recipe
Have you ever craved Joy of Cooking’s apple pie that transforms ordinary ingredients into an extraordinary dessert?
Generations of home bakers have celebrated this classic recipe, capturing autumn’s essence in every delectable slice.
Tart apples mingle with warm spices, creating a symphony of flavors that dance across your palate.
Butter-rich pastry cradles soft, caramelized fruit beneath a golden, flaky crust that promises pure comfort.
Each bite tells a story of tradition, love, and culinary magic passed down through family kitchens.
Seasonal ingredients blend seamlessly, turning simple components into a mouthwatering masterpiece that sparks memories and warms hearts.
Prepare to be transported by a dessert that embodies home, warmth, and pure deliciousness: get ready to bake!
Apple Pie Delight: Why You’ll Crave It
Apple Pie Essentials: Key Ingredients
Pie Crust Ingredients:Apple Filling Ingredients:Finishing Ingredients:From Dough to Dessert: Apple Pie Instructions
Step 1: Prepare Apple Filling
Slice apples into a large bowl. Drizzle with lemon juice. Add:Mix ingredients thoroughly.
Step 2: Drain Apple Mixture
Place apples in a large strainer. Cover with plastic wrap. Position over a basin to collect juices. Let drain for 1-2 hours.
Step 3: Create Pie Crust Dough
In a food processor, combine:Pulse ingredients. Add cold butter and process until mixture resembles coarse meal. Gradually add cold water until dough forms. Add more water if needed.
Step 4: Shape Pie Crust
Transfer dough to work surface. Form into a ball. Divide into 2 equal portions (335 grams each). Flatten each into a circle. Wrap in plastic. Refrigerate for 1 hour.
Step 5: Roll Out Bottom Crust
Remove 1 dough portion from refrigerator. Place on floured surface. Roll into a 12-inch circle. Carefully transfer to a 9-inch pie pan. Trim excess dough.
Step 6: Prepare Top Crust
Roll second dough portion into a 12-inch circle. Place on parchment-lined baking sheet. Refrigerate.
Step 7: Create Apple Juice Reduction
Pour collected apple juice into a saucepan. Boil for 1 minute over medium-high heat. In a separate bowl, mix cornstarch with 1/2-water. Whisk into apple juices. Return to heat. Boil until transparent (1-2 minutes). Cool to room temperature.
Step 8: Combine Apple Filling
Mix drained apple slices with cooled juice mixture. Transfer to pie crust. Dot with butter pieces.
Step 9: Add Top Crust
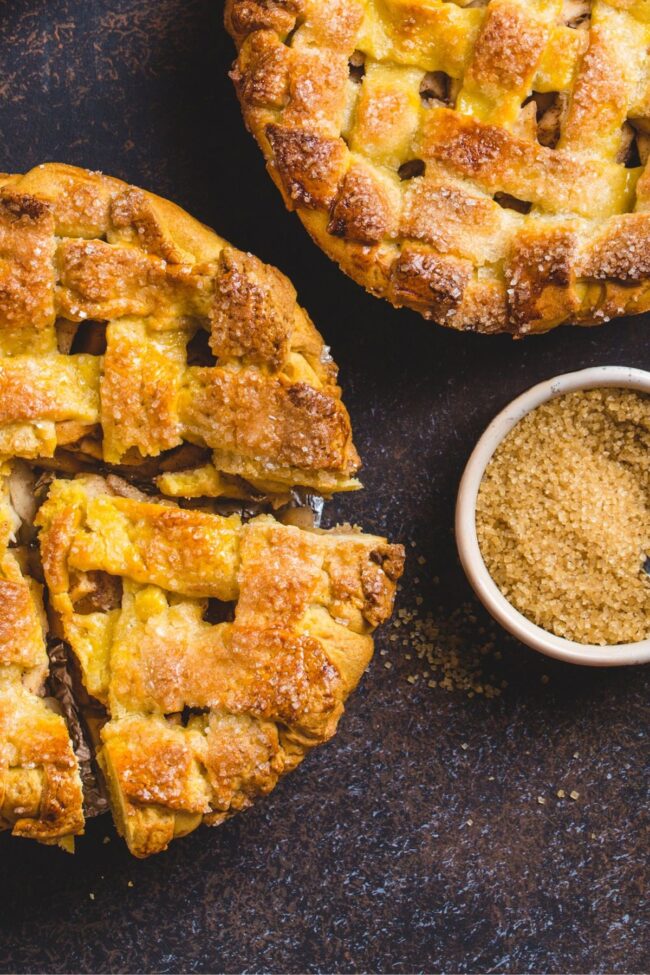
Gently place top crust over filling. Tuck excess dough under bottom crust. Crimp edges. Cut 5 steam vents (2-inch slits from center to edge).
Step 10: Prepare for Baking
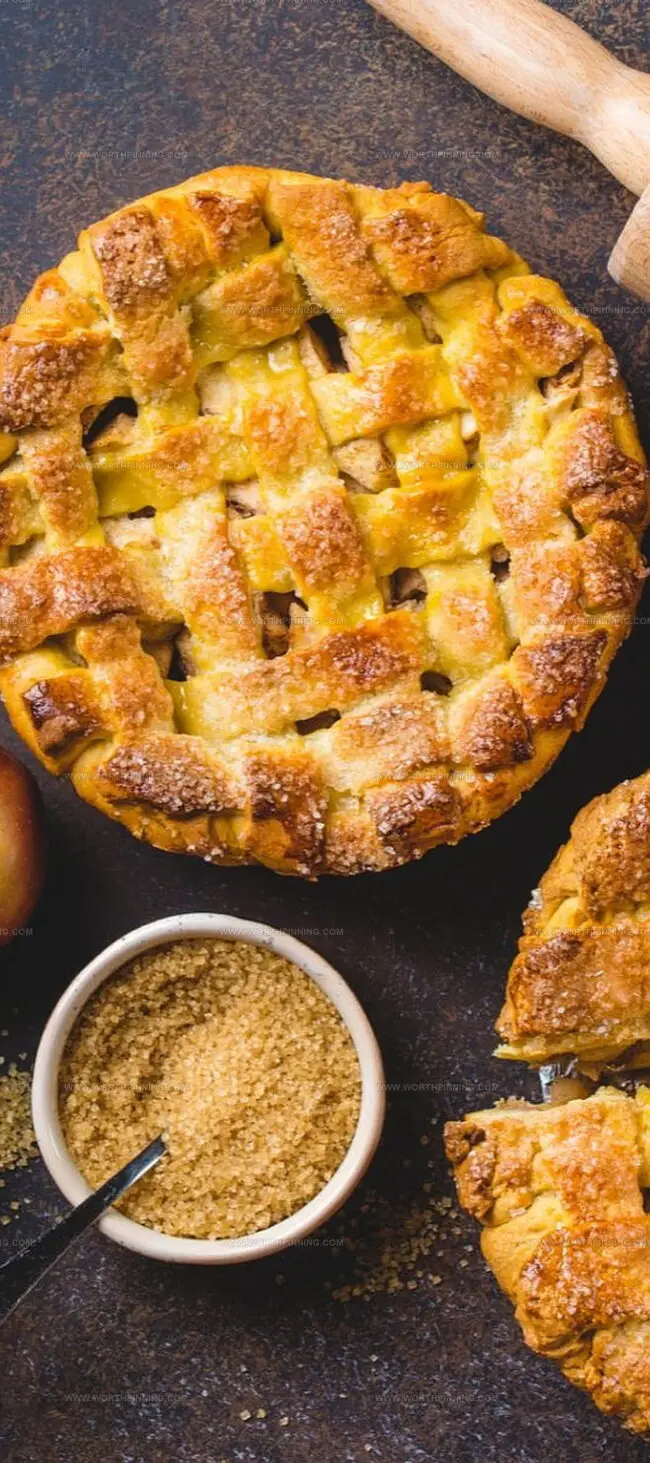
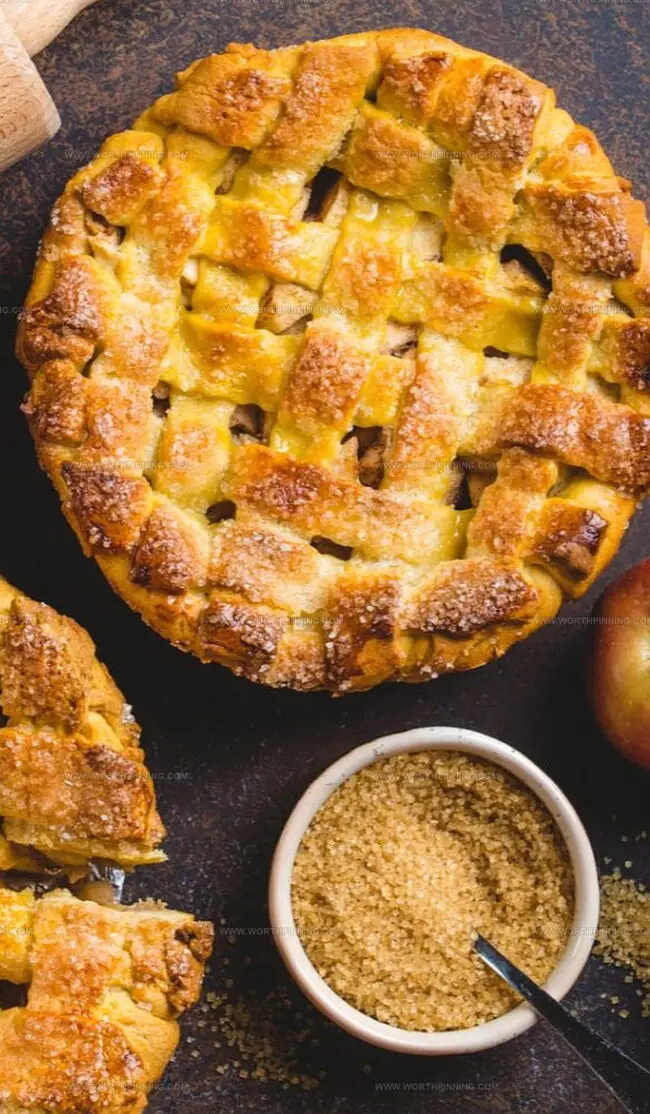
Preheat oven to 425°F. Place baking sheet on lower rack. Whisk egg with water. Brush pie with egg wash. Sprinkle with granulated or sparkling sugar.
Step 11: Bake Pie
Bake for 45-55 minutes until pastry is golden and filling bubbles. Cover edges with foil after 30 minutes to prevent over-browning.
Step 12: Cool and Serve
Let pie cool on wire rack for 3-4 hours before slicing.
Insider Tips for a Perfect Apple Pie
Keep It Fresh: Storing Your Apple Pie
Apple Pie Remixed: Fun Variations
Final Slice: Apple Pie Wrap-Up
Classic apple pie recipes embody pure culinary nostalgia with roots deep in American kitchen traditions.
Perfecting this timeless dessert requires patience, precision, and passion for baking.
Generations of home cooks have cherished similar techniques passed down through family cookbooks.
Crisp pastry layers embrace soft apple slices infused with warm spices, creating sensory memories that connect people.
Carefully constructed pie crusts and macerated fruit transform simple ingredients into extraordinary experiences.
Baker’s dedication shines through each carefully crimped edge and golden-brown surface – you’ll want to savor every delectable bite, share this recipe with loved ones, and celebrate the sweet magic of homemade comfort.
Print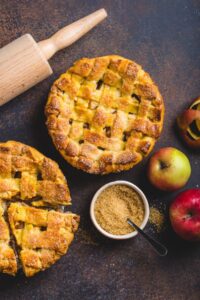
Joy Of Cooking Apple Pie Recipe
- Total Time: 4 hours
- Yield: 8 1x
Description
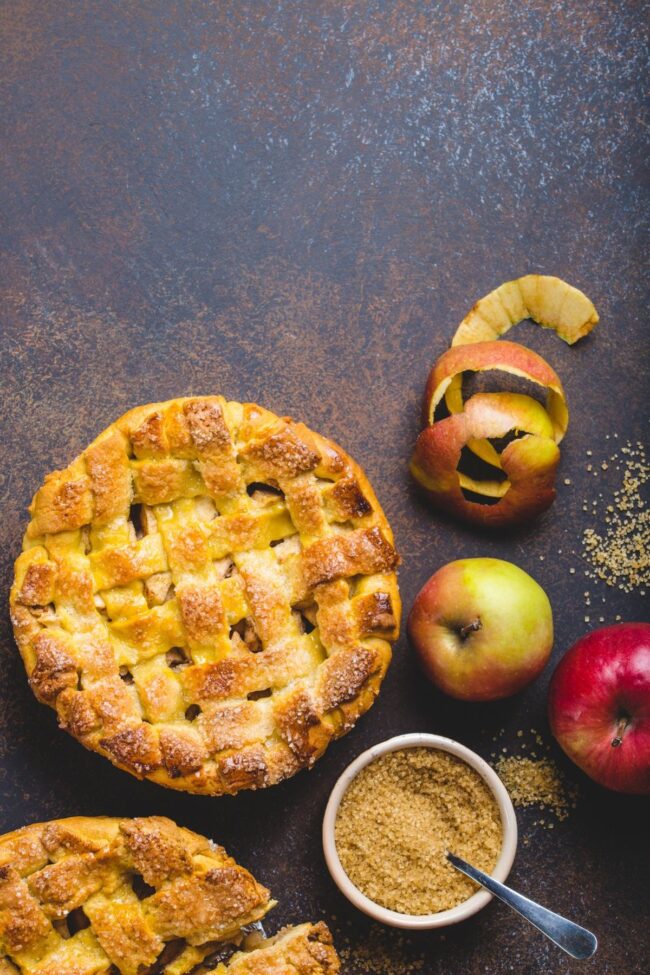
Classic Apple Pie celebrates autumn’s sweet bounty with layers of caramelized Granny Smith apples nestled in a buttery, flaky crust. Warm spices and a golden lattice top create a nostalgic dessert that welcomes you to savor each comforting, homemade bite.
Ingredients
Main Ingredients:
- 3 pounds (1.3 kg) tart apples
- 2 ⅔ cups (350 grams) all-purpose flour
- 1 cup (225 grams) unsalted butter, chilled
- 1 large (50 grams) egg
Sugar and Spices:
- ¼ cup (50 grams) granulated white sugar
- ⅓ cup (65 grams) light brown sugar
- 1 teaspoon ground cinnamon
- ¼ teaspoon ground nutmeg
- 2 tablespoons (30 grams) granulated white sugar
Additional Ingredients:
- 1 tablespoon lemon juice
- ¼ teaspoon (1 gram) salt
- 1 teaspoon (4 grams) kosher salt
- 1 ½ tablespoons (15 grams) cornstarch
- 2 tablespoons (25 grams) butter, cut into small pieces
- ½ – 1 tablespoon water
- ¼ to ½ cup (60 – 120 ml) icy cold filtered water
- 1 teaspoon water
Instructions
- Prepare apple slices in a spacious mixing vessel, coating them thoroughly with lemon juice to prevent browning.
- Incorporate granulated and brown sugars, ground cinnamon, nutmeg, and a pinch of salt, ensuring even distribution across the apple pieces.
- Position the seasoned apples in a large colander, covering with plastic wrap, and suspend over a deep bowl to collect escaping liquid.
- Allow apple mixture to macerate for 1–2 hours, releasing natural juices and intensifying flavor.
- Create pie dough by combining all-purpose flour, salt, and sugar in a food processor.
- Incorporate cold unsalted butter, pulsing until the mixture resembles coarse breadcrumbs.
- Gradually introduce cold water, processing until the dough coheres when gently pressed together.
- Transfer dough onto a clean work surface, forming a unified mass.
- Divide the dough into two equal portions (approximately 335 grams or 12 ounces each).
- Flatten each portion into a circular shape, wrap individually in plastic, and refrigerate for one hour to relax gluten and solidify butter.
- Remove one dough portion, placing it on a lightly floured surface.
- Roll the dough into a 12-inch (30 centimeters) round, rotating periodically to ensure uniform thickness and prevent sticking.
- Carefully transfer the dough to a 9-inch (23 centimeters) pie dish, trimming excess edges.
- Repeat rolling process with the second dough portion, positioning on a parchment-lined baking sheet.
- After maceration, collect approximately 1/2 cup (120 milliliters) of apple liquid.
- Transfer juice to a saucepan and reduce over medium-high heat for one minute.
- In a separate small bowl, thoroughly blend cornstarch with water to create a smooth slurry.
- Integrate cornstarch mixture into the apple juices, returning to heat and stirring until the liquid becomes translucent.
- Allow the sauce to cool to room temperature.
- Combine cooled sauce with drained apple slices in a large mixing bowl.
- Gently transfer the apple filling into the prepared bottom crust, dotting with small butter pieces.
- Carefully drape the top crust over the filling, trimming and crimping edges to seal.
- Create five 2-inch (5 centimeters) steam vents radiating from the pie’s center.
- Prepare an egg wash by whisking egg with water.
- Brush the pie’s surface with egg wash and sprinkle with granulated or sparkling sugar.
- Preheat the oven to 425°F (218°C), positioning a baking sheet on the lower rack.
- Bake for 45–55 minutes, covering the edges with foil after 30 minutes to prevent excessive browning.
- Remove from oven and allow the pie to cool completely on a wire rack for 3–4 hours before serving.
Notes
- Cooling transforms the filling’s texture, allowing flavors to meld and set perfectly.
- Resting prevents filling from running when sliced, creating clean, picture-perfect wedges.
- Protecting crust edges stops burning while ensuring even, golden-brown coloration.
- Creating strategic steam vents helps pastry maintain crisp, light structure during baking.
- Refrigerating dough develops rich, tender layers with remarkable flaky consistency.
- Prep Time: 1 hour
- Cook Time: 3 hours
- Category: Desserts
- Method: Baking
- Cuisine: British
Nutrition
- Serving Size: 8
- Calories: 410 kcal
- Sugar: 22 g
- Sodium: 290 mg
- Fat: 25 g
- Saturated Fat: 15 g
- Unsaturated Fat: 8 g
- Trans Fat: 1 g
- Carbohydrates: 45 g
- Fiber: 3 g
- Protein: 4 g
- Cholesterol: 70 mg
Ethan Miller
Founder & Lead Content Writer
Expertise
Education
Portland Community College
Culinary Institute of the Pacific
Ethan’s culinary journey began in his grandmother’s kitchen, where he first learned to play with flavors and ingredients. With formal training in culinary arts and a deep love for international cuisines, Ethan’s goal is to share the joy of cooking with others.
He believes food is all about creativity and bringing people together, one meal at a time. When he’s not experimenting with new dishes, he enjoys hiking in the Oregon wilderness and discovering fresh, local ingredients.