
Quick & Perfect Joanna Gaines Pumpkin Pie Recipe for Fall Baking
Joanna Gaines’ pumpkin pie stands as a delightful autumn classic that transforms simple ingredients into a memorable dessert.
Warm spices dance through a silky custard, creating a comforting experience that feels like a culinary hug.
Family gatherings become magical moments when this sweet treat arrives at the table.
Rich, smooth, and beautifully balanced, the pie captures the essence of seasonal celebrations.
Bakers of all skill levels can confidently create this inviting dessert without stress or complicated techniques.
Each slice tells a story of tradition and warmth, connecting generations through a single, delectable bite.
The magic happens when familiar flavors blend into something truly extraordinary: dive in and savor every moment.
Pumpkin Pie Perfection: Why You’ll Love It
Flavorful Foundations: Pie Ingredients
Base Ingredients:Spice Blend:Liquid and Crust Components:Steps to a Silky Pumpkin Pie
Step 1: Warm Up the Oven
Crank your oven to a toasty 220°C / 425°F, getting ready for pumpkin pie magic.
Step 2: Create Pumpkin Filling Magic
In a large mixing bowl, whisk together:In a separate bowl, blend:Combine both mixtures until silky smooth.
Step 3: Pour in Creamy Goodness
Slowly stir evaporated milk into the pumpkin mixture until perfectly blended.
Step 4: Prepare Pie Crust
Gently place your unbaked pie crust into a 9-inch pie dish. Pour the filling carefully, avoiding overflow.
Step 5: Bake to Perfection
Start baking at 220°C/425°F for 15 minutes. Then lower the temperature to 175°C/350°F and continue baking 40-50 minutes. The center should set but have a gentle wobble. Test with a knife – it should come out clean.
Step 6: Let It Rest
Allow the pie to cool completely on a wire rack, giving it time to settle and set.
Step 7: Serve with Flair
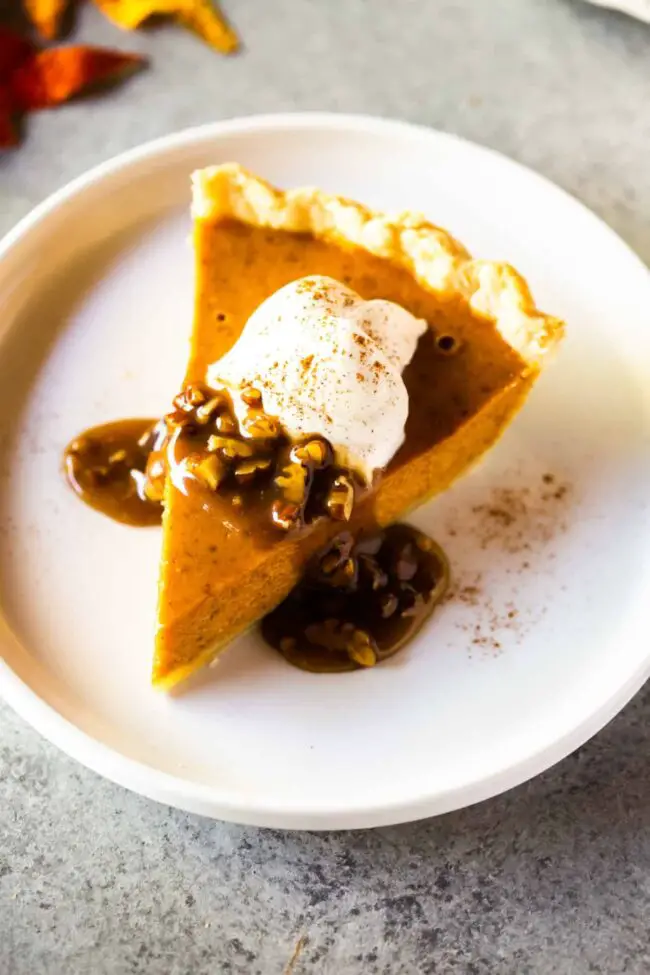
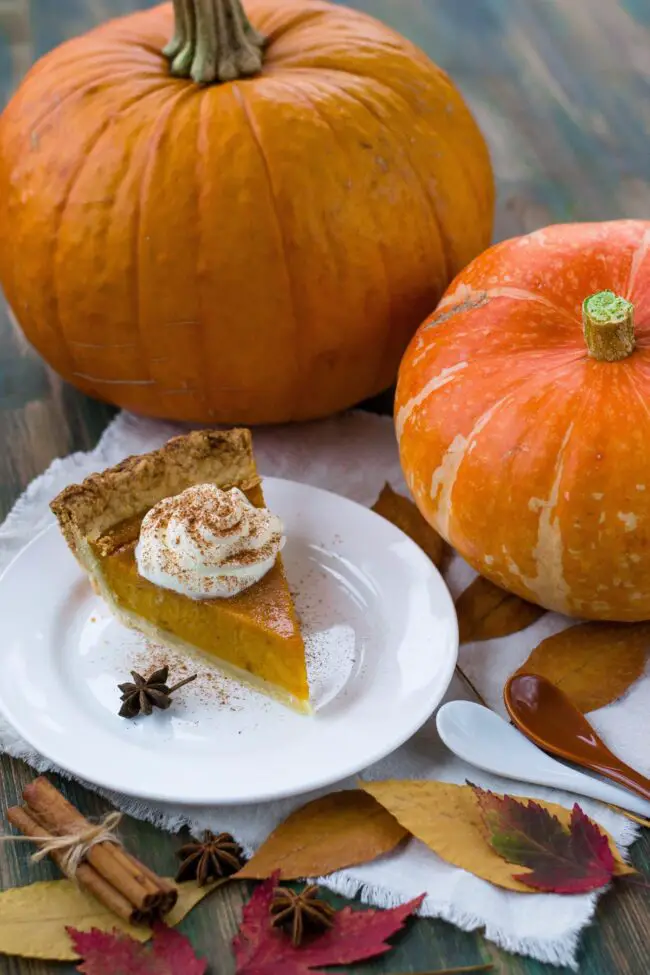
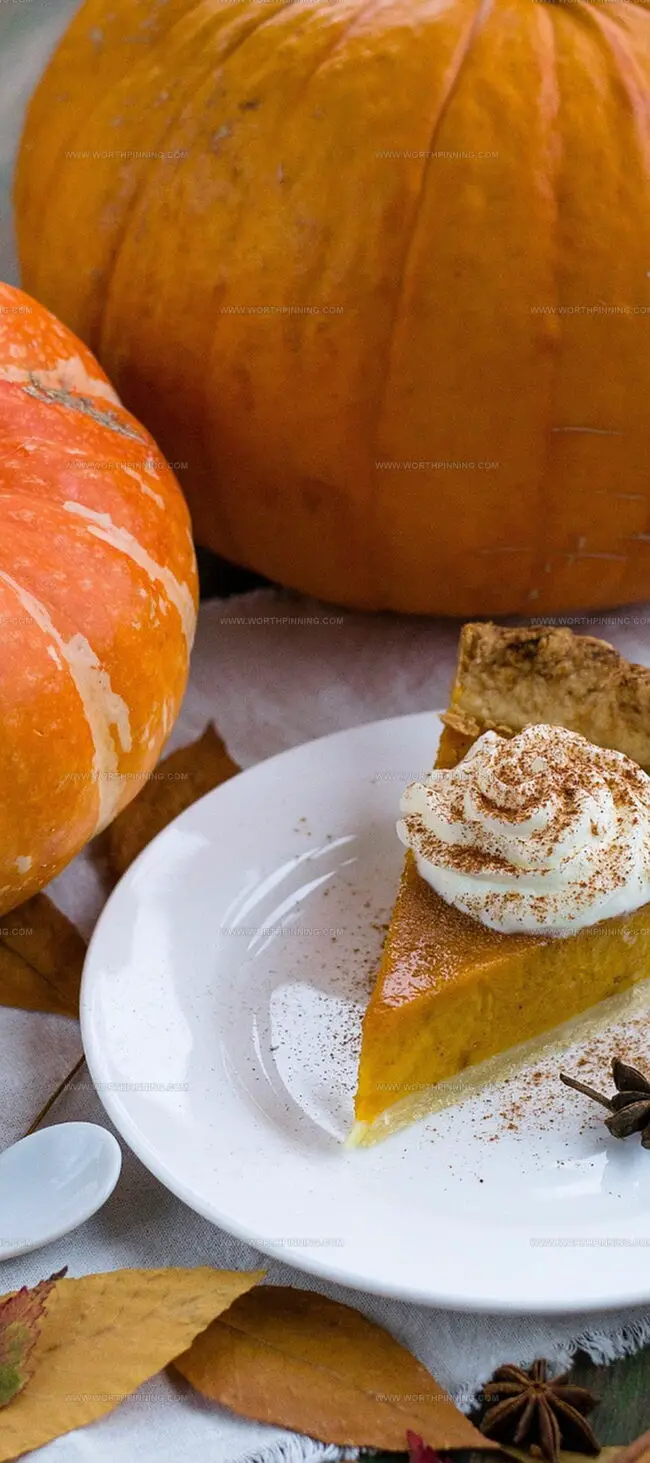
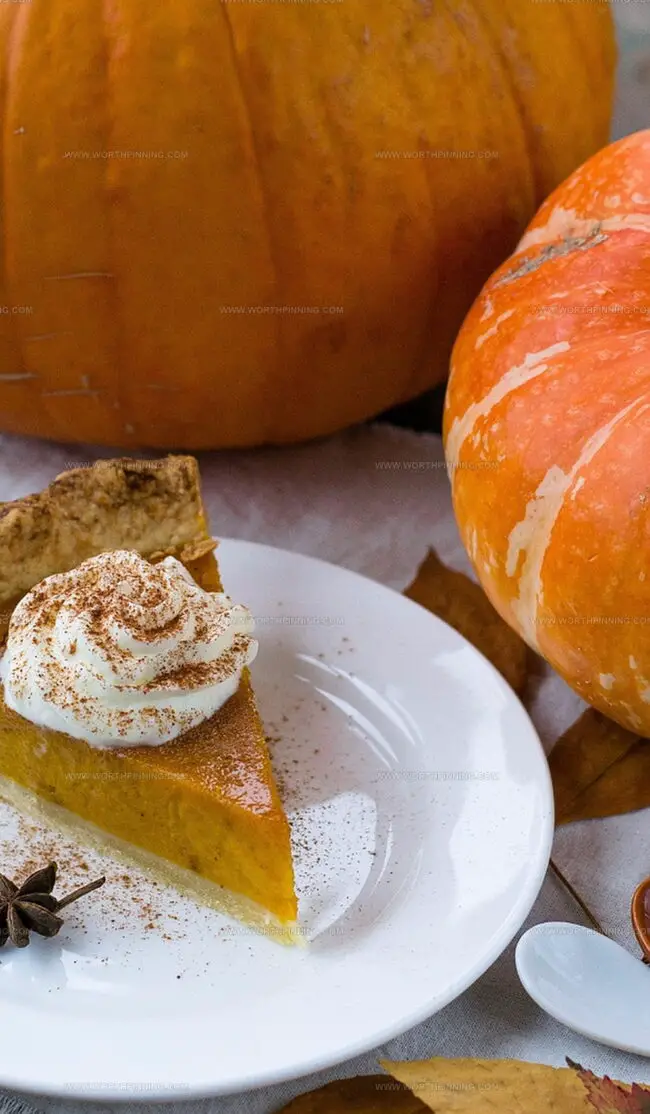
Top with fluffy whipped cream and a drizzle of caramel pecan sauce if you’re feeling extra indulgent. Slice, serve, and savor every bite!
Expert Tips for Holiday-Worthy Pie
Keep It Fresh: Pumpkin Pie Storage
Store pie in an airtight glass container to maintain its rich, creamy texture and prevent moisture absorption from other refrigerator odors. Glass containers seal more effectively than plastic and keep pie fresh longer without transferring unwanted flavors.
Keep pie at the back of the refrigerator where temperature remains consistently cold, avoiding frequent door openings that cause temperature fluctuations which can compromise the delicate custard structure.
Consume refrigerated pumpkin pie within 3-4 days for optimal taste and food safety, checking for any signs of spoilage like unusual odors or mold growth before serving additional slices.
Pumpkin Pie Variations to Try
Pumpkin Pie Conclusion
Crafting culinary magic, Joanna Gaines’ pumpkin pie embodies autumn’s warmth and comfort.
Kitchen aromas whisper nostalgic memories of family gatherings and festive celebrations.
Seasonal spices dance harmoniously within silky pumpkin filling, creating sensory poetry on each plate.
Gaines’ recipe transforms classic dessert into an artistic masterpiece of flavor and texture.
Crisp pastry cradles rich, creamy goodness that delights taste buds with authentic homestyle charm.
Passionate bakers, share this delectable creation, inspire fellow culinary enthusiasts, sprinkle love through social media, and watch connections bloom around this irresistible slice of happiness.
Print
Joanna Gaines Pumpkin Pie Recipe
- Total Time: 1 hour 10 minutes
- Yield: 8 1x
Description
Homemade pumpkin pie by Joanna Gaines brings autumn comfort straight to your table. Warm spices and silky filling create a delightful dessert perfect for holiday gatherings with family and friends.
Ingredients
Main Ingredients:
- 1 15-ounce (425 grams) canned pumpkin or fresh pumpkin puree
- 2 large eggs
- 12-ounce (340 ml) evaporated milk
- 1 9-inch homemade pie crust, or store-bought, deep dish, unbaked
Sweeteners and Sugars:
- ¾ cup granulated sugar
Spices and Seasonings:
- 1 teaspoon ground cinnamon
- ½ teaspoon salt
- ½ teaspoon ground ginger
- ¼ teaspoon ground cloves
Instructions
- Warm the oven to a toasty 220°C / 425°F, ensuring the temperature is precise for optimal baking conditions.
- In a spacious mixing bowl, whisk the eggs and canned pumpkin until achieving a velvety, uniform texture. Create a separate bowl for the aromatic spice blend, combining granulated sugar, ground cinnamon, salt, ginger, and cloves.
- Gently fold the dry spice mixture into the pumpkin base, stirring thoroughly to distribute the warming flavors evenly throughout the filling.
- Stream the evaporated milk into the pumpkin mixture, stirring consistently to create a smooth, creamy consistency that will form the pie’s luscious interior.
- Carefully drape the unbaked pie crust into a 9-inch pie dish, ensuring it sits smoothly against the edges and bottom.
- Delicately pour the spiced pumpkin mixture into the prepared crust, leaving a small margin to prevent overflow during baking.
- Position the pie in the preheated oven and bake at the initial 220°C/425°F for 15 minutes to create a crisp initial crust.
- Reduce the oven temperature to 175°C/350°F and continue baking for 40-50 minutes, watching for a set center with a subtle wobble when gently shaken.
- Verify the pie’s doneness by inserting a knife near the center – it should emerge clean and free of wet filling.
- Remove from the oven and allow the pie to cool completely on a wire rack, letting the filling settle and flavors meld.
- Once cooled, embellish with a cloud of whipped cream and a drizzle of caramel pecan topping for a decadent finishing touch.
Notes
- Grab a pie shield or aluminum foil strips to protect crust edges from burning during extended baking time.
- Whisk ingredients thoroughly to eliminate potential lumps that might disrupt smooth filling texture.
- Store leftovers covered in refrigerator for maximum freshness up to three days.
- Consider using ceramic pie weights during initial crust prebaking to prevent unwanted bubbling.
- Position oven rack in center to ensure consistent heat distribution and even baking.
- Pat filling ingredients dry before mixing to prevent excess moisture compromising structural integrity.
- Select high-quality eggs and dairy for richer, more flavorful custard base.
- Gently fold ingredients to maintain delicate filling consistency without overmixing.
- Rotate pie midway through baking for uniform golden-brown coloration.
- Test ingredient temperatures with instant-read thermometer for precise preparation.
- Serve chilled or at room temperature based on personal preference.
- Clean measuring tools immediately after use to prevent ingredient residue buildup.
- Experiment with subtle spice variations like nutmeg or cinnamon for unique flavor profiles.
- Rest pie on wire cooling rack to prevent bottom crust from becoming soggy.
- Trim excess crust edges for professional-looking presentation before final baking stage.
- Prep Time: 15 minutes
- Cook Time: 55 minutes
- Category: Desserts
- Method: Baking
- Cuisine: American
Nutrition
- Serving Size: 8
- Calories: 323
- Sugar: 25g
- Sodium: 318mg
- Fat: 13g
- Saturated Fat: 2.6g
- Carbohydrates: 46g
- Fiber: 2.4g
- Protein: 5.2g
- Cholesterol: 35mg
Ethan Miller
Founder & Lead Content Writer
Expertise
Education
Portland Community College
Culinary Institute of the Pacific
Ethan’s culinary journey began in his grandmother’s kitchen, where he first learned to play with flavors and ingredients. With formal training in culinary arts and a deep love for international cuisines, Ethan’s goal is to share the joy of cooking with others.
He believes food is all about creativity and bringing people together, one meal at a time. When he’s not experimenting with new dishes, he enjoys hiking in the Oregon wilderness and discovering fresh, local ingredients.