
Easy Classic Cheesecake Recipe by Joanna Gaines – Perfect Every Time
Joanna Gaines’s classic cheesecake represents the pinnacle of dessert elegance, transforming ordinary ingredients into a spectacular culinary masterpiece.
Smooth and decadent, this sweet treat captures the essence of comfort baking with its luxurious texture and irresistible flavor profile.
Home bakers adore such recipes that balance simplicity with sophisticated taste sensations.
The magic happens when carefully selected components blend seamlessly, creating a dessert that speaks directly to your soul.
Creamy consistency and delicate balance define this remarkable confection that elevates any gathering or quiet evening at home.
Professional and home chefs marvel at how few ingredients can produce such remarkable results.
Prepare to fall in love with a dessert that promises pure indulgence: Get ready to impress everyone at the table!
Cheesecake Cravings: Why You’ll Love This Classic
Cheesecake Must-Haves: Key Ingredients
Crust Ingredients:Filling Ingredients:Water Bath Ingredients:Joanna’s Foolproof Cheesecake Method
Step 1: Prepare the Oven and Baking Pan
Warm up your oven to 350°F (180°C) and adjust the rack to the lower-middle position. Get your springform pan ready for an amazing cheesecake adventure.
Step 2: Create the Irresistible Crust
Crush graham crackers into fine, sandy crumbs using:Press the mixture firmly into the bottom and slightly up the sides of a 9-10 inch springform pan. Bake for 10 minutes, then let it cool completely.
Step 3: Mix the Creamy Filling
Blend cream cheese ingredients using an electric mixer:Gently add eggs one at a time, mixing softly after each addition. Be careful not to overmix to keep the filling crack-free.
Step 4: Set Up the Water Bath
Wrap the springform pan’s exterior with aluminum foil to prevent water leaks. Place the pan inside a larger roasting pan. Pour the cheesecake batter over the cooled crust and smooth the top. Carefully add boiling water to the roasting pan, reaching 1 inch (2.5 cm) up the springform pan’s sides.
Step 5: Bake to Perfection
Bake for 55-70 minutes until the center has a gentle wobble when shaken. If the top browns too quickly, cover with aluminum foil.
Step 6: Cool with Patience
Turn off the oven and leave the cheesecake inside with the door slightly open for 1 hour. Remove from the water bath and let it cool completely at room temperature.
Step 7: Refrigerate and Set
Cover the cheesecake and refrigerate for at least 4 hours or overnight to achieve the most incredible texture.
Step 8: Serve and Enjoy
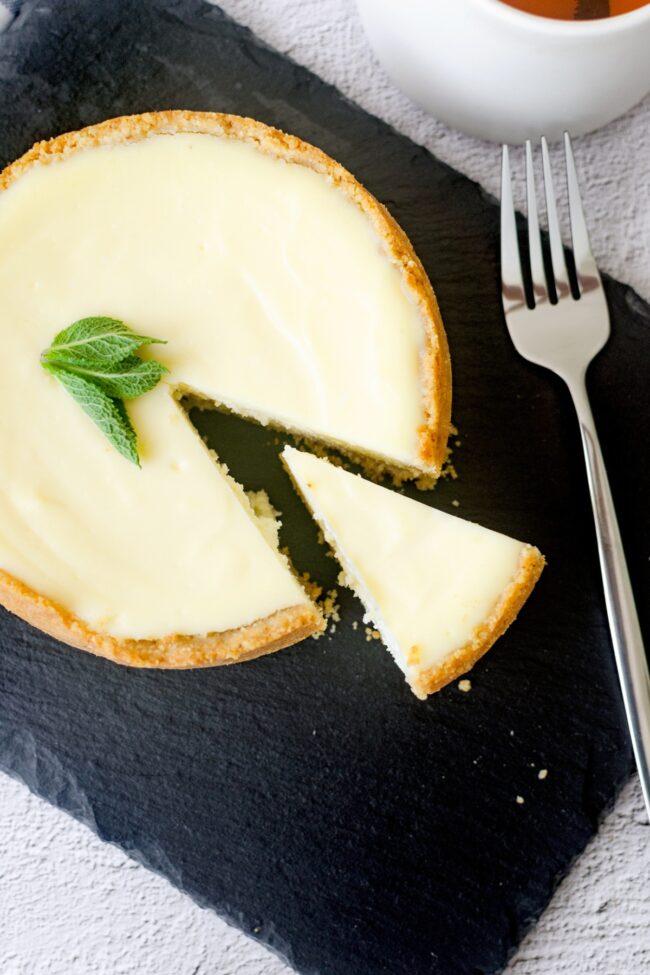
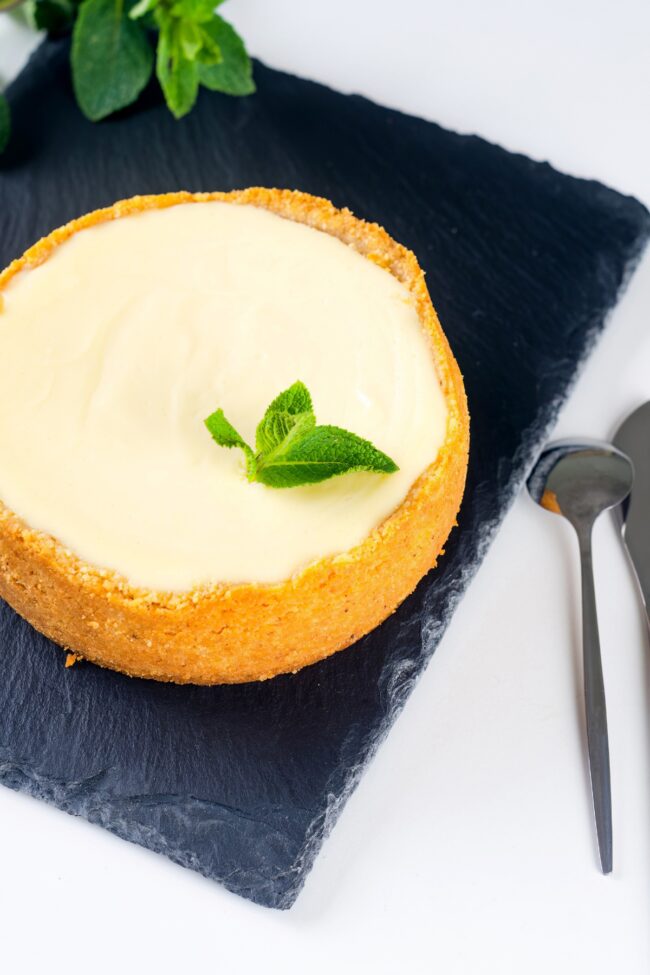
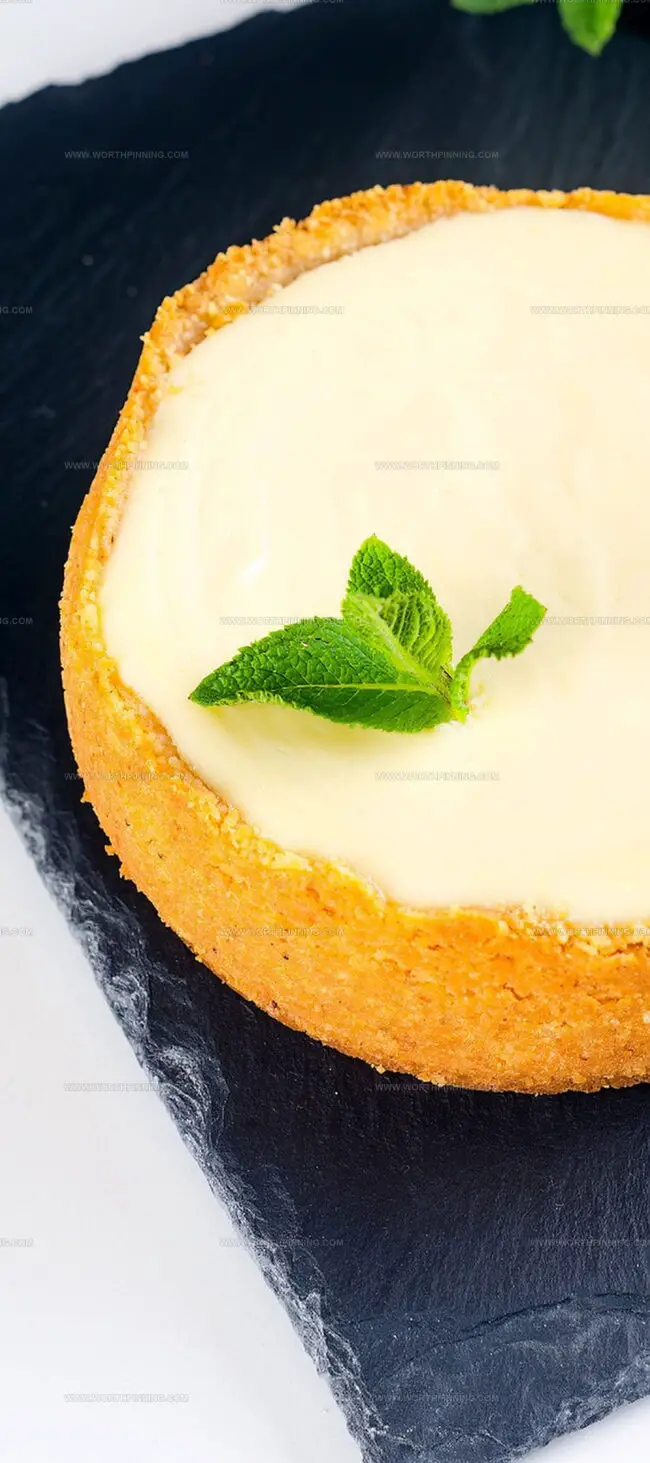
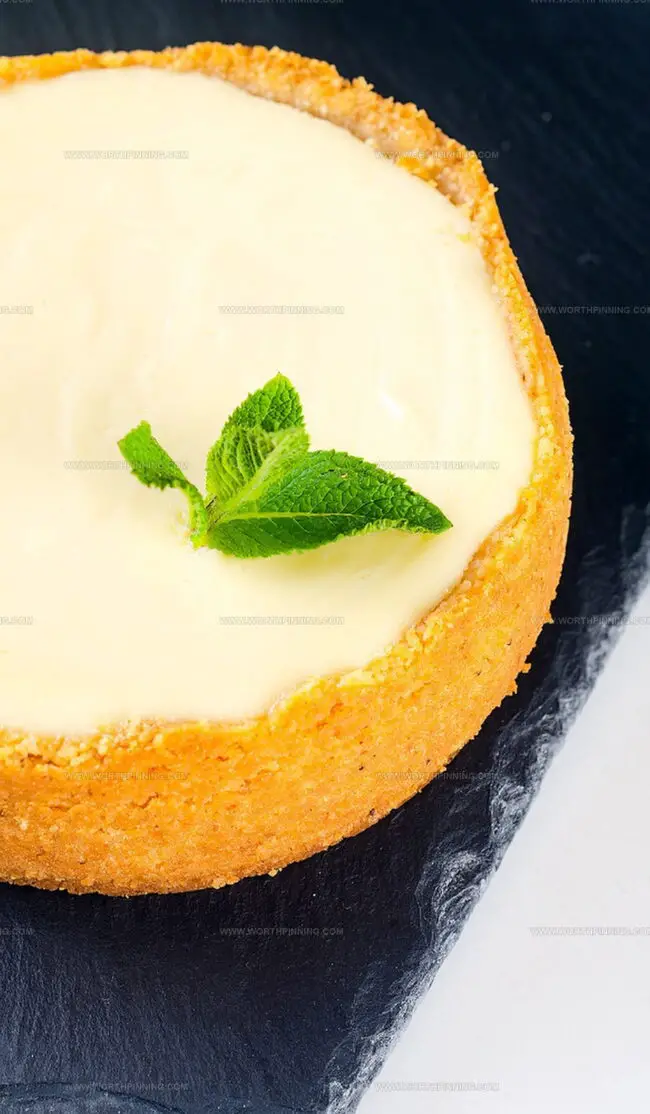
Run a warm knife around the cheesecake’s edge before releasing the springform pan rim. Slice with a clean, warm knife for picture-perfect edges.
Pro Tips for a Creamy, Luscious Cake
Preserving Perfection: Cheesecake Storage
Cheesecake Variations: Add a Twist
Cheesecake Finale
Classic Cheesecake Magic by Joanna Gaines transforms ordinary dessert moments into extraordinary culinary experiences.
Silky cream cheese layers meld perfectly with a buttery graham cracker foundation, creating rich symphonies of flavor.
Rich textures dance between creamy centers and delicate crumb boundaries.
Precise techniques guarantee smooth, crack-free results that showcase professional baking skills.
Careful water bath methods ensure gentle, even baking for perfect consistency.
Readers can savor this masterpiece chilled, adorned with seasonal berries or classic whipped cream – a guaranteed crowd-pleaser that whispers comfort and elegance.
Hungry for more culinary adventures?
Share this recipe, comment below, and spread delicious inspiration across your networks!
Print
Joanna Gaines Classic Cheesecake Recipe
- Total Time: 1 hour 20 minutes
- Yield: 12 1x
Description
Creamy New York-style cheesecake from Joanna Gaines delights with its rich, velvety texture and classic graham cracker crust. Generous slices promise pure indulgence that will transport you to dessert heaven with each heavenly bite.
Ingredients
Main Ingredients:
- 32 ounces (904g) full-fat brick cream cheese, softened to room temperature
- 3 large eggs, at room temperature
- 1 cup (240g) full-fat sour cream, at room temperature
Sweeteners and Sugar:
- 1 cup (200g) granulated sugar
- ¼ cup (50g) granulated sugar
Crust and Flavor Enhancers:
- 1 and ½ cups (180g) graham cracker crumbs (about 12 full sheet graham crackers)
- 5 tablespoons (71g) unsalted butter, melted
- 1 teaspoon pure vanilla extract
- 2 teaspoons fresh lemon juice (optional, but recommended)
Instructions
- Prepare the oven environment by heating to 350°F / 180°C and positioning the rack in the lower-middle section for optimal baking conditions.
- Create the foundational crust by pulverizing graham crackers into fine, uniform crumbs using a food processor or manual crushing technique. Blend the crumbs thoroughly with granulated sugar and melted unsalted butter until achieving a sandy, cohesive texture. Firmly press the mixture across the bottom and slightly up the sides of a 9- or 10-inch (23-25 cm) springform pan. Bake the crust for 10 minutes, then allow to cool completely.
- Craft the creamy filling by whipping cream cheese and sugar at medium-high speed for approximately 2 minutes until achieving a silky, lump-free consistency. Incorporate sour cream, pure vanilla extract, and fresh lemon juice. Gently introduce eggs one at a time, carefully mixing after each addition to maintain a smooth texture and prevent potential surface cracking.
- Establish a protective water bath by meticulously wrapping the exterior of the springform pan with aluminum foil to prevent moisture penetration. Position the pan inside a larger roasting dish. Carefully pour the cheesecake batter onto the prepared crust, smoothing the surface with a spatula. Gradually add boiling water to the roasting pan, ensuring water reaches 1 inch / 2.5 cm up the springform pan’s sides.
- Bake the cheesecake for 55-70 minutes, monitoring the center’s consistency. The ideal doneness is characterized by a slight wobble when gently shaken. If the surface browns too rapidly, create a protective tent using aluminum foil.
- Implement a gradual cooling process by turning off the oven and leaving the cheesecake inside with the door slightly ajar for 60 minutes. Carefully remove from the oven and water bath, then allow complete cooling at room temperature.
- Refrigerate the cheesecake for a minimum of 4 hours, preferably overnight, to achieve optimal texture and flavor development.
- Serve by running a thin, sharp knife around the cheesecake’s perimeter before carefully removing the springform pan’s rim. Slice using a clean, warm knife for precise, elegant edges. Enhance with preferred toppings and savor.
Notes
- Chill thoroughly after baking to develop rich, creamy flavors that meld perfectly and create a silky smooth texture throughout the entire dessert.
- Gradually cool the cheesecake inside the oven with the door slightly ajar, allowing gentle temperature reduction that prevents sudden structural changes and unsightly surface cracks.
- Mix ingredients carefully and minimally, stopping precisely when components are just combined to maintain a light, velvety consistency without introducing excess air that could compromise the final structure.
- Create a water bath by wrapping the springform pan completely in aluminum foil, then placing it in a larger pan filled with hot water to distribute heat evenly and protect the delicate custard from direct, harsh baking temperatures.
- Ensure all dairy and egg ingredients are brought to room temperature before beginning, which guarantees smoother blending and a more uniform batter that will bake consistently without lumps or uneven texture.
- Prep Time: 20 minutes
- Cook Time: 1 hour
- Category: Desserts
- Method: Baking
- Cuisine: American
Nutrition
- Serving Size: 12
- Calories: 375 kcal
- Sugar: 20.8g
- Sodium: 20.8mg
- Fat: 27.75g
- Saturated Fat: 18.5g
- Carbohydrates: 33.3g
- Protein: 17.5g
- Cholesterol: 50mg
Ethan Miller
Founder & Lead Content Writer
Expertise
Education
Portland Community College
Culinary Institute of the Pacific
Ethan’s culinary journey began in his grandmother’s kitchen, where he first learned to play with flavors and ingredients. With formal training in culinary arts and a deep love for international cuisines, Ethan’s goal is to share the joy of cooking with others.
He believes food is all about creativity and bringing people together, one meal at a time. When he’s not experimenting with new dishes, he enjoys hiking in the Oregon wilderness and discovering fresh, local ingredients.