
Easy Jamie Oliver Garlic Bread Recipe That’s Perfect Every Time
Jamie Oliver’s easy garlic bread transforms ordinary bread into a mouthwatering sensation that beckons hungry souls with its irresistible aroma.
Warm, crusty exteriors give way to soft, butter-laden interiors that promise pure comfort.
Fragrant garlic mingles with herbs, creating a symphony of flavors that dance across your palate.
Rustic and unpretentious, this recipe speaks to home cooks seeking simple yet spectacular side dishes.
Minimal ingredients collaborate to produce maximum deliciousness, proving culinary magic doesn’t require complexity.
Each slice whispers stories of Italian kitchens and grandmother’s secret techniques.
The magic happens quickly, turning humble ingredients into a crowd-pleasing masterpiece: get ready to elevate your meal.
What Makes Jamie Oliver’s Garlic Bread So Addictive
Ingredients for Jamie Oliver’s Garlic Bread
Bread Base:Flavor Enhancers:Optional Serving Suggestion:How to Make Easy Garlic Bread
Step 1: Preheat Oven
Set your oven to 375°F (190°C) and prepare a baking sheet with a raised edge.
Step 2: Create Garlic Butter Mixture
In a small mixing bowl, combine:Stir the ingredients until they form a smooth, well-blended spread.
Step 3: Prepare the Bread
Slice a French baguette or Italian bread in half lengthwise. Generously spread the garlic butter mixture across both cut surfaces, ensuring even coverage.
Step 4: Bake and Broil
Place the bread halves cut-side up on the prepared baking sheet. Bake for 10 minutes at 375°F. Then switch to broil setting and cook for 2-3 minutes until edges turn golden brown and top develops a slight crisp.
Step 5: Serve and Enjoy
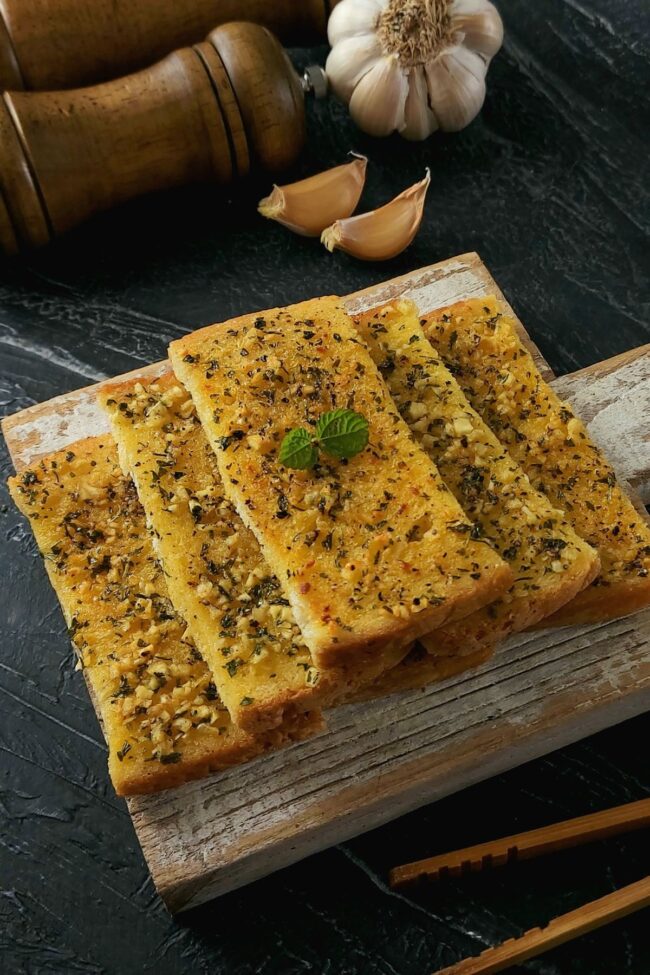
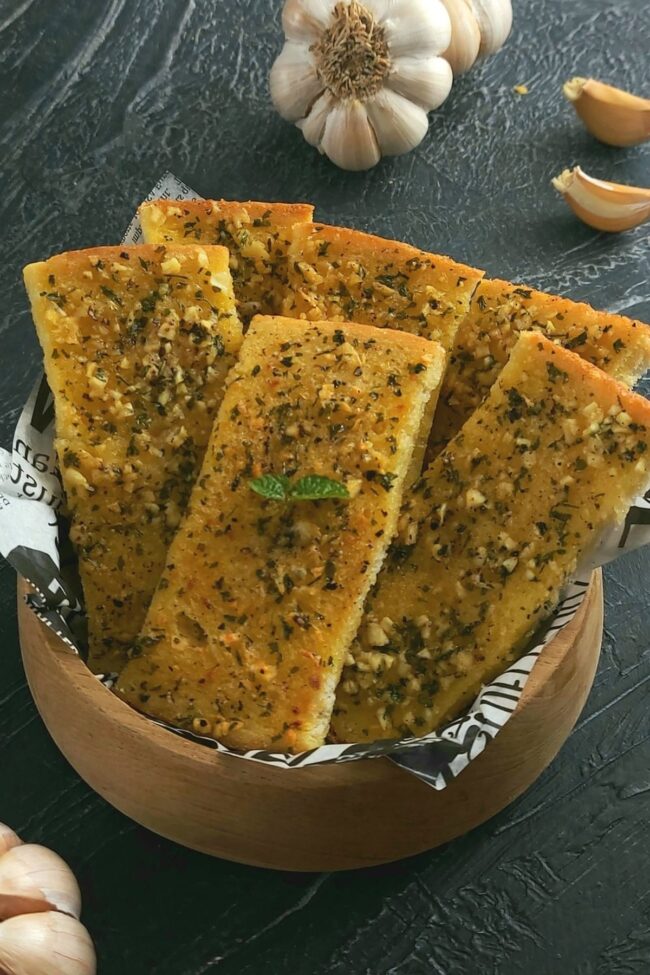
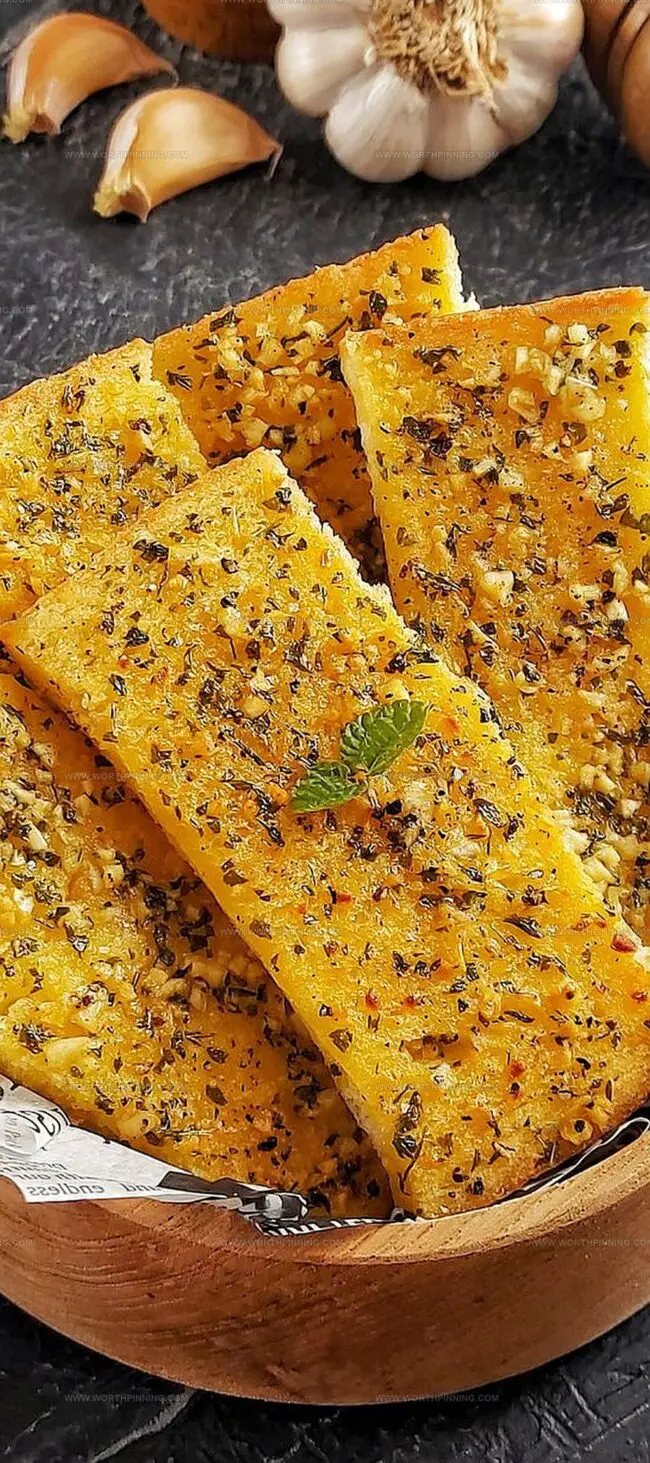
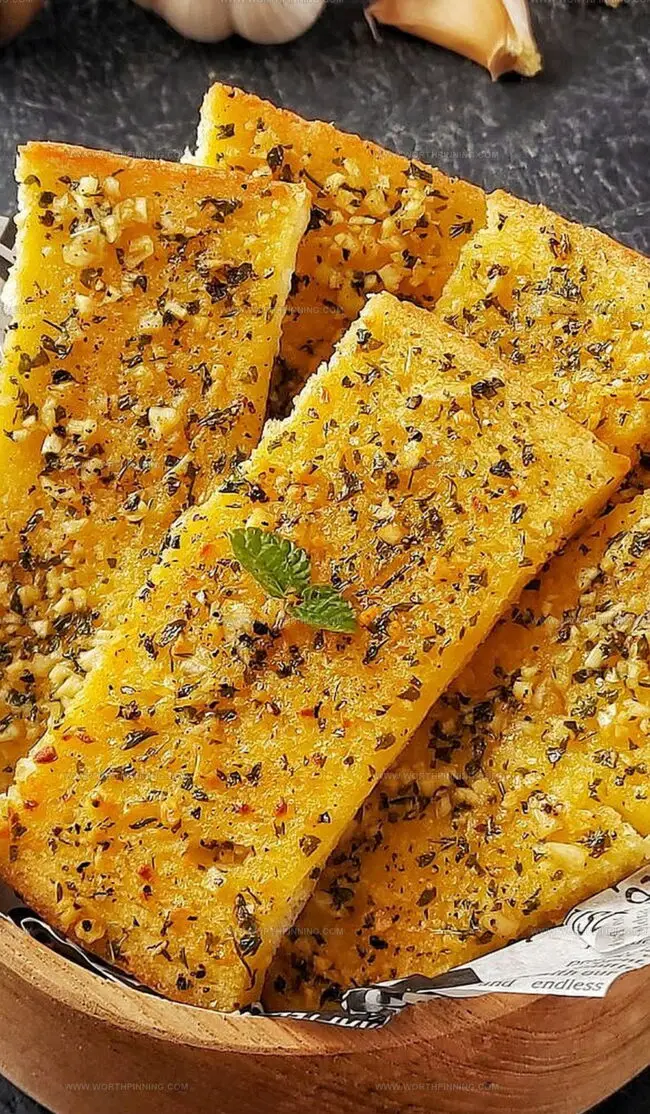
Remove from oven and let cool for 1 minute. Slice into 1-inch wide pieces. Serve immediately while warm and crispy.
Tips for Golden, Crispy Bread
Garlic Bread Storage Tips That Work
Tasty Twists on Jamie’s Garlic Bread
Garlic Bread Wrap-Up by Jamie Oliver
Garlic bread lovers, rejoice!
Jamie Oliver’s recipe transforms ordinary French bread into a mouthwatering masterpiece that sings with Mediterranean flavors.
Butter, garlic, and Parmesan create an irresistible symphony of taste sensations.
Home cooks can easily elevate their meal with this simple yet elegant side dish.
Crispy edges, golden-brown perfection, and aromatic herbs promise a delightful culinary experience.
You’ll want to savor every single bite, share this recipe with friends, and spread the joy of homemade garlic bread across your dinner table.
Snap a photo, tag Jamie Oliver, and let the deliciousness inspire your next kitchen adventure!
Print
Jamie Oliver Easy Garlic Bread Recipe
- Total Time: 15 minutes
- Yield: 4 1x
Description
Jamie Oliver’s easy garlic bread delivers irresistible comfort with crispy, golden edges and rich, aromatic garlic butter. Crusty Italian bread slathered with herbed butter promises a simple yet luxurious side that elevates any meal you serve.
Ingredients
Main Ingredients:
- 1 large loaf French or Italian bread
- ½ cup (113 grams) butter, softened
Flavor Enhancers:
- 2 heaping teaspoons minced garlic (about 2 large cloves)
- 2 teaspoons Italian seasoning
Cheese:
- ¼ cup (25 grams) grated Parmesan cheese
Instructions
- Preheat the oven to 375 degrees Fahrenheit (190 degrees Celsius), ensuring the rack is positioned in the center for even heating.
- In a compact mixing bowl, thoroughly combine softened butter, minced fresh garlic, Italian herb blend, and finely grated Parmesan cheese until the mixture becomes a smooth, fragrant spread.
- Slice the French bread horizontally, creating two equal halves with a clean, precise cut. Generously coat each exposed surface with the prepared garlic-herb butter mixture, ensuring complete and even coverage.
- Arrange the bread halves cut-side up on a rimmed baking sheet, positioning them to allow consistent heat circulation.
- Bake in the preheated oven for approximately 10 minutes, allowing the bread to become crisp and the butter to melt completely.
- Switch the oven to high broil setting and continue cooking for 2-3 minutes, monitoring closely to achieve a golden-brown, lightly charred surface without burning.
- Remove from the oven and let the bread rest for one minute to allow slight cooling and settling of the butter.
- Using a sharp knife, slice the bread into 1-inch wide pieces, creating bite-sized portions perfect for serving immediately while still warm and crispy.
Notes
- Swap regular salt for kosher or sea salt to enhance the overall seasoning depth.
- Marinate chicken breasts overnight for more intense flavor absorption.
- Slice chicken thinly to ensure faster and more even cooking throughout the dish.
- Freeze leftovers in airtight containers for quick future meals within two months.
- Use fresh herbs when possible to elevate the recipe’s taste profile.
- Drain excess moisture from zucchini by patting with paper towels before layering.
- Select firm, ripe zucchini without soft spots or blemishes for best results.
- Opt for low-moisture mozzarella to prevent watery casserole texture.
- Choose freshly grated Parmesan cheese over pre-packaged versions for richer flavor.
- Preheat baking dish to reduce overall cooking time and create crispy edges.
- Prep Time: 3 minutes
- Cook Time: 12 minutes
- Category: Snacks, Appetizer
- Method: Baking, Broiling
- Cuisine: British
Nutrition
- Serving Size: 4
- Calories: 276
- Sugar: 1 g
- Sodium: 370 mg
- Fat: 22 g
- Saturated Fat: 14 g
- Unsaturated Fat: 6 g
- Trans Fat: 0 g
- Carbohydrates: 18 g
- Fiber: 1 g
- Protein: 4 g
- Cholesterol: 50 mg
Ethan Miller
Founder & Lead Content Writer
Expertise
Education
Portland Community College
Culinary Institute of the Pacific
Ethan’s culinary journey began in his grandmother’s kitchen, where he first learned to play with flavors and ingredients. With formal training in culinary arts and a deep love for international cuisines, Ethan’s goal is to share the joy of cooking with others.
He believes food is all about creativity and bringing people together, one meal at a time. When he’s not experimenting with new dishes, he enjoys hiking in the Oregon wilderness and discovering fresh, local ingredients.