
Delicious Easter Ripple Cake Recipe: A Sweet Holiday Treat
Easter celebrations often sparkle with delightful desserts that capture the spirit of renewal and joy.
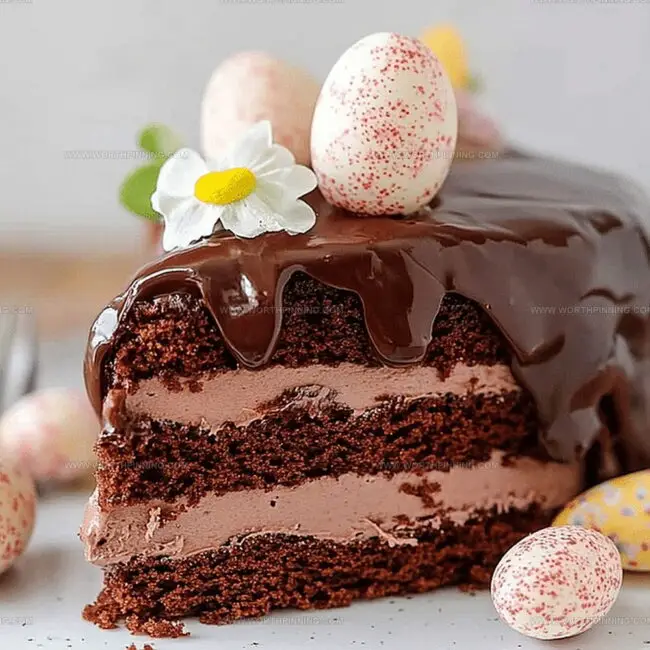
The Easter Ripple Cake stands out as a vibrant centerpiece that transforms traditional baking into an artistic experience.
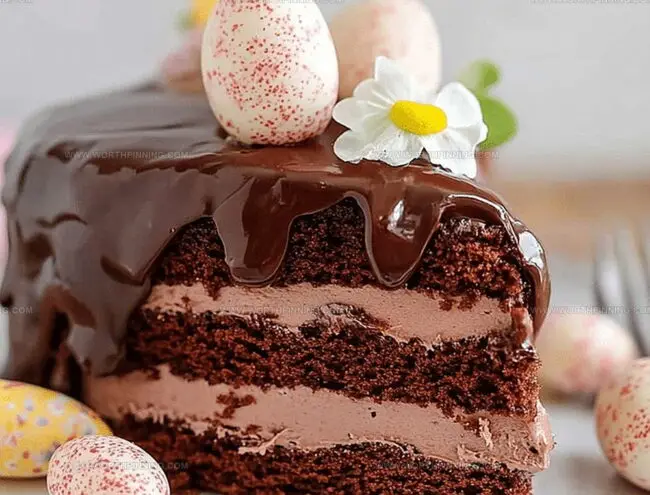
Layers of soft, colorful sponge cake intertwine with smooth frosting, creating a mesmerizing visual pattern that resembles gentle waves or rippling fabric.
Bakers and home cooks alike find this cake a delightful challenge that rewards creativity and skill.
Its elegant appearance makes it a show-stopping dessert perfect for family gatherings and festive spring occasions.
The cake’s unique design reflects the playful and refreshing essence of the Easter season, making it more than just a sweet treat.
Why Easter Ripple Cake Looks So Festive
What You’ll Need For Easter Ripple Cake
Main Ingredients:
Biscuits: – Biscuits: Crisp and light base for the cake, providing structure and texture. Plain or sweet varieties work best.
Cream: – Heavy Whipping Cream: Smooth, rich component that binds and softens the biscuits. Full-fat cream recommended for best results.
Sweetening Agents:Flavoring:Decorative Topping:How To Make Easter Ripple Cake
Step 1: Whip Creamy Clouds
Beat ingredients in a mixing bowl using an electric mixer until soft peaks form, creating fluffy white clouds of cream.
Step 2: Create Cake Foundation
Gently spread a delicate layer of whipped cream across the bottom of your serving platter, creating a smooth base for the cake.
Step 3: Build Biscuit Towers
Select a biscuit and spread a generous layer of cream on its flat surface. Carefully place another biscuit on top, creating a small tower. Continue this process, stacking 3-4 biscuits for each tower.
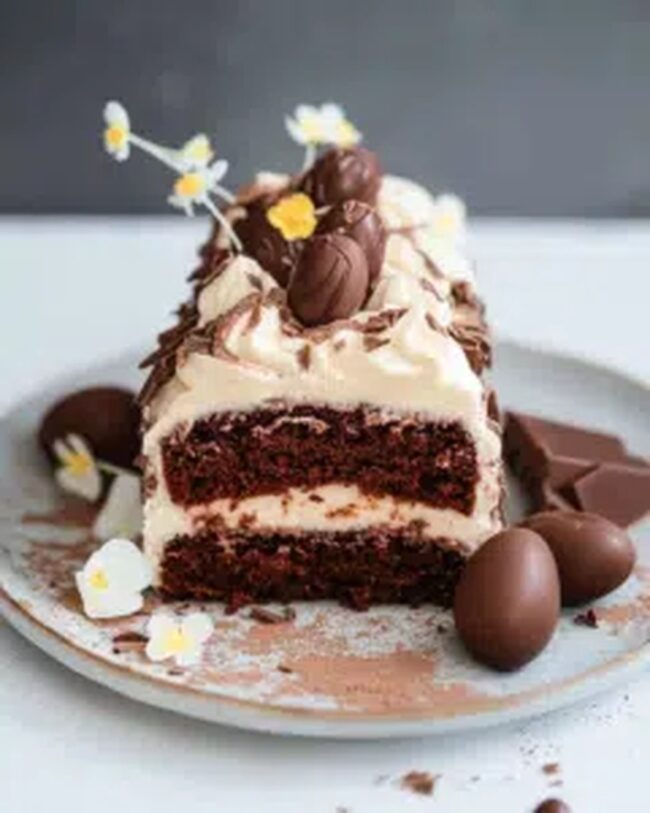
Arrange these vertical biscuit towers side by side on the creamy platter, positioning them closely to form a connected log-like structure.
Step 4: Frost and Chill
Completely enrobe the entire biscuit structure with the remaining whipped cream, ensuring every inch is covered. Carefully transfer to the refrigerator and let it rest overnight or for a minimum of 6 hours. This resting period allows the biscuits to soften and absorb the creamy goodness.
Step 5: Final Festive Touch
Just before serving, artfully scatter pastel-colored chocolate Easter eggs across the top of the cake, creating a whimsical springtime presentation.
Baking Tips For Easter Ripple Cake
How To Store And Reheat Easter Ripple Cake
Great Pairings For Easter Ripple Cake
Fun Spins On Easter Ripple Cake
FAQs About Easter Ripple Cake
No, homemade whipped cream gives this Easter Ripple Cake its signature light and fresh texture. Store-bought cream won’t hold the structure or provide the same delicate flavor.
Graham crackers or digestive biscuits are ideal. They absorb the cream perfectly and create a soft, cake-like texture when chilled overnight. Avoid crisp or very thin cookies that might break easily.
Look for soft peaks that gently curl when you lift the beater. The cream should be thick but not stiff or grainy. Stop mixing as soon as you see these soft, billowy peaks forming.
Absolutely! This cake actually improves when prepared a day ahead. Chilling overnight allows the biscuits to soften and absorb the cream, creating a perfect no-bake dessert that’s ready to serve.
Print
Heavenly Easter Ripple Cake Recipe
- Total Time: 6 hours 10 minutes
- Yield: 8 1x
Description
Pastel-swirled Easter ripple cake brings delightful springtime magic to dessert tables with its elegant layers and festive colors. Sweet cream cheese frosting and delicate pastel waves invite celebration, promising pure delight for anyone craving seasonal sweetness.
Ingredients
Main Ingredients:
- 250g Arnotts Choc Ripple biscuits (or any chocolate cookies)
- 600 milliliters (20 fluid ounces) thickened cream (heavy whipping cream)
Sweeteners and Flavoring:
- 1 teaspoon caster sugar (superfine sugar)
- 1 teaspoon vanilla extract
Decoration:
- Easter eggs, for decorating
Instructions
- Whip cream in a mixing bowl, blending cream, sugar, and vanilla until delicate, billowy peaks emerge, creating a cloud-like texture.
- Prepare the serving platter by gently spreading a gossamer-thin layer of whipped cream across its surface, establishing a smooth foundation.
- Construct biscuit towers by generously coating one side of each biscuit with cream, then carefully stacking 3-4 biscuits vertically, ensuring they adhere seamlessly.
- Arrange these biscuit columns side by side on the platter, positioning them closely to form an elegant, interconnected log structure.
- Enrobe the entire biscuit log with a luxurious, even coating of remaining whipped cream, ensuring complete coverage and a refined appearance.
- Transfer the assembled dessert to the refrigerator, allowing it to rest and soften overnight or for a minimum of 6 hours, enabling the biscuits to absorb the cream’s moisture.
- Just before presenting, embellish the chilled cake with festive Easter eggs, creating a whimsical and celebratory visual display.
Notes
- Cream Consistency Matters: Whip cream just until soft peaks form to avoid over-beating, which can make the texture grainy and butter-like.
- Biscuit Selection: Choose rectangular plain biscuits like Arnott’s Nice or Marie for best layering and absorption of cream.
- Chilling is Crucial: Allow sufficient refrigeration time so biscuits soften completely and develop a cake-like texture.
- Decorative
- Prep Time: 10 minutes
- Cook Time: 6 hours
- Category: Desserts
- Method: Blending
- Cuisine: Australian
Nutrition
- Serving Size: 8
- Calories: 300
- Sugar: 15g
- Sodium: 50mg
- Fat: 25g
- Saturated Fat: 15g
- Unsaturated Fat: 10g
- Trans Fat: 0g
- Carbohydrates: 30g
- Fiber: 1g
- Protein: 3g
- Cholesterol: 80mg
Sophia Rivera
Recipe Developer & Kitchen Tips Specialist
Expertise
Education
Austin Community College
San Antonio Culinary Institute
Sophia’s passion for baking began in her family kitchen, where she spent hours experimenting with new recipes. With a background in baking and pastry arts, she loves making desserts that are as visually stunning as they are delicious.
Sophia is all about using seasonal, locally sourced ingredients to create treats that everyone will enjoy. When she’s not creating mouth-watering desserts, you can find her gardening, making new recipes, or enjoying a relaxing afternoon with her family.