
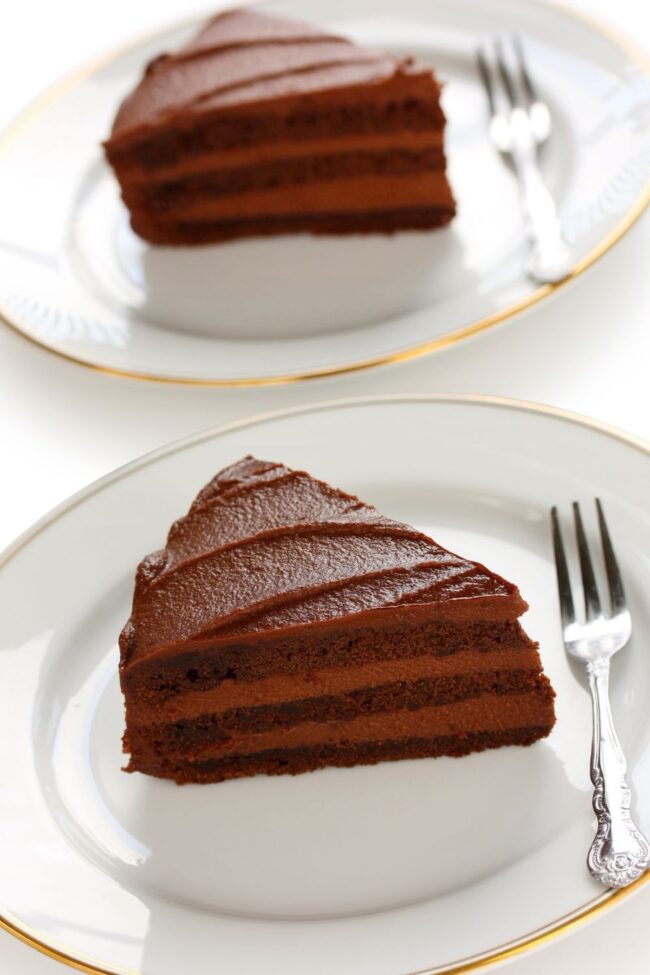
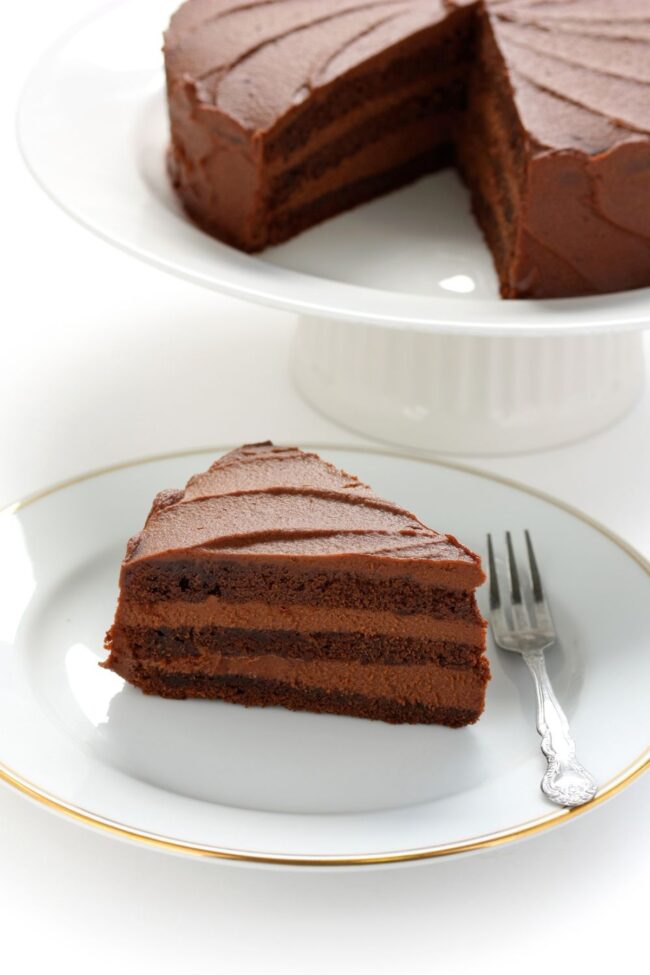
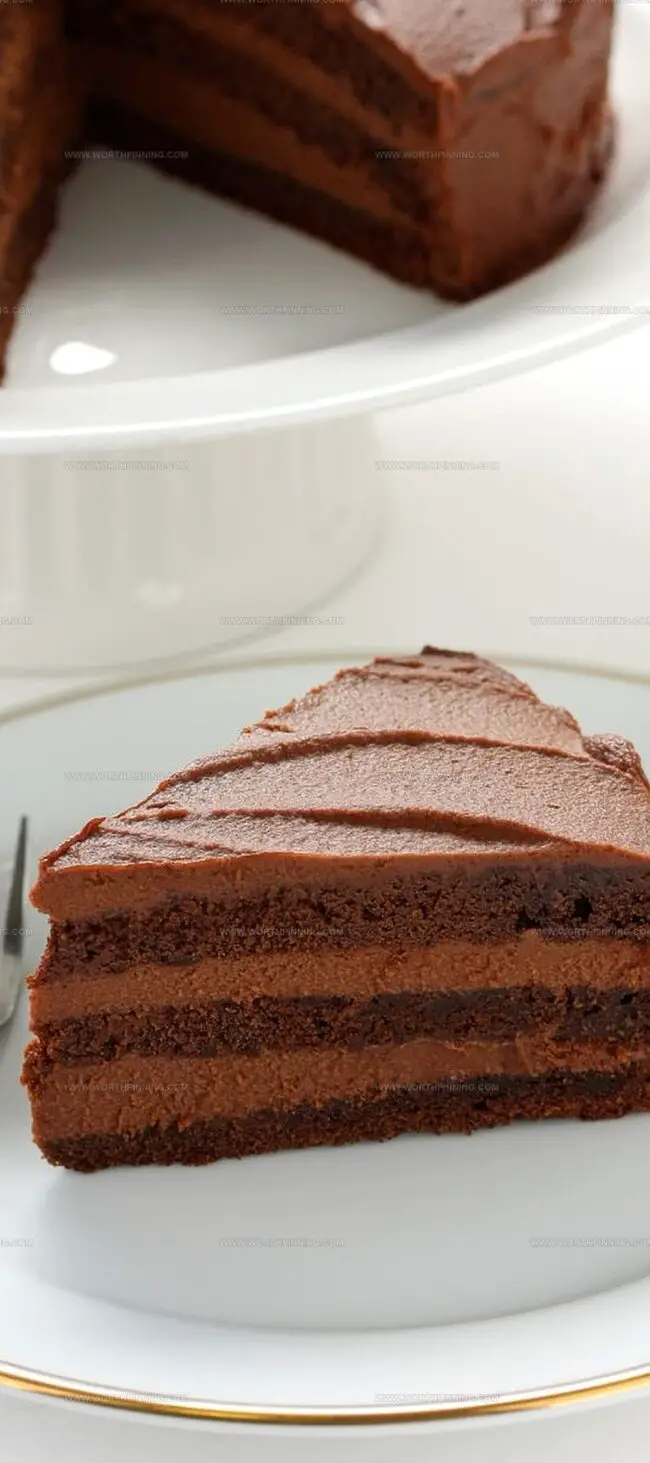
Chocoholics Rejoice: Ina Garten’s Dreamy Devils Food Cake Recipe
Chocolate lovers rejoice as this decadent Ina Garten devils food cake recipe promises pure indulgence with every single bite.
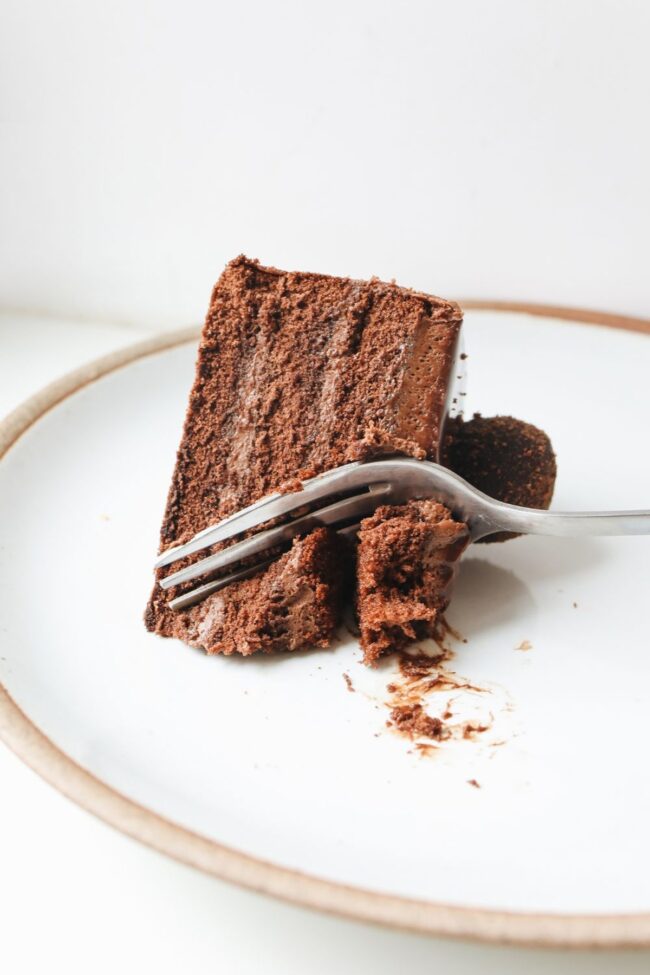
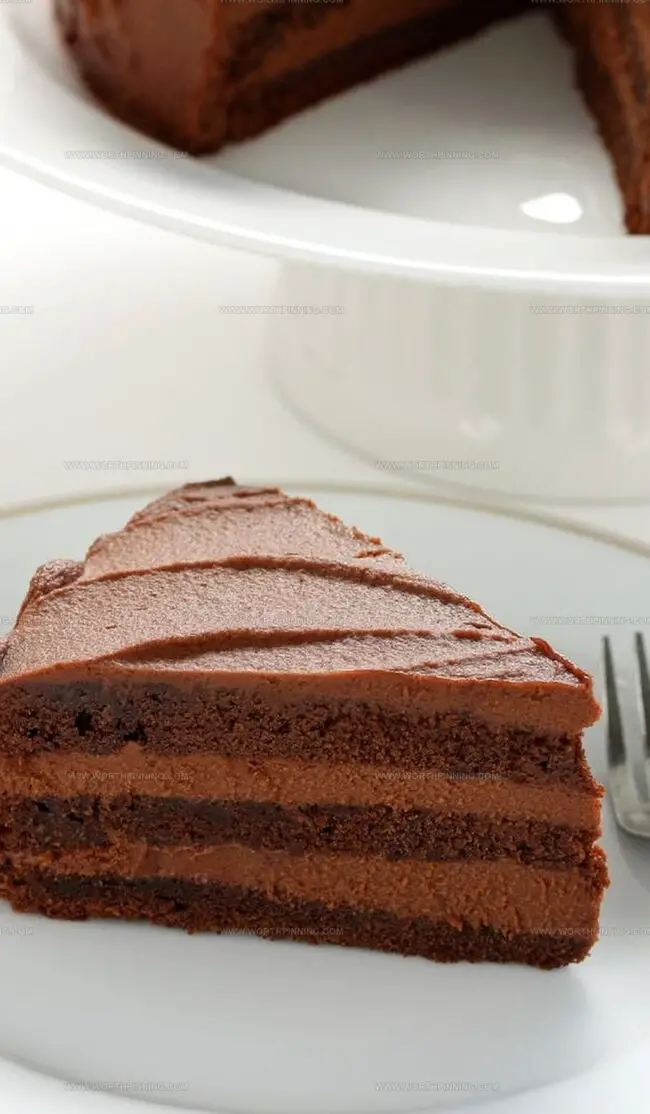
Rich, moist layers of deep chocolate delight await your taste buds.
The cake melts seamlessly on the tongue, creating a luxurious dessert experience.
Professional baker Ina Garten perfected this classic recipe with her touch of culinary elegance.
Each ingredient carefully selected ensures a remarkable chocolate sensation.
The velvety texture and intense flavor make this cake a showstopper at any gathering.
Grab your mixing bowl and get ready to bake a dessert that will have everyone asking for seconds.
Quick Recipe Overview
Ingredients for Ina Garten’s Devil’s Food Cake
For The Cake Base:For Moisture And Richness:For The Frosting:Baking Tools That Turn Chocolate into Magic
Instructions for Baking the Ultimate Chocolate Cake
Chocolate Dream Cake
Start the frosting adventure by melting rich chocolate in a cozy bowl. Pour steaming cream over the chocolate and let it rest, transforming into a silky dream. Allow the mixture to settle and become perfectly smooth.
Get your oven cozy at a toasty temperature. Gently prepare cake pans with a light butter coating and soft parchment paper hugs.
Gather your dry ingredients in a bowl, whisking them together with gentle care, creating a powdery cloud of potential deliciousness.
Whip butter into a creamy cloud, gradually welcoming sugar until the mixture becomes light and fluffy. Blend in rich cocoa and vanilla for depth of flavor.
Carefully welcome eggs one by one, letting each become best friends with the butter mixture.
Combine hot liquid with flour mixture in a delicate ballet, mixing until the batter becomes smooth and inviting.
Pour the batter into prepared pans, giving them a gentle tap. Bake until the cake whispers its readiness, pulling away from the pan edges.
Let the cakes rest and cool completely, releasing their warmth and developing deep flavors.
Build your cake masterpiece by layering frosting between and around the cake. Create swirls of chocolate goodness that invite everyone to take a bite.
Protect your creation under a cake dome, keeping it fresh and ready to delight for a couple of days.
Variations to Make It Even More Indulgent
Serving Ideas for Birthdays or Casual Cravings
Cake Storage That Preserves Moistness

Heavenly Devils Food Cake Recipe
- Total Time: 55 minutes
- Yield: 12 1x
Description
Ina Garten’s devil’s food cake delivers rich chocolate decadence with perfect moisture and depth. Chocolate enthusiasts and home bakers can savor this classic dessert that promises indulgent moments of pure pleasure.
Ingredients
- 15 oz (425 g) semi-sweet chocolate, finely chopped
- 2 cups plus 2 tbsps (250 g) sugar
- 2 cups (250 g) all-purpose flour
- 1 ¼ cups (310 ml) water
- 1 ½ cups (360 ml) heavy cream
- 12 tbsps (170 g) unsalted butter, room temperature
- 3 large eggs, room temperature
- ¾ cup (65 g) non-alkalized cocoa powder
- ¼ cup (60 ml) milk
- 2 tsps pure vanilla extract
- 1 ½ tsps baking soda
- ¾ tsp baking powder
- ¾ tsp salt
Instructions
- Ganache Preparation: Chop chocolate into fine pieces and place in a heatproof bowl. Heat heavy cream until boiling, then pour over chocolate. Let rest for 4 minutes, then whisk until smooth. Cover with plastic wrap and allow to stabilize at room temperature for 2 hours.
- Oven Preparation: Center the oven rack and preheat to 350°F. Butter two 9-inch cake pans and line with parchment paper for easy removal.
- Dry Ingredient Blend: Thoroughly sift flour, baking soda, baking powder, and kosher salt in a mixing bowl. Set aside for later use.
- Butter Creaming: Use a stand mixer to cream butter until smooth. Gradually add sugar, beating until light and fluffy. Incorporate cocoa powder and vanilla extract, mixing completely.
- Egg Integration: Add eggs one at a time, ensuring full incorporation after each addition and scraping bowl sides to maintain consistent texture.
- Liquid Combination: Bring water and milk to a boil. Reduce mixer speed and alternately add flour mixture and hot liquid, creating a smooth batter.
- Baking Process: Divide batter evenly between prepared pans, tapping to remove air bubbles. Bake for 30-35 minutes until cakes pull away from pan edges and spring back when touched.
- Cooling Stage: Rest cakes in pans for 10 minutes, then invert onto a wire rack to cool completely.
- Cake Assembly: Place first cake layer on a serving plate, spread one-third of ganache. Top with second layer, applying remaining frosting to cover top and sides with elegant swirls using an offset spatula.
- Storage: Protect cake under a dome or wrap loosely, storing at room temperature for optimal freshness up to 48 hours.
Notes
- Chocolate Selection Matters: Use high-quality dark chocolate with at least 60% cocoa content for a deeper, more intense ganache flavor.
- Temperature Control Critical: Ensure ingredients like eggs and butter are at room temperature for smoother batter consistency and even mixing.
- Prevent Dry Cake: Do not overbake; check cake doneness by gently pressing the center and watching for slight springback.
- Ganache Perfection: Let ganache rest and cool naturally without refrigeration to achieve ideal spreading texture and rich chocolate depth.
- Prep Time: 20 minutes
- Cook Time: 35 minutes
- Category: Desserts
- Method: Baking
- Cuisine: American
Nutrition
- Serving Size: 12
- Calories: 550
- Sugar: 36 g
- Sodium: 250 mg
- Fat: 35 g
- Saturated Fat: 21 g
- Unsaturated Fat: 14 g
- Trans Fat: 1 g
- Carbohydrates: 61 g
- Fiber: 2 g
- Protein: 6 g
- Cholesterol: 85 mg
Sophia Rivera
Recipe Developer & Kitchen Tips Specialist
Expertise
Education
Austin Community College
San Antonio Culinary Institute
Sophia’s passion for baking began in her family kitchen, where she spent hours experimenting with new recipes. With a background in baking and pastry arts, she loves making desserts that are as visually stunning as they are delicious.
Sophia is all about using seasonal, locally sourced ingredients to create treats that everyone will enjoy. When she’s not creating mouth-watering desserts, you can find her gardening, making new recipes, or enjoying a relaxing afternoon with her family.