Gooey Barefoot Contessa’s Skillet Brownies Recipe for Chocoholics
Chocolate lovers unite for these decadent skillet brownies that promise pure indulgence with every bite.
Rich, fudgy Barefoot Contessa skillet brownies recipe will make your dessert dreams come true.
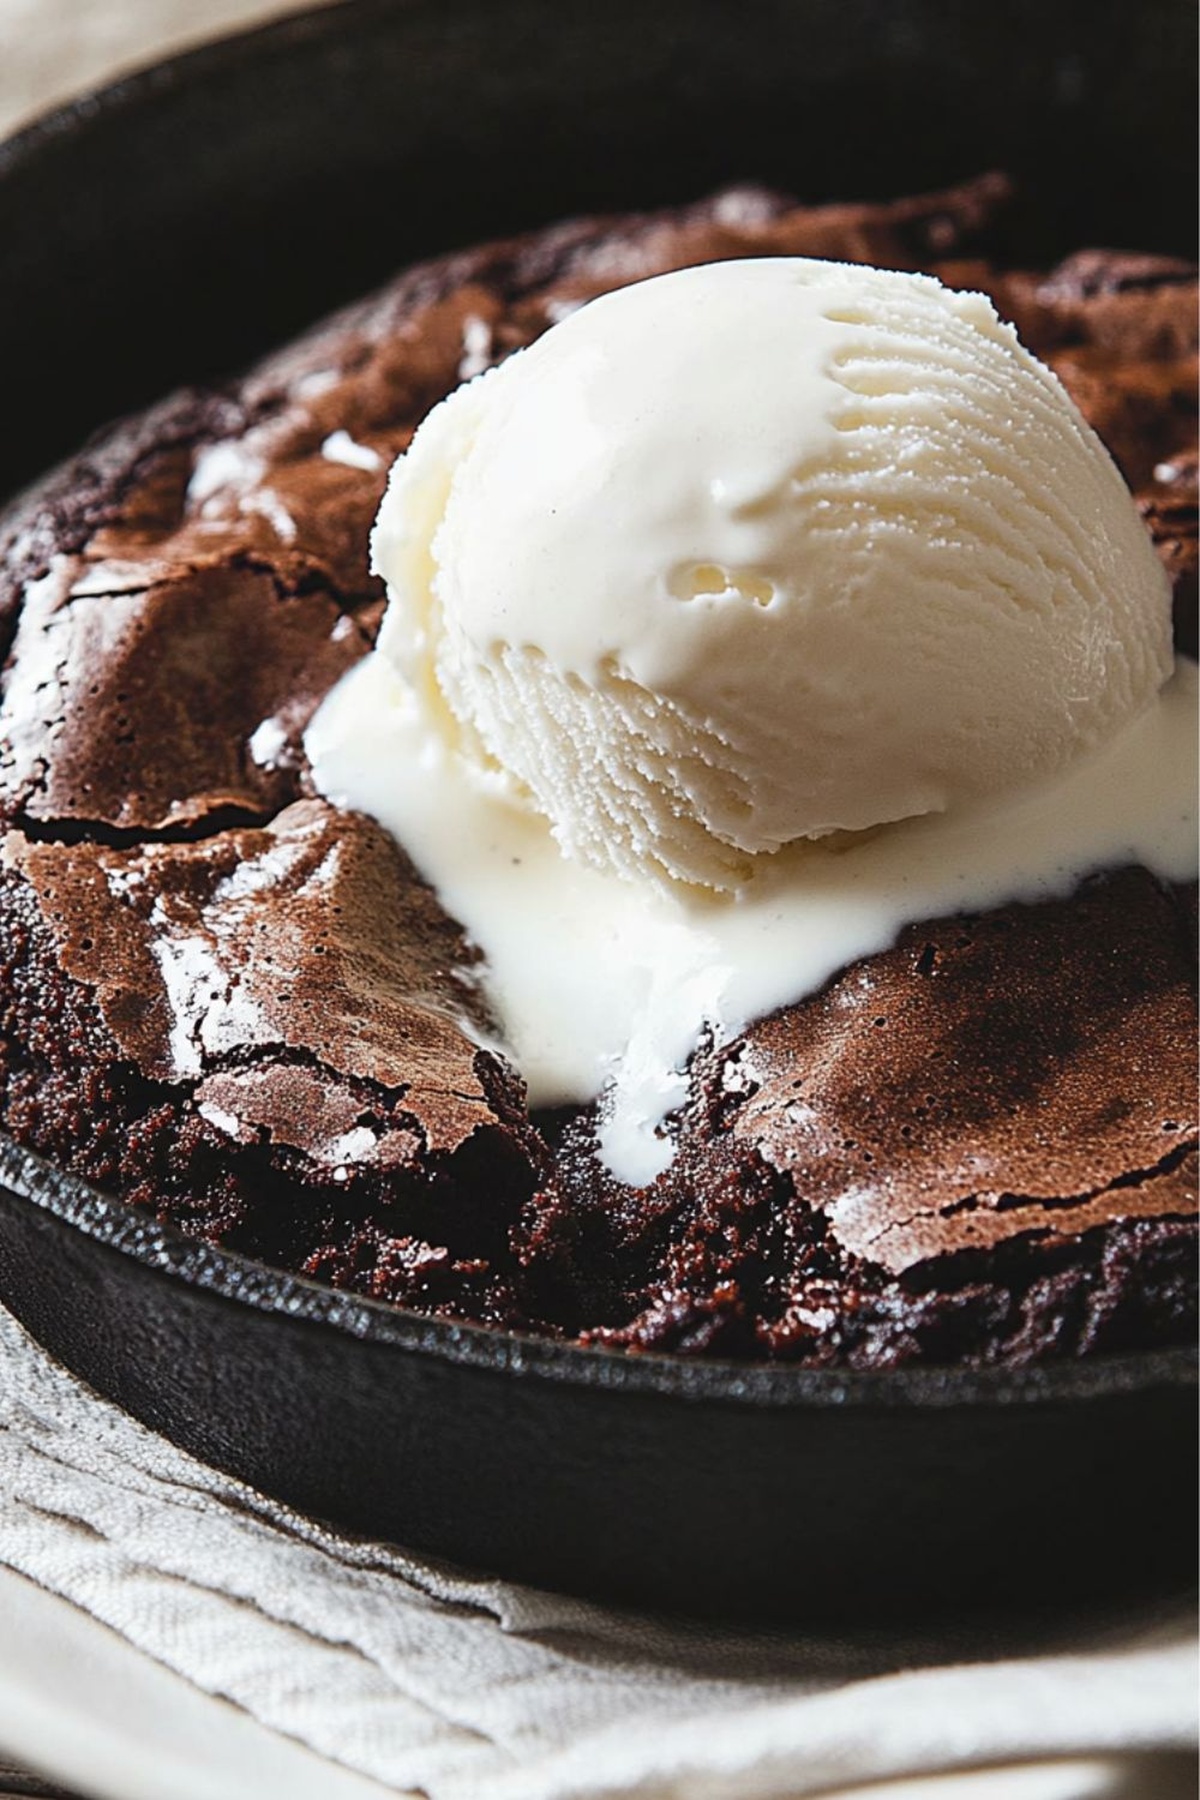
The cast-iron skillet creates a crispy edge with a molten center that melts in your mouth.
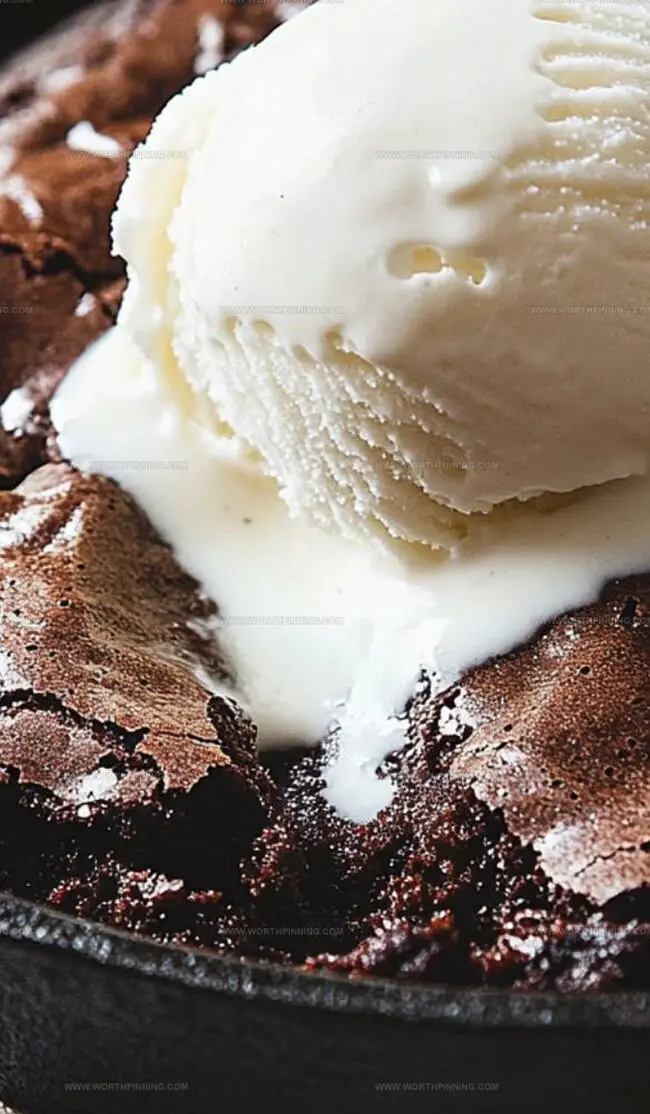
Warm and gooey, these brownies deliver an irresistible texture that beats traditional pan-baked versions.
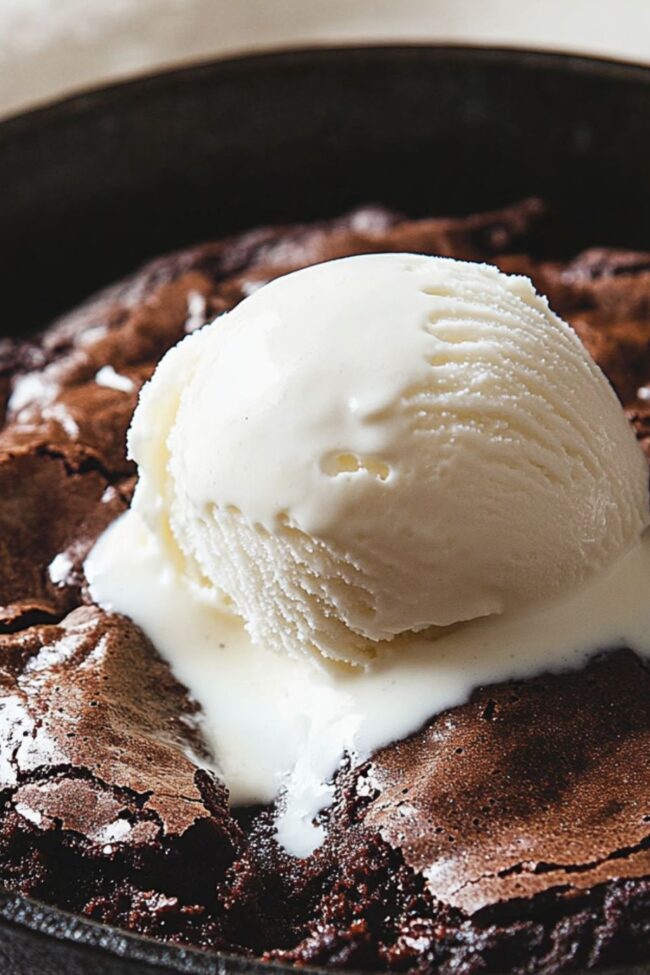
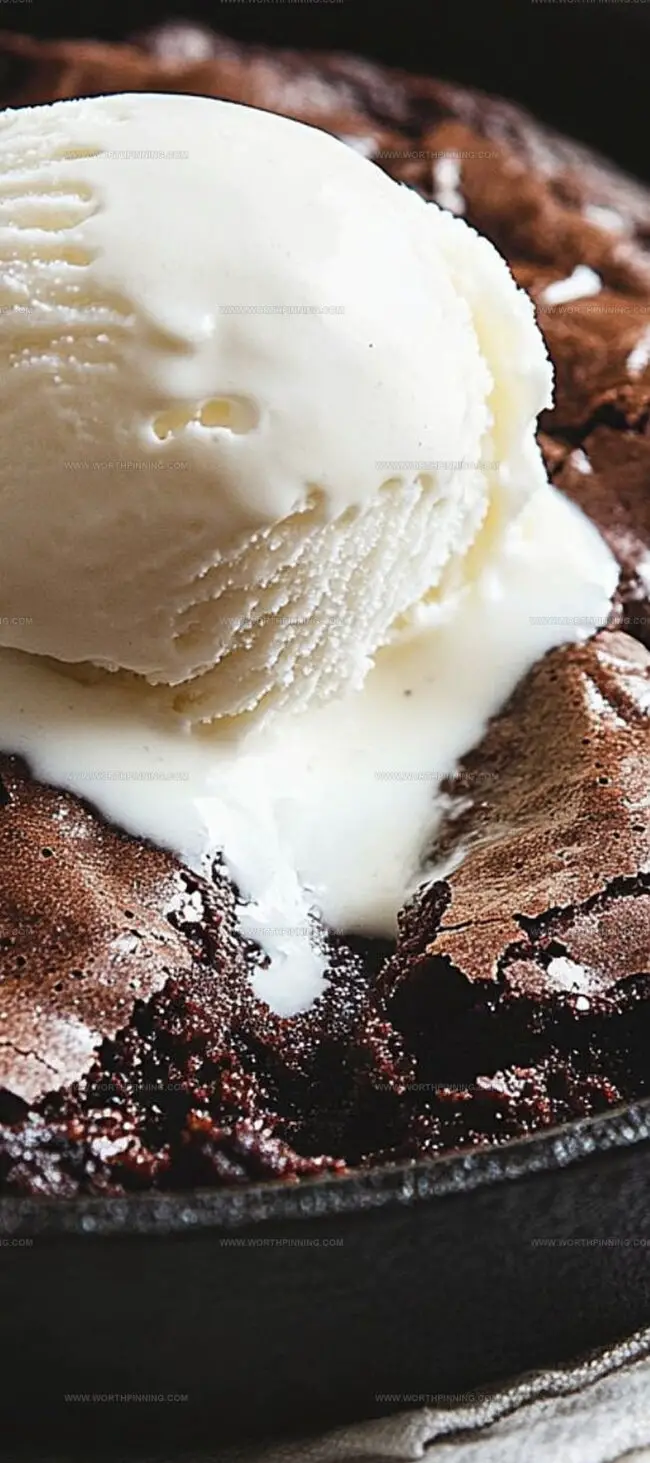
Topped with a scoop of vanilla ice cream, this dessert becomes a show-stopping treat for any occasion.
Simple ingredients and minimal prep time mean you can whip up this delightful dessert in no time.
Grab your skillet and get ready to experience chocolate bliss like never before.
Quick Recipe Overview
Ingredients for Skillet Brownies
For Chocolate Base:For Liquid and Flavor Enhancers:For Dry and Structural Ingredients:Skillet Brownie Tools You’ll Need
How to Make Skillet Brownies Easily

Gently melt chocolate and butter over steamy water, creating a silky smooth base that promises rich deliciousness.
Blend eggs with a hint of coffee and vanilla, infusing the batter with deep, complex undertones that elevate classic brownies.
Carefully fold dry ingredients into the chocolate mixture, creating a velvety canvas that promises decadent texture.
Toss extra chocolate chips with a whisper of flour to ensure they suspend perfectly throughout the brownie, preventing sinking.
Pour the luxurious batter into individual cast-iron skillets, allowing each serving to become a personal chocolate paradise.
Slide the skillets into a warm oven, watching as they transform into molten chocolate treasures with slightly gooey centers.
Serve immediately with a scoop of creamy vanilla ice cream, creating a dessert that’s part comfort, part indulgence.
Sweet Tips & Gooey Swaps for Skillet Brownies
Serving Ideas for Skillet Brownies
Storage Tips for Skillet Brownie Bliss
Print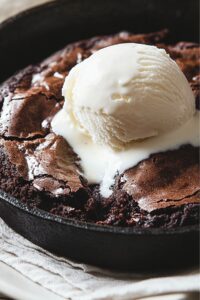
Gooey Barefoot Contessa Skillet Brownies Recipe
- Total Time: 37 minutes
- Yield: 8 1x
Description
Rich chocolate skillet brownies from Barefoot Contessa delight chocolate enthusiasts with intense flavor and irresistible texture. Guests will savor each warm, gooey bite of this classic dessert crafted for ultimate indulgence.
Ingredients
- 4 oz (115 g) unsalted butter
- 4 oz (115 g) Hershey’s semisweet chocolate chips
- 3 oz (85 g) Hershey’s semisweet chocolate chips
- 1.4 oz (40 g) unsweetened chocolate
- 2 extra-large eggs
- 1.5 tsp pure vanilla extract
- 2 tsp instant coffee powder (Nescafé)
- 19.2 fl oz (568 ml) vanilla ice cream (Häagen-Dazs)
- 4.2 oz (120 g) sugar
- 0.5 oz (15 g) sugar
- 1.2 oz (35 g) all-purpose flour
- 0.5 oz (15 g) all-purpose flour
- 1 tsp baking powder
- ¼ tsp kosher salt
Instructions
- Prepare: Preheat oven to 175°C (350°F), setting the stage for rich, decadent brownies.
- Chocolate Fusion: Melt semisweet chocolate chips, unsweetened chocolate, and butter in a heatproof bowl over simmering water, stirring until smooth and glossy.
- Flavor Foundation: Whisk eggs, coffee powder, vanilla extract, and granulated sugar in a large mixing bowl until harmoniously blended.
- Chocolate Incorporation: Allow melted chocolate to cool slightly, then gently fold into the egg mixture, creating a luxurious, dark batter.
- Dry Ingredient Integration: Sift flour, baking powder, and salt, then delicately fold into the chocolate mixture until just combined, maintaining a velvety texture.
- Chocolate Chip Distribution: Coat remaining chocolate chips with flour to prevent sinking, then gently fold into the batter, creating delightful chocolate pockets.
- Skillet Preparation: Transfer batter evenly into cast-iron skillets or a baking dish, ensuring uniform depth for consistent baking.
- Baking Perfection: Bake for 22 minutes, aiming for a slightly soft center – a toothpick should emerge with a few moist crumbs, promising a fudgy, indulgent dessert.
- Serving Suggestion: Serve warm, crowned with a generous scoop of vanilla ice cream to elevate the intense chocolate experience.
Notes
- Prevent Chocolate Sinking: Coat extra chocolate chips with flour to ensure even distribution throughout the brownie batter, creating delightful chocolate pockets in every bite.
- Master the Melt: Use a double boiler technique by placing chocolate and butter in a heatproof bowl over simmering water, stirring gently to achieve a smooth, glossy chocolate base without burning.
- Check Doneness Carefully: Look for a slightly soft center and moist crumbs on the toothpick – this ensures ultra-fudgy brownies that aren’t overbaked or dry.
- Serve with Flair: Pair warm brownies with vanilla ice cream to create a classic dessert combination that elevates the rich chocolate intensity and provides a delightful temperature contrast.
- Prep Time: 15 minutes
- Cook Time: 22 minutes
- Category: Desserts, Snacks
- Method: Baking
- Cuisine: American
Nutrition
- Serving Size: 8
- Calories: 370
- Sugar: 32 g
- Sodium: 150 mg
- Fat: 22 g
- Saturated Fat: 13 g
- Unsaturated Fat: 9 g
- Trans Fat: 0 g
- Carbohydrates: 41 g
- Fiber: 1 g
- Protein: 4 g
- Cholesterol: 100 mg
Sophia Rivera
Recipe Developer & Kitchen Tips Specialist
Expertise
Education
Austin Community College
San Antonio Culinary Institute
Sophia’s passion for baking began in her family kitchen, where she spent hours experimenting with new recipes. With a background in baking and pastry arts, she loves making desserts that are as visually stunning as they are delicious.
Sophia is all about using seasonal, locally sourced ingredients to create treats that everyone will enjoy. When she’s not creating mouth-watering desserts, you can find her gardening, making new recipes, or enjoying a relaxing afternoon with her family.