
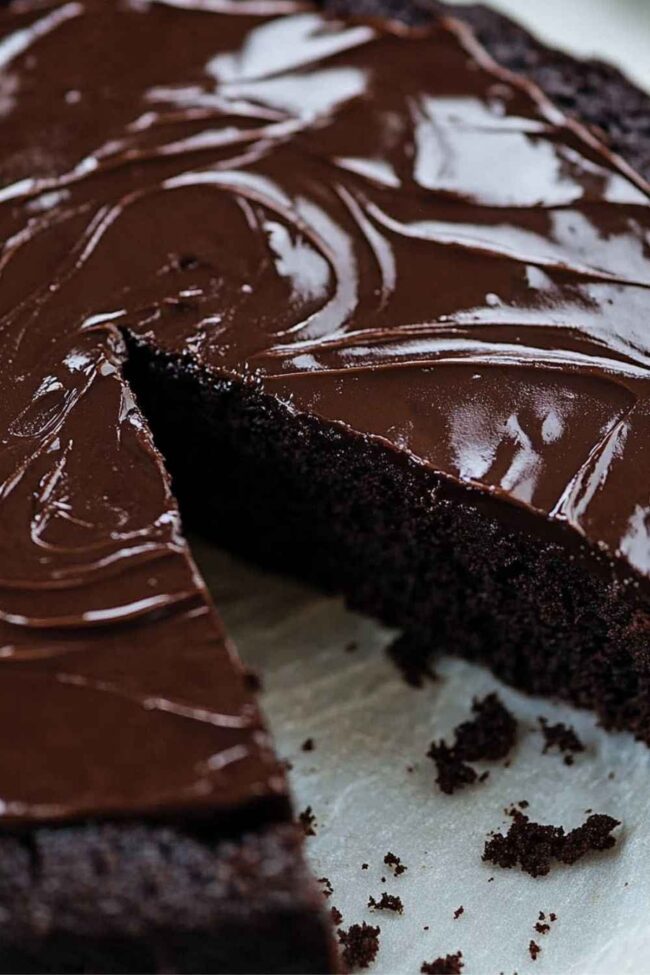
Barefoot Contessa’s Dreamy Flourless Chocolate Cake Recipe
Decadent chocolate lovers rejoice over this Barefoot Contessa flourless chocolate cake that promises pure indulgence without gluten complications.
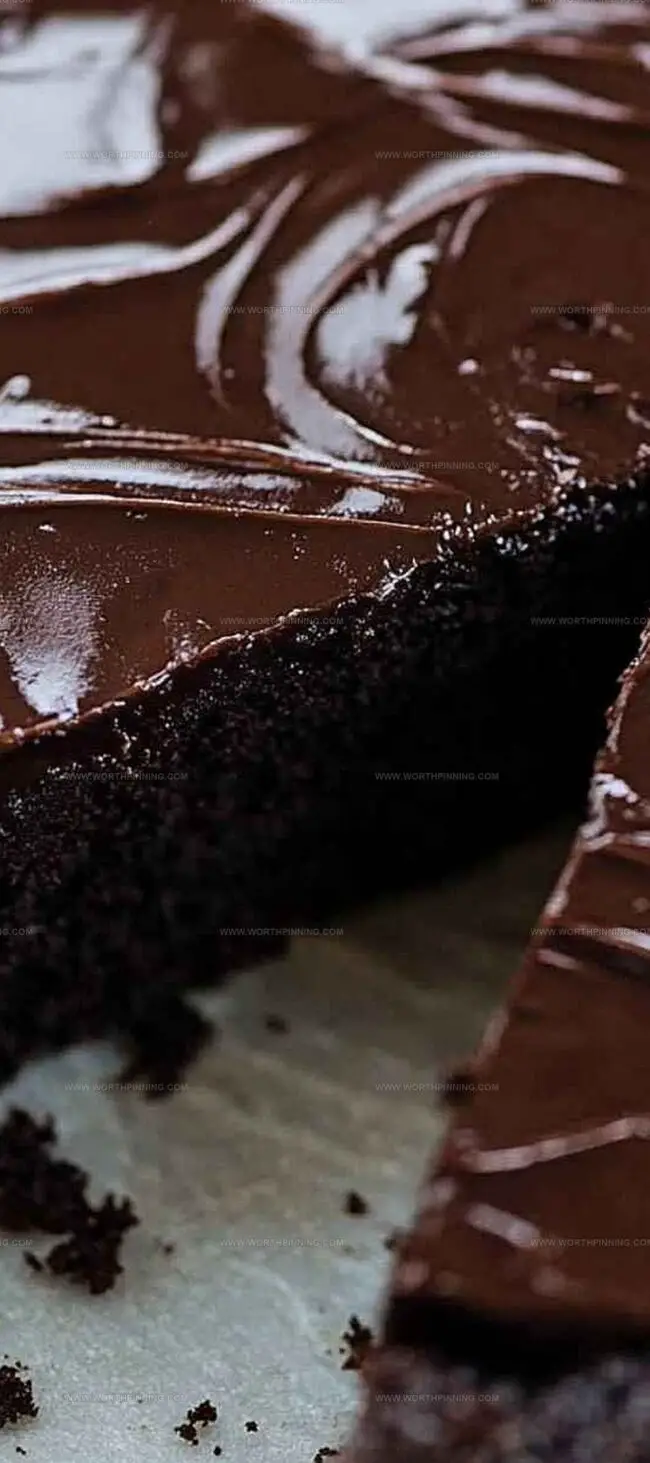
Rich, velvety layers melt effortlessly on your palate with intense cocoa depth.
The recipe whispers elegance through its simple yet sophisticated ingredients.
Smooth chocolate cascades across each slice like silk, tempting even the most discerning dessert enthusiasts.
Professional bakers and home cooks alike will adore how easily this cake comes together.
Dark chocolate provides a luxurious foundation that makes every bite feel like a gourmet experience.
This gluten-free masterpiece guarantees to become your new favorite showstopping dessert that everyone will request again and again.
Quick Recipe Overview

Ingredients for Flourless Chocolate Cake (Gluten-Free!)
For Chocolate Base:For Binding and Structure:For Finishing Touches:Kitchen Tools to Make Flourless Chocolate Cake
How to Bake the Flourless Chocolate Cake (Gluten-Free!)
Gather high-quality dark chocolate and create a luxurious melting setup using a double boiler technique. Gently transform chocolate into a silky smooth mixture, allowing its rich essence to develop slowly and carefully.
Separate egg whites with precision, transforming them into a fluffy cloud-like texture. The delicate whites will provide extraordinary lightness to the cake’s structure.
Combine melted chocolate with soft egg whites using gentle folding motions. This technique ensures a delicate, airy texture that defines the cake’s exceptional character.
Place the cake in a preheated oven, creating a brief but intense baking experience. The short cooking time preserves the cake’s luxurious moisture and intense chocolate profile.
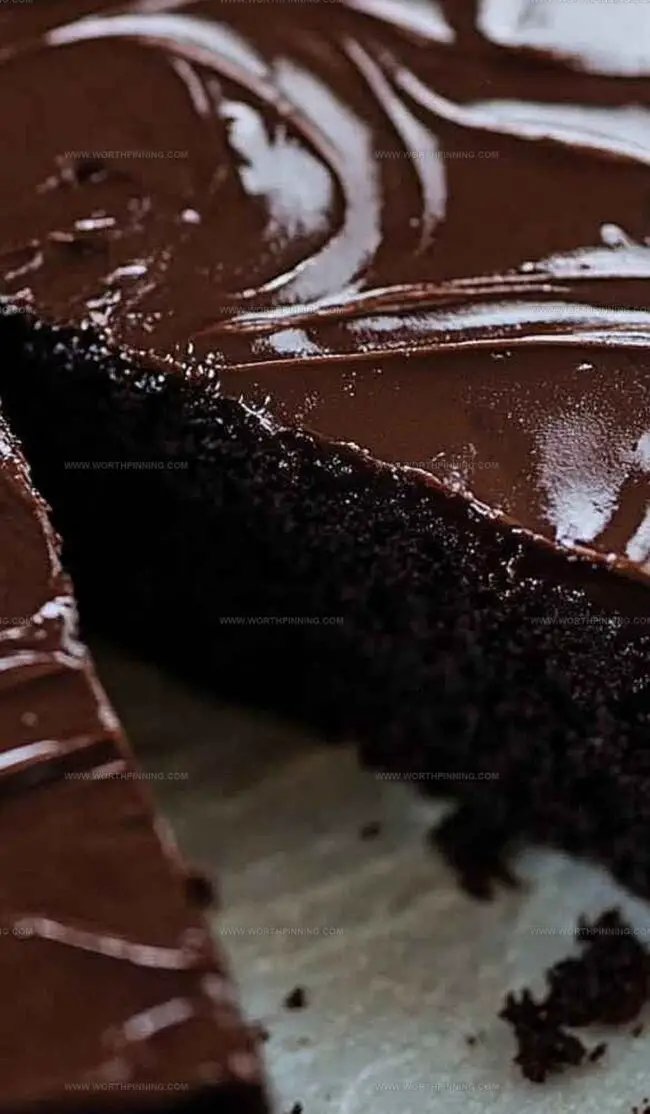
Allow the cake to rest peacefully inside the oven after baking, letting it naturally settle and develop deep, complex flavors. The slight sinking creates a beautiful crater perfect for ganache.
Create a glossy chocolate ganache and pour it gracefully into the cake’s center. The smooth topping transforms the dessert into a stunning culinary masterpiece that promises pure indulgence.
Pro Tips for the Best Flourless Chocolate Cake
Ways to Serve Flourless Chocolate Cake Like a Pro
Make-Ahead and Storage for Flourless Chocolate Cake
Print
Elegant Barefoot Contessa Flourless Chocolate Cake Recipe
- Total Time: 30 minutes
- Yield: 8 1x
Description
Ina Garten’s flourless chocolate cake delights dessert enthusiasts with its rich, dense texture. Chocolate lovers savor this gluten-free indulgence that promises pure decadence without compromise.
Ingredients
- 1 lb plus 3 oz (680 g) bittersweet chocolate (such as Lindt), broken into chunks
- 4 extra-large eggs, at room temperature, separated
- 10 tbsps (1¼ sticks or 142 g) unsalted butter, at room temperature, cut into pieces
- ¼ cup (60 ml) heavy cream
- 1 tbsp gluten-free flour (such as Cup4Cup)
- 1 ½ tbsps sugar
- 1 tsp instant coffee granules
- ¼ tsp kosher salt
- Coffee or vanilla ice cream, for serving
Instructions
- Oven Preparation: Preheat oven to 425°F (220°C). Butter an 8-inch springform pan and line bottom with parchment paper.
- Chocolate Foundation: Melt bittersweet chocolate in a heatproof bowl over simmering water. Remove from heat and blend in unsalted butter, gluten-free flour, granulated sugar, instant coffee granules, and salt. Whisk egg yolks until mixture becomes smooth and glossy.
- Egg White Transformation: Whip egg whites in an electric mixer until soft, billowy peaks form that hold their shape but remain light.
- Batter Integration: Gently fold whipped egg whites into chocolate mixture using sweeping motions, maintaining airiness and ensuring uniform color and texture.
- Baking Process: Pour batter into prepared pan, smoothing surface evenly. Bake for exactly 15 minutes, then turn off oven and crack door open slightly. Let cake rest inside for one hour, allowing natural deflation and creating a distinctive sunken center.
- Ganache Creation: Combine remaining chocolate with heavy cream in a heatproof bowl. Melt over simmering water, stirring until smooth and glossy. Adjust consistency with additional cream if necessary.
- Finishing Touches: Carefully remove springform pan sides and transfer cake to serving plate. Pour warm ganache into cake’s center, allowing it to fill the natural depression while leaving edges untouched.
- Serving Suggestion: Present cake at room temperature or slightly warm. Optionally top with a scoop of coffee or vanilla ice cream for an extra indulgent experience.
Notes
- Ensure Perfect Chocolate Melting: Use a gentle double-boiler method to melt chocolate, preventing burning and maintaining smooth texture.
- Master Egg White Technique: Whip egg whites to soft peaks carefully, avoiding over-beating which can deflate the cake’s delicate structure.
- Control Baking Precision: Follow the exact 15-minute baking time and one-hour resting method to achieve the signature sunken center and rich texture.
- Ganache Application Tip: Pour warm ganache only into the cake’s center depression for a professional, elegant presentation that maximizes visual and flavor appeal.
- Prep Time: 15 minutes
- Cook Time: 15 minutes
- Category: Desserts, Snacks
- Method: Baking
- Cuisine: American
Nutrition
- Serving Size: 8
- Calories: 490
- Sugar: 8 g
- Sodium: 45 mg
- Fat: 36 g
- Saturated Fat: 22 g
- Unsaturated Fat: 14 g
- Trans Fat: 0 g
- Carbohydrates: 38 g
- Fiber: 2 g
- Protein: 7 g
- Cholesterol: 150 mg
Sophia Rivera
Recipe Developer & Kitchen Tips Specialist
Expertise
Education
Austin Community College
San Antonio Culinary Institute
Sophia’s passion for baking began in her family kitchen, where she spent hours experimenting with new recipes. With a background in baking and pastry arts, she loves making desserts that are as visually stunning as they are delicious.
Sophia is all about using seasonal, locally sourced ingredients to create treats that everyone will enjoy. When she’s not creating mouth-watering desserts, you can find her gardening, making new recipes, or enjoying a relaxing afternoon with her family.