Fluffy Egg & Cheese Hash Brown Waffles Recipe for Breakfast Joy
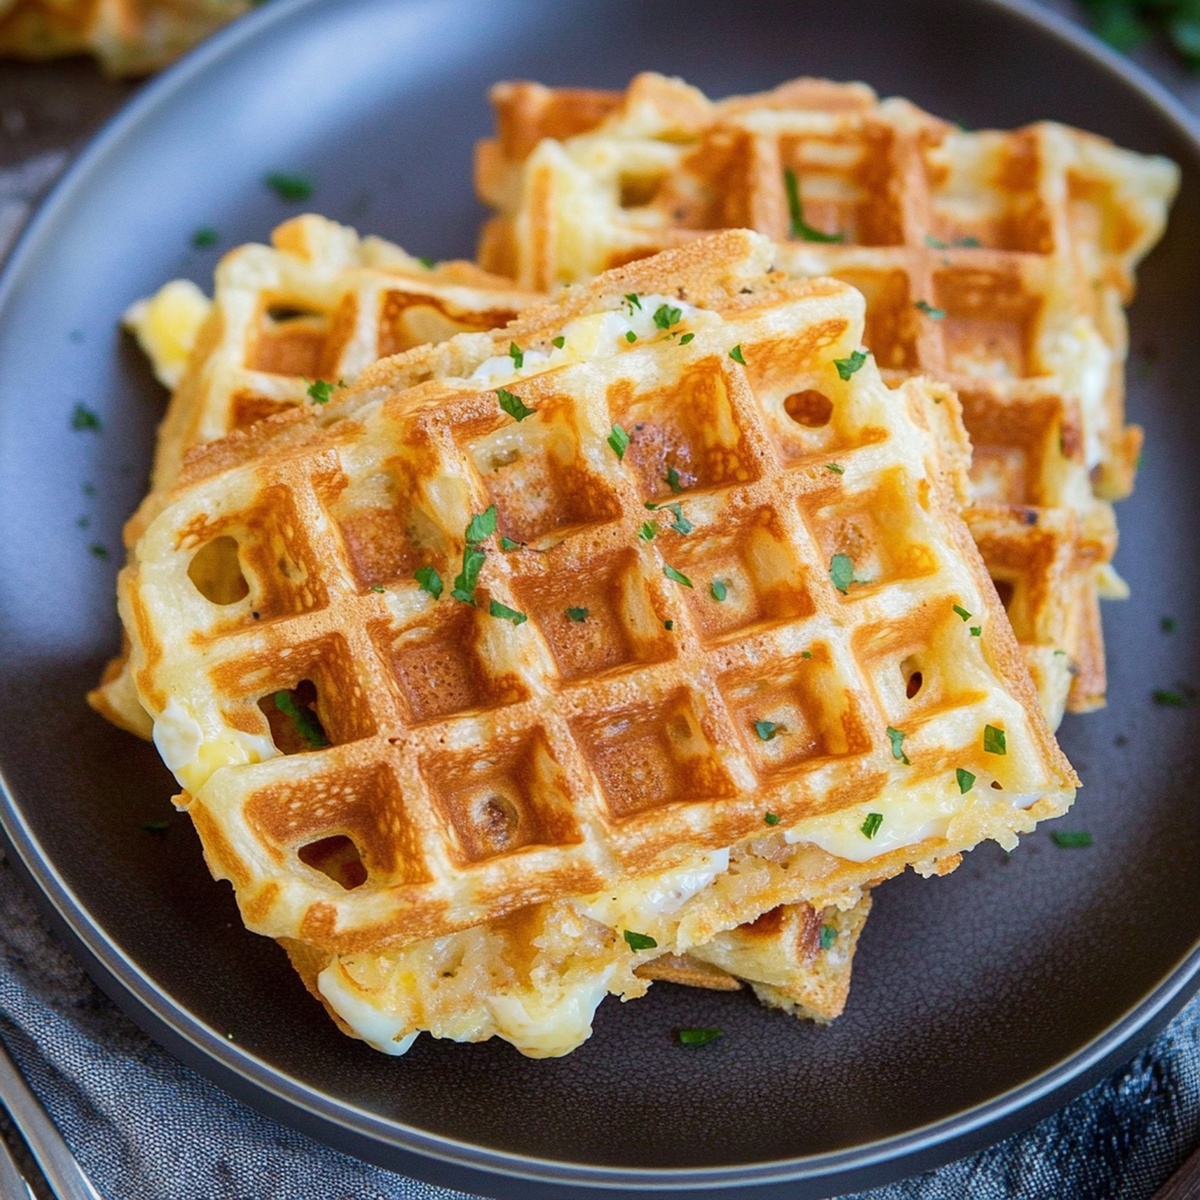
Crispy golden egg and cheese hash brown waffles deliver a breakfast twist that’ll make your morning sparkle with unexpected delight.
Weekends deserve something extraordinary beyond ordinary plates.
Potato shreds blend perfectly with melted cheese, creating a magical breakfast canvas.
Mornings can feel mundane, but these waffles promise a flavor adventure.
Griddle magic happens when humble ingredients transform into something seriously crave-worthy.
Comfort meets creativity in this simple yet ingenious recipe that breaks traditional breakfast boundaries.
You’ll want to whip out your waffle iron and start experimenting right now.
Egg & Cheese Hash Brown Waffles That Fuel Your Morning

Ingredients That Go Into Hash Brown Waffles with Egg & Cheese
Potato Base:Binding Ingredients:Seasoning Blend:Optional Cooking Support:Cooking Steps for Egg & Cheese Hash Brown Waffles

Step 1: Warm Up The Waffle Maker
Plug in your waffle iron and lightly coat the cooking surface with cooking spray or vegetable oil to prevent sticking.
Step 2: Create Flavorful Mixture
Combine the following ingredients in a large mixing bowl:Mix everything thoroughly until all ingredients are evenly distributed.
Step 3: Fill The Waffle Iron
Scoop a generous portion of the hash brown mixture into the center of the preheated waffle iron. Use a spatula to spread the mixture slightly, ensuring even coverage.
Step 4: Cook To Golden Perfection
Close the waffle iron lid and cook for about 5-7 minutes. Watch for a beautiful golden-brown color and crispy edges. The waffle should look firm and have a delightful crunch.
Step 5: Release And Serve
Carefully lift the waffle from the iron using a fork or spatula. The waffle should come out easily if the surface was properly greased.
Step 6: Repeat And Enjoy
Continue cooking the remaining mixture, creating multiple waffles. Serve hot with optional toppings like sour cream, chives, or hot sauce.
Tips to Nail Crispy Hash Brown Waffles
How to Save and Reheat Hash Brown Waffles Correctly
Serve Egg & Cheese Waffles With These Morning Sides
Ways to Mix Up Egg & Cheese Waffle Flavors
Answers to Common Hash Brown Waffle Questions
Yes, you can use frozen hash browns, but make sure to thaw and drain them completely to remove excess moisture. Pat them dry with paper towels to ensure crispy waffles.
Cheddar cheese is ideal, but you can also use mozzarella, monterey jack, or a blend of cheeses. Choose a cheese that melts well and complements the hash browns.
Generously grease the waffle iron with cooking spray or oil before adding the hash brown mixture. This helps create a crispy exterior and prevents sticking.
Yes, you can prepare the hash brown mixture in advance and store it in the refrigerator. Cook the waffles just before serving to maintain their crispy texture.
Print
Egg & Cheese Hash Brown Waffles Recipe
- Total Time: 25 minutes
- Yield: 4 1x
Description
Crispy golden egg & cheese hash brown waffles elevate breakfast with irresistible comfort. Hash brown edges crunch while melted cheese creates delicious harmony waiting to satisfy morning cravings.
Ingredients
Main Ingredients:
- 2 cups frozen shredded hash browns, thawed
- 2 large eggs
- 1 cup shredded cheddar cheese
Seasoning Ingredients:
- ¼ teaspoon garlic powder
- Salt and pepper, to taste
Cooking and Optional Ingredients:
- Cooking spray or a little oil for greasing the waffle iron
- Optional toppings: sour cream, green onions, avocado, hot sauce
Instructions
- Thoroughly combine hash browns with beaten eggs, creating a cohesive mixture that will bind well during cooking.
- Incorporate shredded cheese, garlic powder, salt, and pepper into the hash brown blend, ensuring even distribution of seasonings throughout the mixture.
- Prepare the waffle iron by warming it and applying a light coating of cooking spray to prevent sticking.
- Carefully deposit a portion of the hash brown mixture into the center of the preheated waffle iron, gently spreading it to cover the surface evenly.
- Close the waffle iron lid and allow the hash brown waffle to cook until it develops a crisp, golden-brown exterior with a perfectly cooked interior.
- Delicately remove the cooked waffle from the iron, taking care not to break its delicate structure.
- Repeat the process with the remaining hash brown mixture, maintaining consistent cooking technique for each waffle.
- Once all waffles are prepared, serve immediately to enjoy their peak crispiness and temperature.
Notes
- Experiment with different cheese varieties like sharp cheddar, pepper jack, or gruyere to add unique flavor profiles and keep the dish exciting.
- For a gluten-free option, ensure you’re using frozen hash browns without added wheat ingredients or make your own from fresh potatoes.
- Add extra protein by mixing in crumbled bacon, diced ham, or chopped cooked sausage to elevate the breakfast experience.
- Create a lighter version by using egg whites instead of whole eggs and selecting low-fat cheese to reduce overall calorie content while maintaining delicious taste.
- Prep Time: 10 minutes
- Cook Time: 15 minutes
- Category: Breakfast, Snacks
- Method: Baking
- Cuisine: American
Nutrition
- Serving Size: 4
- Calories: 750
- Sugar: 4 g
- Sodium: 1100 mg
- Fat: 35 g
- Saturated Fat: 15 g
- Unsaturated Fat: 20 g
- Trans Fat: 1 g
- Carbohydrates: 80 g
- Fiber: 6 g
- Protein: 36 g
- Cholesterol: 100 mg
Ethan Miller
Founder & Lead Content Writer
Expertise
Education
Portland Community College
Culinary Institute of the Pacific
Ethan’s culinary journey began in his grandmother’s kitchen, where he first learned to play with flavors and ingredients. With formal training in culinary arts and a deep love for international cuisines, Ethan’s goal is to share the joy of cooking with others.
He believes food is all about creativity and bringing people together, one meal at a time. When he’s not experimenting with new dishes, he enjoys hiking in the Oregon wilderness and discovering fresh, local ingredients.