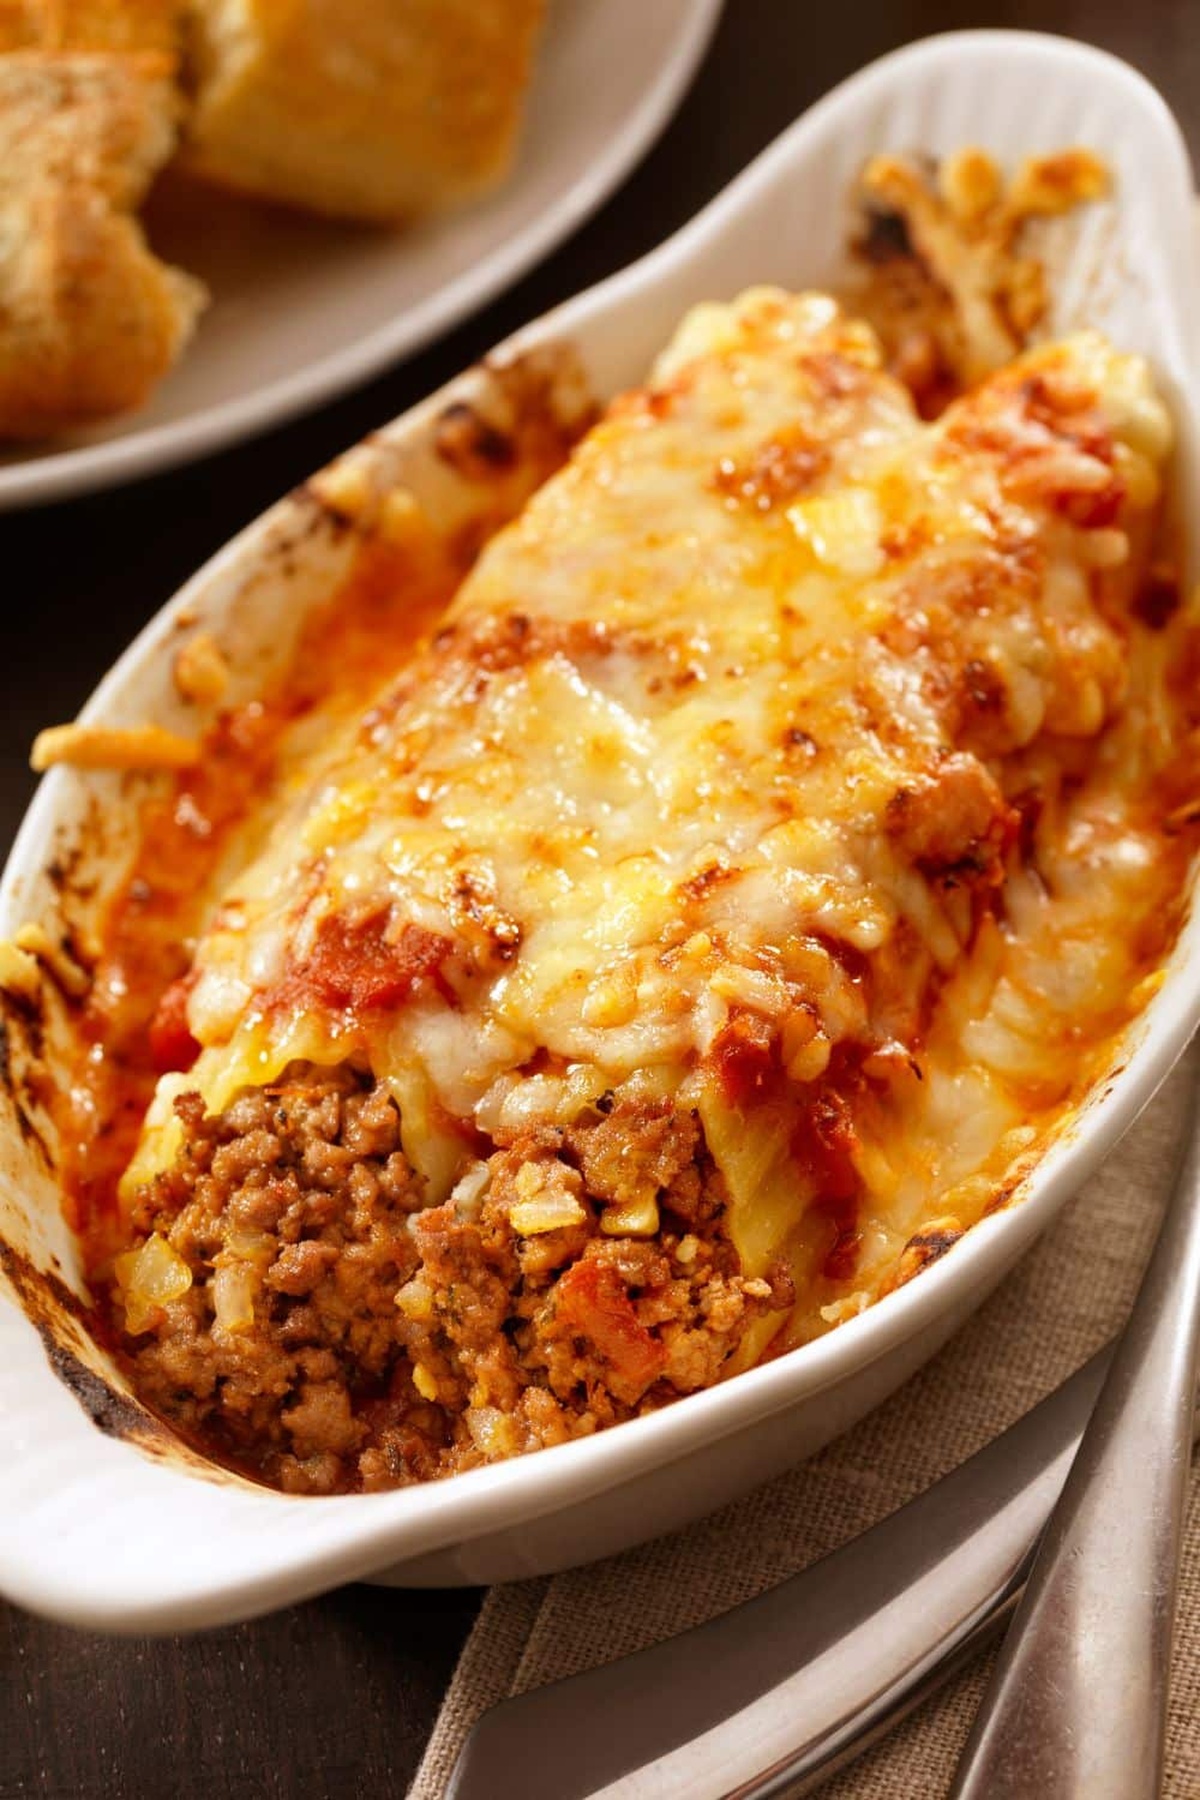
Stuffed Ina Garten Manicotti Recipe
Stuffed manicotti transports taste buds to a rustic Italian kitchen where pasta becomes pure poetry.
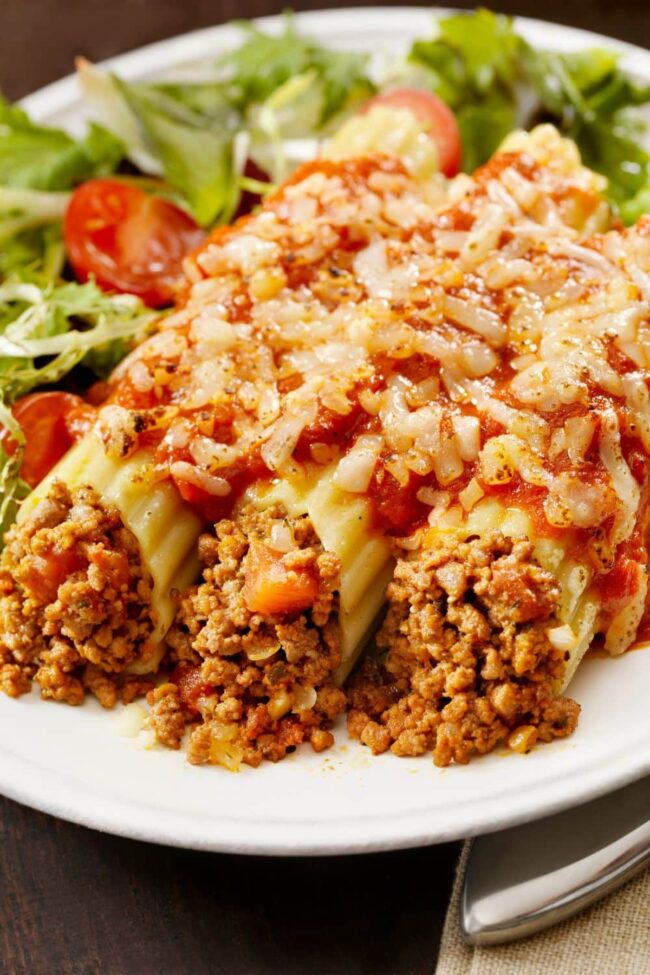
Delicate tubes cradle a luscious medley of melted cheese and seasoned meat that whispers comfort in every forkful.
Robust flavors burst through tender pasta shells, creating a culinary masterpiece that feels both elegant and homey.
Each carefully rolled bundle promises a symphony of textures that ignite dinner table excitement.
Mediterranean influences shine through this classic recipe, transforming ordinary ingredients into an extraordinary feast.
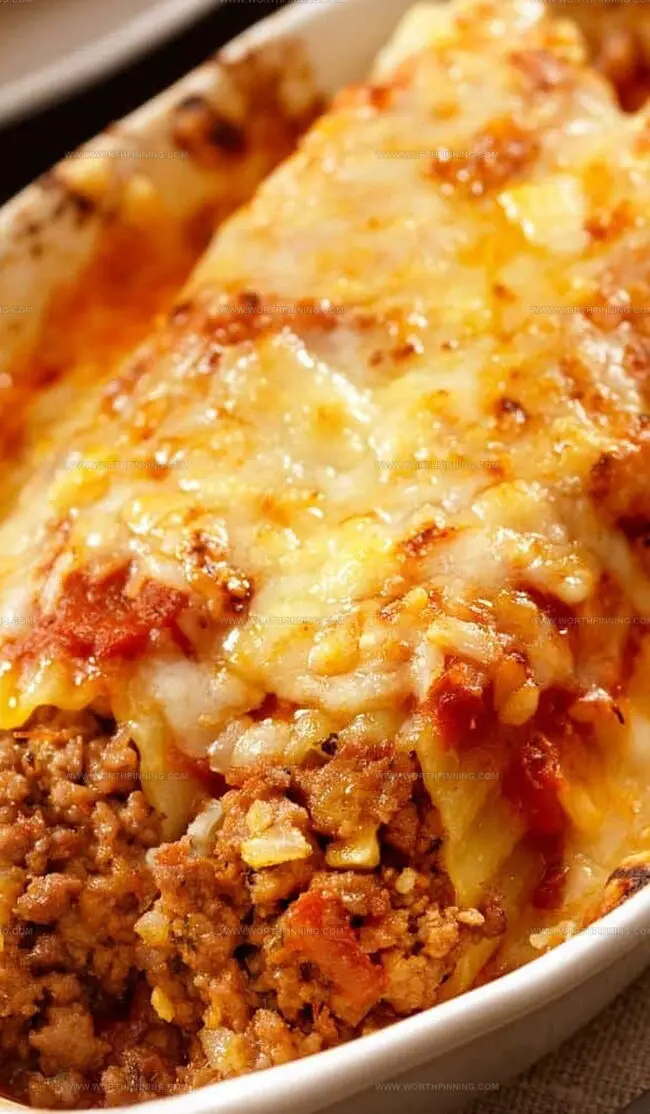
Layers of creamy ricotta and zesty marinara meld seamlessly, promising a dining experience that lingers long after the last bite.
Quick Recipe Overview

Everything Inside Ina Garten Stuffed Manicotti
For Meat Mixture:For Cheese Filling:For Pasta and Sauce:Additional Ingredients:Tools Needed for Stuffed Manicotti
How to Cook Ina Garten’s Stuffed Manicotti
Sizzle onions and ground beef in a skillet until meat turns golden and onions become soft. Season with salt and pepper. Cool the mixture completely before next steps.
Boil water and cook pasta shells just until they start to become flexible. Transfer to an oiled baking sheet and let cool down. Handle gently to prevent tearing.
Mix ricotta, mozzarella, parmesan, parsley, and garlic in a bowl. Fold in the cooled meat mixture until everything combines smoothly. The filling should feel creamy and well-incorporated.
Warm the oven to 350°F. Spread marinara sauce across the bottom of a baking dish. Carefully stuff each pasta shell with the cheese and meat filling. Arrange shells neatly in a single layer. Pour additional sauce over the top.
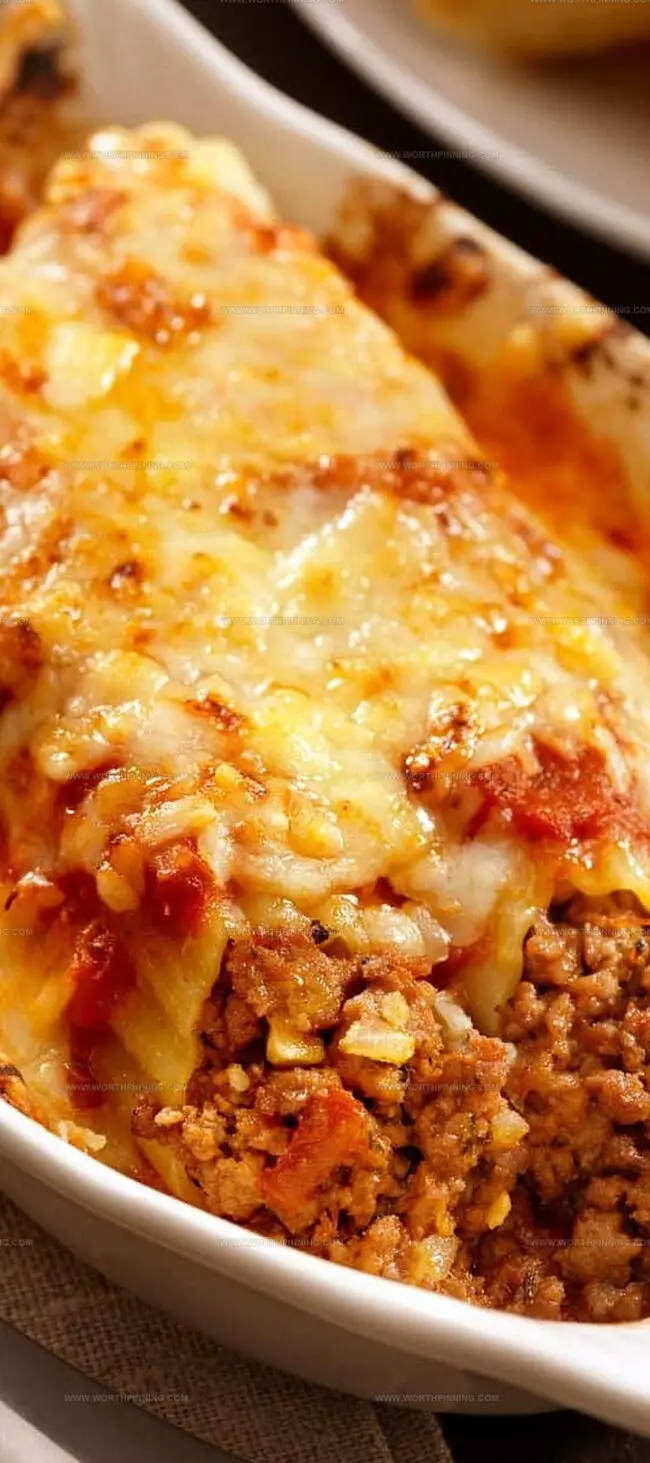
Sprinkle extra cheese over the shells. Add small butter dots across the surface. Bake uncovered until the sauce bubbles and the top turns a beautiful golden brown. Let the dish rest briefly before serving to allow flavors to settle and make cutting easier.
Easy Swaps for Stuffed Manicotti Recipe
Serving Tips for Stuffed Manicotti
Planning & Saving Stuffed Manicotti Meals
Print
Effortless Ina Garten Stuffed Manicotti Recipe
- Total Time: 55 minutes
- Yield: 5 1x
Description
Ina Garten’s stuffed manicotti brings classic Italian comfort to dinner tables with rich ricotta and herbs. Cheese-filled pasta shells create a satisfying meal that connects families around warm, delectable plates you will savor completely.
Ingredients
- 14 manicotti (8 oz package)
- 1 lb ground beef
- 1 medium onion, coarsely chopped
- 2 garlic cloves, minced
- 1 (15 oz) container whole-milk ricotta
- 3 cups shredded mozzarella
- 1 cup grated Parmesan
- 3 cups marinara sauce
- 4 tsps olive oil
- 2 tbsps butter, cut into pieces
- 2 tbsps chopped fresh Italian parsley leaves
- Salt
- Freshly ground black pepper
Instructions
- Meat Preparation: Heat olive oil in a skillet and sauté finely chopped onions with ground beef. Season with salt and pepper, cooking until beef browns and onions turn translucent. Cool the mixture completely.
- Pasta Handling: Boil salted water and cook manicotti shells until slightly softened but firm. Remove with a slotted spoon and arrange on an olive oil-brushed baking sheet to cool.
- Cheese Mixture: Blend ricotta, mozzarella, Parmesan, and parsley in a large bowl. Incorporate minced garlic, salt, and pepper. Fold in the cooled meat mixture until evenly distributed.
- Assembly and Baking: Preheat oven to 350°F. Oil a 13×9-inch glass baking dish and spread marinara sauce on the bottom. Carefully stuff manicotti shells with the cheese-meat mixture, arranging in a single layer. Cover with remaining marinara sauce.
- Final Touch: Sprinkle additional mozzarella and Parmesan over the shells. Dot with butter fragments. Bake uncovered for 30-35 minutes until sauce bubbles and cheese turns golden. Rest for 5 minutes before serving to allow flavors to meld.
Notes
- Meat Prep Tip: Brown beef thoroughly to develop deep, rich flavors and eliminate raw meat texture. Drain excess fat for a cleaner, more balanced filling.
- Pasta Cooking Hack: Slightly undercook manicotti shells to prevent sogginess during baking. The residual heat and oven time will continue cooking the pasta.
- Cheese Mixture Trick: Mix cheeses at room temperature for smoother, more even incorporation. Fold ingredients gently to maintain light, airy texture.
- Baking Secret: Let dish rest after cooking to allow flavors to meld and cheese to set. Resting helps achieve clean, attractive serving portions and enhances overall taste profile.
- Prep Time: 15 minutes
- Cook Time: 40 minutes
- Category: Dinner, Lunch
- Method: Baking
- Cuisine: Italian
Nutrition
- Serving Size: 5
- Calories: 480
- Sugar: 6 g
- Sodium: 950 mg
- Fat: 25 g
- Saturated Fat: 12 g
- Unsaturated Fat: 11 g
- Trans Fat: 0 g
- Carbohydrates: 42 g
- Fiber: 2 g
- Protein: 30 g
- Cholesterol: 90 mg
Sophia Rivera
Recipe Developer & Kitchen Tips Specialist
Expertise
Education
Austin Community College
San Antonio Culinary Institute
Sophia’s passion for baking began in her family kitchen, where she spent hours experimenting with new recipes. With a background in baking and pastry arts, she loves making desserts that are as visually stunning as they are delicious.
Sophia is all about using seasonal, locally sourced ingredients to create treats that everyone will enjoy. When she’s not creating mouth-watering desserts, you can find her gardening, making new recipes, or enjoying a relaxing afternoon with her family.