
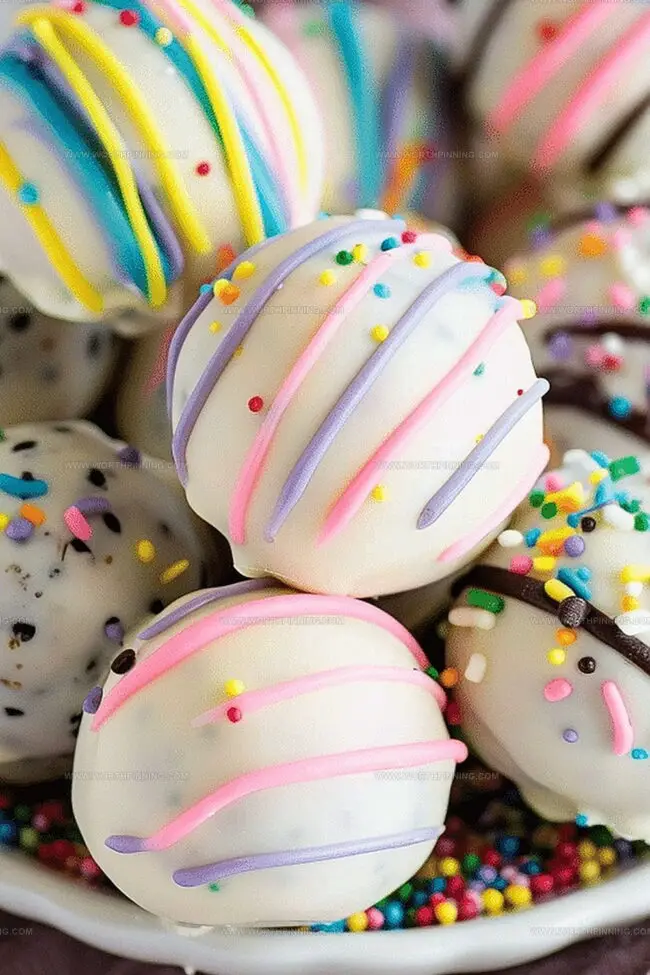
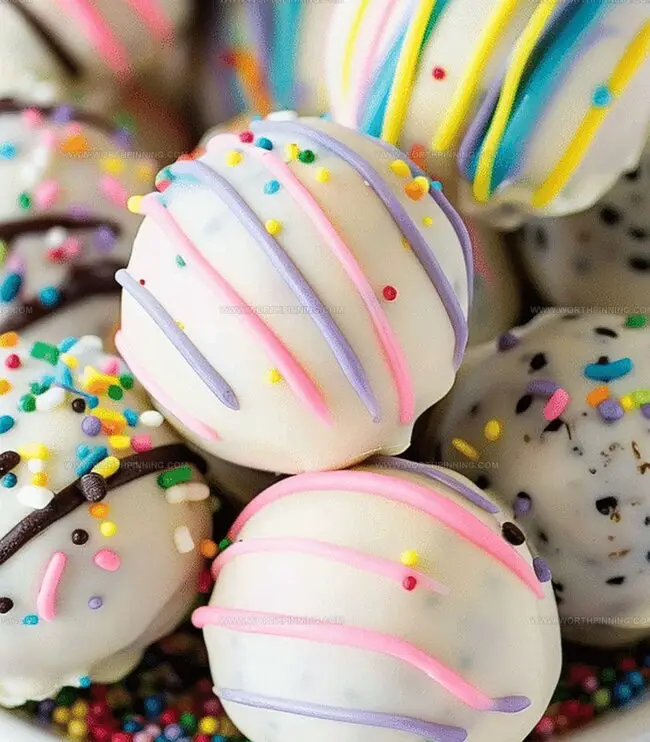
Cute & Creamy Easter Egg Oreo Balls Recipe for Spring Joy
Crafting delectable easter egg oreo balls brings pure joy to any festive gathering.
Chocolate crumbs and cream cheese transform into bite-sized delights that melt in your mouth.
Sweet memories dance through each creamy morsel, beckoning dessert enthusiasts closer.
Playful textures merge with rich flavors, creating something magical for everyone to enjoy.
Simple ingredients combine effortlessly, making these treats both delightful and impressive.
No complicated techniques stand between you and these irresistible little morsels.
This recipe promises pure happiness in every single scrumptious bite.
Gather your ingredients and let the delicious adventure begin!
Easter Egg Oreo Balls for Spring Celebrations
Ingredient List for Easter Egg Oreo Balls
Cookies and Base:Coating and Decoration:Optional Garnish:How to Make Easter Egg Oreo Balls at Home
Step 1: Pulverize Oreo Cookies
Grab your food processor and toss in the entire Oreo cookies. Pulse until you’ve created a fine, sandy texture that looks like delicate cookie dust.
Step 2: Blend Creamy Mixture
Fold in softened cream cheese with the cookie crumbs. Mix thoroughly until the combination becomes a smooth, uniform mixture that holds together perfectly.
Step 3: Craft Egg Shapes
Scoop small portions of the mixture and gently mold into egg-like forms using your hands. Arrange these adorable little eggs on a parchment-lined baking sheet.
Step 4: Quick Chill
Pop the baking sheet into the freezer for a quick 20-30 minute session to firm up the treats.
Step 5: Prepare Colorful Coating
Melt white chocolate or candy melts in separate bowls. Introduce a few drops of vibrant food coloring to create a rainbow of delicious coatings.
Step 6: Dunk and Decorate
Using a fork, carefully dip each chilled egg into the colored chocolate. Transfer back to the parchment paper and add fun sprinkles or create artistic chocolate drizzles.
Step 7: Set and Solidify
Allow the chocolate coating to completely harden at room temperature or accelerate the process in the refrigerator.
Step 8: Serve or Store
Once set, these delectable truffles are ready to be devoured or tucked away in an airtight container in the refrigerator for later enjoyment.
Easter Egg Oreo Ball Tips for Better Shape
Storing Easter Egg Oreo Balls Made
Sweets to Pair with Easter Egg Oreo Balls
Easter Egg Oreo Ball Ideas to Try
Easter Egg Oreo Balls FAQ
No, they’re super easy! Even beginner bakers can make these with just a few simple steps like crushing Oreos, mixing with cream cheese, shaping, and dipping in chocolate.
Absolutely! Kids can help crush Oreos, mix ingredients, shape eggs, and add fun sprinkles. It’s a great family-friendly activity that’s perfect for Easter.
Not really. You just need a food processor or blender to crush Oreos, and basic kitchen tools like a baking sheet, parchment paper, and bowls for melting chocolate.
When stored in an airtight container in the refrigerator, they’ll stay fresh for about 5-7 days. Just make sure to keep them chilled to maintain their shape and texture.
Print
Easter Egg Oreo Balls Recipe
- Total Time: 30 minutes
- Yield: 20 1x
Description
Sweet Easter egg oreo balls combine creamy chocolate and crunchy cookie textures in one delightful treat. Festive dessert bites bring joy to holiday celebrations with their irresistible blend of rich flavors and smooth chocolate coating.
Ingredients
Main Ingredients:
- 1 package (14.3 ounces / 406 grams) Oreo cookies
- 1 package (8 ounces / 227 grams) cream cheese, softened
- 12 ounces (340 grams) white chocolate chips or candy melts
Decorative Ingredients:
- Food coloring (pink, blue, yellow, or favorite spring colors)
- Sprinkles (optional, for decorating)
Instructions
- Pulverize Oreo cookies, including the cream filling, into fine, uniform crumbs using a food processor, ensuring no large chunks remain.
- Incorporate softened cream cheese into the cookie crumbs, mixing thoroughly until a cohesive, smooth mixture forms that holds together easily.
- Carefully mold the blend into egg-like shapes using gentle hand pressure, creating uniform oval forms approximately one tablespoon in size.
- Transfer the shaped confections onto a parchment-lined tray and place in the freezer to solidify for approximately 20-30 minutes, which will enhance their structural integrity.
- Prepare chocolate coatings by melting white chocolate or candy melts in separate bowls, following precise package instructions to achieve a silky, glossy consistency.
- Customize chocolate colors by adding strategic drops of food coloring, creating a vibrant palette for your Easter egg design.
- Carefully submerge each chilled Oreo egg into the colored chocolate using a fork, allowing excess coating to drip off before returning to the parchment-lined surface.
- Embellish the chocolate-covered eggs with festive sprinkles or complementary chocolate drizzles while the coating remains slightly wet.
- Allow the decorated eggs to set completely at room temperature or expedite the process by chilling in the refrigerator.
- Store the finished Easter Egg Oreo Balls in an airtight container within the refrigerator, maintaining their texture and flavor for several days.
Notes
- Crushing Oreos completely ensures a smooth, consistent texture without large cookie chunks.
- Softening cream cheese at room temperature helps it blend seamlessly with cookie crumbs, preventing lumpy mixtures.
- Chilling the shaped eggs before dipping stabilizes them and prevents crumbling during chocolate coating.
- Use gel food coloring for vibrant, intense colors that won’t thin out the chocolate coating.
- Prep Time: 15 minutes
- Cook Time: 15 minutes
- Category: Desserts, Snacks
- Method: Blending
- Cuisine: American
Nutrition
- Serving Size: 20
- Calories: 246
- Sugar: 6 g
- Sodium: 218 mg
- Fat: 6 g
- Saturated Fat: 2 g
- Unsaturated Fat: 3 g
- Trans Fat: 0 g
- Carbohydrates: 17 g
- Fiber: 2 g
- Protein: 34 g
- Cholesterol: 70 mg
Ethan Miller
Founder & Lead Content Writer
Expertise
Education
Portland Community College
Culinary Institute of the Pacific
Ethan’s culinary journey began in his grandmother’s kitchen, where he first learned to play with flavors and ingredients. With formal training in culinary arts and a deep love for international cuisines, Ethan’s goal is to share the joy of cooking with others.
He believes food is all about creativity and bringing people together, one meal at a time. When he’s not experimenting with new dishes, he enjoys hiking in the Oregon wilderness and discovering fresh, local ingredients.