Heavenly Crustless Fresh Strawberry Pie Recipe for Summer Joy
Sweet summers whisper delightfully through this crustless fresh strawberry pie that captures pure berry magic.
Ripe strawberries dance with creamy textures in a light, refreshing dessert.
Simplicity meets elegance without complicated techniques or excessive ingredients.
Delicate flavors bloom from carefully selected seasonal fruits.
Minimal preparation means maximum enjoyment for anyone wanting a quick, impressive treat.
Smooth and luscious, this dessert promises to surprise and delight you.
Grab a spoon and experience the ultimate strawberry sensation waiting just for you.
Crustless Fresh Strawberry Pie That’s Bright and Sweet
What You’ll Need for Crustless Fresh Strawberry Pie
Thickeners:Liquid Base:Flavor Enhancers:Fresh Produce:Optional Topping:Steps to Make Crustless Strawberry Pie Easily
Step 1: Blend Sweet Base
Whisk these ingredients together in a medium saucepan until thoroughly combined, ensuring no lumps remain.
Step 2: Create Smooth Liquid
Gradually pour water into the sugar mixture, stirring consistently to develop a silky smooth texture.
Step 3: Cook and Transform
Place the saucepan on medium heat, continuously stirring the mixture. Watch as it transforms from cloudy to clear and starts thickening, which typically takes about 5-7 minutes.
Step 4: Infuse Strawberry Flavor
Remove the pan from heat and add strawberry gelatin. Stir vigorously until the gelatin completely dissolves, creating a vibrant red mixture.
Step 5: Cool Down
Allow the gelatin mixture to rest and cool for approximately 10 minutes, giving it time to slightly thicken.
Step 6: Prepare Fruit Base
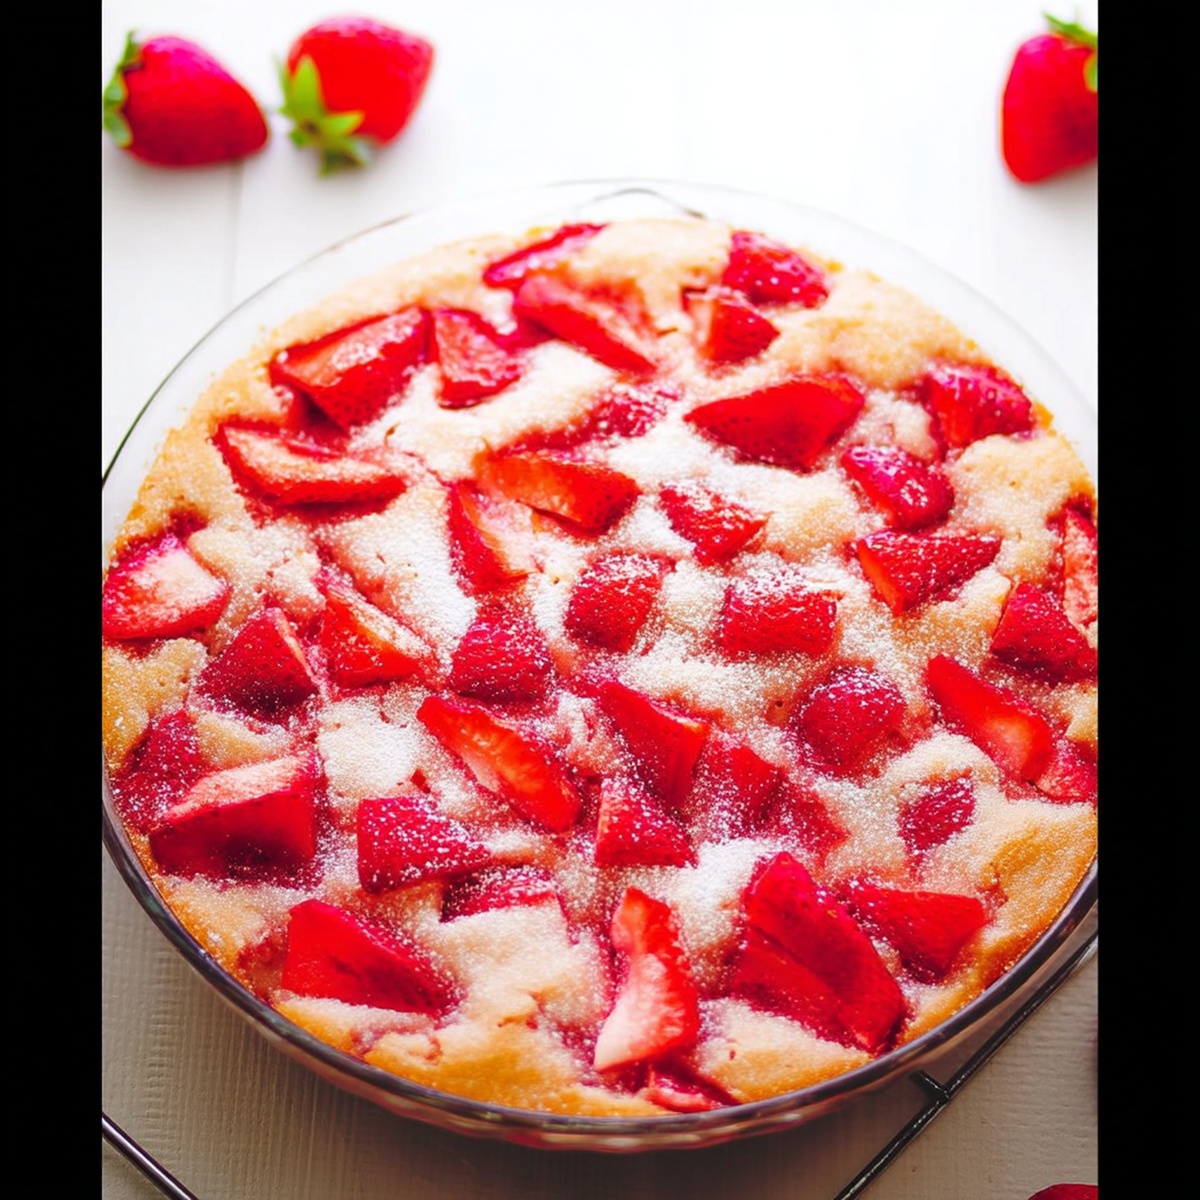
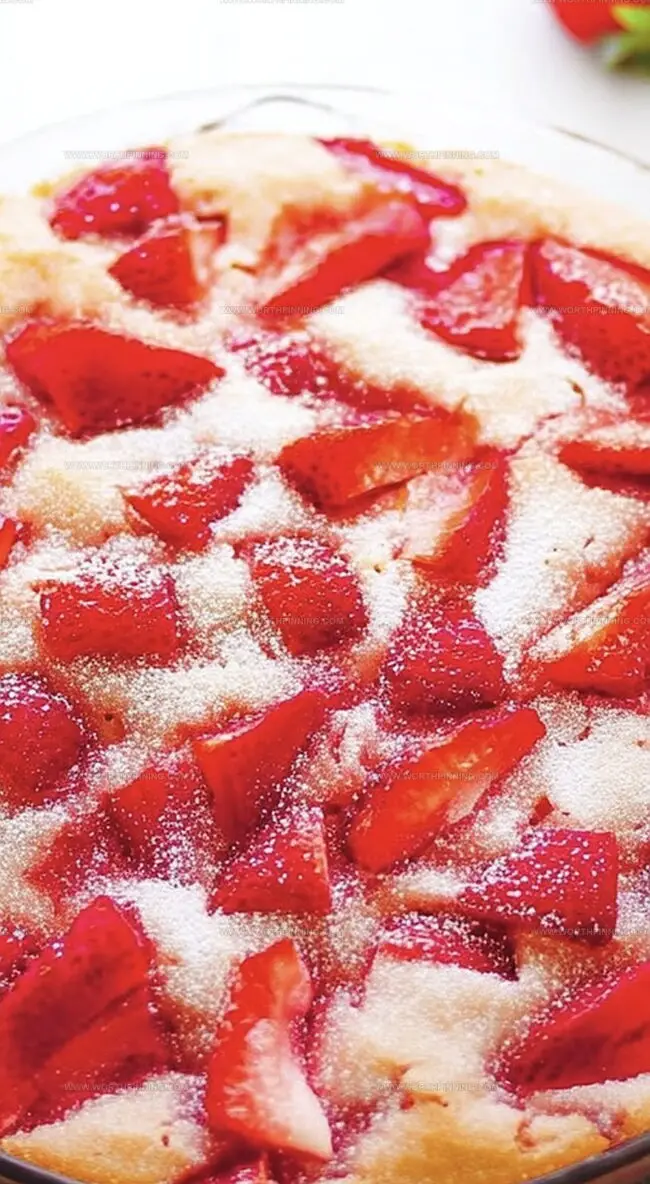
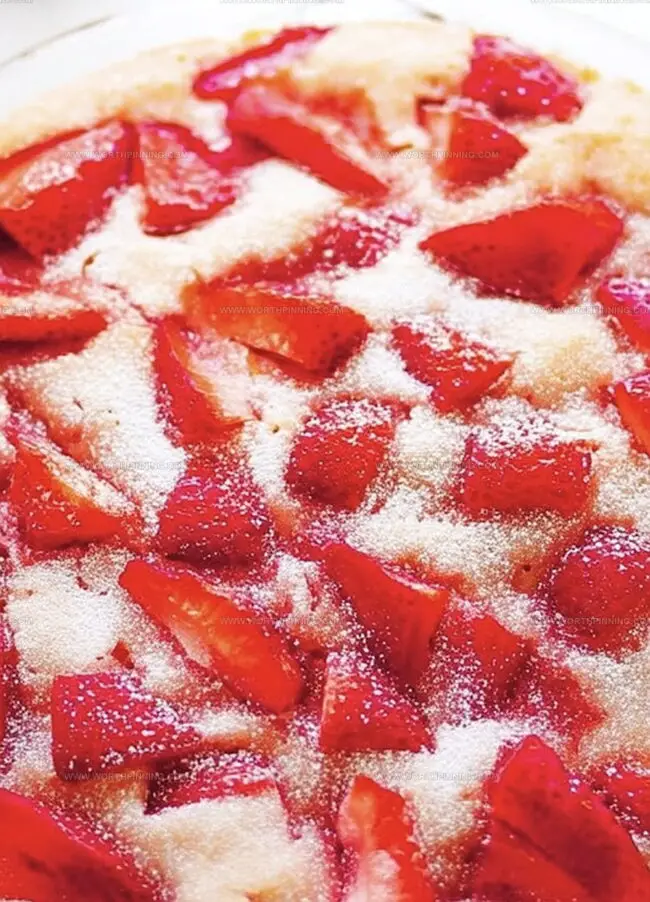
Arrange fresh strawberries in a 9-inch pie dish or glass container, creating an even layer.
Step 7: Pour and Coat
Gently pour the cooled gelatin mixture over the strawberries, ensuring every piece gets beautifully coated.
Step 8: Chill and Set
Refrigerate the pie for a minimum of 4 hours, allowing it to completely set and develop its perfect consistency.
Step 9: Serve and Enjoy
Remove from refrigerator and top with whipped cream if desired. Slice and serve this refreshing strawberry dessert chilled.
Helpful Tips for Crustless Strawberry Pie
Store and Chill Crustless Strawberry Pie Properly
Pairing Options for Crustless Strawberry Pie
Flavor Upgrades for Strawberry Pie Fans
Crustless Fresh Strawberry Pie: FAQs
Frozen strawberries can change the texture and release more liquid, potentially making the pie runny. Fresh strawberries work best for maintaining the pie’s structure and flavor.
Yes, this crustless strawberry pie is naturally gluten-free. Just ensure your gelatin and cornstarch are certified gluten-free to be absolutely certain.
The mixture is ready when it thickens and becomes clear, and you can see the bottom of the pan briefly when stirring. It should look glossy and not cloudy.
No special equipment is needed. You just need a medium saucepan, a whisk, a 9-inch pie dish, and basic measuring tools to create this simple dessert.
Print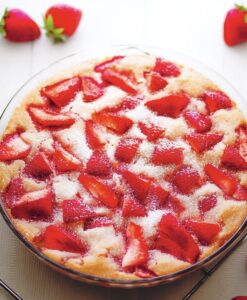
Crustless Fresh Strawberry Pie Recipe
- Total Time: 25 minutes
- Yield: 8 1x
Description
Summer’s sweetest treat, Crustless Fresh Strawberry Pie, delivers pure berry bliss without traditional pastry constraints. Luscious strawberries nestled in a light, silky filling will make you swoon with each refreshing, guilt-free bite.
Ingredients
Main Ingredients:
- 4 cups fresh strawberries, hulled and halved
- 1 (3 ounces) package strawberry-flavored gelatin (like Jell-O)
Thickening Agents:
- ¾ cup granulated sugar
- 3 tablespoons cornstarch
Liquid Ingredient:
- 1 cup water
Topping (Optional):
- Whipped cream, for serving
Instructions
- Combine sugar and cornstarch in a medium saucepan, creating a smooth dry mixture.
- Gradually introduce water, whisking carefully to eliminate any potential lumps.
- Transfer the saucepan to medium heat, continuously stirring the liquid until it transforms into a translucent, thickened consistency.
- Remove the saucepan from heat source and incorporate strawberry gelatin, stirring until completely integrated.
- Allow the gelatin mixture to cool and rest for approximately 10 minutes, enabling it to stabilize slightly.
- Arrange fresh, vibrant strawberries in a single layer within a 9-inch pie dish or glass container.
- Gently cascade the cooled gelatin mixture over the strawberries, ensuring each berry receives an even coating.
- Transfer the prepared dessert to the refrigerator and allow it to set completely, which typically requires a minimum of 4 hours.
- Once thoroughly chilled, garnish with optional dollops of whipped cream for an elegant presentation.
- Serve directly from the refrigerator to maintain the pie’s delicate structure and refreshing temperature.
Notes
- Swap cornstarch with arrowroot powder for a gluten-free thickening option that works perfectly for sensitive diets.
- Use fresh, ripe strawberries at peak season for the most vibrant flavor and natural sweetness that elevates the entire dessert.
- Gently fold strawberries to prevent bruising and maintain their beautiful whole shape when coating with gelatin mixture.
- Chill pie dish beforehand to help gelatin set faster and create a firmer, more stable dessert texture.
- Prep Time: 10 minutes
- Cook Time: 15 minutes
- Category: Desserts
- Method: Simmering
- Cuisine: American
Nutrition
- Serving Size: 8
- Calories: 335
- Sugar: 4 g
- Sodium: 350 mg
- Fat: 15 g
- Saturated Fat: 3 g
- Unsaturated Fat: 10 g
- Trans Fat: 0 g
- Carbohydrates: 43 g
- Fiber: 9 g
- Protein: 12 g
- Cholesterol: 0 mg
Ethan Miller
Founder & Lead Content Writer
Expertise
Education
Portland Community College
Culinary Institute of the Pacific
Ethan’s culinary journey began in his grandmother’s kitchen, where he first learned to play with flavors and ingredients. With formal training in culinary arts and a deep love for international cuisines, Ethan’s goal is to share the joy of cooking with others.
He believes food is all about creativity and bringing people together, one meal at a time. When he’s not experimenting with new dishes, he enjoys hiking in the Oregon wilderness and discovering fresh, local ingredients.