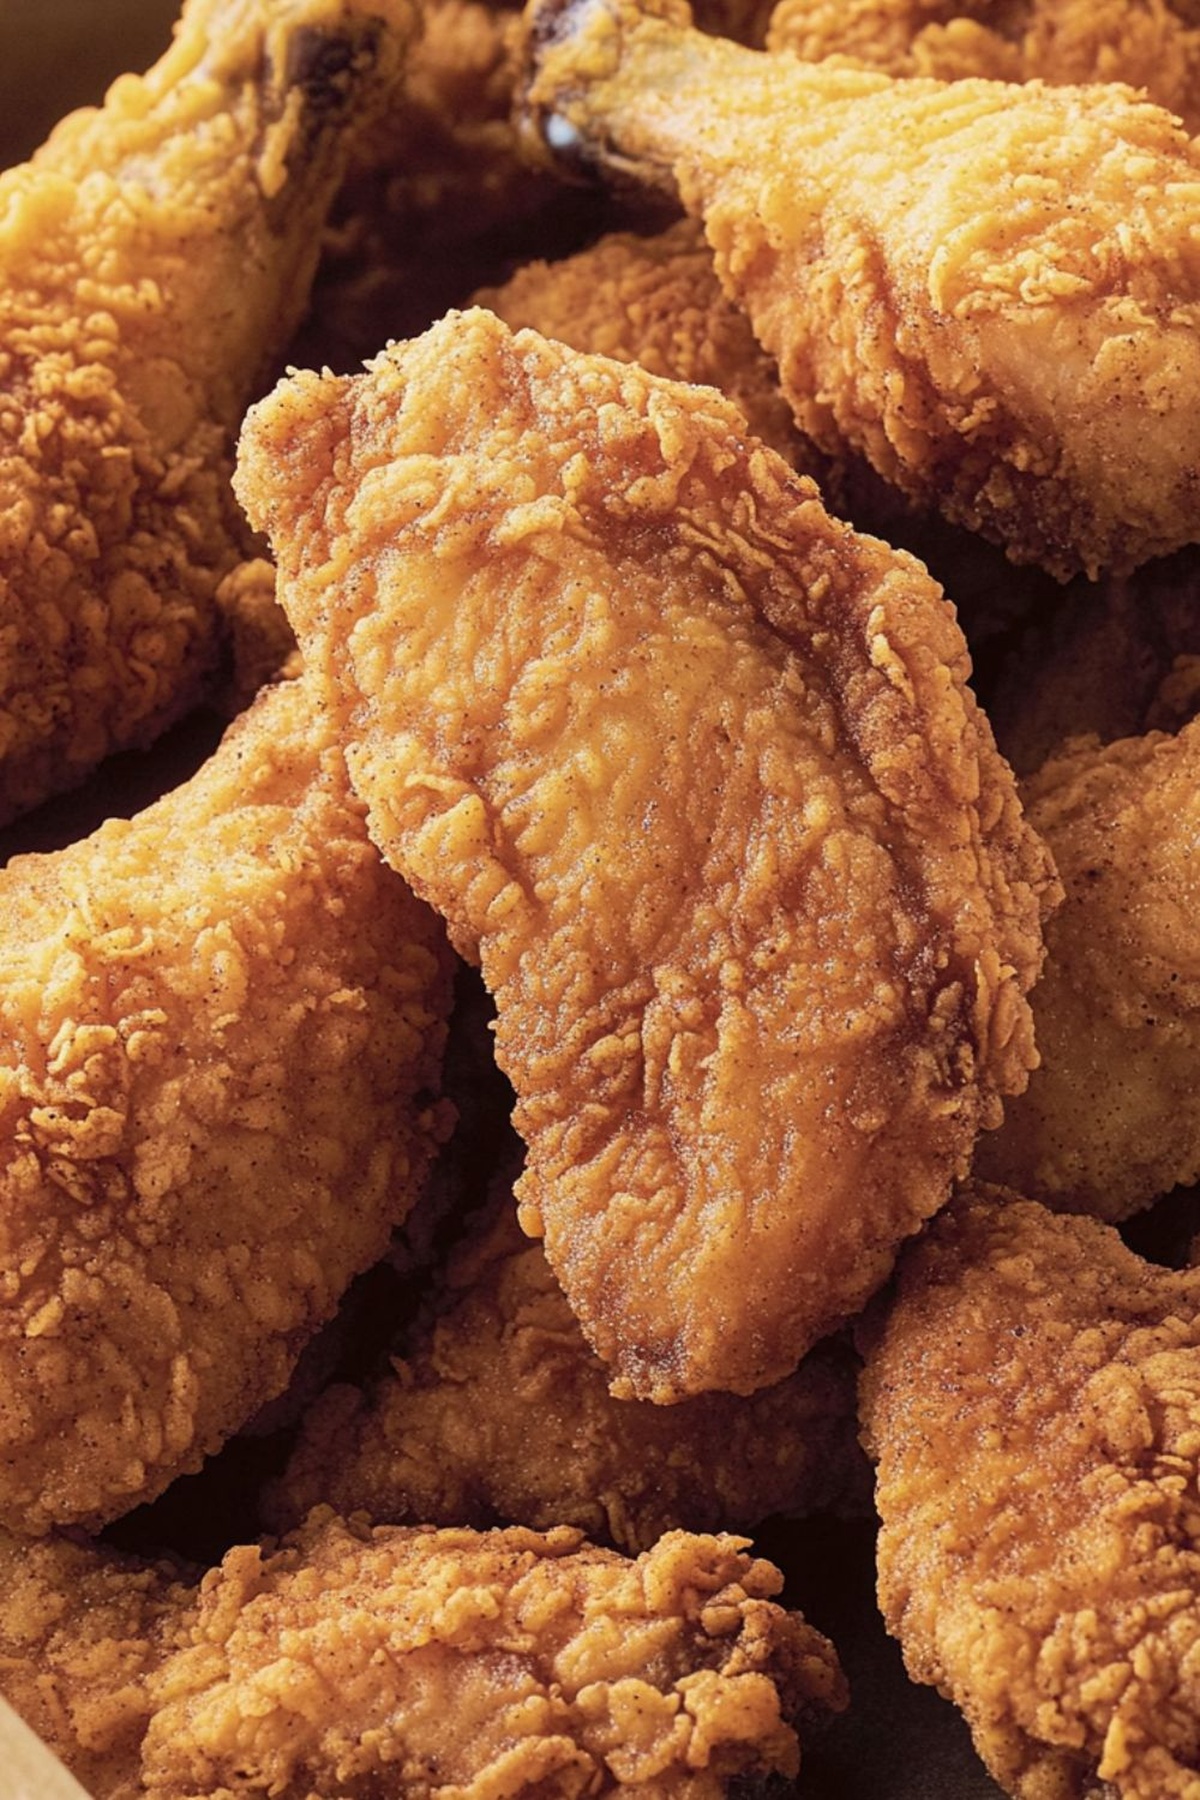
Crispy Barefoot Contessa’s Oven Fried Chicken Recipe Everyone Loves
Golden, crispy, and packed with flavor, this Barefoot Contessa oven fried chicken recipe delivers restaurant-quality crunch without the messy deep frying.
Forget greasy stovetop cooking and welcome a hassle-free method that guarantees perfectly seasoned chicken every time.
Ina Garten’s technique ensures a delectable exterior that seals in moisture and creates an irresistible texture.
The blend of herbs and spices makes this dish a standout at any gathering.
Each bite promises a delightful combination of crunch and tenderness that will have everyone asking for seconds.
You’ll love how simple ingredients can create such a mouthwatering meal in just a few easy steps.
Get ready to add this crowd-pleasing recipe to your weekly dinner rotation and watch it become an instant favorite.
Quick Recipe Overview
Pantry Ingredients for Barefoot Contessa Oven Fried Chicken
For Marinating:For Coating and Seasoning:For Frying and Baking:Tools for Perfecting Barefoot Contessa Oven Fried Chicken
Baking Instructions for Barefoot Contessa Oven Fried Chicken

Chicken pieces soak overnight in creamy buttermilk, creating tender and flavorful meat that will melt in your mouth.
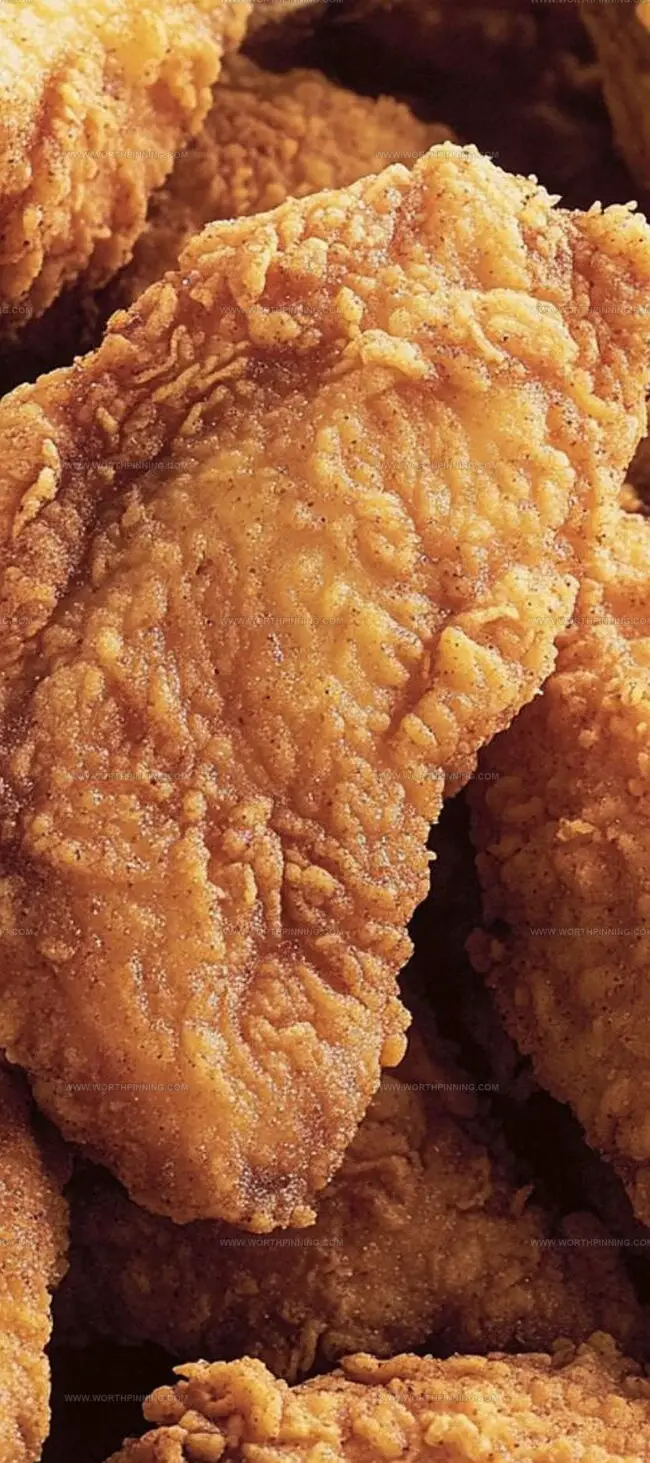
Mix flour with salt and pepper to create a crispy, delicious coating that will transform ordinary chicken into a golden masterpiece.
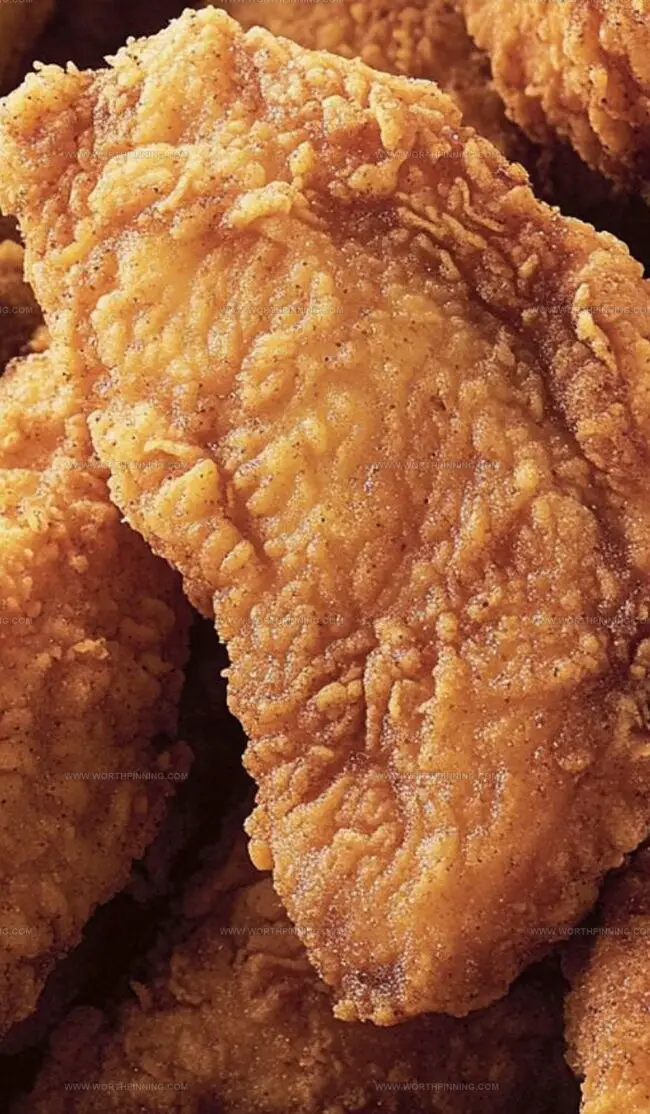
Carefully lower chicken pieces into hot oil, allowing each side to develop a gorgeous bronze exterior. Work in small groups to ensure perfect crispiness without overcrowding the pan.
Transfer the partially fried chicken to a baking sheet and slide into a warm oven. This final cooking stage ensures the meat is fully cooked and maintains its incredible crunch.
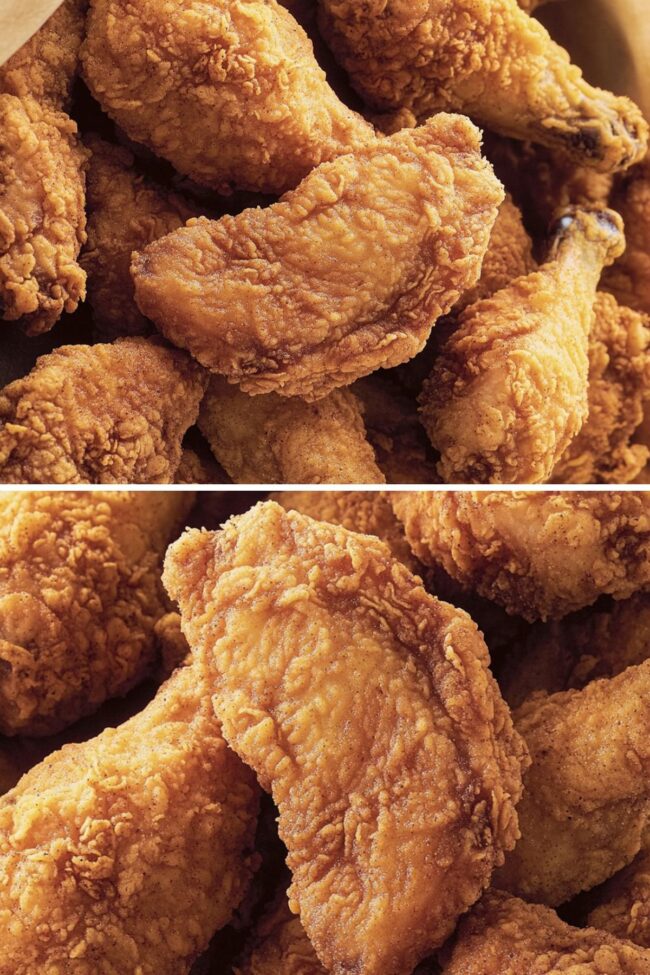
Remove the chicken when it reaches a beautiful golden color and the inside is completely white. Serve immediately while the coating remains wonderfully crisp and the meat stays juicy.
Tips for Crispy Barefoot Contessa Oven Fried Chicken Every Time
Barefoot Contessa Oven Fried Chicken – How to Serve It Up
Reheat & Store Barefoot Contessa Oven Fried Chicken
Print
Crispy Barefoot Contessa Oven Fried Chicken Recipe
- Total Time: 55 minutes
- Yield: 16 1x
Description
Barefoot Contessa’s oven fried chicken delivers crispy, golden perfection with a crunchy herb-seasoned coating. Homemade comfort emerges from simple ingredients, promising a delightful meal you’ll savor with each delectable bite.
Ingredients
- 2 whole chickens (1.36 kg / 3 lbs), cut into eight serving pieces
- 1 litre (1 quart) buttermilk
- 240g (8.5 oz) plain flour
- 1 tbsp kosher salt
- 1 tbsp freshly ground black pepper
- Vegetable oil or vegetable shortening for frying
Instructions
- Marination: Immerse chicken pieces completely in buttermilk within a spacious container, seal tightly, and refrigerate for 12-16 hours to infuse deep, rich flavors throughout the meat.
- Preparation: Preheat oven to 175°C (fan) / 190°C (conventional) / 350°F. Combine all-purpose flour, kosher salt, and black pepper in a wide dish, mixing thoroughly to create a uniform seasoning blend.
- Coating: Drain chicken from buttermilk, allowing excess liquid to drip off. Meticulously dredge each piece in seasoned flour mixture, pressing gently to ensure complete, even coverage that will create a crisp exterior.
- Initial Frying: Heat vegetable oil in a heavy-bottomed stockpot to 182°C (360°F). Carefully fry chicken in small batches for approximately 3 minutes per side until achieving a golden-brown, crispy surface. Transfer partially cooked pieces to a wire rack positioned over a rimmed baking sheet.
- Oven Finishing: Place chicken-laden rack in preheated oven, roasting for 30-40 minutes until internal temperature reaches 74°C (165°F), ensuring complete cooking and optimal food safety while maintaining the crispy exterior.
- Serving: Remove chicken from oven, allow a brief resting period to redistribute internal juices. Present immediately to preserve peak crispness and temperature, delivering a delectable oven-fried chicken experience.
Notes
- Marinate Strategically: Buttermilk bath for 12-16 hours dramatically tenderizes chicken, infusing deep flavor and ensuring juicy meat throughout cooking process.
- Coat Carefully: Press seasoned flour firmly onto chicken pieces, creating a thick, even crust that guarantees maximum crispiness and golden-brown exterior.
- Temperature Control: Use kitchen thermometer to monitor oil and chicken internal temperature, preventing undercooked meat and ensuring perfect crispy texture.
- Rest Wisely: Allow chicken to rest after cooking to redistribute internal juices, maintaining moisture and preventing dry, tough meat when serving.
- Prep Time: 15 minutes
- Cook Time: 40 minutes
- Category: Dinner, Lunch, Snacks
- Method: Baking
- Cuisine: American
Nutrition
- Serving Size: 16
- Calories: 380
- Sugar: 1g
- Sodium: 500mg
- Fat: 22g
- Saturated Fat: 5g
- Unsaturated Fat: 15g
- Trans Fat: 0g
- Carbohydrates: 30g
- Fiber: 1g
- Protein: 20g
- Cholesterol: 100mg
Sophia Rivera
Recipe Developer & Kitchen Tips Specialist
Expertise
Education
Austin Community College
San Antonio Culinary Institute
Sophia’s passion for baking began in her family kitchen, where she spent hours experimenting with new recipes. With a background in baking and pastry arts, she loves making desserts that are as visually stunning as they are delicious.
Sophia is all about using seasonal, locally sourced ingredients to create treats that everyone will enjoy. When she’s not creating mouth-watering desserts, you can find her gardening, making new recipes, or enjoying a relaxing afternoon with her family.