
Jamie Oliver’s Dreamy Mac And Cheese Recipe: Fuss-Free Joy
Jamie Oliver’s mac and cheese ignites a flavor explosion that redefines comfort food.
Creamy cheese cascades over perfectly cooked pasta, creating a magical culinary experience.
Bold ingredients dance together, transforming simple components into a gastronomic masterpiece.
Every forkful promises rich, indulgent satisfaction that tingles your senses.
Subtle herb undertones and robust cheese blend seamlessly, elevating this classic dish beyond ordinary expectations.
Generations of food lovers have fallen in love with this recipe’s delectable charm.
This mac and cheese isn’t just a meal, it’s a delicious journey you won’t want to miss.
Quick Recipe Overview
Ingredients to Make Jamie Oliver’s Mac and Cheese
For Flavor Base:For Creamy Foundation:For Pasta and Sauce Enhancers:For Crispy Topping:Tools Required for Jamie Oliver’s Mac and Cheese
Instructions for Cooking Mac and Cheese
Slice garlic into fine pieces and create a smooth roux by melting butter and mixing with flour. Cook garlic until golden, releasing a delightful aroma that will make your kitchen smell incredible.
Whisk milk into the roux, adding bay leaves and stirring continuously. Let the sauce simmer and thicken, developing a rich and velvety texture that will coat every pasta strand perfectly.
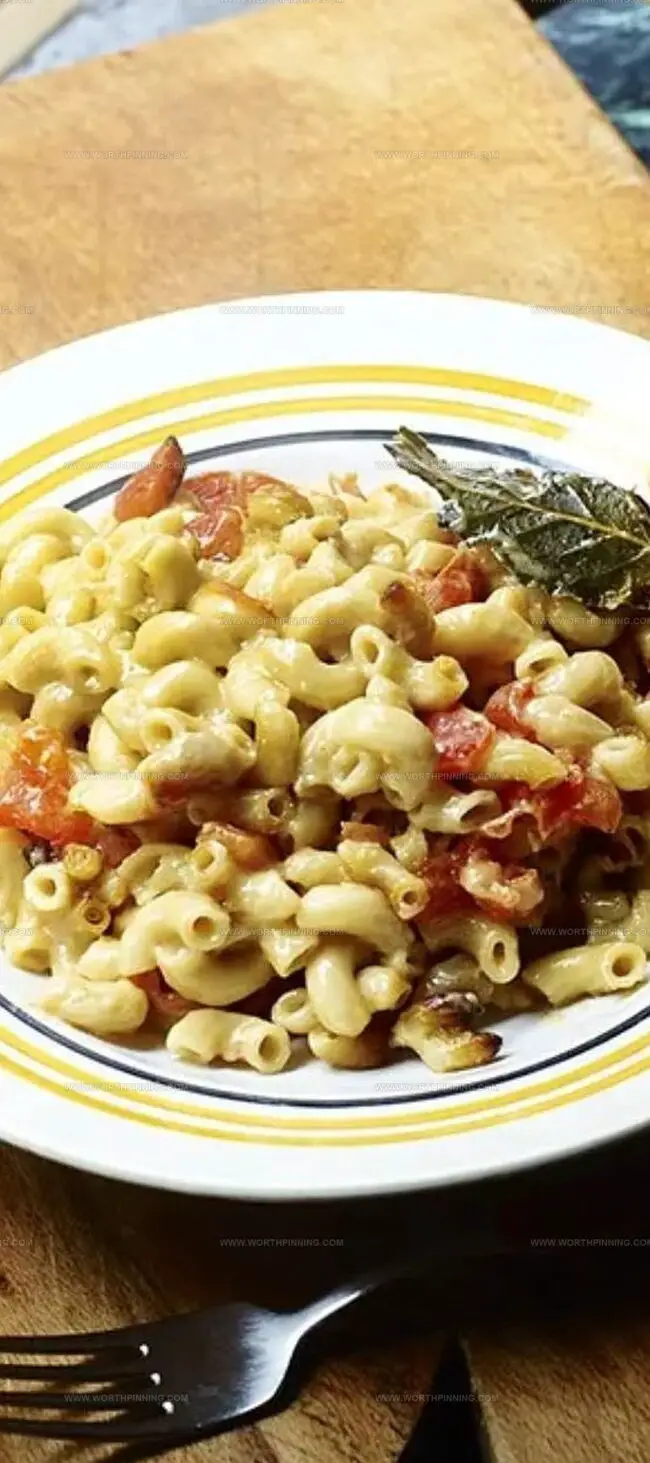
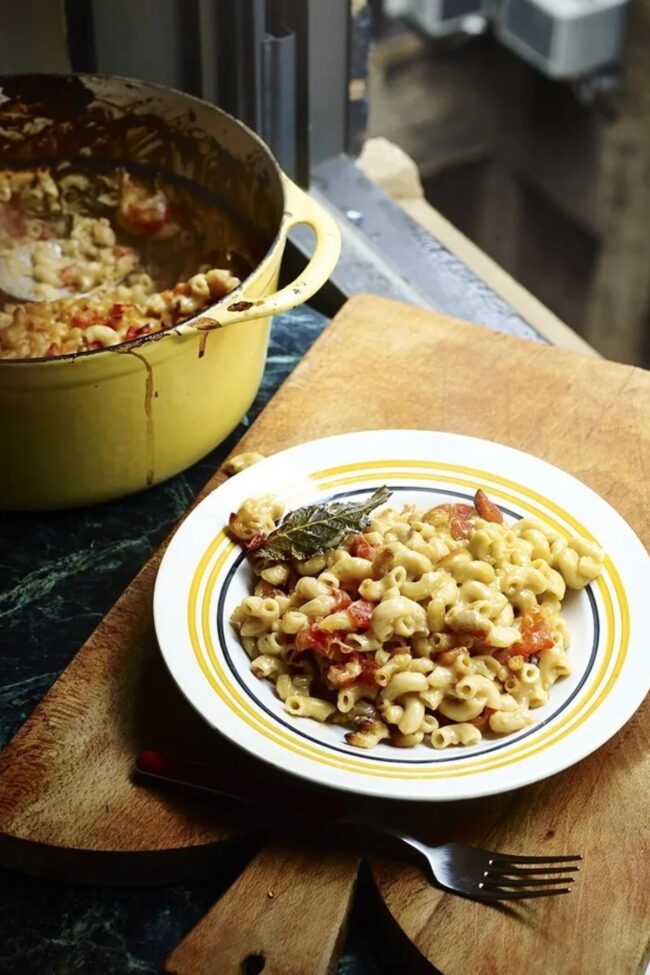
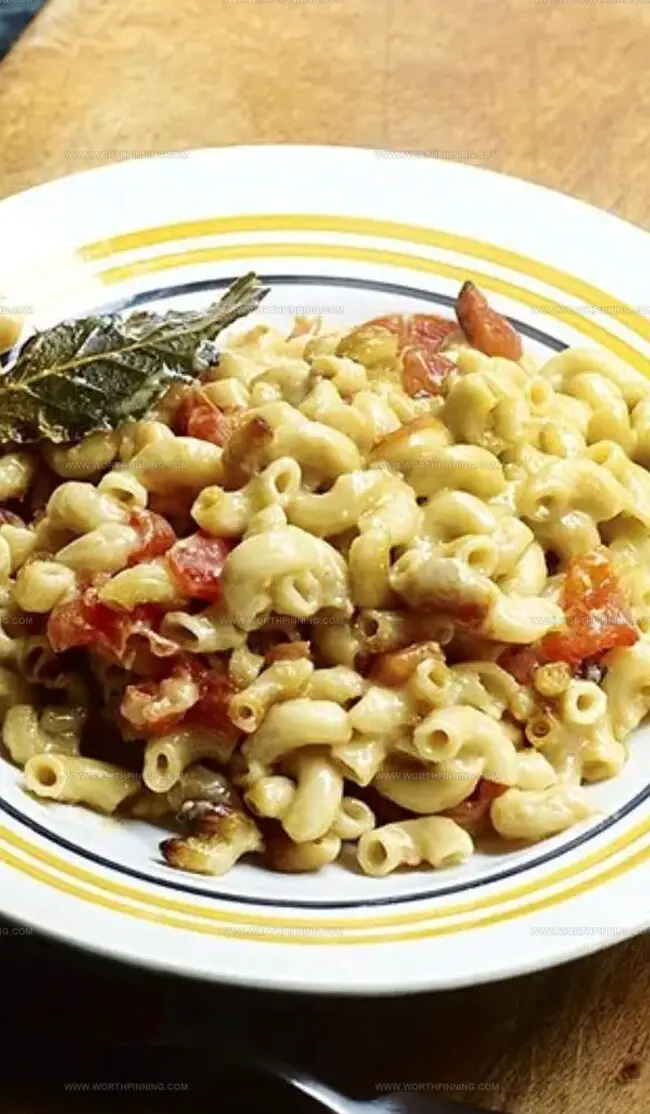
Boil pasta in salted water until tender. Drain and fold into the silky sauce, incorporating grated Cheddar and Parmesan cheeses. Toss in chopped tomatoes and fresh thyme for a burst of freshness. Splash in Worcestershire sauce and a hint of nutmeg to elevate the flavor profile.
Transfer the mixture to an ovenproof dish. Bake until the top turns a gorgeous golden brown and the edges bubble with excitement. Meanwhile, toast breadcrumbs with olive oil and thyme until they transform into a crunchy, golden topping.
Sprinkle crispy bacon over the dish just before serving, adding a final layer of irresistible flavor that will have everyone asking for seconds. Enjoy this comforting, flavor-packed meal that brings warmth and joy to the table.
Recipe Variations for Jamie Oliver’s Mac and Cheese
Serving Tips for Jamie Oliver’s Mac and Cheese
Storage Guidelines for Mac and Cheese Dish
Print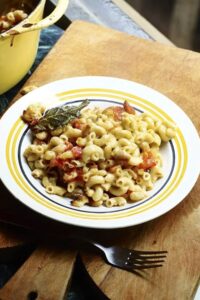
Creamy Jamie Oliver Mac And Cheese Recipe
- Total Time: 1 hour
- Yield: 5 1x
Description
Jamie Oliver’s mac and cheese blends creamy cheddar with crispy bacon for ultimate comfort. Cheese lovers will savor this classic dish that brings rich flavor and satisfying texture to any meal.
Ingredients
- 1 whole nutmeg, for grating
- 1 litre (4.22 cups) semi-skimmed milk
- 600 g (21.16 oz) dried macaroni
- 150 g (5.29 oz) Cheddar cheese
- 100 g (3.53 oz) Parmesan cheese
- 45 g (1.59 oz) butter
- 10 cloves of garlic
- 8 tomatoes
- 6 bay leaves
- 3 heaped tbsps plain flour
- 3 big handfuls of fresh breadcrumbs
- 2 splashes of Worcestershire sauce
- A few sprigs of fresh thyme
- Olive oil
- Diced cooked bacon (optional)
Instructions
- Prepare Base: Melt butter in an ovenproof saucepan, whisking flour into a smooth paste. Sauté garlic slivers until golden, then introduce bay leaves and gradually stream milk while continuously whisking to prevent lumps.
- Cook Pasta: Boil macaroni in salted water until al dente, ensuring a tender yet firm texture. Simultaneously, roughly chop tomatoes and season with salt and pepper.
- Create Sauce: Drain pasta and fold into the creamy base. Integrate grated Cheddar and Parmesan cheeses, seasoned tomatoes, and half the thyme leaves. Enhance with Worcestershire sauce and a hint of nutmeg if desired.
- Season and Adjust: Taste the mixture, fine-tuning salt and pepper levels. If the sauce appears dense, incorporate reserved pasta water to achieve optimal consistency.
- Bake and Garnish: Transfer to an ovenproof dish and bake at 220°C/425°F for 30 minutes until a golden crust forms. Meanwhile, toast breadcrumbs with olive oil and remaining thyme until rich brown.
- Final Touch: Sprinkle crispy bacon over the dish before serving, adding a smoky crunch to the creamy pasta.
Notes
- Maximize Garlic Flavor: Mince garlic finely and sauté until light golden to release its full aromatic potential without burning.
- Perfect Roux Technique: Whisk flour and butter slowly over low heat to create a smooth base, preventing lumps and ensuring a silky sauce texture.
- Pasta Water Magic: Reserve some pasta water to adjust sauce consistency, helping to thin or smooth out the mac and cheese if needed.
- Crispy Topping Trick: Toast breadcrumbs with olive oil and thyme until golden brown to add a delightful crunch and extra layer of flavor to the final dish.
- Prep Time: 15 minutes
- Cook Time: 45 minutes
- Category: Dinner, Lunch
- Method: Baking
- Cuisine: UK
Nutrition
- Serving Size: 5
- Calories: 450
- Sugar: 6 g
- Sodium: 800 mg
- Fat: 20 g
- Saturated Fat: 10 g
- Unsaturated Fat: 8 g
- Trans Fat: 0 g
- Carbohydrates: 50 g
- Fiber: 2 g
- Protein: 18 g
- Cholesterol: 60 mg
Sophia Rivera
Recipe Developer & Kitchen Tips Specialist
Expertise
Education
Austin Community College
San Antonio Culinary Institute
Sophia’s passion for baking began in her family kitchen, where she spent hours experimenting with new recipes. With a background in baking and pastry arts, she loves making desserts that are as visually stunning as they are delicious.
Sophia is all about using seasonal, locally sourced ingredients to create treats that everyone will enjoy. When she’s not creating mouth-watering desserts, you can find her gardening, making new recipes, or enjoying a relaxing afternoon with her family.